Nice recipe, I would suggest to soak the raisins overnight after you weigh them out , they will plumb up and not burn .
So the instructions say to mix the liquids and the flours. It doesn’t say anything about kneading. Is this supposed to be kneaded as a regular dough or it it a no knead recipe? As mentioned by others, the dough seems very wet, almost more like a batter. What should the consistency be for this?
I agree with Geoffrey below. I have made this recipe twice. The first time, after al the flour was mixed in, the dough was almost like batter. I did have to substitute red fife for a type of multi grain. I am vacationing on the west coast of Mexico, right at sea level. I had to add approximately two cups of extra flour to get the bread to hold some form of a loaf. This time the same thing. I did not add flour right away. I thought it might get let sticky with time but after an hour, it was still like batter. I added about two or more cups and it’s still sticky but should work out. The first batch did turn out. It made a huge loaf and was very good but something is not working for me with this recipe as it sits.
1 Like
Made this bread yesterday, and was relieved that the very sticky/wet dough actually turned into a fine-looking loaf, baked covered the entire time in a Römertopf. To my taste, the bread is sweeter than it needs to be, and I missed stronger sourdough tang. So the next time I might just leave out the maple syrup. and I might proof it overnight in the fridge.
<imgsrc="/uploads/default/original/2X/e/e512cdf16b87ec1ea7ea044772905e032fb709f5.jpg" width=“500” height=“500”>
Thanks for the feedback Lynn. I thought about leaving it the 8 hours and seeing how it looked. I’ll try it your way next time.
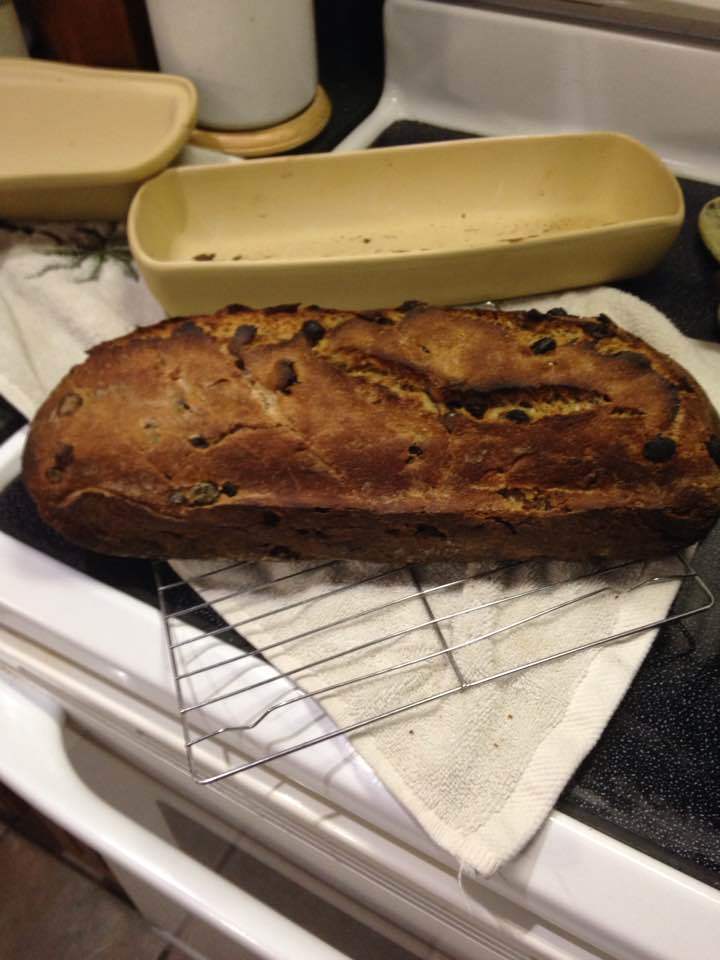
This is my latest attempt at this delicious bread. I used 200 grams of starter, a little less water and more flour. The dough was still very wet and sticky. It does not ever form a loaf. Also I cooked at 490, then 440, then only 10 minutes after the cover was removed. It is still pretty dark. I think I will lower the temp a little more next time. But it did raise this time. And it is quite delicious.
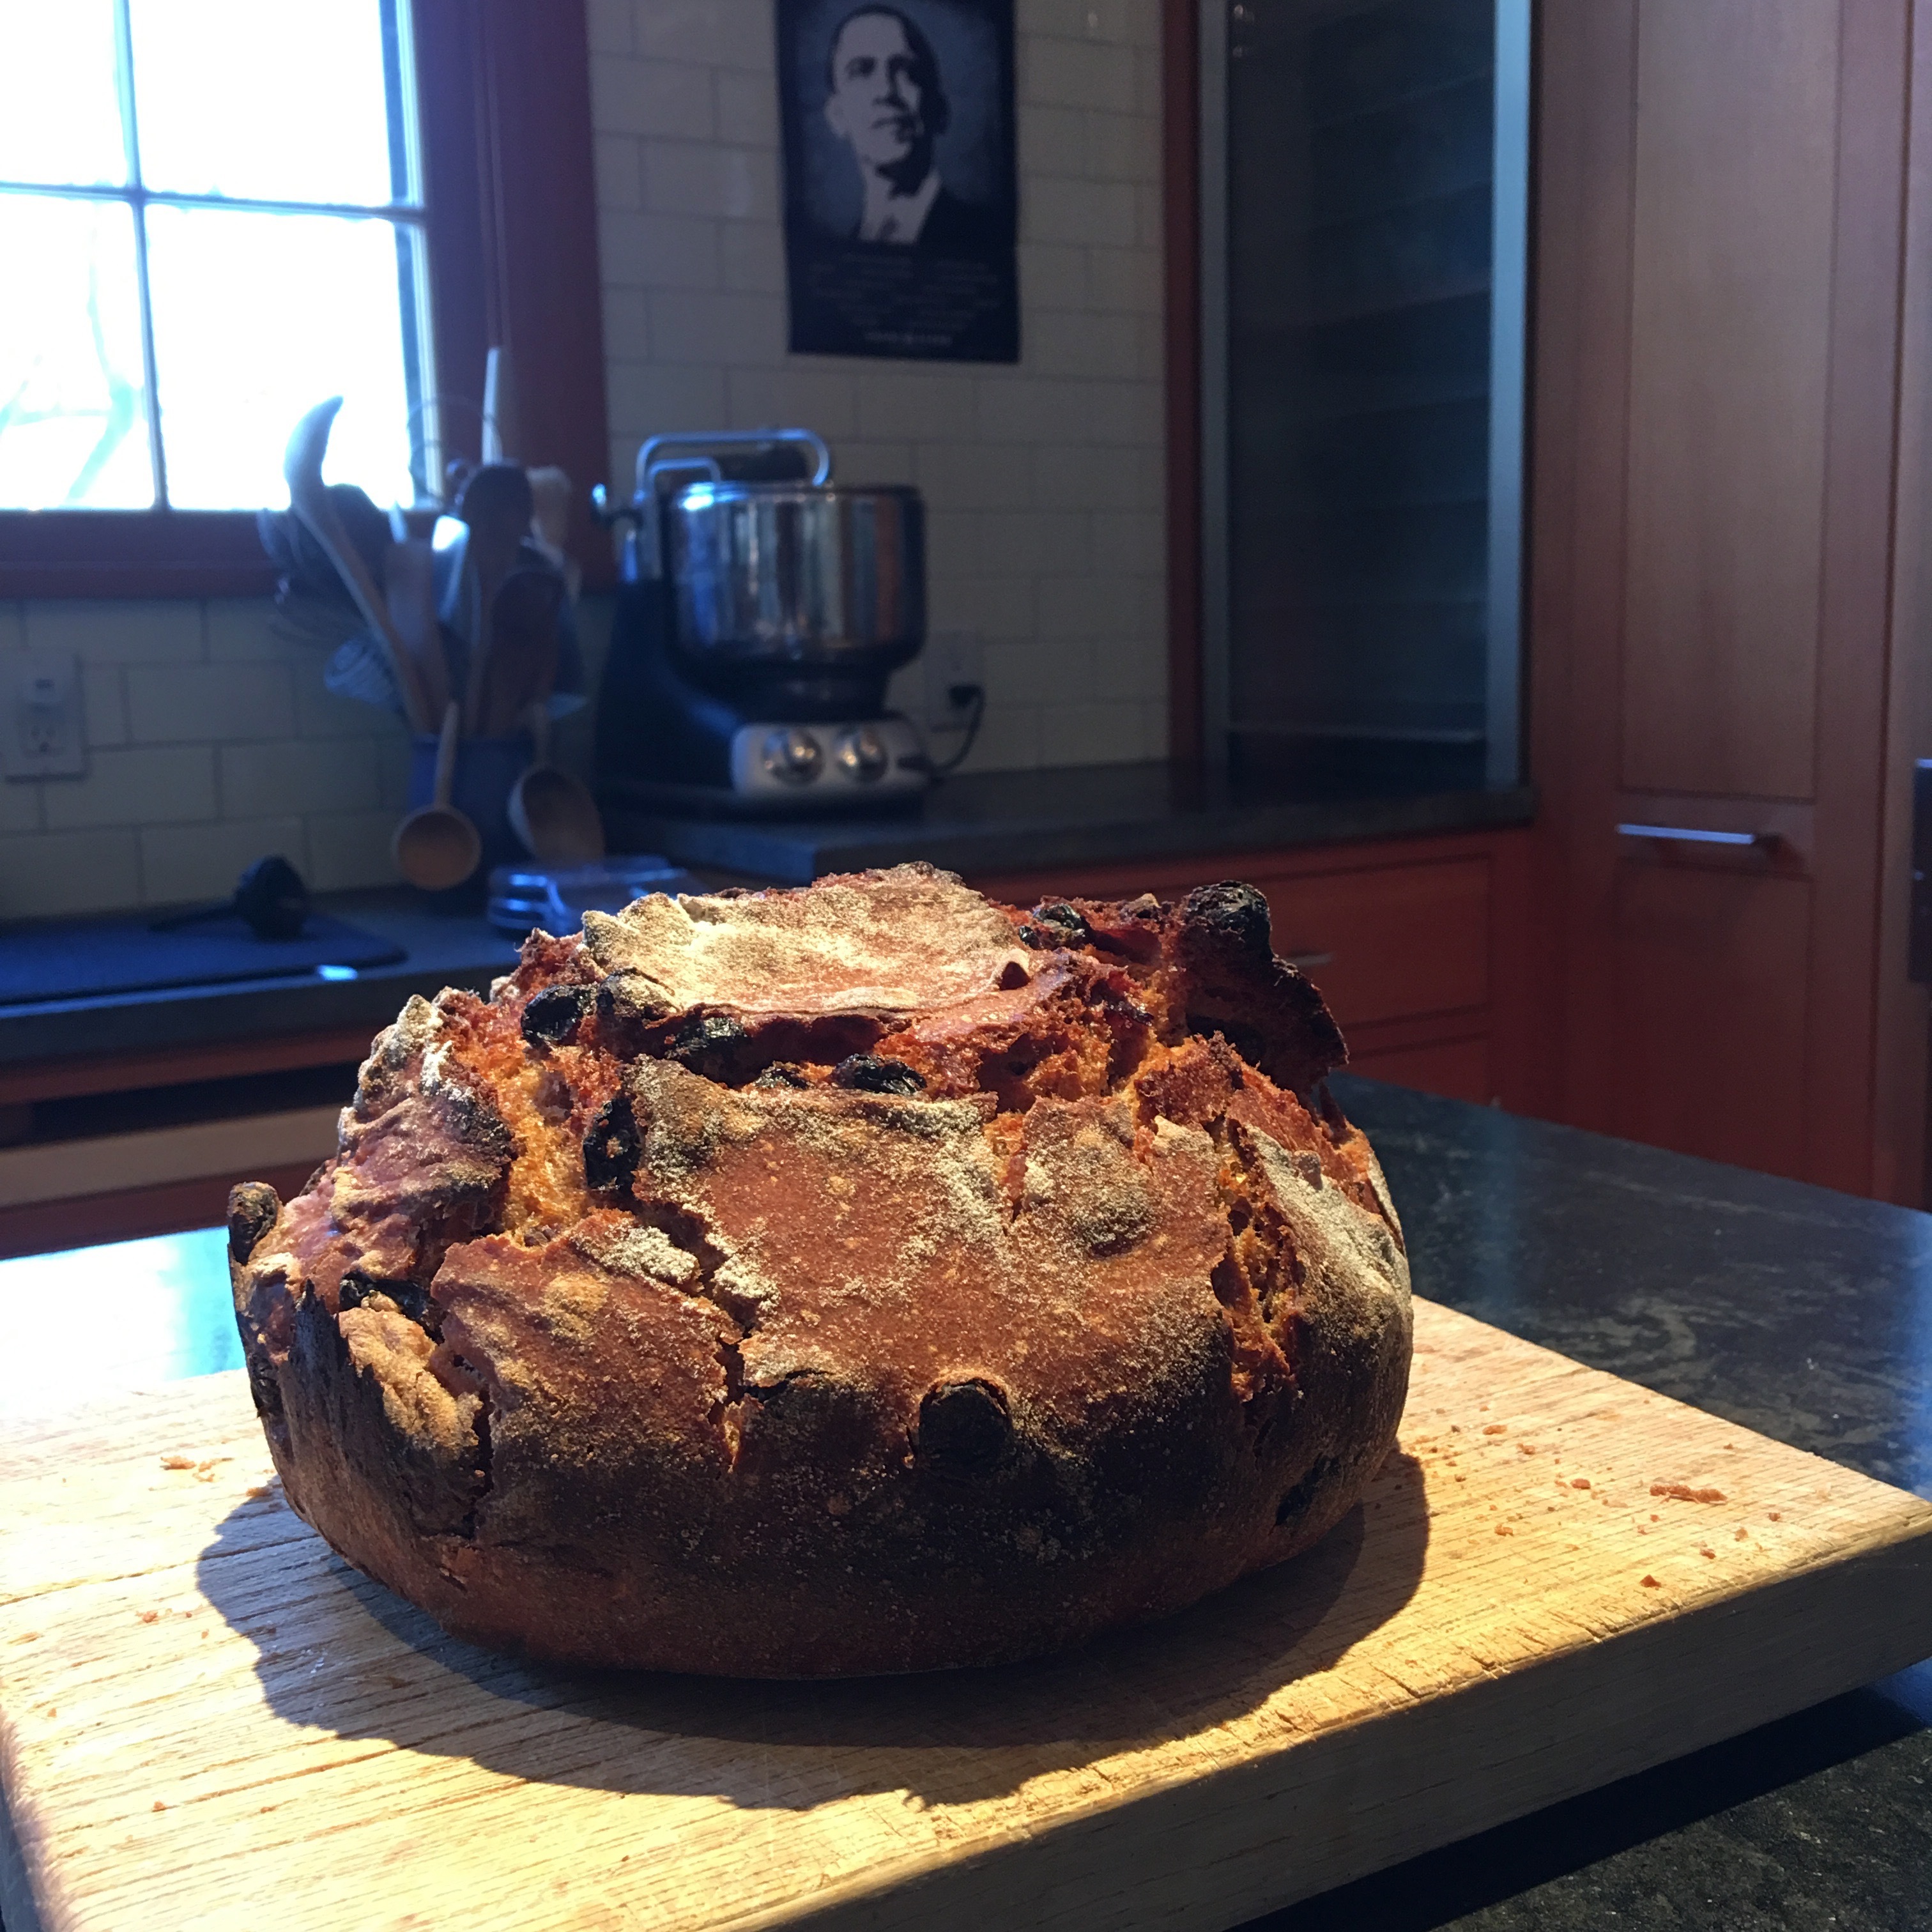
This turned out to be a very flavorful loaf. The raisins make it very sweet. I always soak raisins overnight so not to dry out the dough. I also cut back the salt to 2% (10 gm). Great with peanut butter.
I was very concerned with this dough. Very wet, but similar to the Swedish Rye recipe. I proofed for 3 hours at room temp (75 deg - Florida) then stuck it in the fridge for 7 hours over night, then 2-3 more hours at room temperature and the dough hardly rose. I did add a cup of walnuts and I stirred to dough 3 times, same pattern as the rye, so i thought maybe that was it. Feeling a bit despondent I turned the dough out, folded and shaped it, then stuck it back in the fridge for like 6 hours. I thought about tossing it because it didn’t hardly rise at all! But I went a head and baked it, and unbelievably it doubled in size in my oven. I baked it for the full 20 minutes with the lid off, maybe could have taken it out at 15, but I’m very excited to open it up after cooling.
Great HEA! (happily ever after in romance publishing lol)
Has anyone else had issues with this bread sticking – and I mean really badly sticking – to the liner of the proofing basket? When it’s time to transfer the risen to into the clay baker, it happens basically every time, resulting in a messy scramble to get as much dough as possible into the clay baker before losing too much heat. Do you have pointers for avoiding this problem?
Thanks!
I have used oil & rice flour and both work well, but the best solution I have found is to always proof in parchment paper. Makes transfer and removal simple both from the proofing vessel, and to and from the baking vessel. One additional issue is the paper needs to be trimmed inside the baking vessel if the paper extends higher than the side of the loaf. Not trimming the paper down below the top level of the bread will cause the bread to bake and brown unevenly. Trimming parchment solves that quickly.
C
1 Like
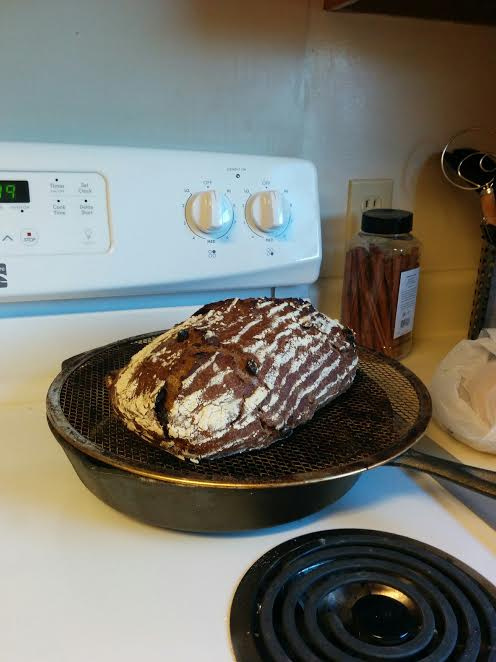
Well, I read all the warnings and tried this anyway. I let it rise for about 10 hours total with 4 folds as my house is in the mid/high 60s. Early in the process I thought it was starting to come together, but at 6 or 7 hours the dough was still very wet and sticky. I didn’t think it would proof much and while it firmed up a little bit, I was mostly right. The final dough slid out of the (very well proofed) basket and did not transition to my dutch oven very well. After 10 mins with the top off the internal temperature was good but I could not get it out of the dutch oven. It did rise some in the oven but overall I found the lack of unity relatively stressful and cannot really recommend this as written. I tried a few things and found that a good portion of the bottom had stuck. Perhaps with different hydration levels or more mixing/folding early in the fermentation process it would be a little easier to work with. I would definitely plan on letting it sit in the fridge for a while
Thanks for your response. I’ll give it a try with the parchment paper. That sounds promising.
Yes, I understand what you mean with the bottom sticking (really seriously sticking) to the baking vessel. Baking it at a slightly lower temperature seems to have solved this issue for me. But I’m still working on a better way to get the risen dough from the proofing basket into the clay baker/dutch oven. At least the bread itself is delicious…
I haven’t made this recipe, but I’ve made some wet dough recipes. Here’s my solution when I’m really concerned no amount of flour will prevent sticking:
Brush oil on saran wrap that you lay on your counter, plop wet “shaped” dough onto it, lift plastic into basket to proof. . .
…in the refrigerator for 8+ hrs where it will stiffen up and hold its shape when you move it from the basket to the baker.
Okay, thanks! The thing with some oil on plastic wrap sounds like it could help, especially if I were to refrigerate the dough prior to baking. I’ve never stuck this one in the fridge. But that makes sense, since the contraction from a cooler environment would presumably go a long way toward making the dough more manageable.
Handling moist dough is a skill that is learned, not something that works naturally to the letter of the recipe - we are a major component of the many variables involved in success. Seeing the structure of dough; understanding how to handle it after ferment is something that I struggled with. These recipes are not easy to begin with. You need to experiment. Althought, none of us want to call what we are doing an experiment. That is how we will learn. We need to know how the dough will react before you even move it into the primary ferment. I have adjusted my dough before ferment many times. Now, I think I know how it will turn out of the ferment and how difficult it will be to handle and when necessary, I adjust. This experience of adjusting is critical to handling the many variables involved in using a moist very hydrated mass of dough.
Keep at it! The experience gained will give you the ability you desire and will allow you to adjust your process when you want to try different flours or when you need to add ingredients. You don’t have to stay with the printed recipe, I seldom do! When many people have tried a recipe and been successful with it, does that prove the recipe is proper…NO! It proves those that have been successful have the experienced needed. If you get frustrated don’t stop, as each attempt brings you closer to your goal.
I have fed our wild birds many a loaf that looked like a pizza, and some that even looked like a loaf that were not eatable. Dont tell, nor beat the author. I just remove the evidence feeding it to the animals.
Baking these recipes is not rocket science, but it is not making toast either!
Best Luck!
Chuck
2 Likes
This recipe is so yummy! Even when it doesn’t come out to breadbaking ‘perfection’ standards. I’m working on adapting it to high altitude baking, 8800’ in the mountains of Colorado. I would appreciate any insight from experienced breadbakers.
Today’s experience: like many on this forum, I found the dough very batterlike after 12 hours of fermenting overnight under a plastic cover. (I had added 3 TBSP in the initial preparation to adjust for the drier high altitude). So that I could work the “batter” dough I added ‘more’ flour, both artisan bread & organic whole wheat to a consistency that was more a wet dough and one that could be stretched & folded to proof in a rattan proofing basket. I felt that the recommended oven temperature of 500 was too hot. I adjusted to 475. Second proof time was a total of 90 minutes. Stoneware cloche was preheated in oven at 475. Dough dropped out of proofing basket onto preheated Cloche beautifully. Baked at 475 for 30 minutes with cloche cover on. Reduced oven temperature to 450. Baked for 10 minutes with cover on. Removed cover. Crust was already dark & very crispy. Internal temperature was 189. Baked without cover for 15 minutes. Could not get internal temperature to 200. Crust got too crunchy & parts started turning black. The result…a really too crunchy crust and a bit underdone inside.
Any thoughts?
It’s still totally delicious toasted and will make awesome French toast for breakfast tomorrow.
If you have not seen articles like this. The author of this article clearly understood your challenge.
Best,
Chuck