Problems with fresh flour/Mockmill attachment

Hi,

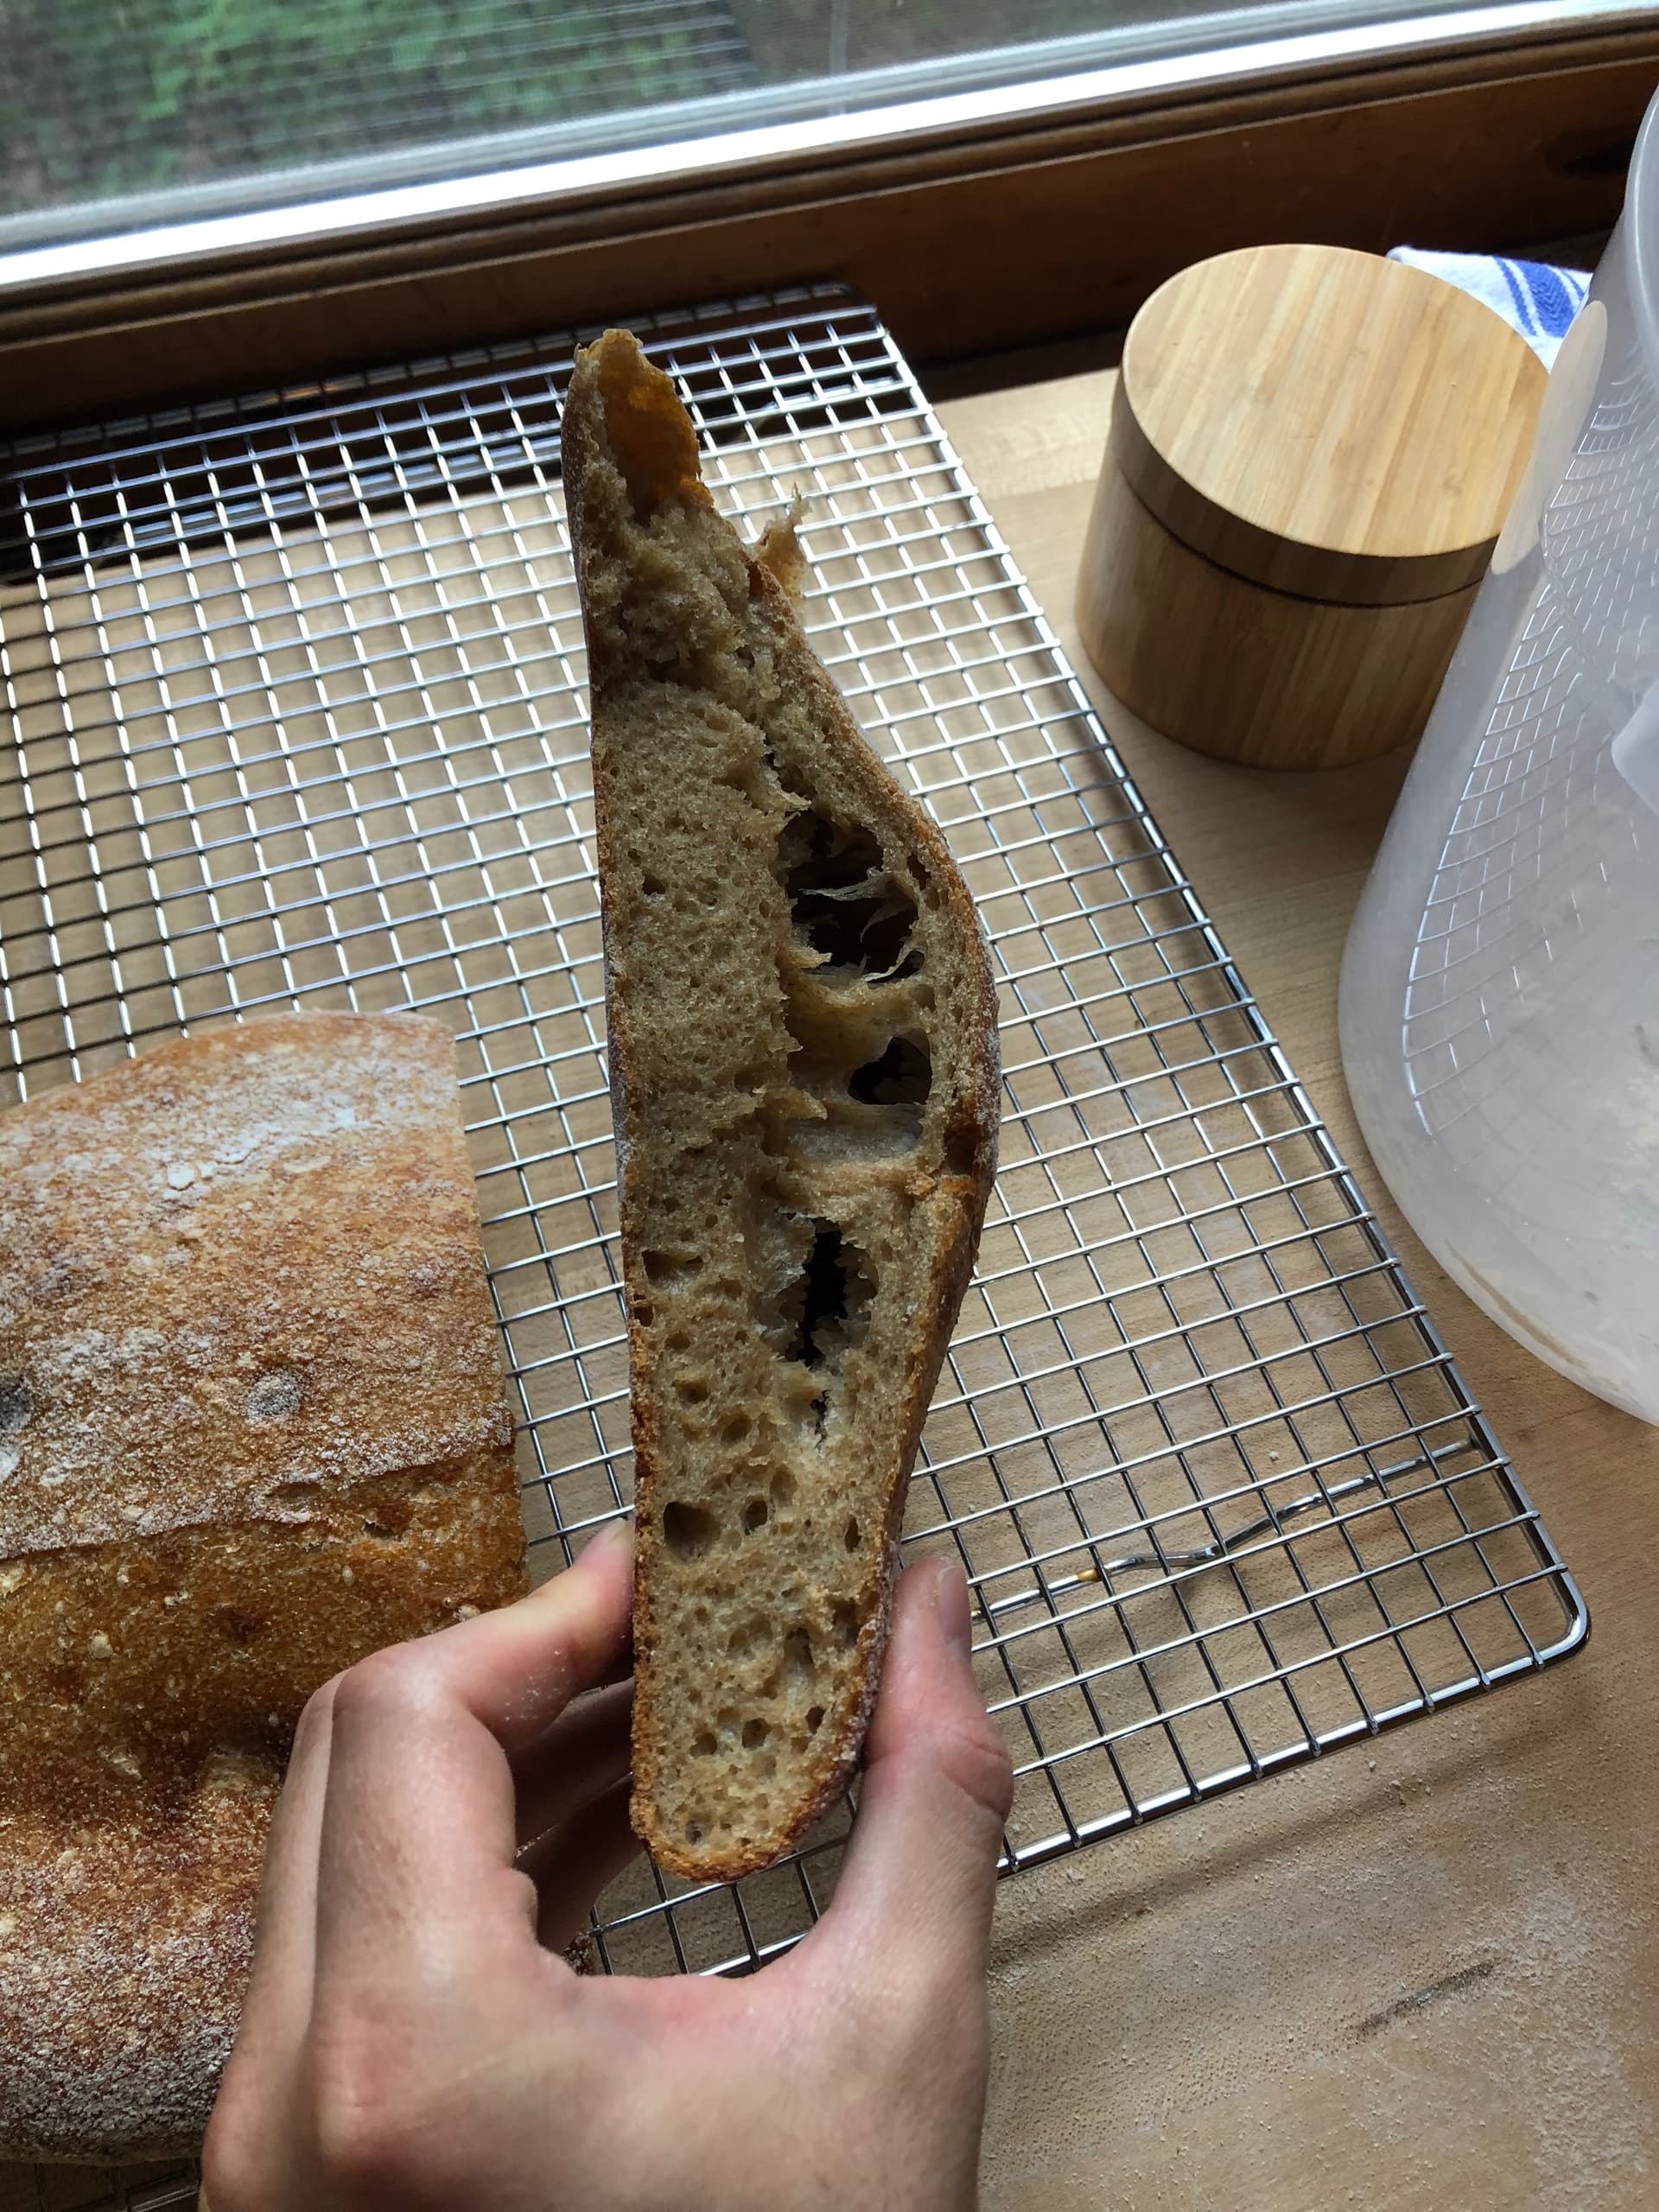
Last spring I purchased the Mockmill stand mixer attachment and began milling my own flour (at the setting where you can hear the stones just touching, milled and sifted through #40 sieve and then the course stuff re-milled until I hit 90% or so extraction), and I’ve had a lot of trouble getting a good loaf from the fresh flour, to the point where I’m close to giving up on the whole endeavor and going back to store bought flour. I’ve tried a lot of different combinations of hydration, fermentation and proofing times, and kneading/not kneading/stretch and folds, but have a few consistent problems. After the bulk ferment, even if the dough passes the windowpane test, it flattens out some (or a lot) to the pre-shape, difficult to shape or sticks to the counter, and then flattens out and has large, uneven holes which tunnel through the top of the bread and often look as if they’ve ripped. Here are some photo examples of my recent failures:


The above image was a 25% fresh milled flour (a blend of spelt, white wheat, red wheat, and rye in equal proportions) and 75% bread flour, at 80% hydration, bulk fermented in a warm room for 5-6 hours until it had grown around 30% and had bubbles throughout, then given a bench rest, shaped, and proofed until it passed the finger dent test. Baked in a cloche at 485F for 33 minutes with lid on, then 15 minutes with lid off. It turned out ok, but has the uneven holes.

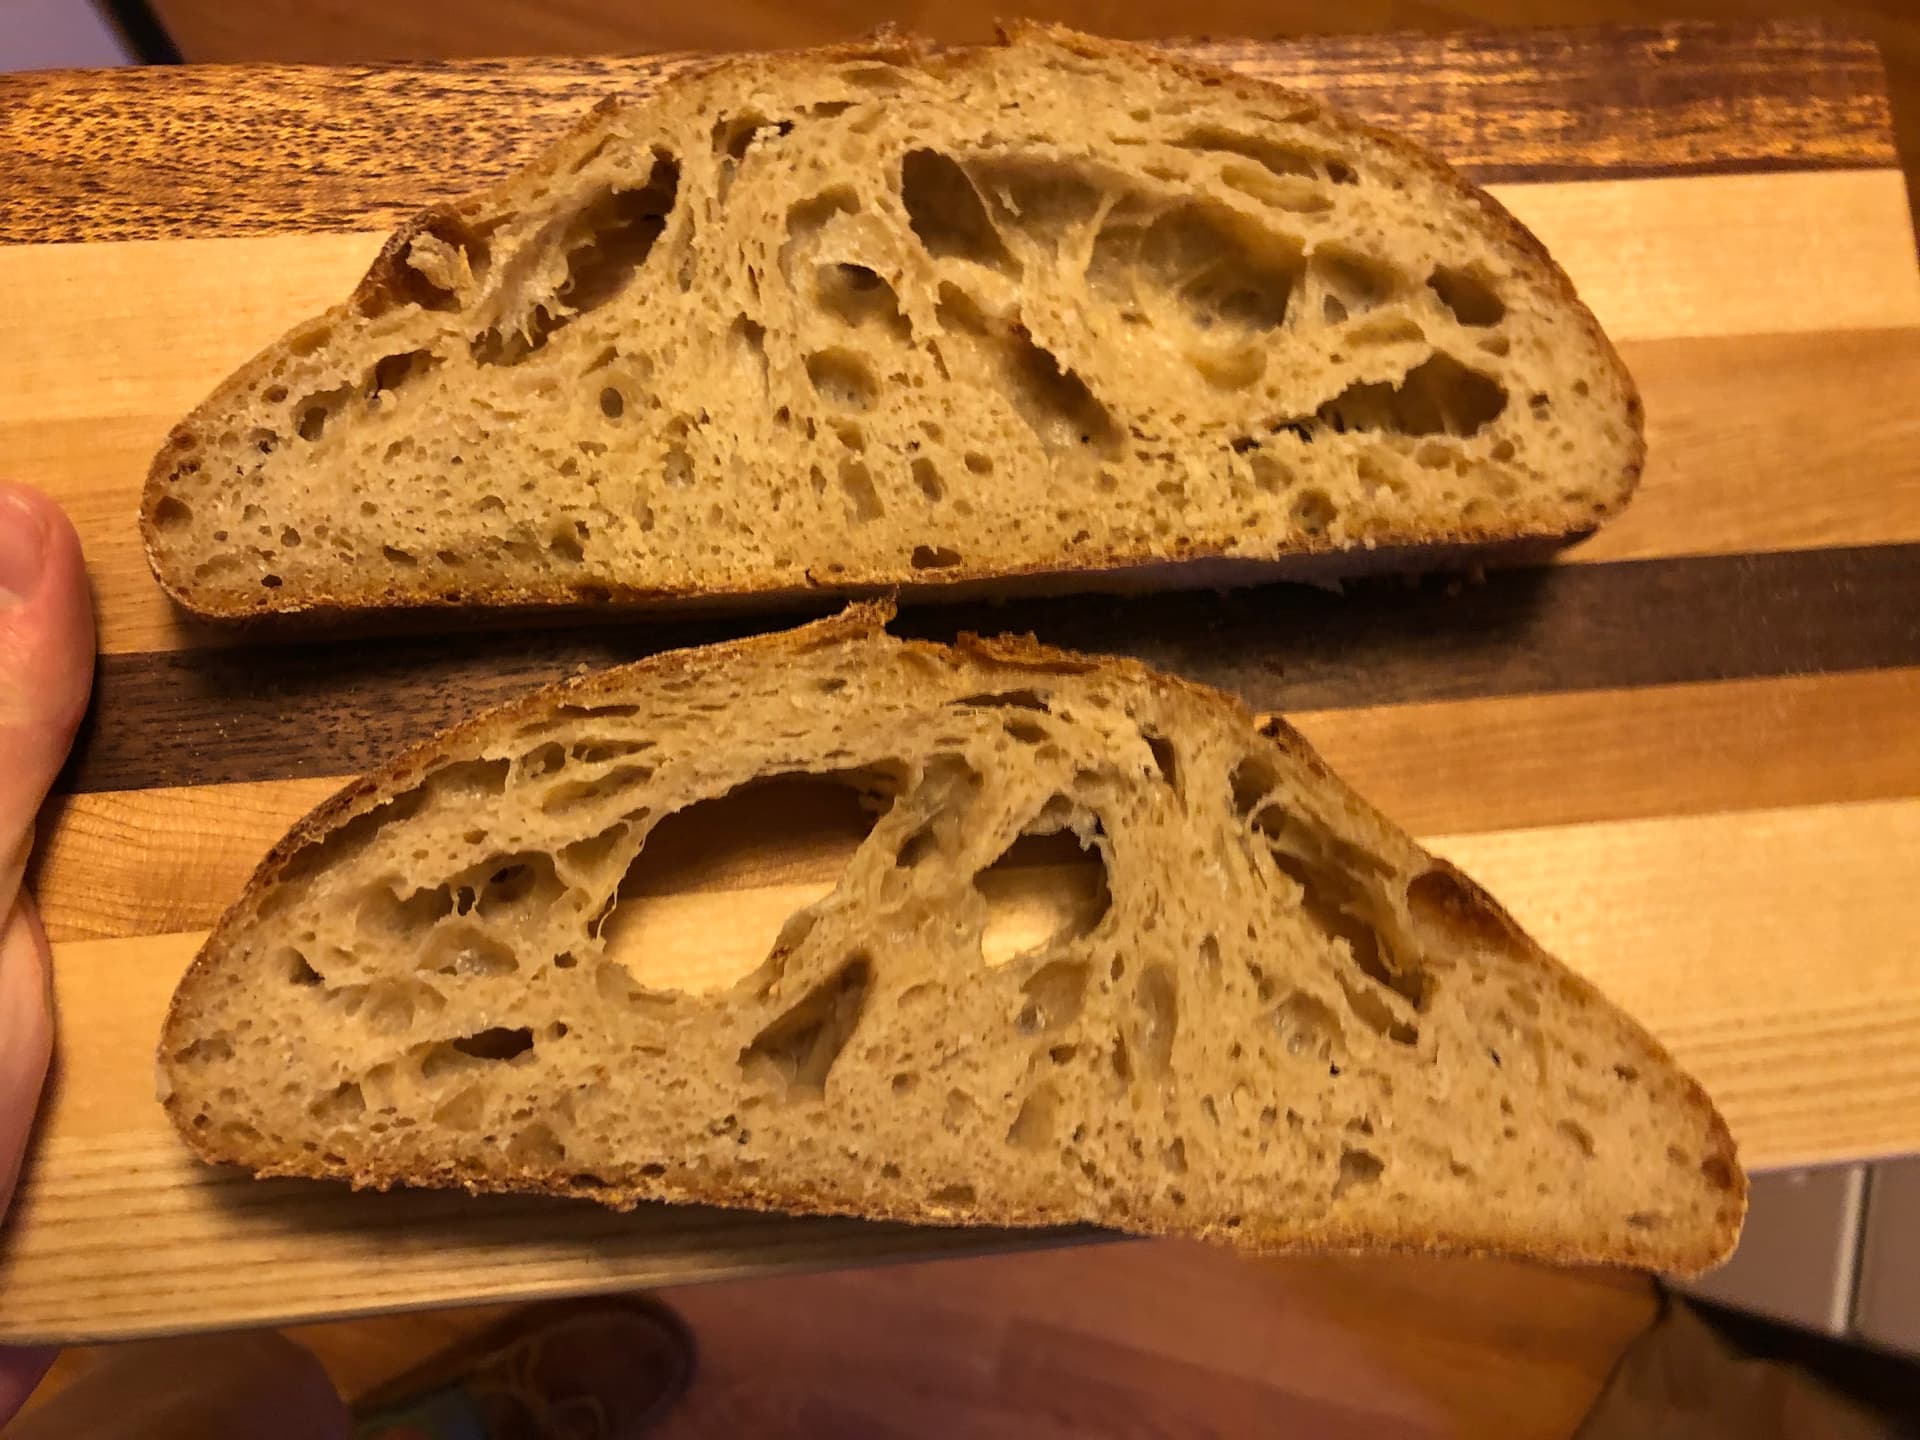
The next loaf (cross-section above) followed the same process but with a slower proof (colder ambient temperature) and used 10% fresh milled rye, 10% fresh milled hard red wheat, 10% fresh milled hard white wheat, and 10% fresh milled spelt. It turned out much worse, and much more like many loaves I’ve made in the past 6 months with high amounts of fresh flour.

To see if I was under proofing, I put a second loaf from that batch into the fridge for an overnight proof (it was bulk fermented together with the previous loaf, shaped at the same time, and then put in the fridge). It looked much the same (see above), though it was slightly less dense at the bottom.


Finally, the above loaf. It was the best of them, but still flat and hard to shape. It had 189 grams of fresh milled flour (same spelt/white/red/rye mixture), 311 grams bread flour, 100g mature starter, 430 grams of water, 10 grams of salt. I mixed the flour, starter, and all but 50g of the water, then let that mixture sit for an hour in a 69F room. After an hour, I added the salt and rest of the water, mixed it in, and did stretch and folds. I continued doing stretch and folds every 30 minutes for 4 hours, until the gluten seemed well developed. I then left the dough alone to ferment until it had grown 30% or more in size and had bubbles throughout (I could see through the side of the container). I then did a pre-shape after 7.5 hours at 69 degrees F, shaped after a bench rest of 30 minutes, proofed for 3 hours and 45 minutes, and baked.

Really looking for any tips to improve, I feel like I’ve forgotten how to make bread entirely and am struggling to make good loaves. Thanks!

There’s definitely a learning curve when you start working with new flours. Hang in there! The first and fourth bread look nice and delicious, like they could just use more tension and a light de-gassing during shaping.

Getting the finest flour out of your Mockmill is where it starts, and maybe someone else can speak to that with regard to the KA attachment, because I haven’t tried it. Given that you’re sifting and re-milling the bran though, I can’t imagine too-coarse flour is the issue. Moreover, your percentages of home-milled flour are under 50%.

When you were getting taller and more even-crumb breads with store bought flour, were you still only bulk fermenting to 30-40% expansion? I ask because my read on the situation is that the dough is under fermented, particularly the breads in photos 2 & 3.

If something is “under-bulked,” I’ve found it very difficult for it to catch up on fermentation in the refrigerator. Fermentation is thrown into almost-dormancy in the refrigerator, especially if the microbial population in the dough is low down on the exponential curve when it’s refrigerated. Also, trying to catch up during the final proof is a little risky from the standpoint of shape-tension on the loaf.

Anyway, I tend to ferment to 66-100% expansion of the dough during the bulk (on the lower end of that range for the 100% whole grain loaves and higher end for strong flours). But if you got great loaves with your prior doughs that were also fermented to 30-something %, then maybe fermentation isn’t the issue? Either way, reading dough expansion is pretty subjective if we’re talking about dough in a bowl. With a straight-walled container, things are more clear. If you can use a bucket or an aliquot jar, that might be helpful, and maybe try going to at least 66% expansion.

I think if I were you, I’d nail down fermentation, gluten development, and shaping on a few loaves using 80-90% strong bread flour and only 10-20% fresh-milled flour, and then start working my way upward.

Here are some shaping and gluten development videos if you want to check out techniques for getting elasticity, tension and height from the dough:

Here’s a 50% home-milled spelt recipe with photos of before and after bulk fermentation and final proofing:

To slightly amend what I wrote above: for your last loaf, it sounds like you did plenty of gluten development. My guess is that the difficulty shaping was due to the extra high hydration: 86% by my calculation. I found that yecora rojo wheat at 50% can go about that high, but not a lower amount of whole grain flour, and not with spelt or rye in the mix.

Here’s the yecora rojo recipe for reference Yecora Rojo Sourdough Breads (No Knead Version too) | Breadtopia

And a guide to different flour and wheat varieties Newbie’s Guide to Flour for Bread Baking | Breadtopia

Just a quick reply without reading the whole thread (apologies). 2 quick suggestions.

  1. Hydration: 80% seems very high, and prone to slumping. I’d describe myself as just on the cusp of intermediate home baking, and I like to target 60-65% hydration. 70% is in the vicinity of very wet pizza dough, so i’d definitely try cutting back to 65%.

  2. Jumbo Bubble: Ah ha, i just conquered this very problem. AFAIK its caused by a combination of the crust prematurely setting, and not having been scored deeply enough before baking … the result is a lg bubble of trapped steam, not co2 from leavening. In my case, I used a 2 fold approach to solve it.

a) PRECHILL & SCORE: After proofing is done, pop the banneton containing the dough into your fridge, uncovered, during the 30-45 min time it takes to preheat the oven. Prechilling the outer part of the dough helps it to score better with the lame, and slows crust set just enough for excess steam to escape instead of forming a jumbo longitudinal bubble. Be sure to score deeply enough too (you want a full 1/4 inch).

b) Dutch oven or Steam tray: if youre not already doing so, baking in a preheated cast iron dutch oven is a great way to mimic the effects of a pro steam injection oven … in addition to the score and prechill, it helps delay crust formation so excess steam can escape. The stream also creates the glosssy dense crust in much the same way as a caustic soda water dip promotes a good crust on bagles. For a 1kg loaf I bake 25 mins in a preheated covered 7qt CI dutch oven at 440F (reg bake, NOT CONVECTION), then I drop to 400F and uncover the pot and bake 15-20 more, or until tbe crust is perfect and internal temp is 175F ish.

Hope that helps. Cheers. Apologies if i’m covering the same ground already posted elsewhere.