Beginner All Purpose Yeast Bread

This is the comment thread for the Breadtopia blog post originally published here:

To leave a comment, click the Reply button below

If you do not see the “Reply” button, you will need to log in or register an account. Please click the blue “Log In” button in the upper right of the page. :arrow_upper_right:

I see this involves no kneading or folding. Would it benefit from that?

Either of these gluten development strategies could be employed just after mixing the dough.

Something like stretching and folding the dough every 20-30 minutes for a few sessions would work only if you lengthened the first rise by a long time, by using a tiny amount of yeast for example.

Unless there’s a reason for it, I generally delay preheating my oven until about 15 minutes before bake time. The only time I start the oven an hour or so earlier is when I’m using my baking stone, which needs to heat up for 45 minutes.

1 Like

This is true, but it’s not in the recipe. I’m just wondering about the bread texture and gluten development with no kneading of any kind in the recipe. How is the quality of the resulting baked loaf?

I agree! I’ll make it more clear in the recipe that the preheat needs to be at most 15-20 minutes.

I was pleased with the bread texture and crumb, especially given that I used 10% AP flour 100% AP flour and didn’t touch the dough between mixing and scooping it out of the bowl and into the loaf pan.

The goal of the recipe is to make it as user-friendly for beginners as possible, and tracking fermentation is easiest if you don’t de-gas the dough with folds. That said, the more familiar you are with baking bread, the more you can feel comfortable adding complexity to the process.

I would definitely develop the gluten more if I were going to try to bake the bread as a freestanding boule or batard in a Dutch oven or clay cloche. In that case, I would reduce the yeast so that the first rise was 3-4 hours. In that first hour, I’d do slapping and folding at mixing time, and a couple of rounds of stretching and folding.

Melissa, the recipe calls for 100% AP flour but your comment says you only used 10% AP. What did I miss?

Probably a typo. Missed out a “0”. Should be…

I’m guessing! But that would make sense.

@kman My thumb missed a zero as @Abe guessed. Sorry about that!

I made this on Sunday, and today (Wednesday) the loaf is till pretty fresh. If you need a quick white bread recipe, this is it!

1 Like

I am a complete novice and this was my first attempt. I Loved the Experience! Thank you for creating an easy place to jump into bread making.

My goal is to work up to milling my own grains and then baking with them. I know this will be a long road.

Where would you recommend I start next on your site?

I am excited to buy one of your starter sets but am unsure which clay baker would be right for me. So I guess I need experience before buying. I would buy one of each if I had the storage room. Your approach to sourcing quality baking implements is Much Appreciated!

Congratulations on your first bread! I’m glad you found the experience enjoyable.

I think the next step could be to try the same recipe but use only 1/4 teaspoon of yeast and mix in the evening and bake the next morning or vice versa. This will allow for enough gluten development via time that you could bake the bread as a freestanding loaf in a covered roasting pan or Dutch oven. You’d also need a colander or bowl as well as a not-nubby tea towel to be your proofing basket.

Aim for the same dough expansion on the first rise, but less dough expansion on the second rise in the proofing basket.

Use the recipe below for bake time and temp. You could also make the recipe below. It uses 1 tsp yeast and active gluten development. Either way, the photos can give you a sense of target expansion in a round proofing basket.

When I was new to bread baking, my first baking vessel was a Dutch oven I already had. I quickly wanted to make not-round breads though, and also two loaves at a time. After a few bakes with my Dutch oven and the glazed ceramic removable insert of my slow cooker covered in aluminum foil, I got the Breadtopia Batard Baker. I use it quite often still and I also use my Oblong Baker and Hearth Baker a lot too.

Your bread-shape preference kinda dictates what is the best choice for you. If you want versatility, maybe go with the Hearth Baker because round and batard breads and even two demi baguettes fit in it. If you want oval only–the Batard Baker. Only round breads interest you–the Round Cloche or Combo Baker. Small slices with a lot of crust–the Oblong Baker.
Another consideration is if you plan to bake with only low-gluten ancient wheats, then maybe get the batard or oblong because they have side support.

Same weight doughs in three different shapes and baking vessels:

image

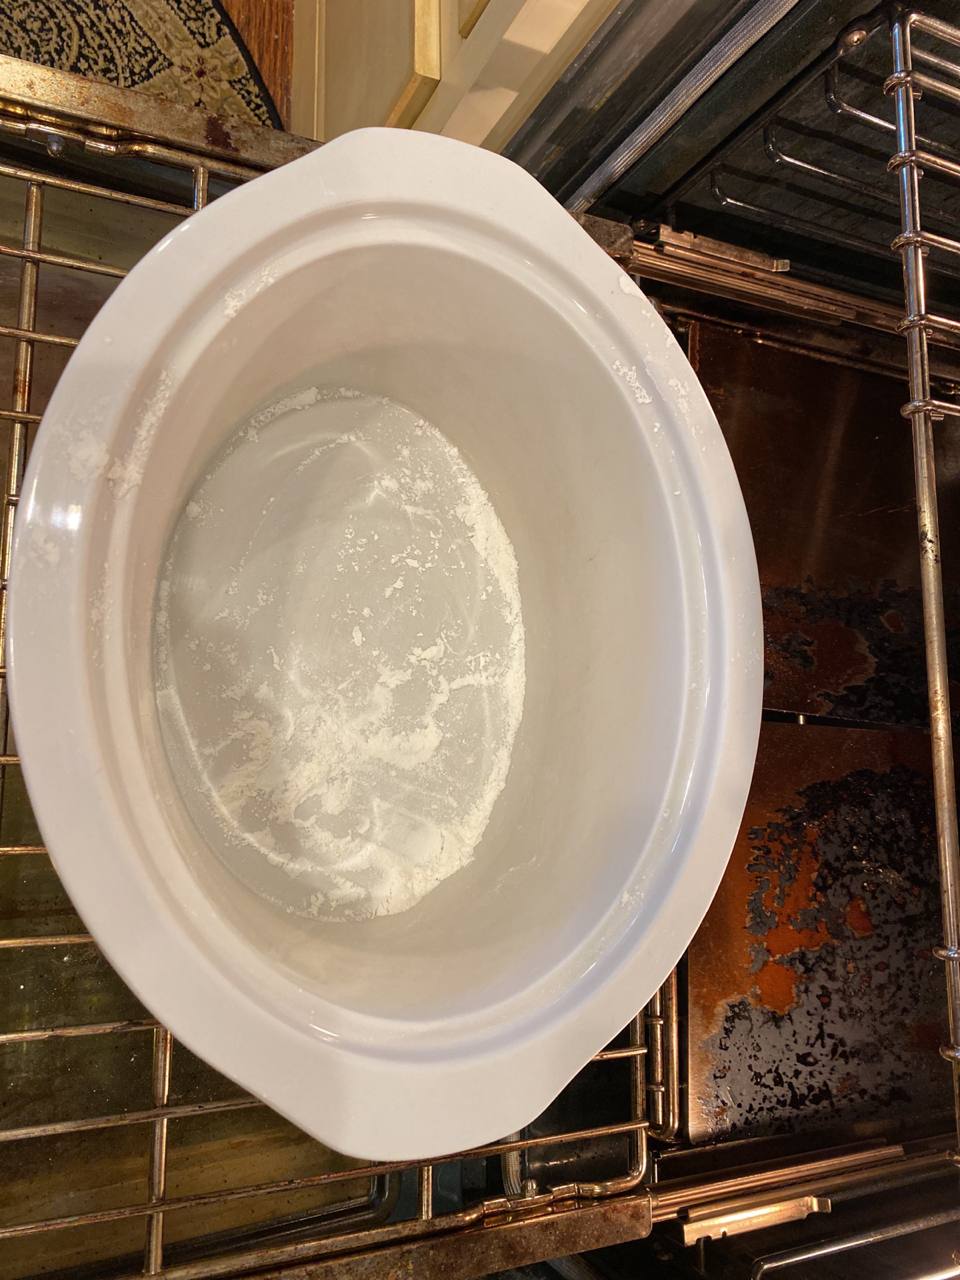
A 30-minute 500F preheat should prevent your dough from sticking, but I have never used unseasoned cast iron, so I would have a layer of parchment paper between the dough and iron.
These scoring videos show how to get the parchment in place before the transfer to the hot vessel: How to Score Bread – Breadtopia

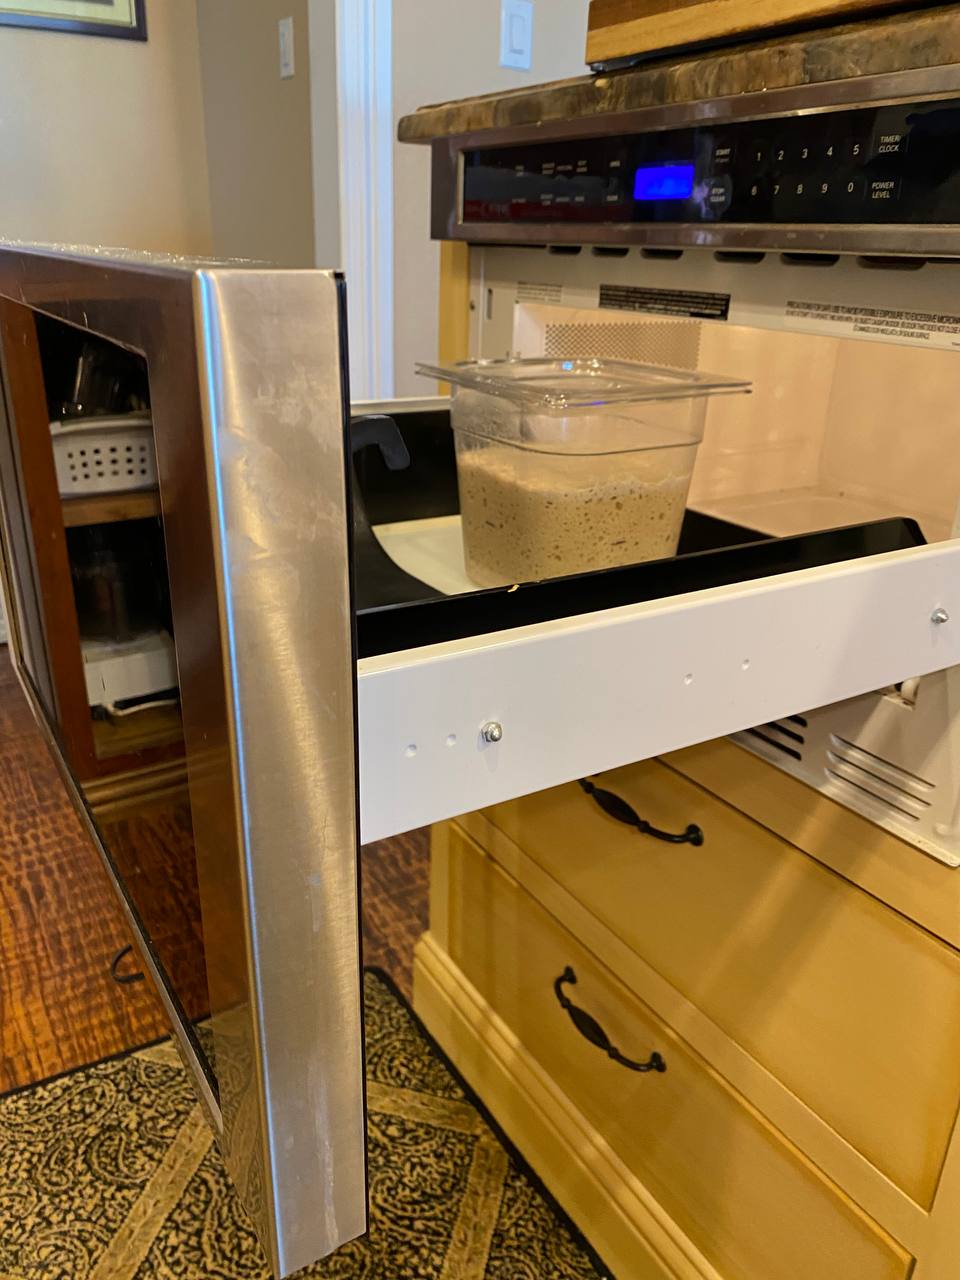
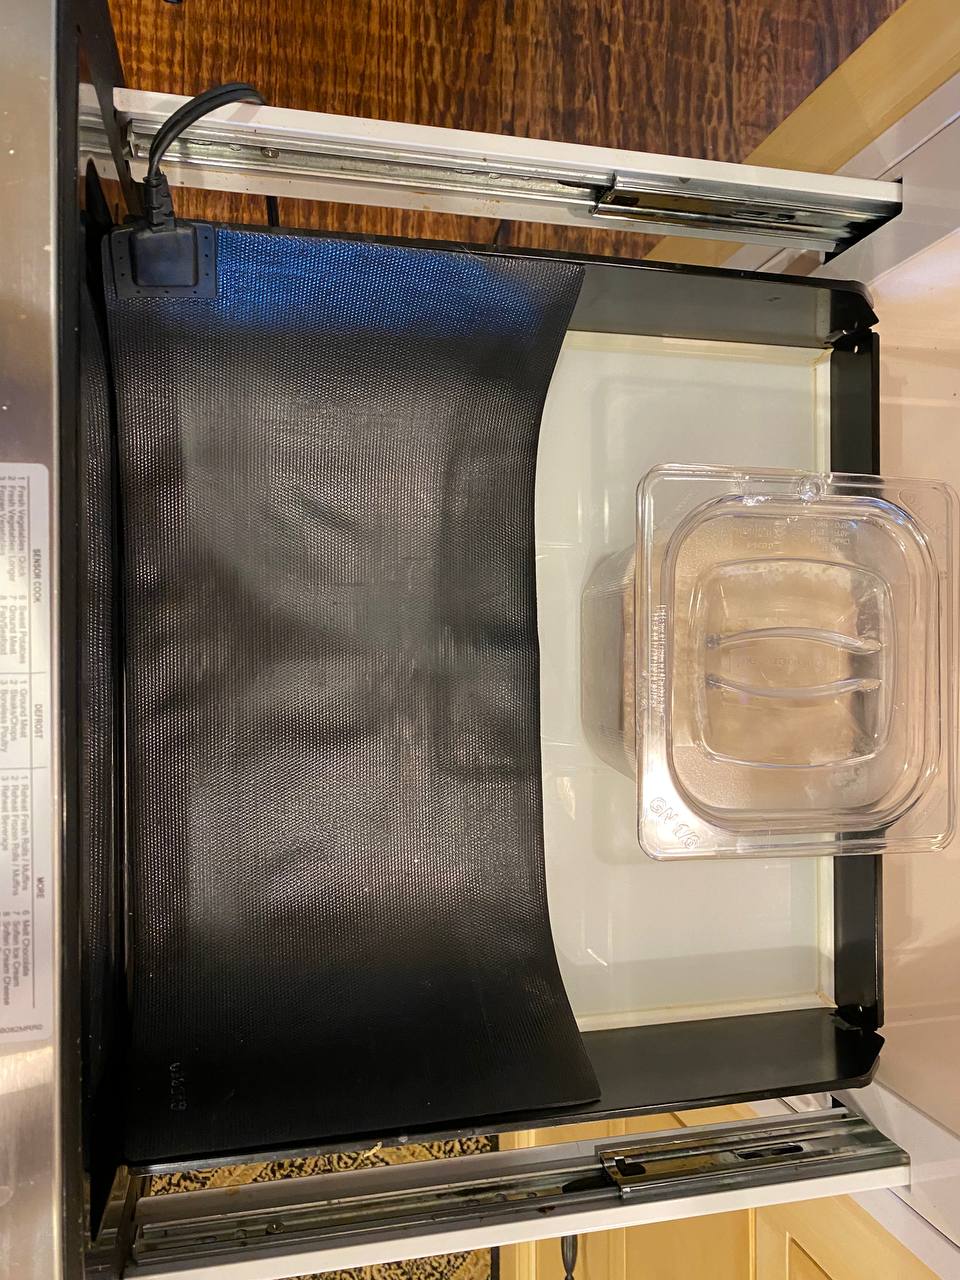
My glass lid had a plastic handle so it was out of the question to heat it so hot. Even with a metal handle, I’m not sure what are the temp limits of those slow cooker lids.

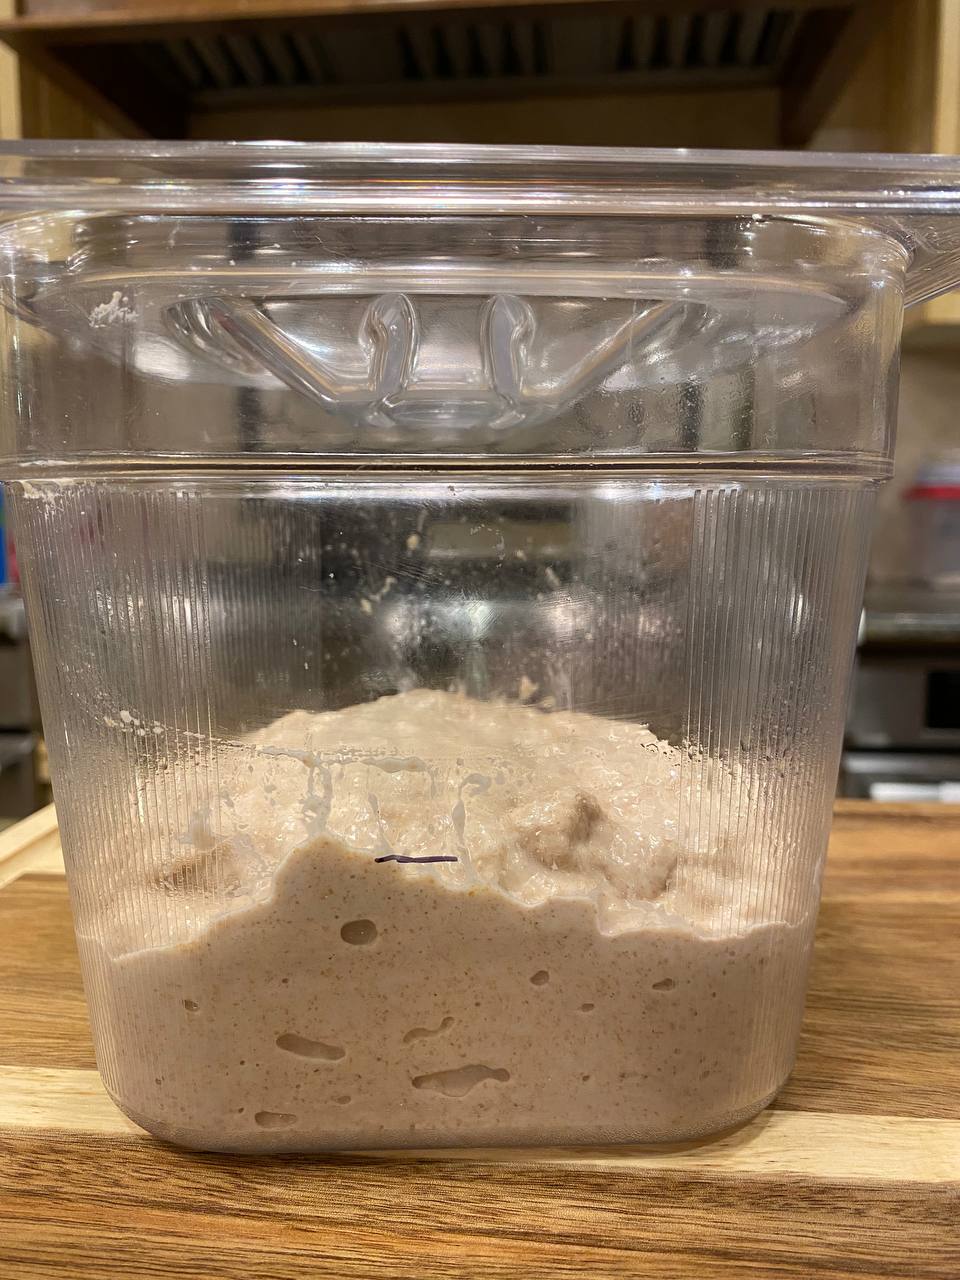
No need to grease or flour the container you do the first rise in, but if you want to use one, a spray of oil can make for easy handling.

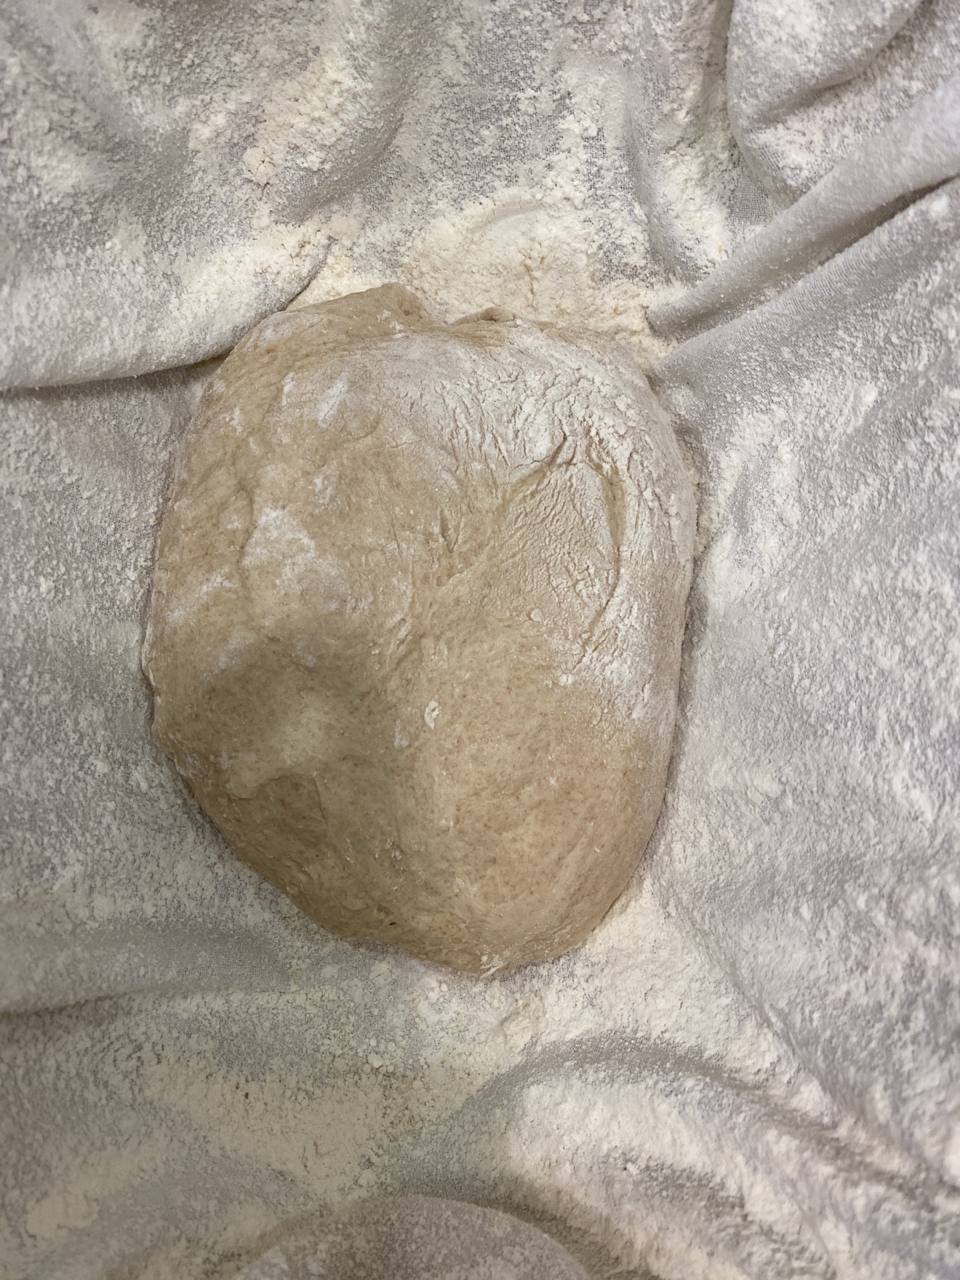
Rattan proofing baskets have some air flow – this is why when I didn’t have a proofing basket, I used a colander as a substitute, but you have to line the colander with a floured tea towel so the dough doesn’t stick or ooze through the metal.

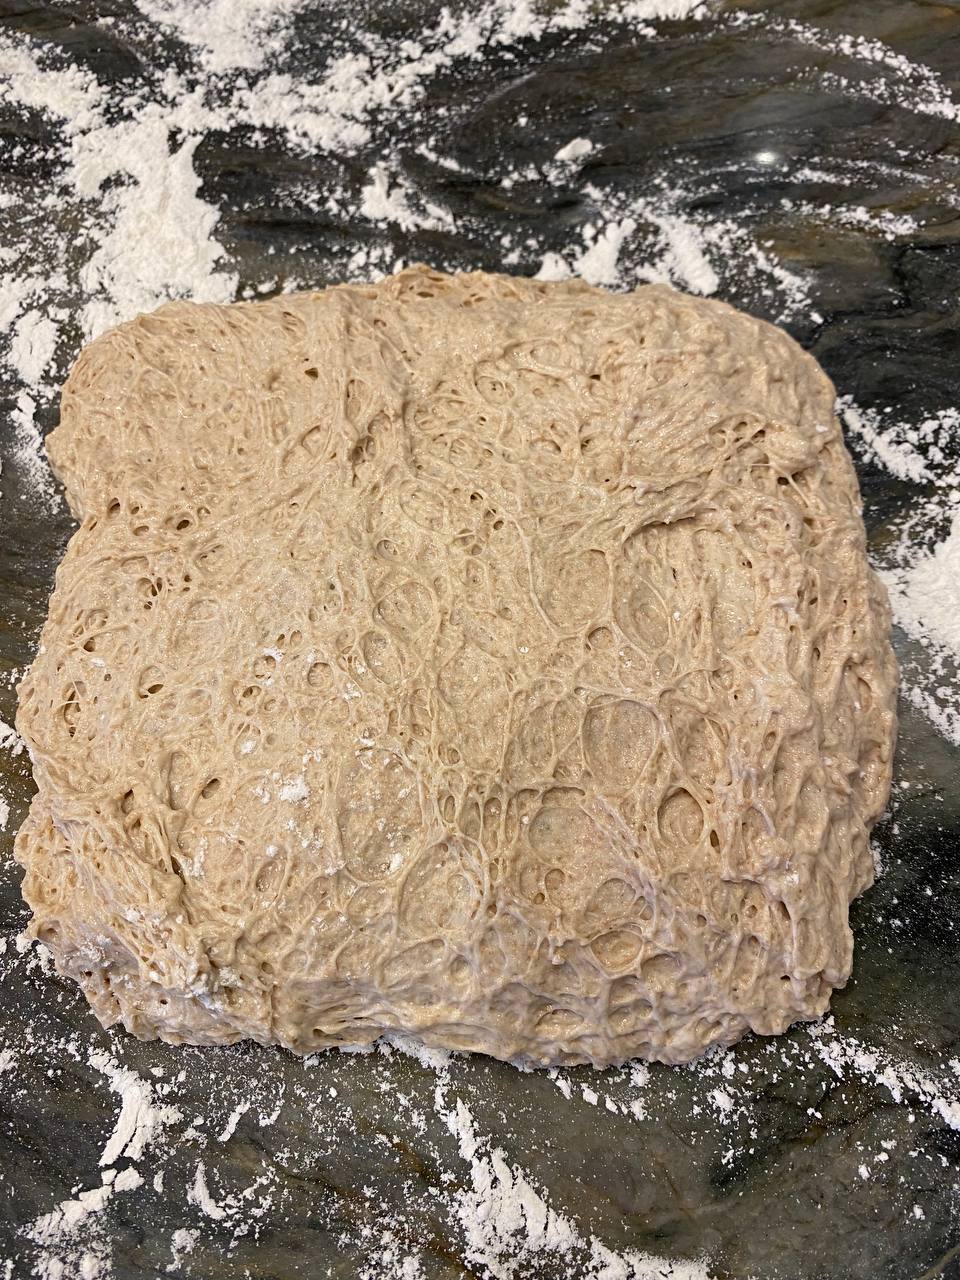
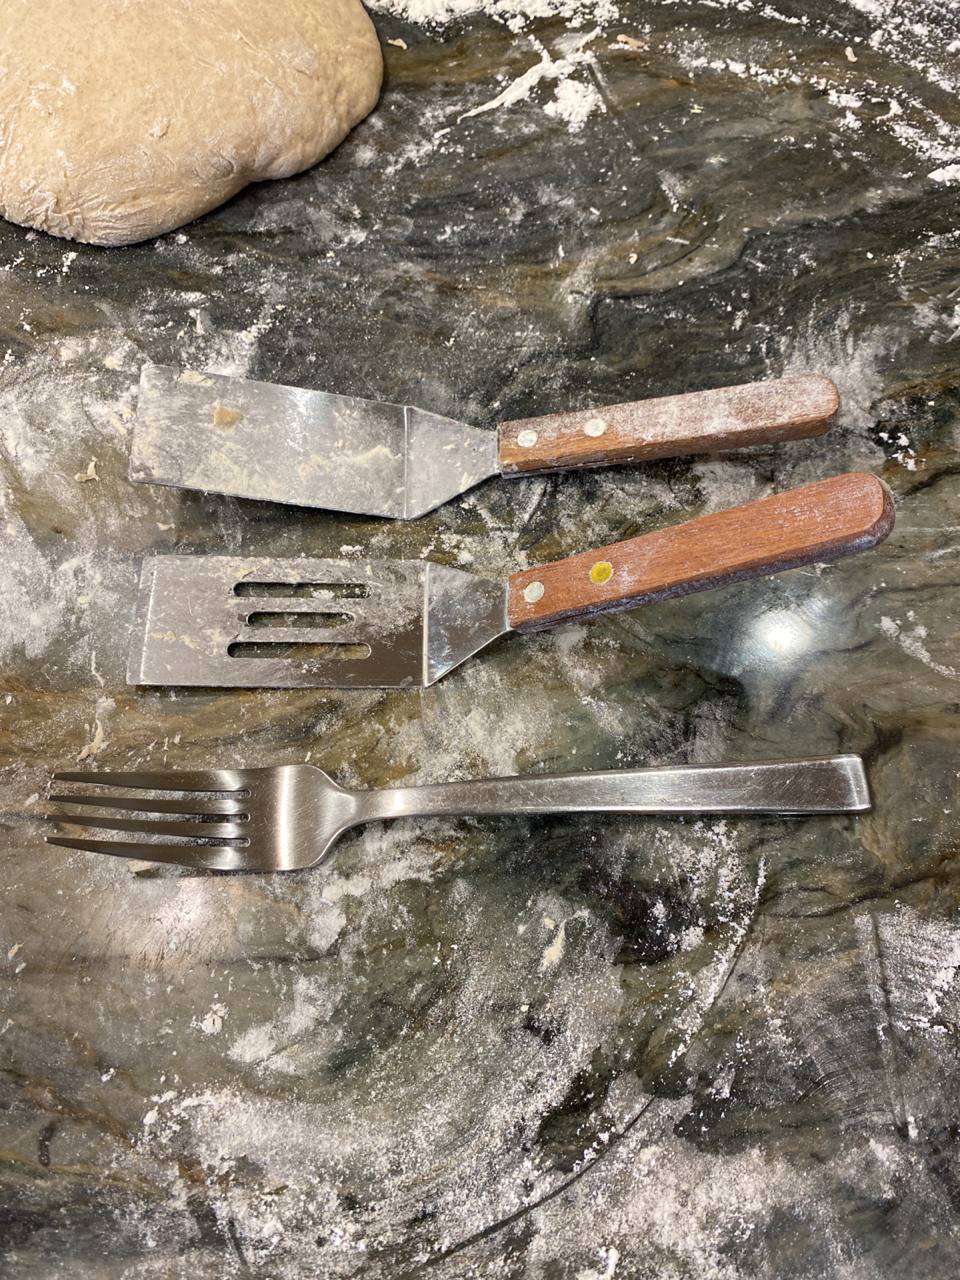
Wash your quartz with water and occasionally dish soap and use that to knead and shape your dough, or use the cutting board. A cloth would be too messy and sticky imo. (I have a granite countertop and everyone in my home knows they are not allowed to put anything on it i.e. no backpacks, no raw meat.
Here are shaping videos: How to Shape Dough – Breadtopia

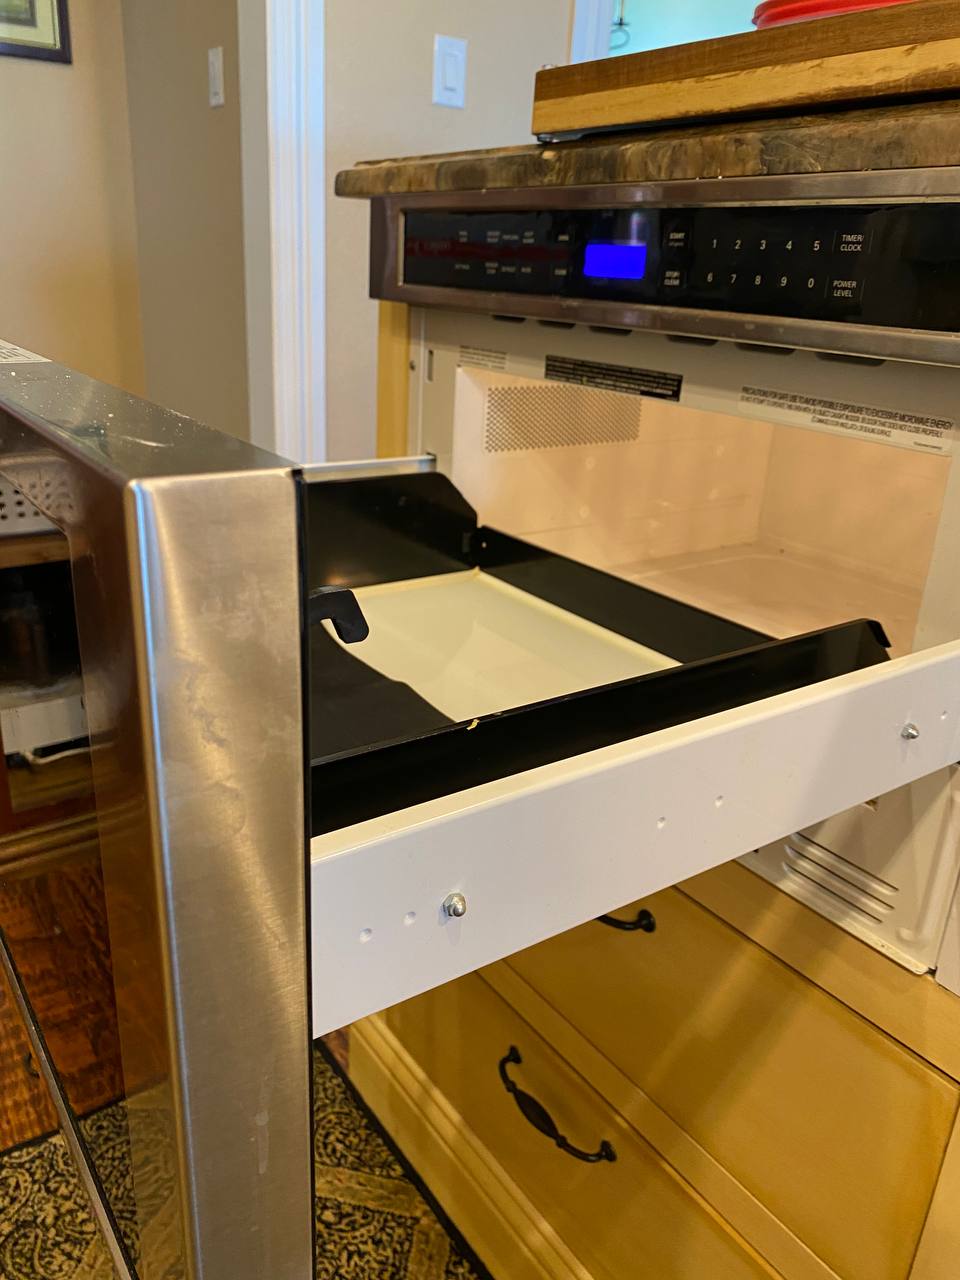
A dough can rise fine at 60-63F, whether sourdough or yeast. It will just take longer. It’s up to you how much heating effort you want to make. I have a Raisenne dough heating pad and I also use my oven with the light on for heat.

I have a probe thermometer that reads quickly so I just poke it in at the end. You’ll get a sense of timing the more you practice i.e. Oh, temp is 187F, I bet it needs X more minutes.

Slow fermentation vs quick has some debate. Sourdough vs yeast is less ambiguous, with sourdough fermentation making some nutrients more available for digestion/absorption and creating some antioxidant compounds.

I use a regular scale for big amounts and teaspoon conversions for salt, yeast, baking soda and spices. A super precise scale is great too, but mine lives in my husband’s beer brewing workshop and I don’t bother to fetch it when I bake.

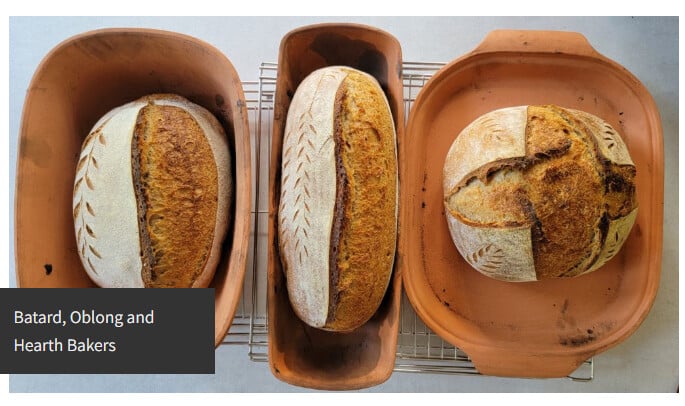
The Hearth Baker is probably the most versatile as it fits batards, boules, and demi baguettes.

You can sift with a #40 sifter and you’ll probably get 8-12% of the bran out of most fresh-milled flours. Keep in mind you lose vitamins and minerals when you sift out the bran.
Breadtopia also offers the flours in whole grain versions as well as high extraction (as you noted, around 15% sifted out).

The second proof of a dough with a small amount of yeast is pretty fast too. You can see it in the whole wheat yeast bread recipe I linked you to above and this one here, which states about 75 minutes: No Knead Bread – Breadtopia
Proofing basket, baking times and temperatures, and container/lid status explained within both recipes as well.

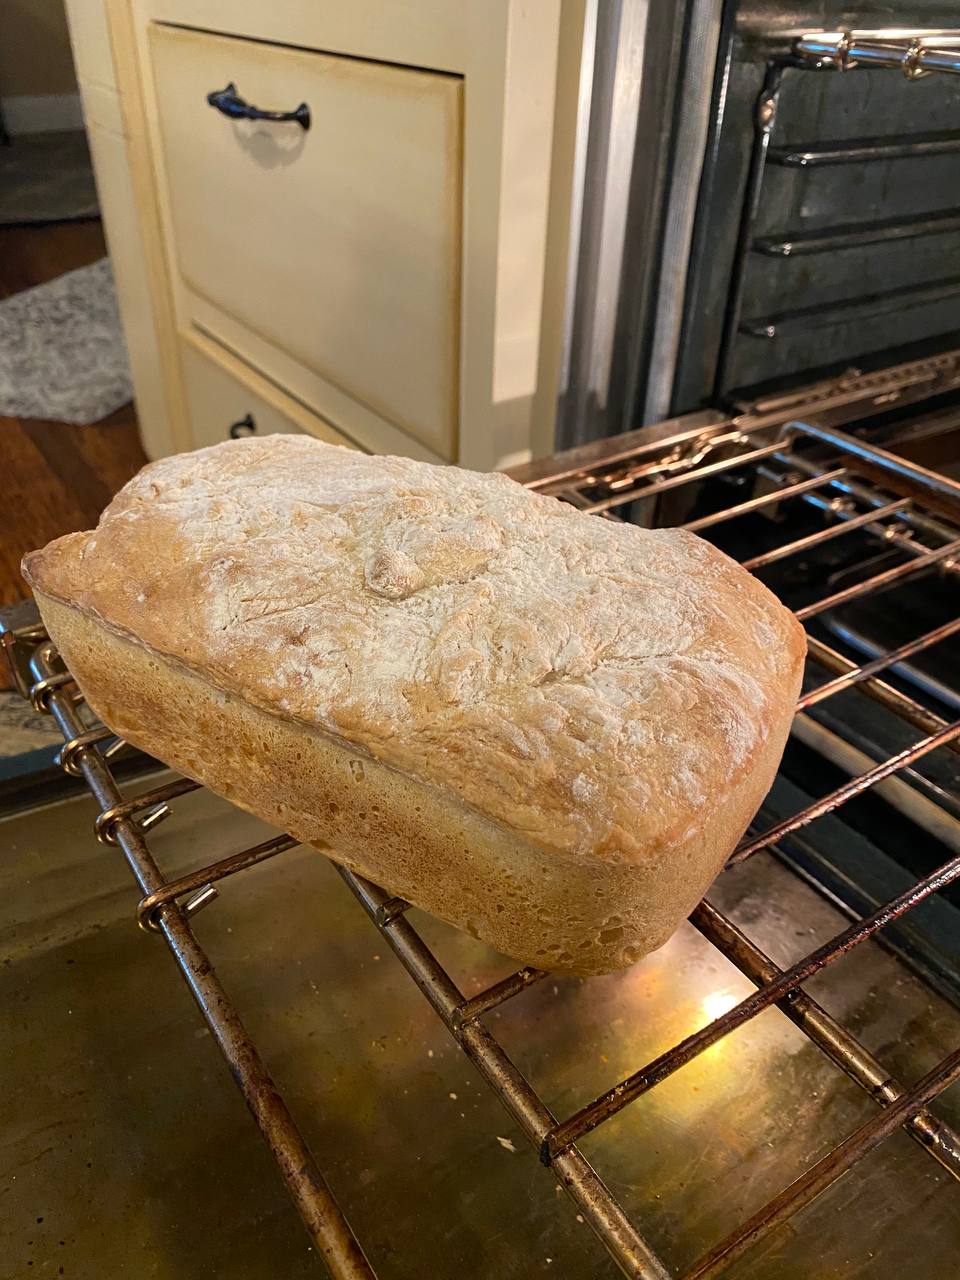
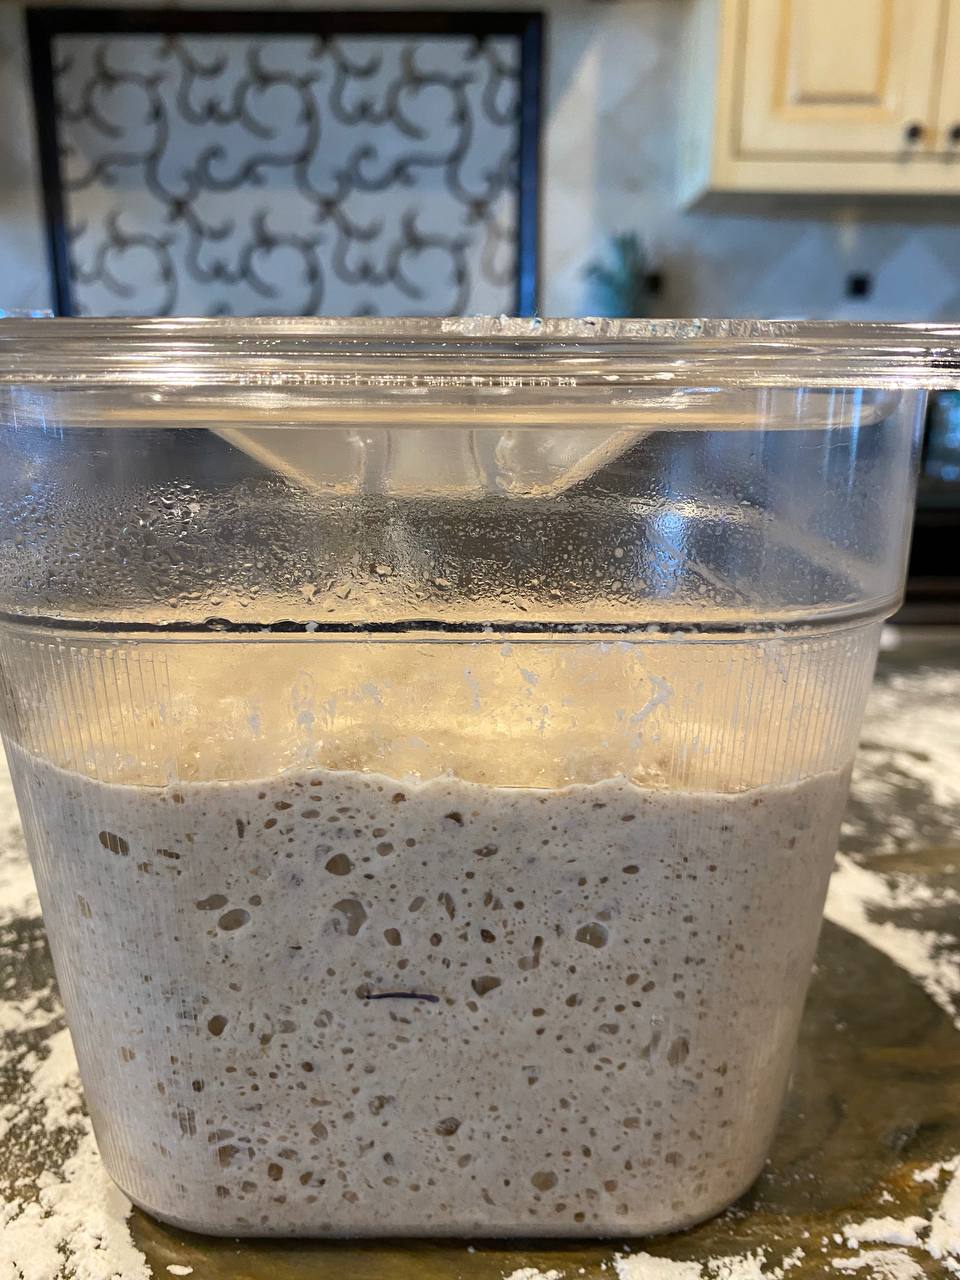
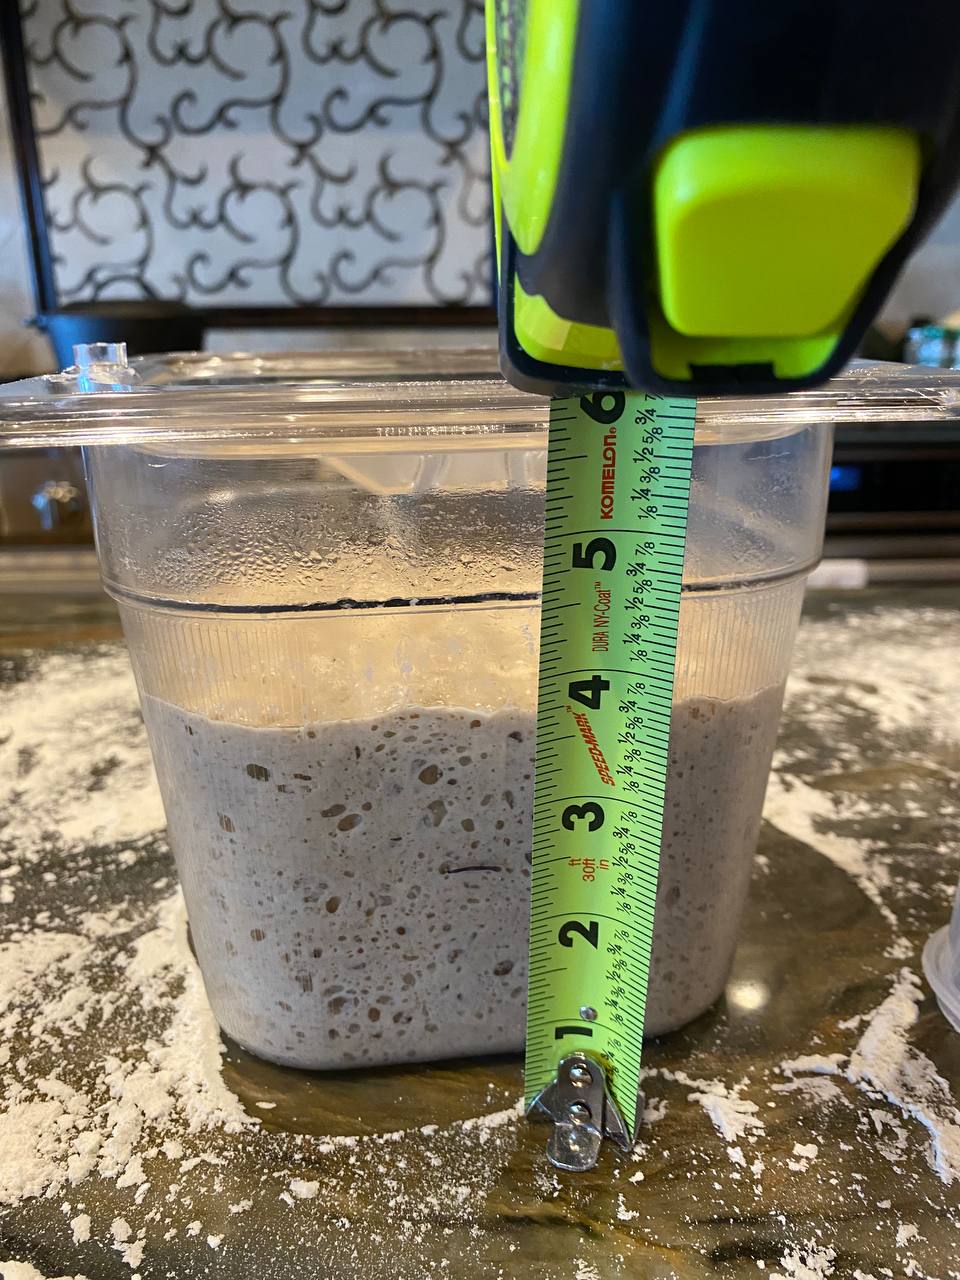
Overproofing is very common. You’ll get a big pillow of a dough that deflates as soon as you score it or move it to the oven.
This article explains the process of feeding sourdough (and yeast) microbes and inflating dough, and optimizing when to shape and bake:

Here’s an equipment guide:

Flour guide:

p.s. I didn’t know that about quartz countertops, but I used to write in healthcare and knew that about copper :slight_smile:

Wow, wow- thank you again- a lot to learn and incorporate.

I was mixing up some terms (1st proof- is really bulk formation, etc). Sorry about that. When I said my bread was spongy this wasn’t quite right either- it has an even crumb with small dispersed holes (I know ‘holes’ isn’t the right term). But I wanted to present my first try appropriately in case that mattered in technique- and I should alter something else.

I think I will try bulk formation in a square food service container so I can see the doubling. I also read to see if there are bubbles on the bottom and the dough is pulling away from the sides.

I now understand that the proofing container needs to allow the dough to breathe. So I will use a mesh colander lined with a tea towel that has been floured.

I appreciate you! I think I am headed in the right direction and will incorporate these ideas here and remake the first loaf with 1/4 tsp of yeast tonight to bake tomorrow.

So much to read and learn. Your pointers and articles are so very helpful!

The breathability of the proofing basket it’s necessary, but when I was starting out, I thought it might be, so I picked a colander versus a bowl. I also happened to have colanders that were about the same size as proofing baskets.

If you’re making an oblong loaf, you can find an oblong basket or you can line a loaf pan with a floured tea towel and use that as an oblong “basket.”

In the end, you want to make the bread you enjoy eating. This recipe aims for small dispersed holes. If you were to use bread flour, more water, and active gluten development/more time – you’d have bigger holes. Preference : )

Here’s additional info you and other beginners may find helpful as you transition from the loaf pan approach to a freestanding bread in a Dutch oven or clay baker.

When I make enough dough for two or more loaves, I almost always do what are called a pre shape and a bench rest before the final shaping. This is after the dough has expanded by 75-100% during the bulk fermentation. (Some recipes will ask for less expansion.)

The reason I do the pre-shape and bench rest is because you have to divide the big dough into smaller pieces for the multiple loaves. And you want to give the gluten stands/dough time to realign so the final shaping is as ideal as possible.

Another reason to do a pre-shape and bench rest is if the dough feels either floppy-weak or under-fermented when you take it out of the bowl/bucket. The pre-shape can strengthen away some of that weak-gluten floppiness or an extra long bench rest can ameliorate some of the under fermentation. If the dough is very webby and loose because it expanded too much in the bowl (as opposed to had weak gluten development), I might rush to shape right away to compensate for this overfermentation that I let happen.
Gauging the state of the dough will come with experience.

For now if you have a single dough, at the end of the bulk fermentation, you can just dump it out onto a floured countertop and shape it into the right shape for your basket and baking vessel. If the process feels disastrous, you can always make it into a ball, cover with a bowl, let the gluten relax and realign for 15 minutes, and try again (i.e. do a pre-shape and bench rest).

It doesn’t matter whether you go seam side up or seamside down into the basket. Seam side up will let you score a smooth dough after it’s flipped onto parchment. Seamside down will give you a rustic bursting of the crust on the seams when it bakes.

Let your tea towel dry thoroughly after you use it but don’t bother washing it every time. The flour on it has sourdough microbes and won’t mold as long as it’s completely dry when you store it.

The beginner here reporting on Melissa’s challenge to repeat using 1/4 tsp (1g) yeast and a longer proof.

Changes made to original recipe:
Mixed four (138g of 445g total was KA Whole Wheat flour), salt and 330g of warm water first
Allowed this to sit about 45 minutes

This is called a saltolyse. I don’t yet know it’s purpose but it is the initial instruction for the Wheat Yeast Bread here: Basic Whole Wheat Yeast Bread – Breadtopia

Bloomed 1g yeast in 30g 108F water, 5g sugar.
Added to flour mixture with a ‘slap and fold’ method found here:

Video says 7 minutes- I lasted 1 minute
I then added the dough to a clear container:

I do not have ‘bread making supplies’ so I gathered what I could for this 2nd attempt

I preheated a micro drawer with a plant seedling heat mat. I thought the internal temp was ~75F

Then I let it sit overnight

The dough sat for 16 hours. Before opening the ‘proofing box’ I slid a temp probe into the area. It kept climbing- it-oh. So I opened the drawer and measured inside the dough container. The internal temp of the dough was 86.2F on the surface. This was higher than I expected.

If I use this area in the future I will vent the door more. I will also try to get to the dough before 16 hours (life happened- I’m not on ‘bread-time’ yet).

This shows the bulk formation rise:

I measured and the sharpie mark is just below 2.25”. The rise measured in just over 4”. I am now learning I likely left the dough too long in bulk formation and/or this mistake was further complicated by the high 85-86 degree temperature.

So maybe the rise was higher and I’m starting to see the fall back. (Melissa will likely confirm these errors :woman_cook:).

When I turn out the dough this is how it looked:

So yes, Nothing like doughs in other videos. So I didn’t know exactly what to do… I vowed to myself not to impose additionally on Melissa (Bless her soul!) so I tried the shaping method at the 2:53 mark on this video:

And set it to rest for 30 minutes…

I’m eager to hear the rest of the bread tale! :sweat_smile: If you happen to see this, my advice is to bake that dough asap. Preheat and final proof at the same time.

These were my pitiful tiny spatulas I had on hand and used in the method above.

I put the standard size fork in there to show size.

So, after resting I attempted the Oblong Shaping method in this video:

Shaping an Oblong Loaf

I came up with this:

Unfortunately that is “seam side up”. I can see no discernible seam…

I then set to wait 15-20 minutes but oops I had not started my oven! I am following the baking instructions of the Basic Whole Wheat Yeast Bread and that’s the resting time. So this rest is going to be longer.

I will be using this ceramic crockpot insert instead of a Dutch oven because I like the shape. It is not very long- this is why I chose the oblong shape and not the one from the High Hydration video that showed a longer loaf.
Ceramic insert, floured (unnecessary, see why later) and into the oven.

In that picture I tried to show the stainless steel plates in the bottom of the oven, but here is a closeup of 2 that are for a different oven:

These stay in the ovens below baking level to help with even cooking. Sometimes I have a set above and below. They are seasoned- hence the color vs bright & shiny. They are from Misen ( as in Misen Plas. Misen Oven Steel

The Basic Wheat recipe calls to put a baking sheet under a cast iron vessel but I will just leave these in place. They are Very heavy and I don’t usually mess with them.