There has been some interest in using pH to help guide fermentation of our dough. Before purchasing a pH meter I used percent rise to guide fermentation and make decisions, however, there are times when it doesn’t seem to be very accurate. If you’re interested in learning how to use an Aliquot jar to guide fermentation then have a look at this post I made a while ago. By posting this I am not claiming to be a master at using pH, I am simply sharing what I do now based on trial and error. So this is just a guide that might help you get started using pH during your fermentation. In the end you’ll also do some trial and error baking and figure out what works best for you too.
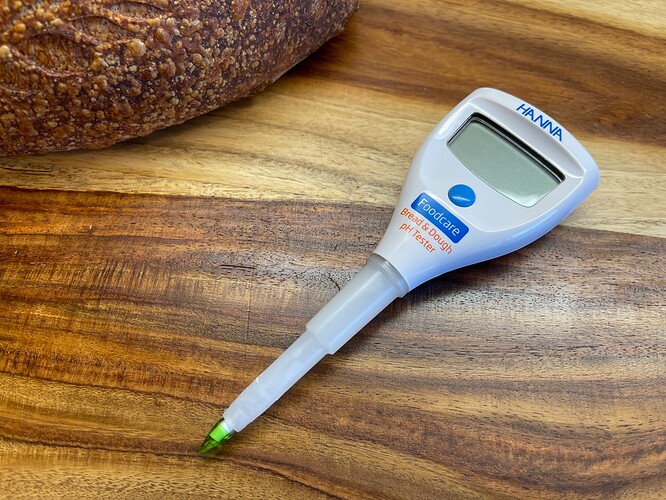
To start you’ll need a good pH meter, the one I have is the Hanna bread and dough pH meter. It has an easy to clean tip designed to be used for dough and bread and is made of food safe plastics. The same cannot necessarily be said for all pH meters.
I don’t like to stab my dough with the probe tip of the pH meter, instead when the initial mixing is completed and I have done a letterfold I remove my aliquots of dough. One for the aliquot jar to measure rise and the other for measuring pH. So long as you keep these small jars of dough touching the main dough, they should keep a very similar temperature as the main dough and ferment at approximately the same rate. In fact, once the main dough reaches the temperature of my proofing box, I separate the aliquot jars and leave them sitting in the proofing box out of contact with the main dough.
Each time I measure the pH, I just stab the dough in the pH aliquot jar and leave the main dough undisturbed.
Based on many bakes I have found the following works for me. From the time when the dough is finished mixing and the aliquot of dough is in the jar for pH readings to the time I shape, I look for a full 1.0 drop in the pH. It is very important that you measure the pH of the dough as soon as possible after mixing to get this first measurement. Even though the dough doesn’t appear to rise for a few hours, once you start measuring the pH you’ll see that the pH starts to fall essentially immediately so get that first measurement in.
So I shape with a delta of pH of 1.0. I then look for a further change or delta of pH of 0.3, so a further drop of 0.3 of pH for the time of baking. If your dough is particularly strong and mostly bread flour, then a delta of 0.4 might be fine in my experience. But for my 100% whole grain breads I have found that going much beyond that final proofing delta of 0.3 leads to flat loaves that are over fermented.
Now, you may have noticed my use of stiff sweet levains to avoid sour bread. Because the levain reduces the LAB population of the resulting dough, I have yet to determine what delta of pH to target to end bulk and to end final proof, so don’t ask me, I don’t know. ![]()
It is helpful to keep fastidious notes as a baker, this is how we can figure out what works for us over time. So keep good notes and you’ll soon figure out how pH can really help your baking. I feel it certainly has helped mine. Hopefully some of you might find this helpful or at least amusing.
Benny
