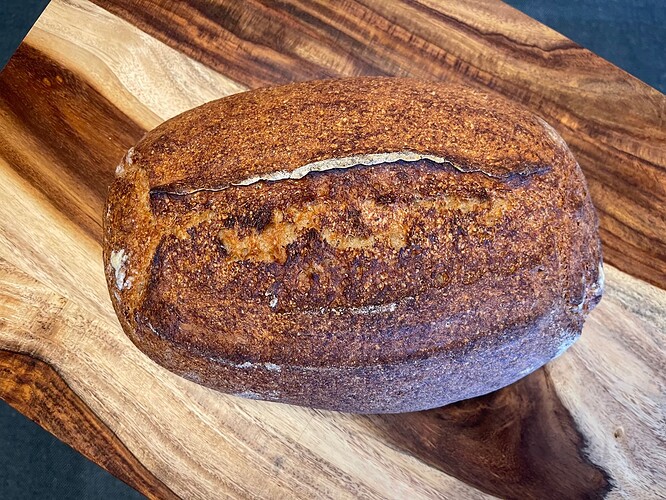
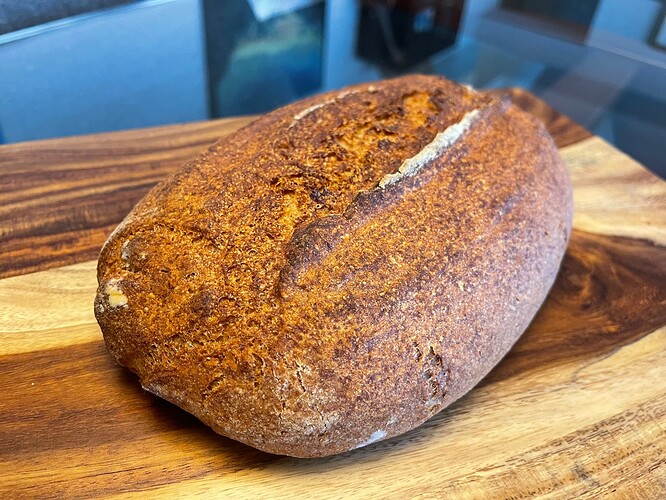
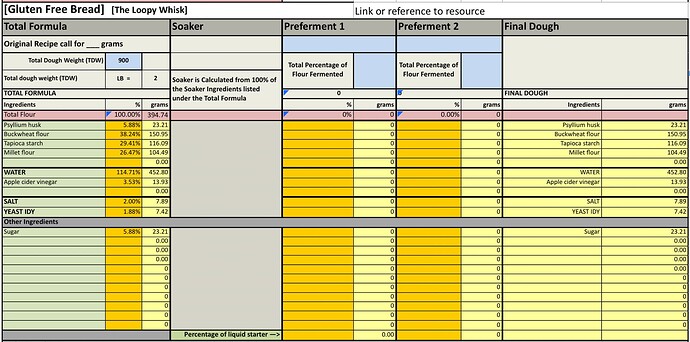
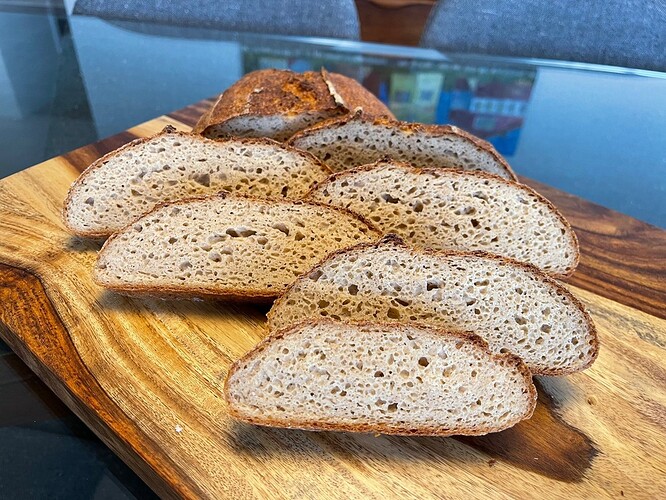
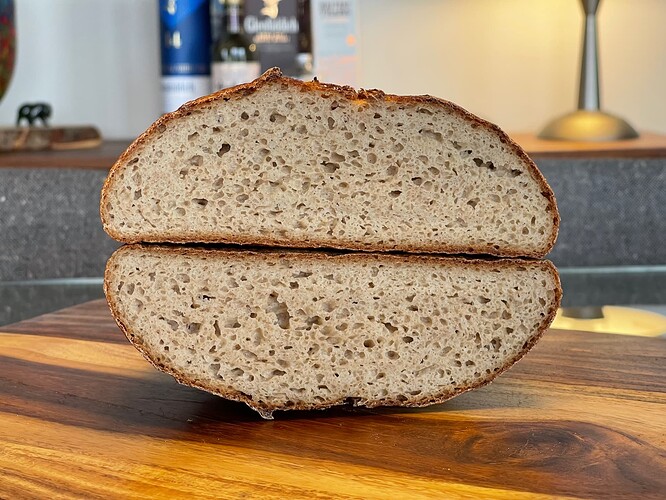
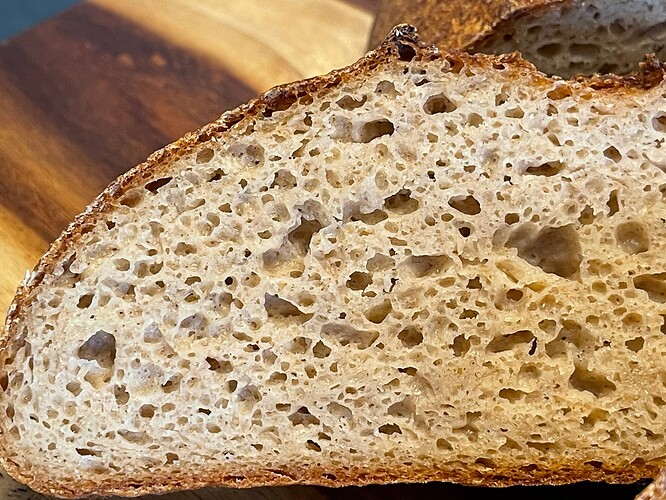
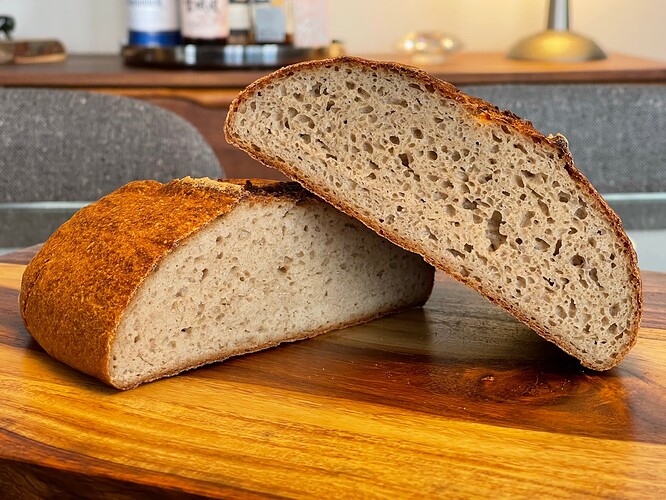
My first attempt at a Gluten Free bread. I used a recipe I found on the net, since I needed somewhere to start and wanted to bake a hearth loaf. I think I had some success but overfermented a bit. I would certainly reduce the IDY more than I did already to slow things down. By the time the oven was ready, there were quite a few holes in top of the dough in the banneton. The changes I made to the original recipe including substituting millet for brown rice flour, toasting the buckwheat flour and changing the ADY to IDY and further reducing the amount of IDY even after the conversion.
INSTRUCTIONS
- Toast buckwheat flour in a small pan on the stovetop
- In a bowl, mix together the psyllium husk and 278.6 g water. After about 30 – 60 seconds, a gel will form.
- In a small bowl, mix together sugar, IDY and 174.2 g water
- In a large bowl, mix together the buckwheat flour, tapioca starch, millet flour and salt, until evenly combined.
- Add the yeast mixture, psyllium gel and apple cider vinegar to the dry ingredients. Knead the dough until smooth and it starts coming away from the bowl, about 5 – 10 minutes. You can knead by hand or using a stand mixer with a dough hook.
- Transfer the bread to a lightly oiled surface and knead it gently, forming it into a smooth ball. Place the dough into a lightly oiled bowl, seam side down, cover with a damp tea towel and allow to rise in a warm place for about 1 hour or until doubled in size.
- Once risen, turn the dough out onto a lightly floured surface using rice flour, and knead it gently while forming it into a tight ball (see post for step-by-step photos). Flip it seam side down onto a part of the work surface that isn’t covered in flour and rotate in place to seal the seams.
- Place the dough into a banneton that you’ve dusted with some rice flour with the seams facing upwards. Cover with a damp tea towel and proof in a warm place for about 1 hour or until doubled in size.
- While the loaf is proofing, pre-heat the oven to 480 ºF (250 ºC) set up for steam baking to your preference whether in a dutch oven or open steaming.
- Once the dough has doubled in size, turn it out of the banneton onto a piece of parchment paper and score the top with a pattern of choice (the easiest pattern is a cross, about ¼ – ½ inch deep), using a lame. Transfer the bread along with the baking paper into the oven.
- Bake at 480 ºF (250 ºC) with steam for 20 minutes – don’t open the Dutch oven or the oven doors during this initial period, as that would allow the steam to escape out of the oven.
- After the 20 minutes, remove the bottom tray with water from the oven (for cast iron skillet) or uncover the Dutch oven/combo cooker, reduce the oven temperature to 450 ºF (230 ºC), and bake for a further 40 - 50 minutes in a steam-free environment. The final loaf should be of a deep, dark brown colour. If the loaf starts browning too quickly, cover with a piece of aluminium foil, shiny side up, and continue baking until done.
Considering it was my first time working with gluten free dough, I’m pretty happy with the bake overall. The crumb had a soft and not gummy texture. The crust is quite a bit thinner than regular bread and had a nice crispness to it.
