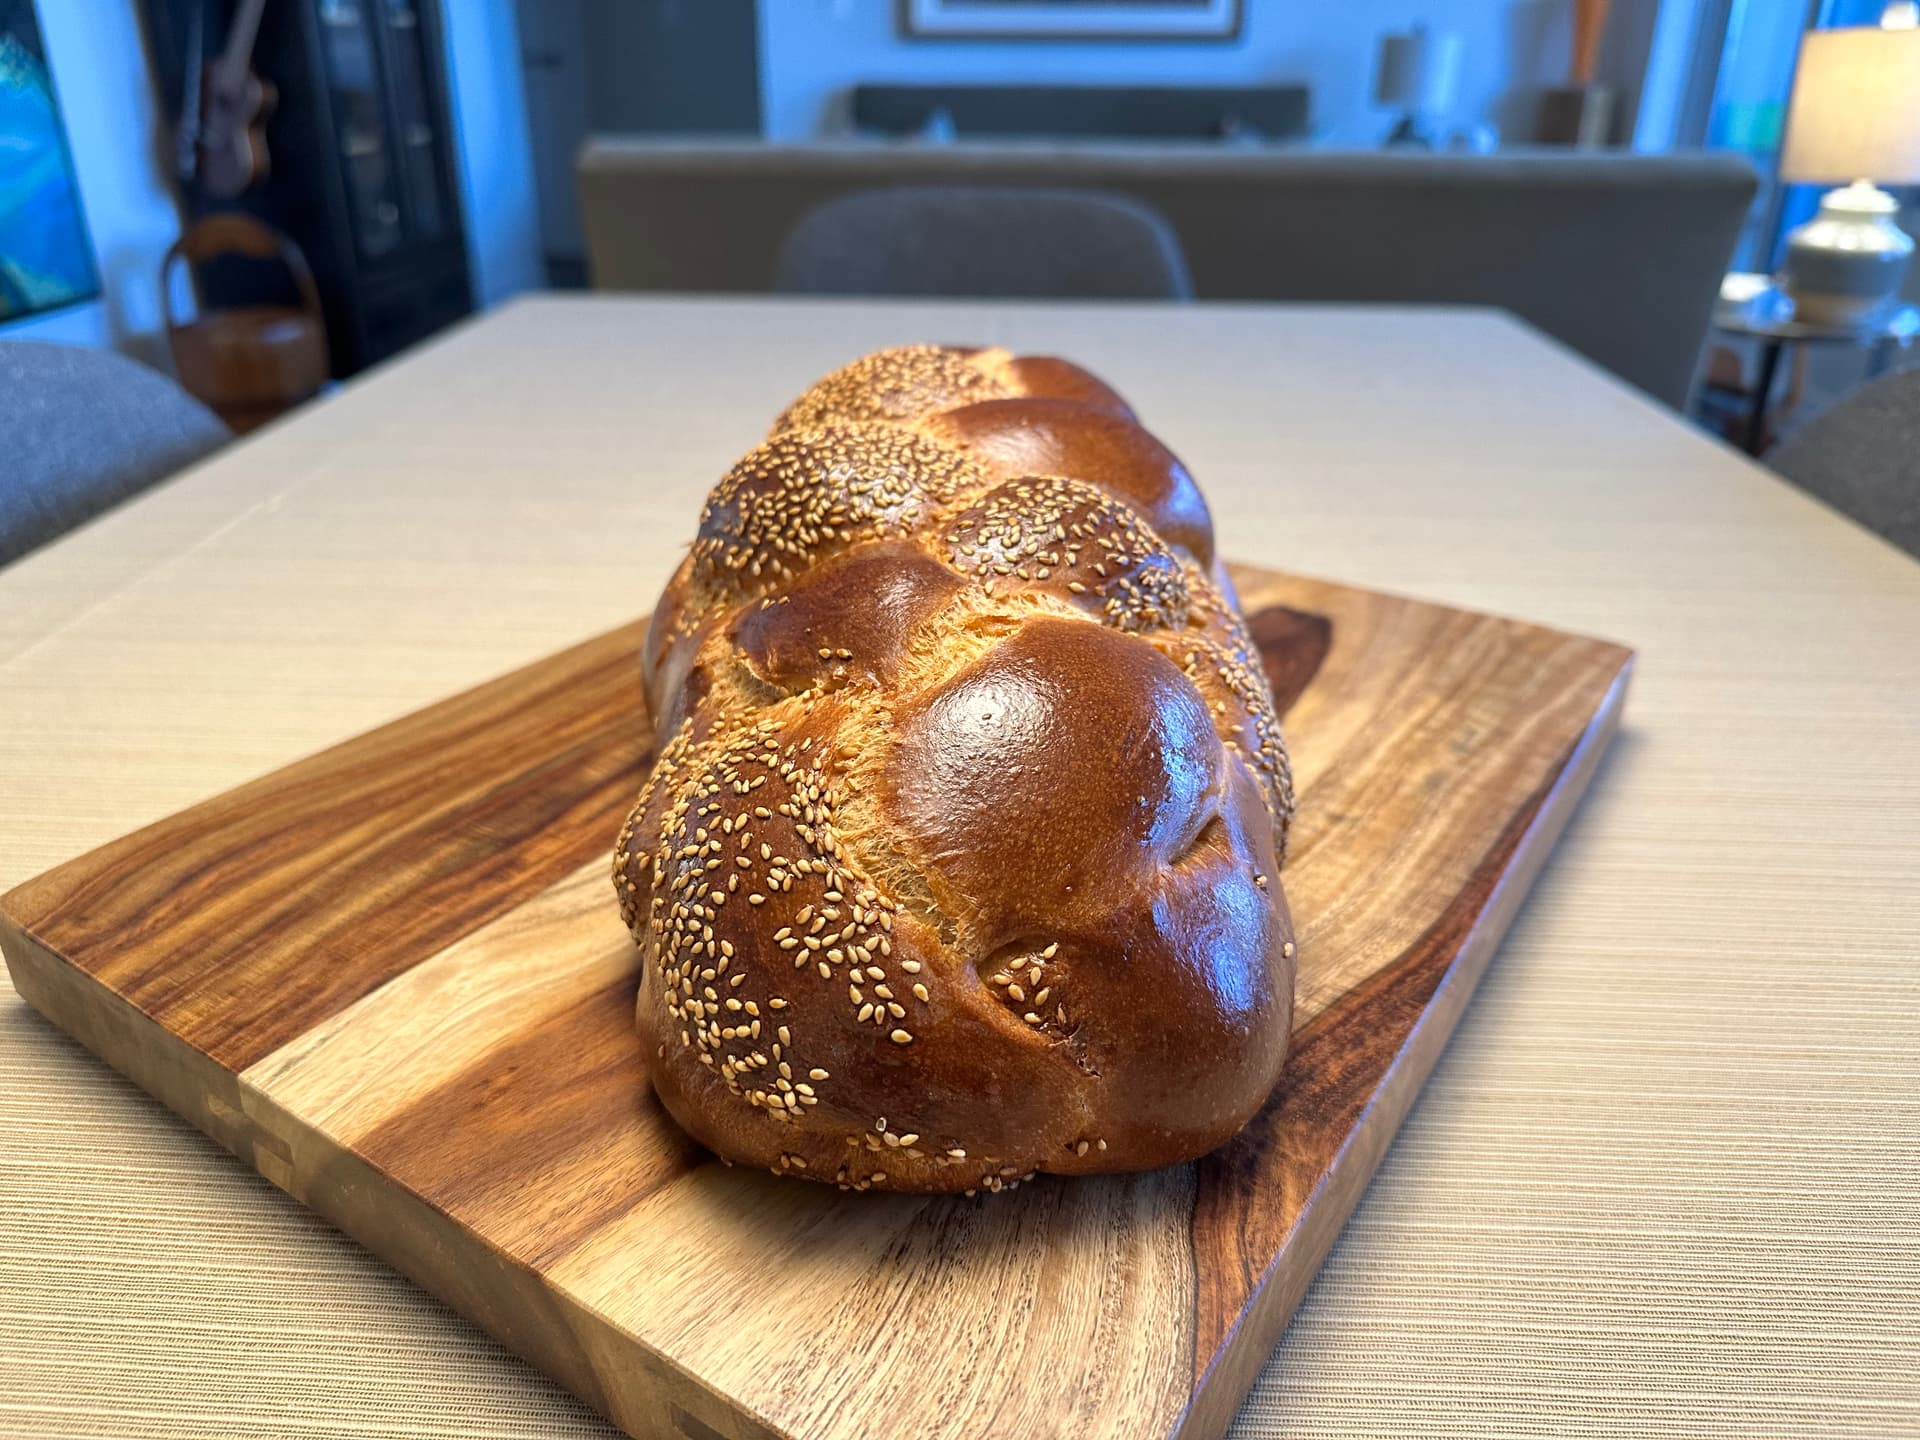
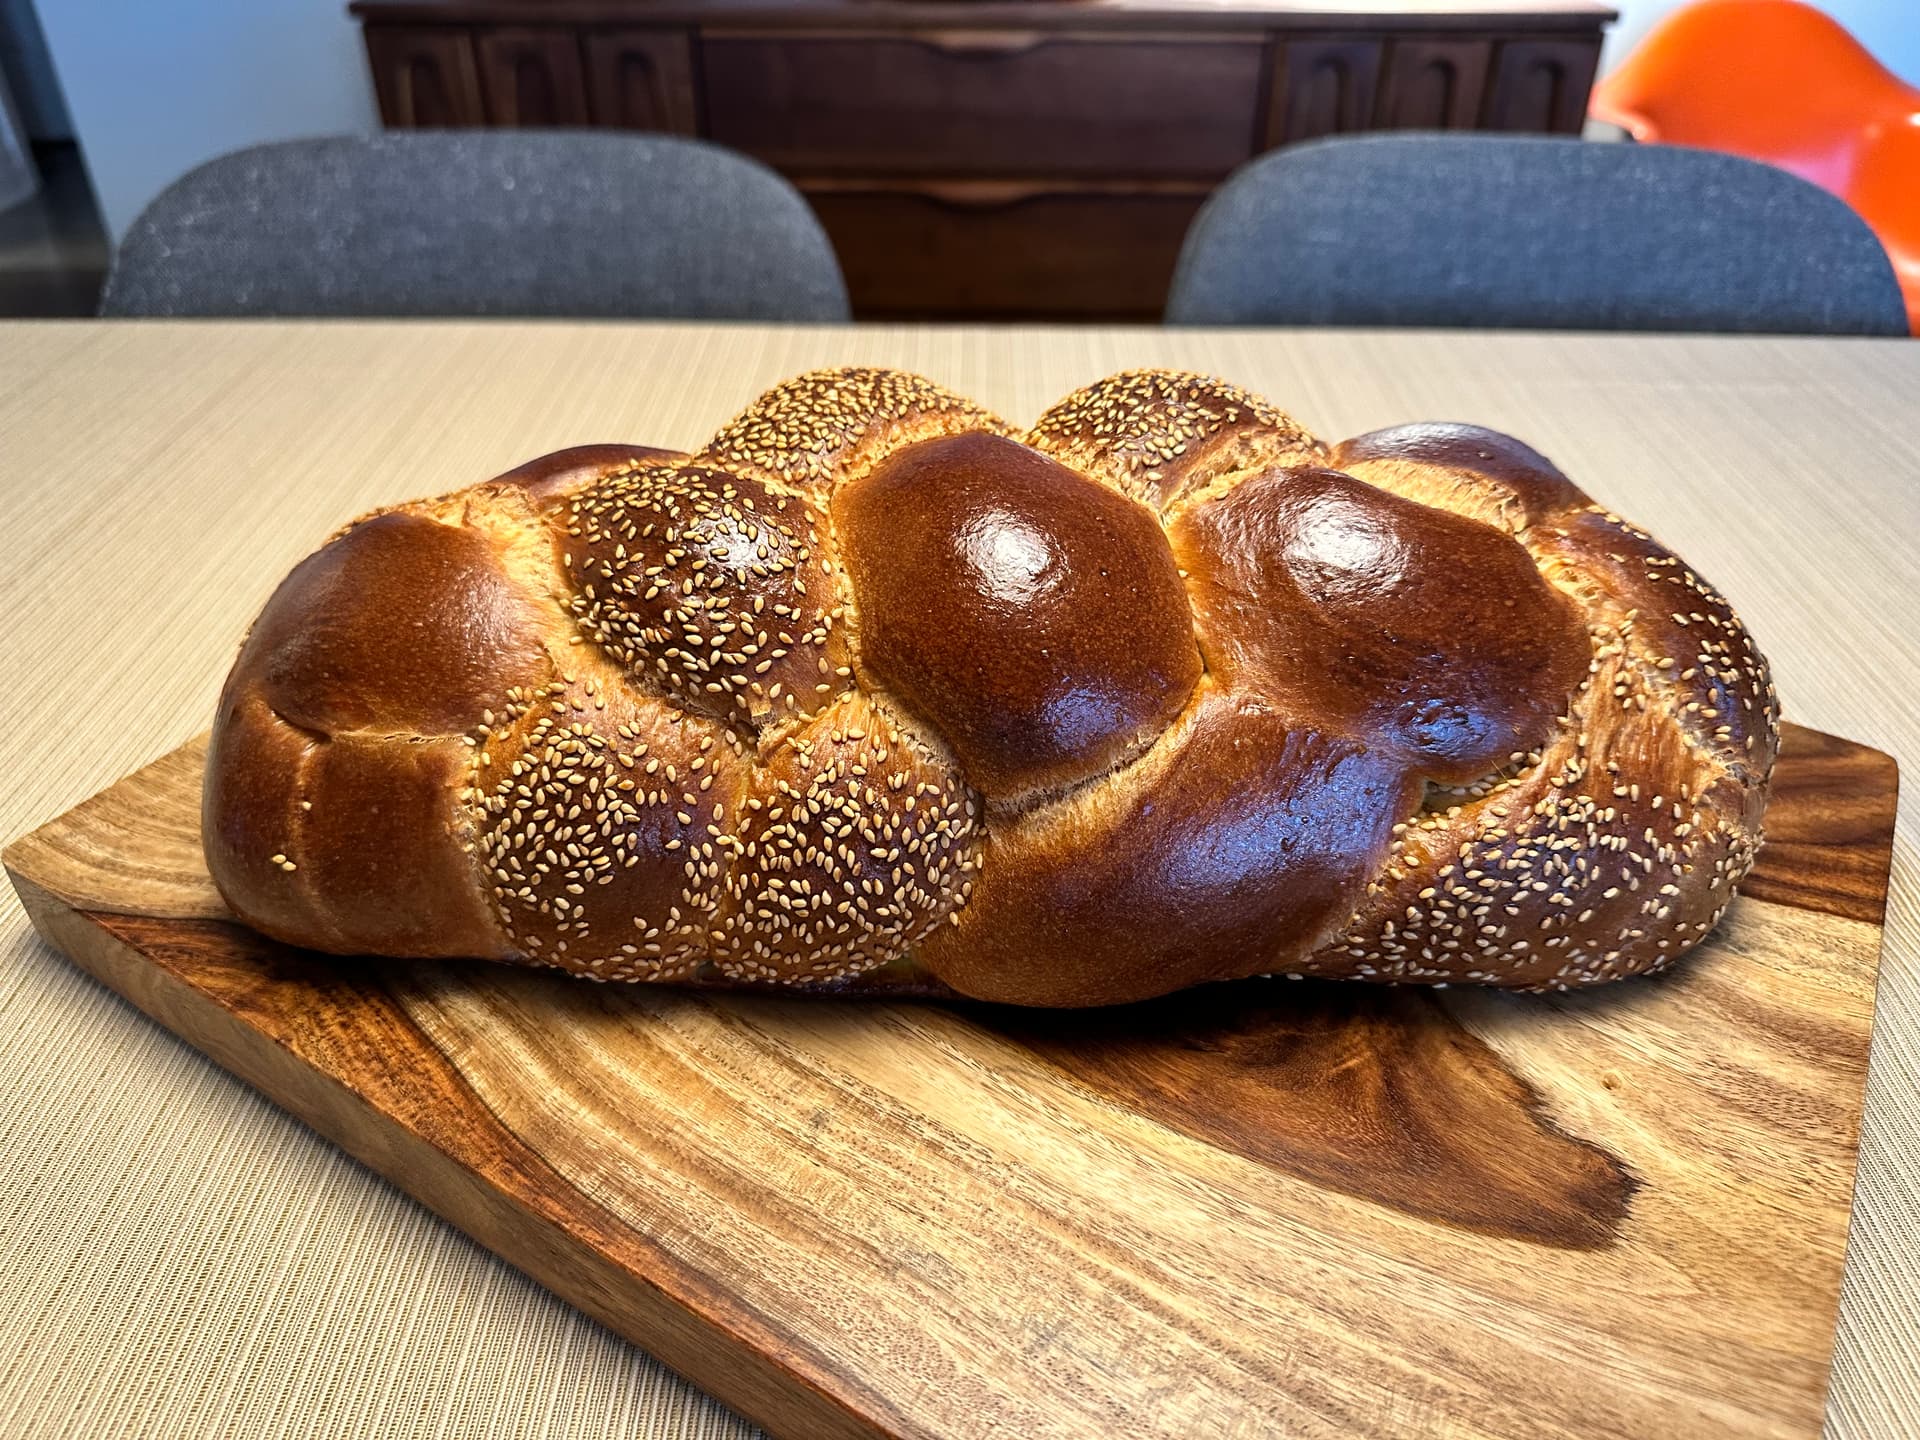
Two of our close friends have birthdays this month. We decided to host a brunch for them, in part to give me an excuse to bake a challah loaf again. I thought I’d make a couple of changes to Maggie Glezer’s SD challah. Mostly I thought it needed more egg, so I increased the egg from 3 to four and reduced the water to compensate for the 72% of the egg which is water. I needed the challah to make a peach and blueberry strata. Basically this is a type of French toast that you bake in a pan using cubes of the challah. This makes for an easy meal that you prepare the night before and then bake the morning of the brunch.
Procedures
- The night before baking, mix the starter and ferment it at 76°F for 8-12 hours.
- In the morning, in a large bowl or the bowl of a stand mixer, dissolve the starter in the water, then mix in the 4 eggs, salt, honey and oil until completely combined.
- Mix in all the bread flour until it forms a shaggy mass.
- Knead the dough on the bench or in a stand mixer until it is smooth and there is moderate gluten development. (Add small amounts of water or flour to achieve the desired consistency, better if you do not have to) The dough should be quite firm.
- Transfer the dough to a lightly oiled bowl and cover it tightly. Ferment for about 2 hours. It may not rise much.
- To make one loaf, divide the dough into two equal portions, and divide each portion into the number of pieces needed for the type of braiding you plan to do, so divide each by 3 to make 1 six strand braided loaf.
- Form each piece into a ball and allow them to rest, covered, for 10-20 minutes to relax the gluten.
- Form each piece into a strand about 14” long. (I like Glezer’s technique for this. On an un-floured board, flatten each piece with the palm of your hand. Using a rolling pin, roll out each piece to about ¼ inch thickness. Then roll up each piece into a tight tube. Using the palms of your hands, lengthen each piece by rolling each tube back and forth on the bench with light pressure. Start with your hands together in the middle of the tube and, as you roll it, move your hands gradually outward. Taper the ends of the tube by rotating your wrists slightly so that the thumb side of your hand is slightly elevated, as you near the ends of the tube.)
- Braid the loaves. Braiding somewhat loosely, not too tight.
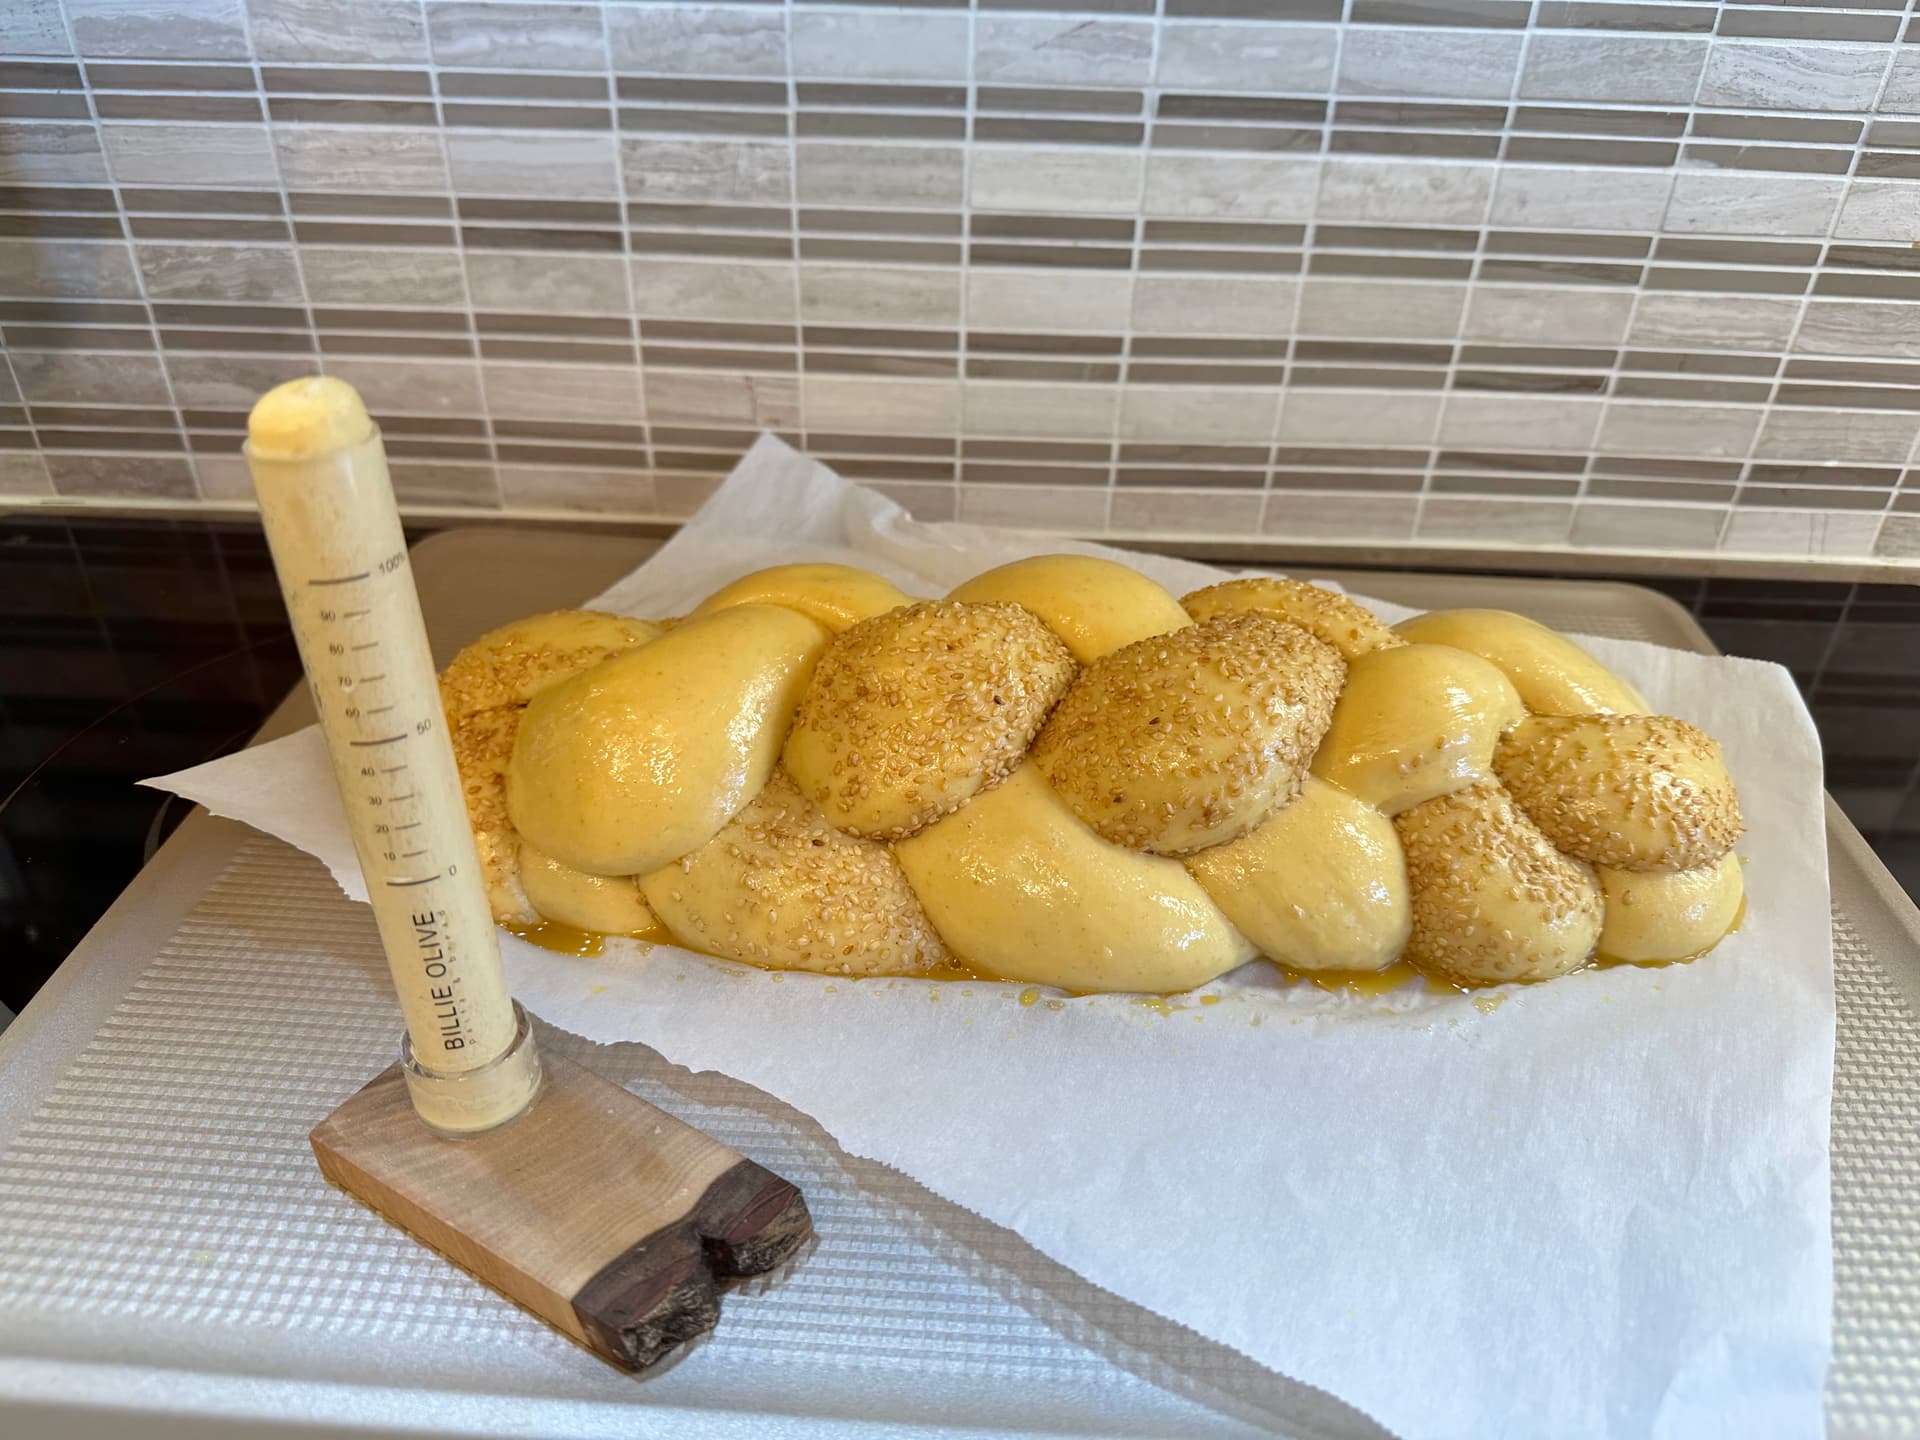
- Place each loaf on parchment paper in half-sheet pans (I used a quarter-sheet pan for each loaf.) Cover well with plastic wrap or place the pans in a food grade plastic bag, and proof at room temperature until the loaves have tripled in volume. In my oven with the light on and door cracked open, it takes 4-6 hours.
- If it’s almost tripled and when poked the dough only springs back a little, preheat the oven to 180°C/350°F. Gauge the dough again. Stick a finger lightly in the dough. If it makes an indentation that doesn’t spring back, the dough is ready to be baked. If not, wait a bit more.
- Pre-heat the oven to 350ºF with the rack in the upper third of the oven about 30 mins before final proof is complete.
- Brush each loaf with an egg lightly beaten with a pinch of salt.
- Optionally, sprinkle the loaves with sesame seeds and/or poppy seeds.
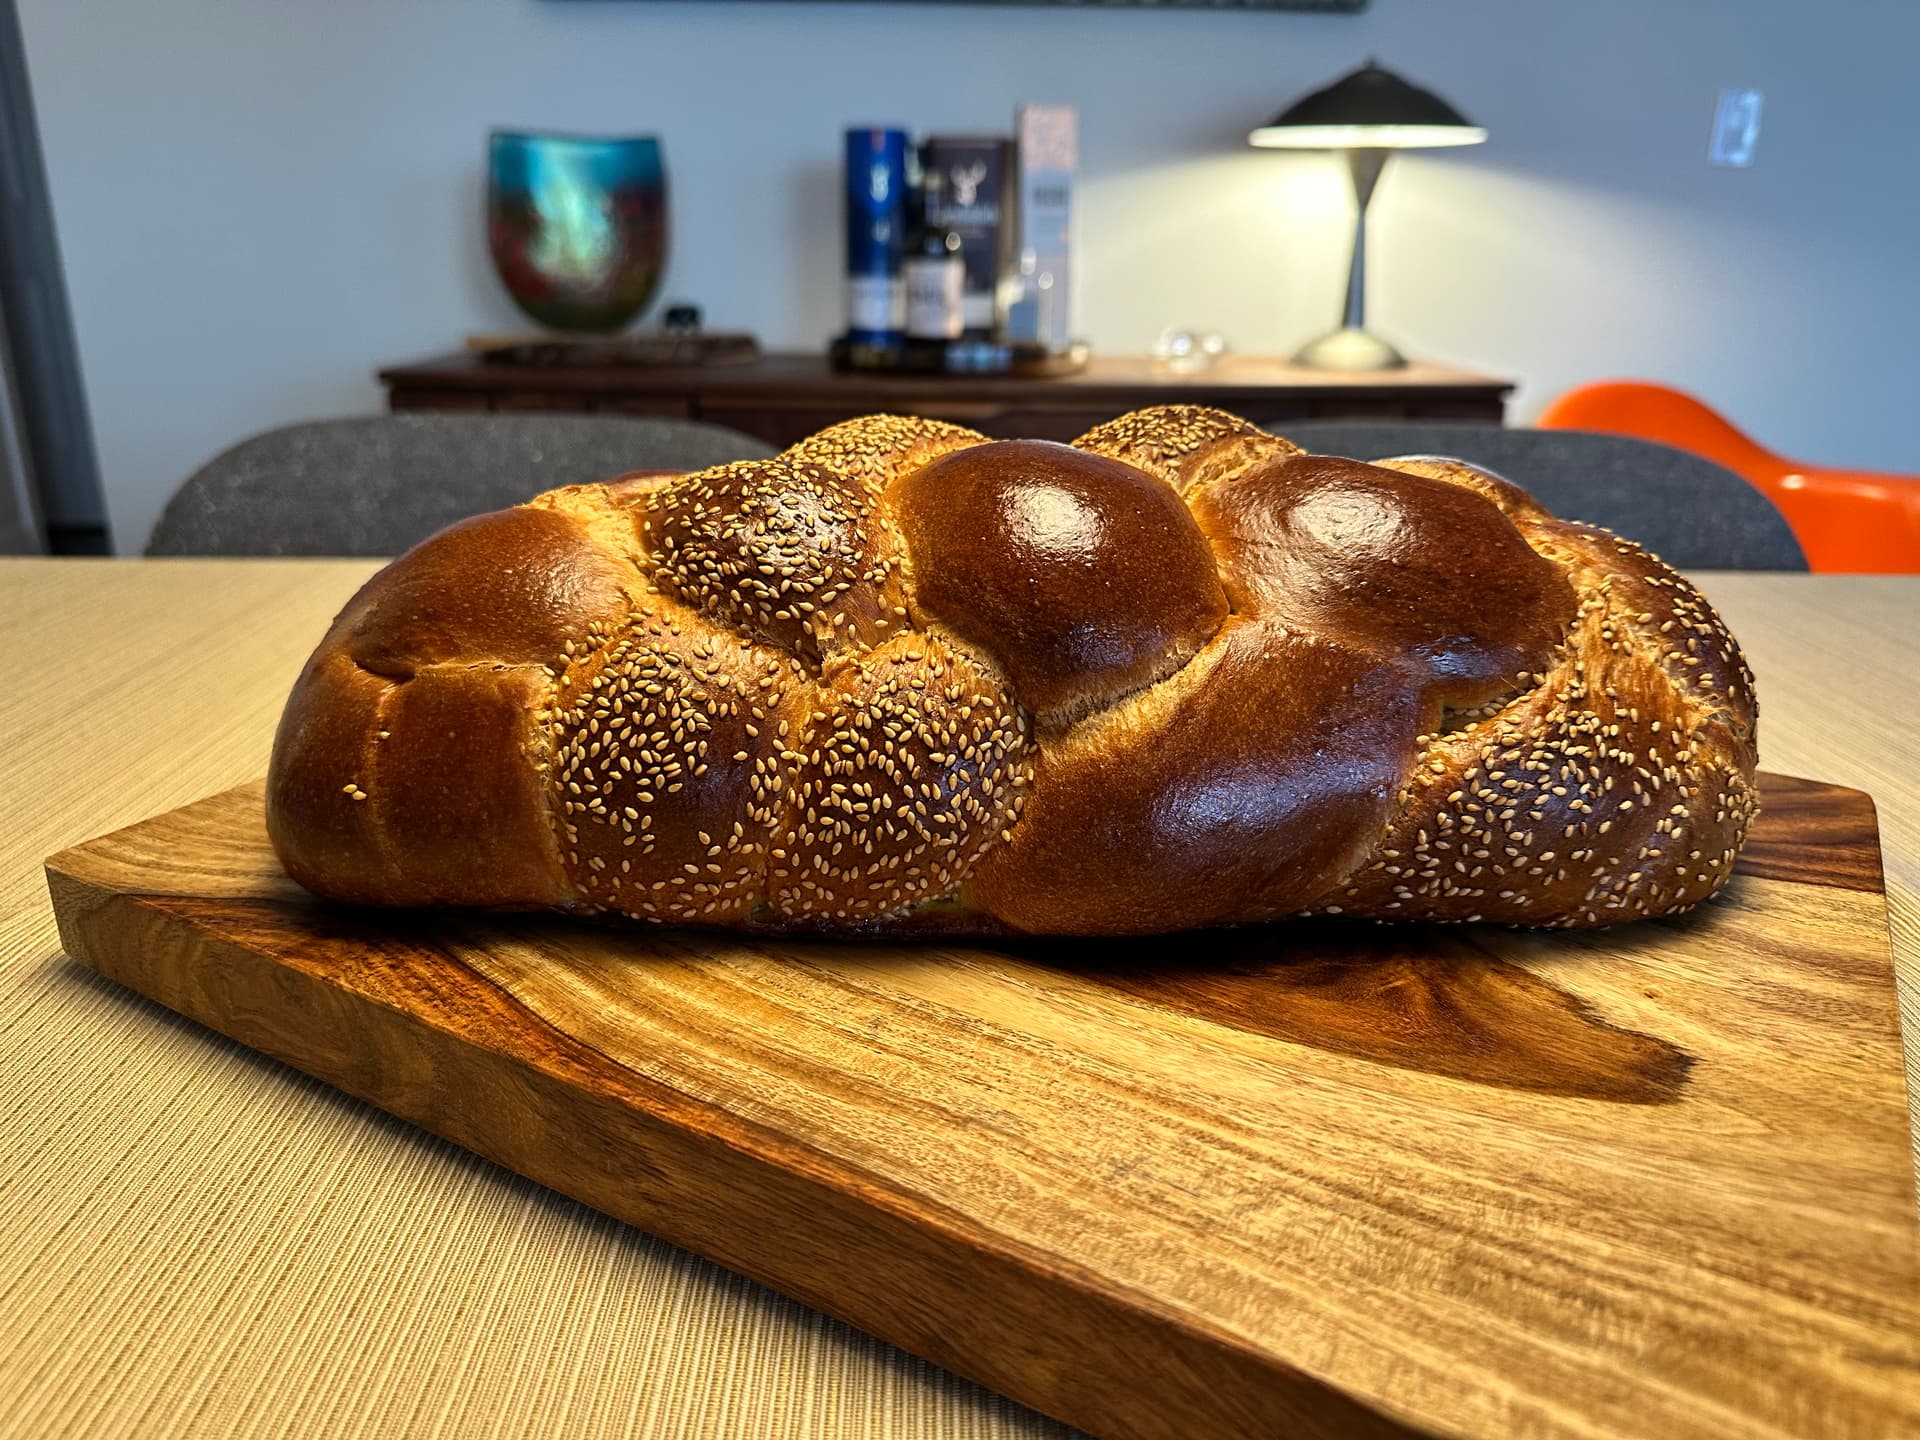
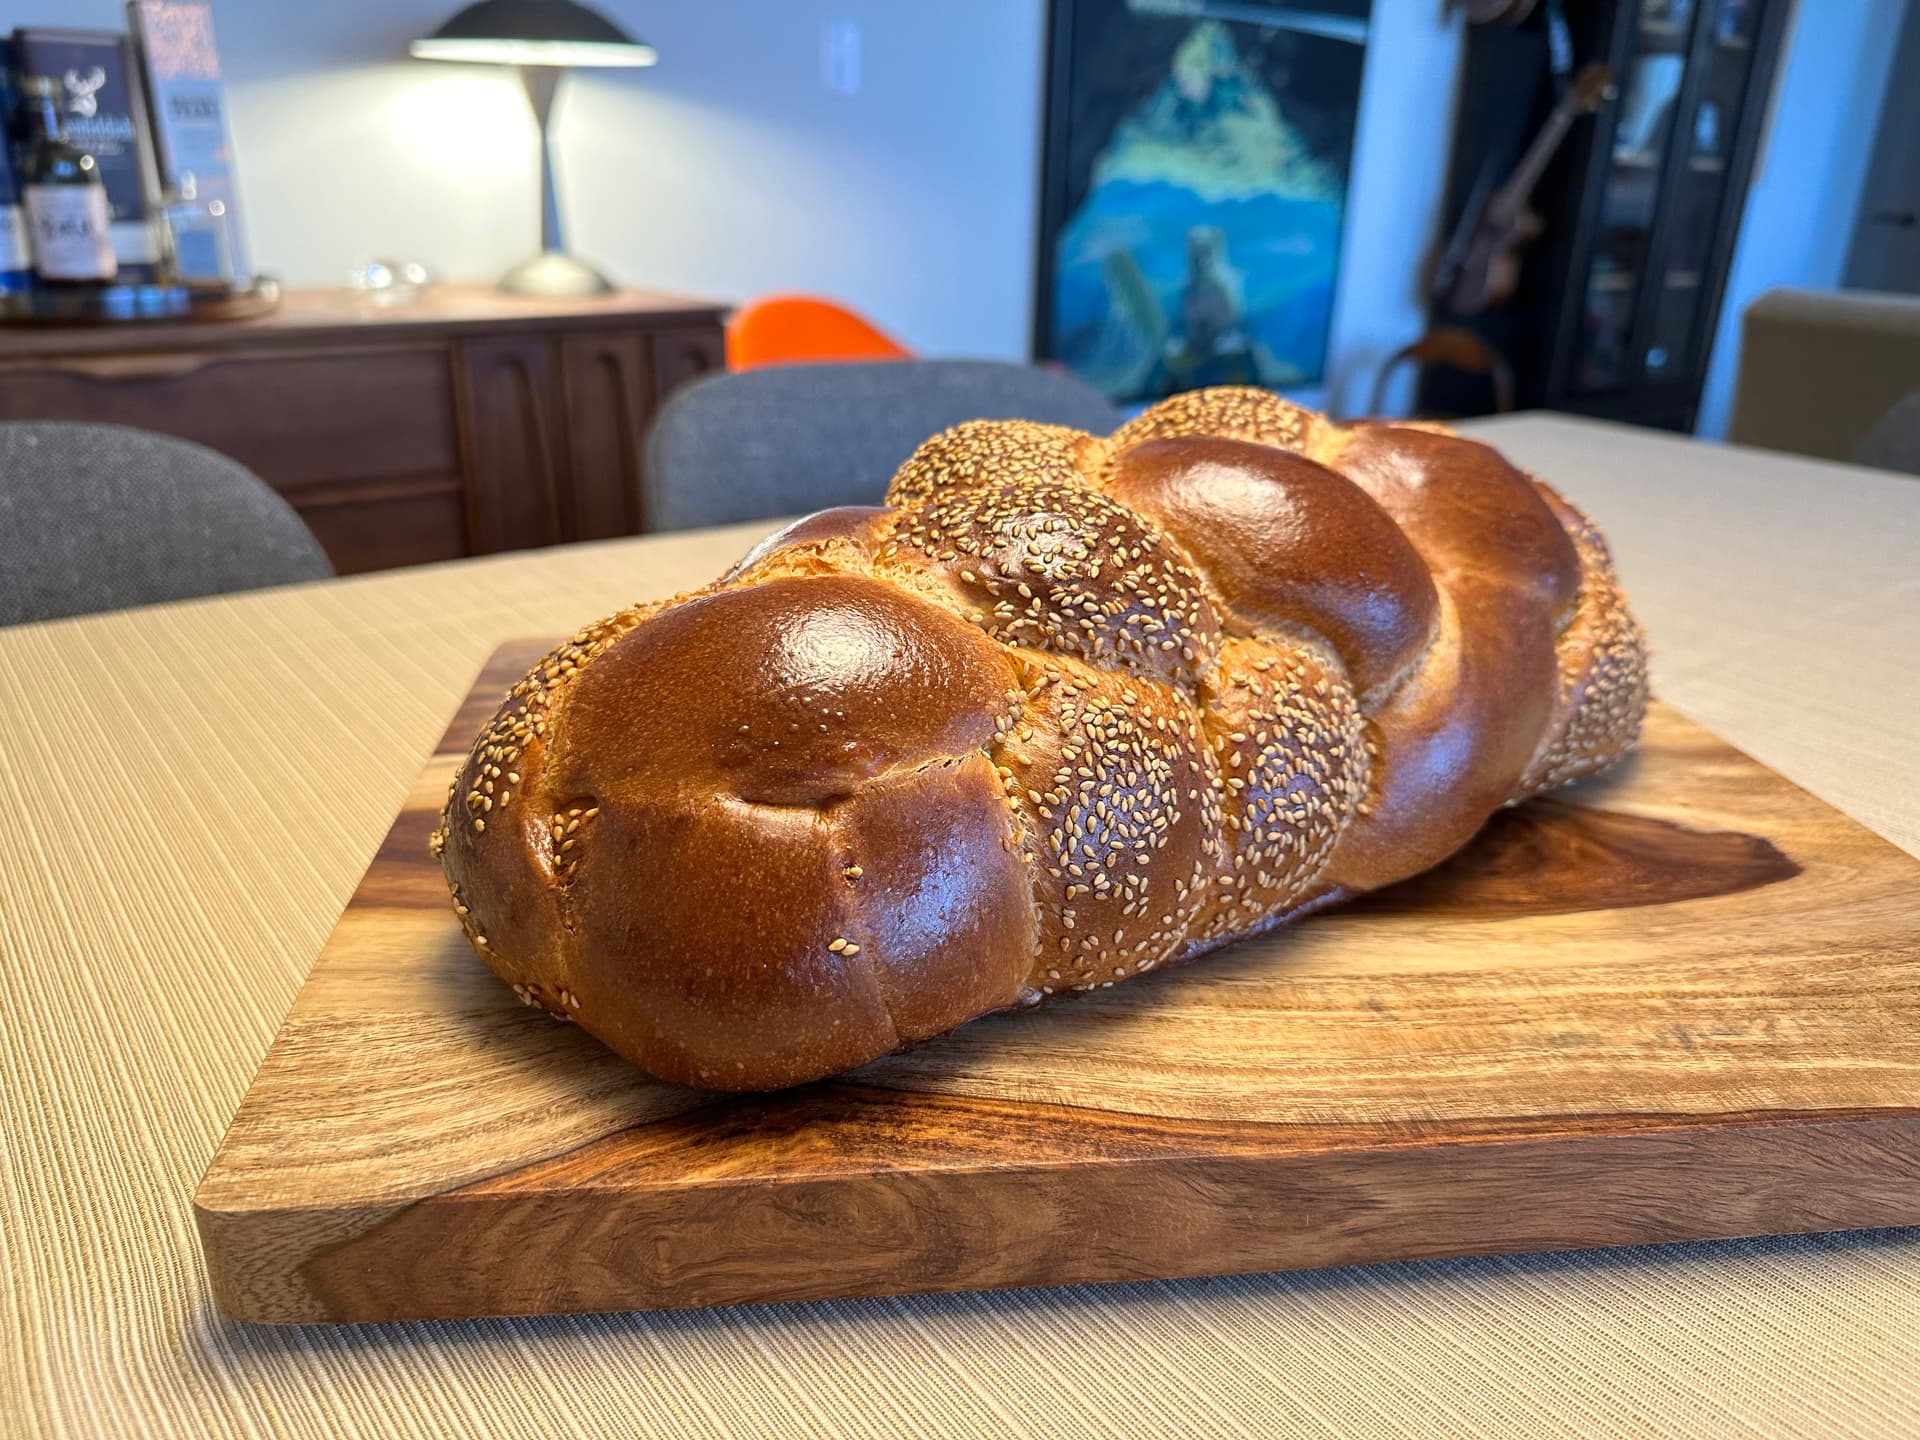
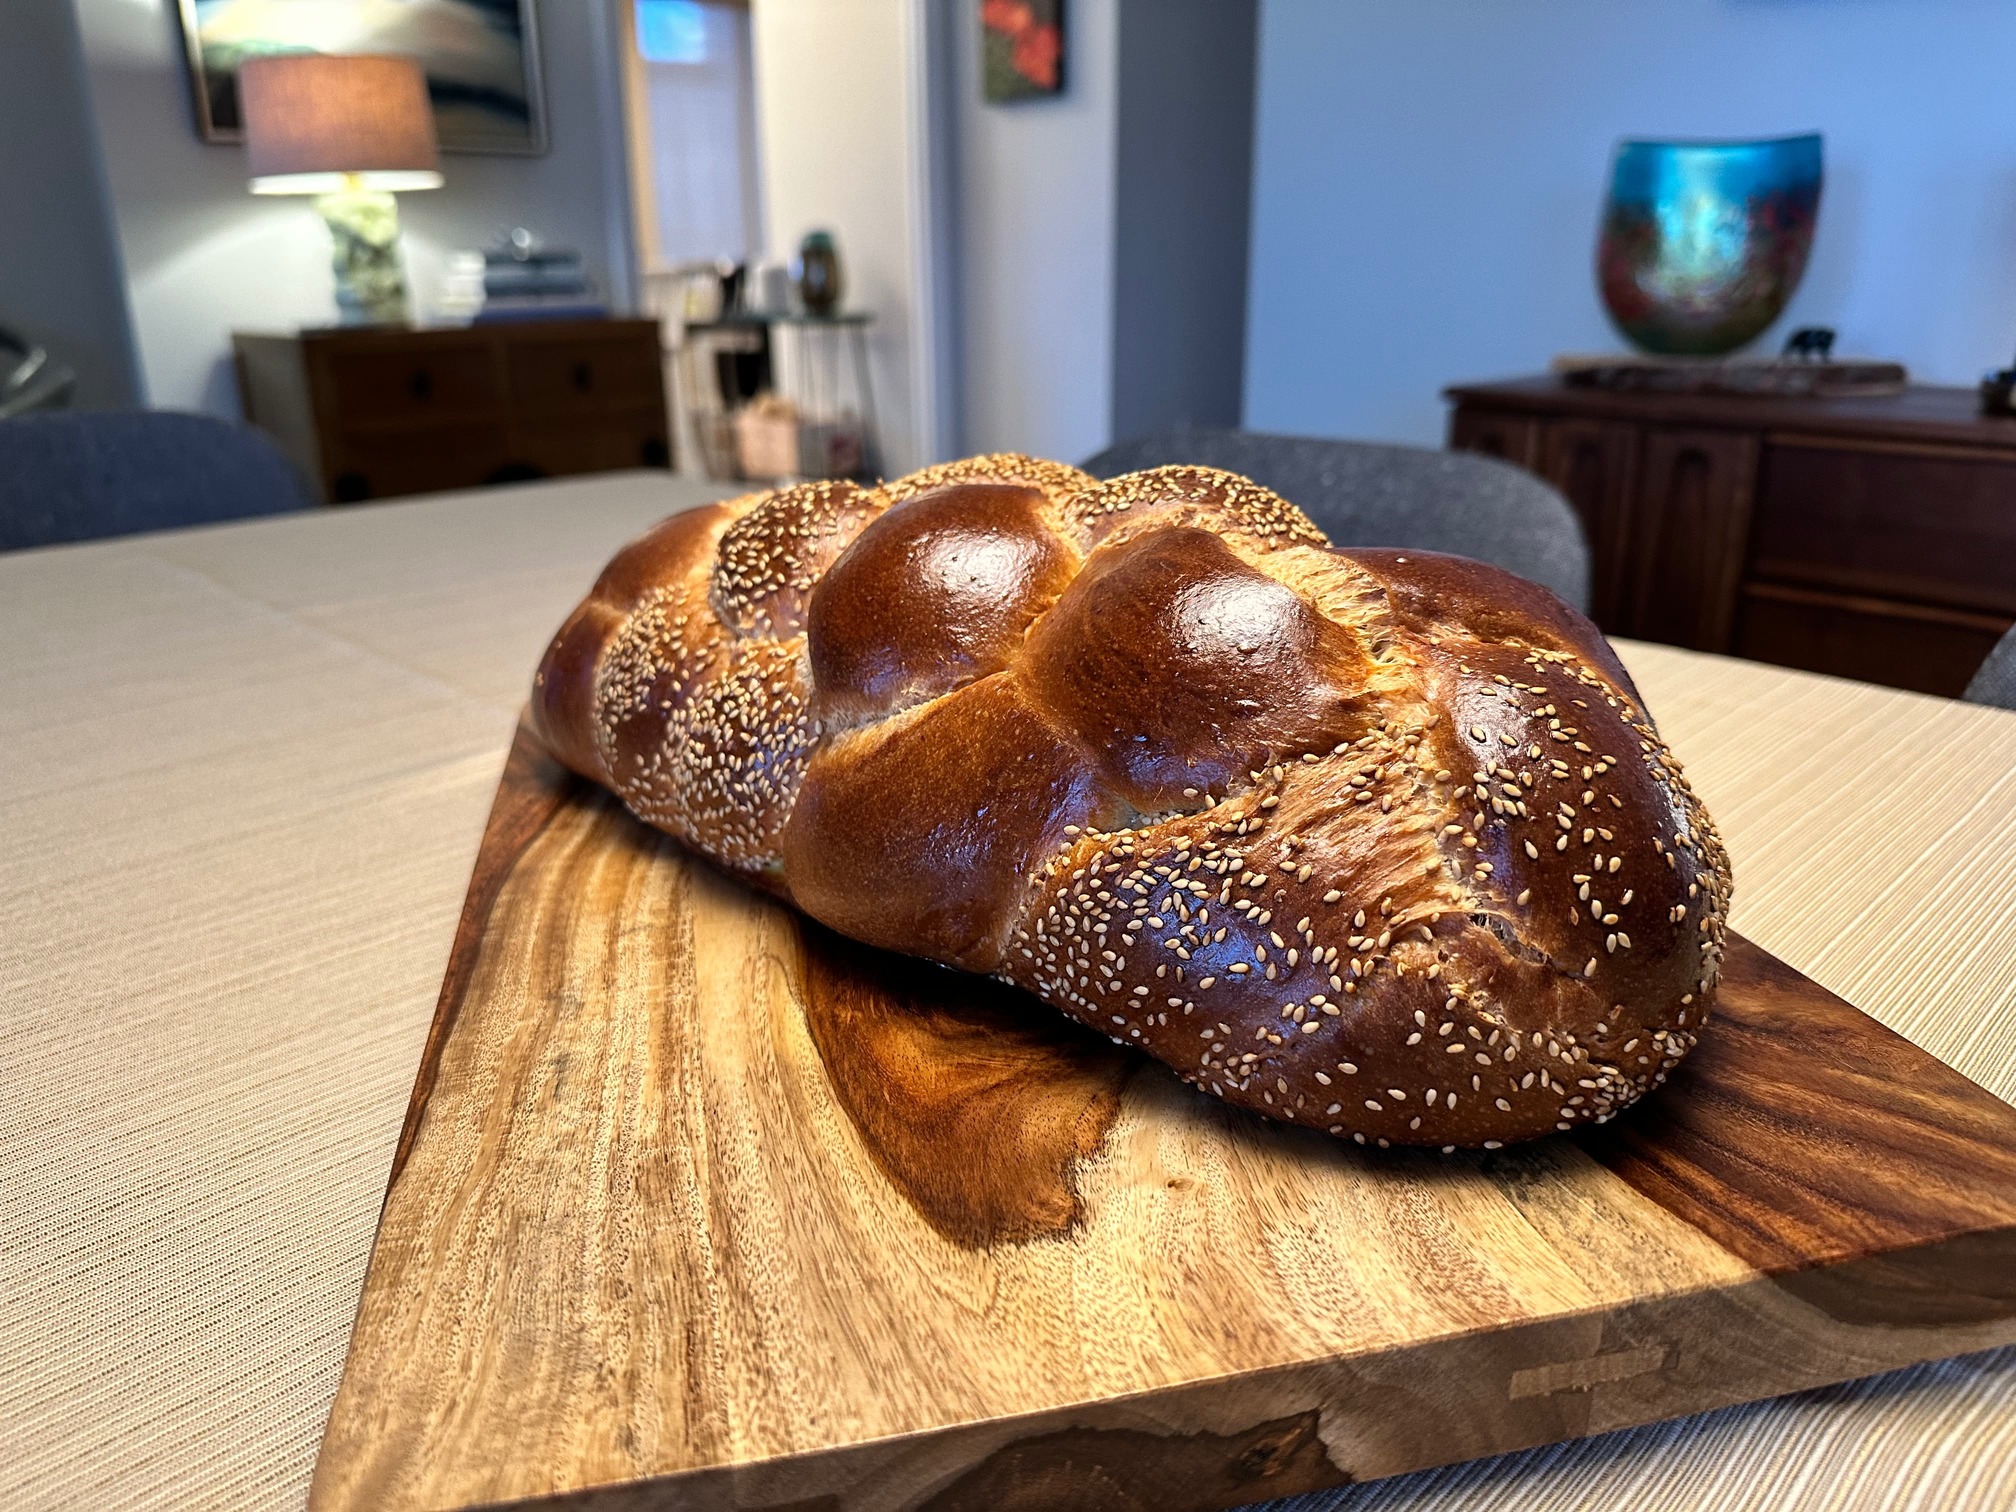
- Bake until done – 25-40 minutes rotating half way, shield from above to slow browning… If baking as one large loaf may take a bit longer, bake until sounds hollow or reaches 190ºF in the middle.
- Cool completely before slicing.