This is the comment thread for the Breadtopia blog post originally published here:
To leave a comment, click the Reply button below
If you do not see the “Reply” button, you will need to log in or register an account. Please click the blue “Log In” button in the upper right of the page.
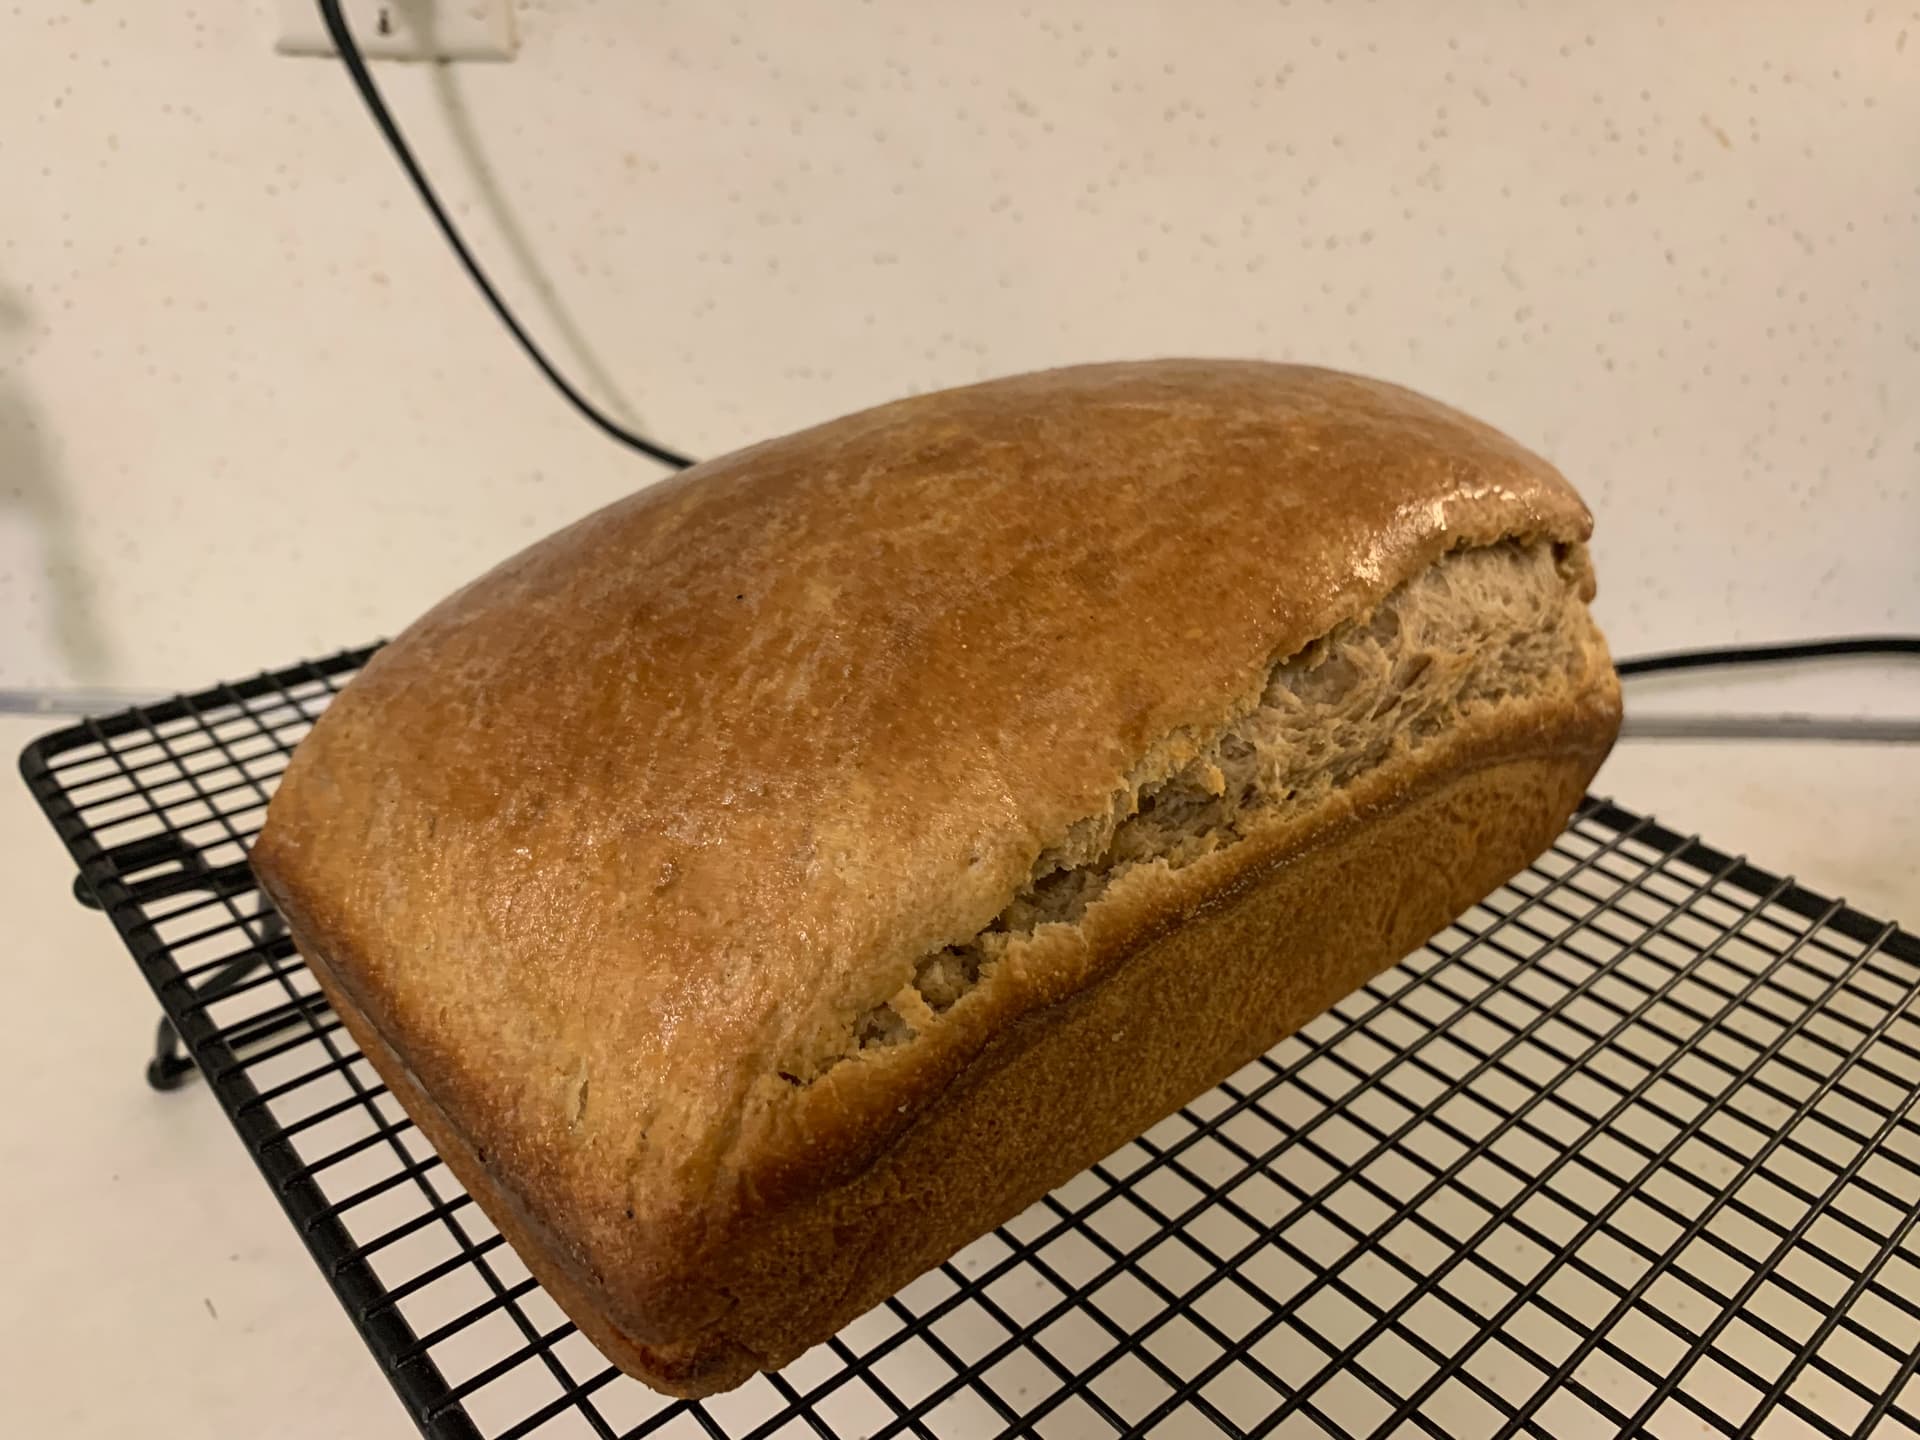
Thanks to this recipe, I dehydrated and milled sprouted grains for the first time and, as you can tell by the pictures, with beautiful results. Thank you once again for stretching my baking skills a little further!
That is amazing! I’ve never dehydrated my sprouted grains, but I remember some past conversations here in the forum about having to nail the timing of when to stop the sprouting so the flour performs well. Your flour looks like it did great
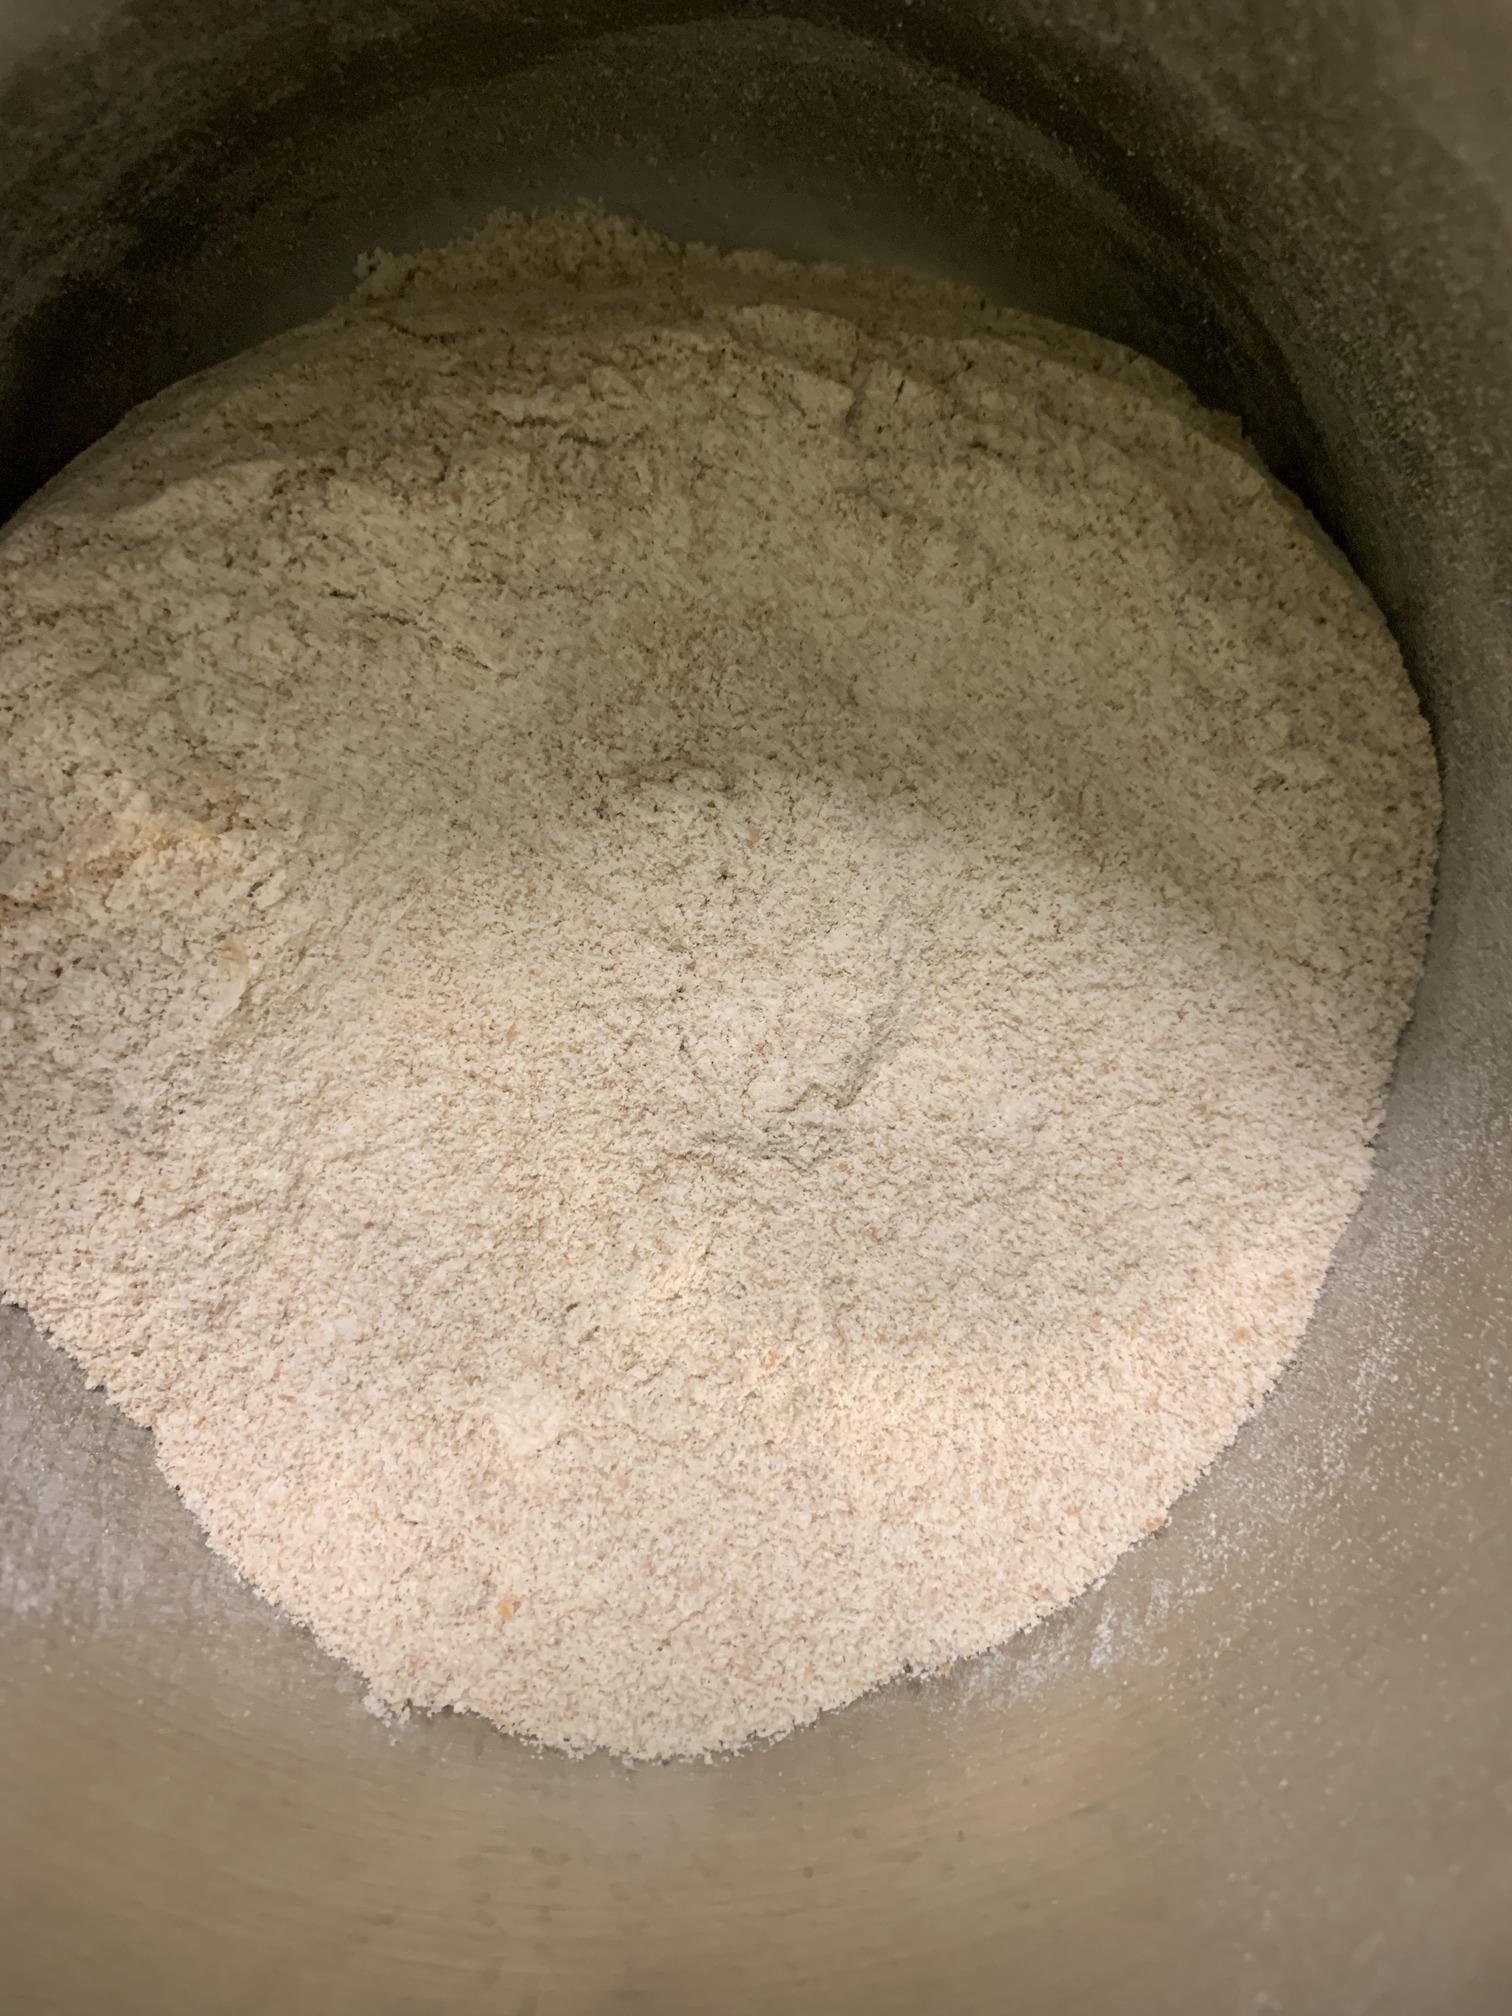
I can’t believe I have done something you haven’t tried yet! It’s actually very easy to dehydrate grains (about 9 hrs at 140F in my Bosch oven). Here is a picture of the flour once milled. It had a subtle wheat and nutty aroma.
Beautiful flour! I’m curious if I can dehydrate in my new oven. I just scoured the owners manual for the temps when on warming mode and also proof mode. Nada, no info, just guidance on not making a bacteria breeding ground i.e. don’t warm food on proof mode.
So I submitted a question on the product website
My hunch is that most ranges do not have that option. I thought of getting a dehydrator at some point, but in my little house it would have taken room I don’t have. That’s when I remembered my oven had this function, and it did such a good job.
Another question. As you can see on the picture, there is a slight gummy line at the bottom of the loaf. What accounts for that and what must be done to prevent it? Thank you again.
I have a few hypotheses and solutions for the gummy bottom line, but it is still a challenge for me.
Fundamentally, I think it is about gravity…gravity that’s not overcome by one or all of the following: gluten strength, quick heat-set of the structure, shaping and fermentation timing.
Some strategies to avoid it:
Bake on a lower shelf to get heat into the bottom of the bread faster, to set the structure faster.
Remove the bread from the tin for the last 10 minutes of the bake. I learned this from @Benito here: whole wheat hokkaido bread recipe and I think I should add it to this recipe’s instructions actually.
Cool the bread on alternating sides to prevent it from sinking like a souffle. Sometimes I fantasize about hanging sandwich breads upside down to cool them like with panettone!
Try a shape that has more upward and spiraling tension, such as the rolled lobes of the hokkaido bread above.
Experiment with a more extensive bulk and less extensive final proof, and vice versa. I haven’t come to any conclusion on this yet.
I definitely agree with everything @Fermentada said, in particular getting more heat more quickly into the bottom of the dough. I always bake my bread on a baking steel even when I’m baking a pan loaf like yours. The steel stays on the lowest rack of oven and bread gets baked directly on the steel (with parchment) or in a pan on the steel. The heat sink of the steel can help get more heat into the bottom of the dough more quickly and reduce some of the compression of the bread at the bottom. I do find gravity is hard to completely overcome though and the crumb near the bottom is always a bit more dense than at the top.
Good point about having a stone or steel directly underneath. I like that for focaccia baking too, so the bottom of the focaccia is crispy. Thermal mass heat sink for the win! You do have to preheat the oven way longer in my experience but it can be worth it.
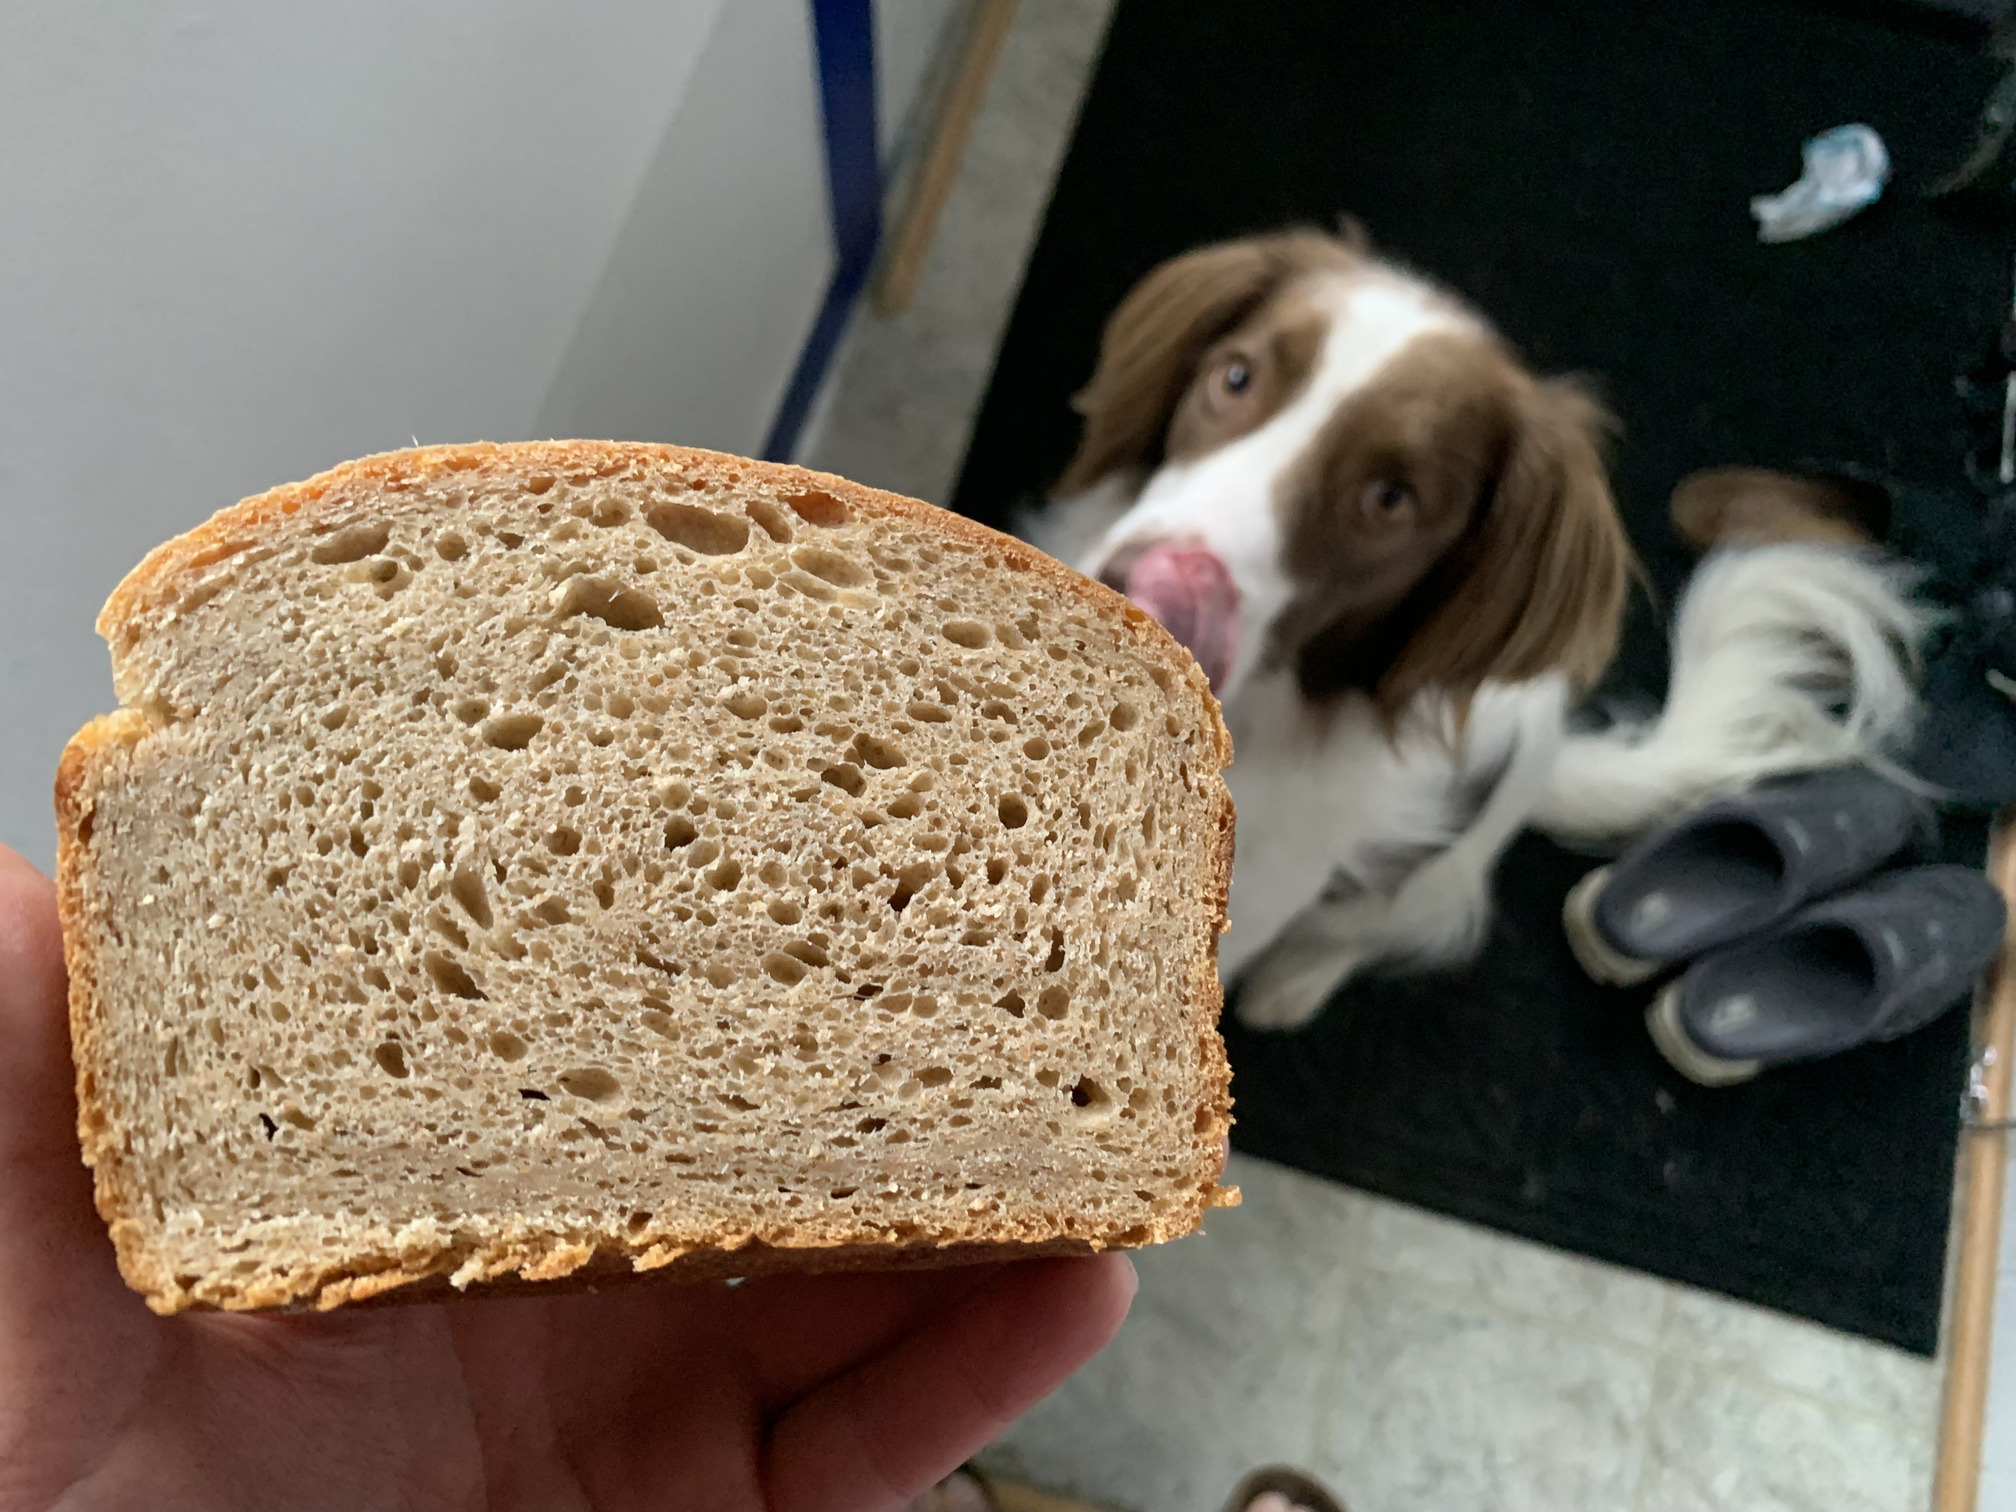
Edited to add: Those slices look delicious! Black sesame and sunflower seeds?
Yes it probably takes a bit longer to preheat the oven, but as you say it is worth it for sure.
Black sesame and pumpkin seeds were in that loaf. It was a toasted buckwheat flour tangzhong and whole wheat sourdough soy milk bread with avocado oil. It was yummy.