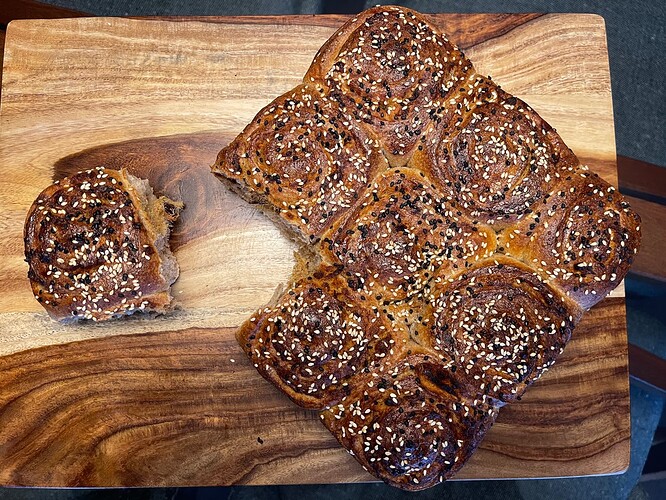
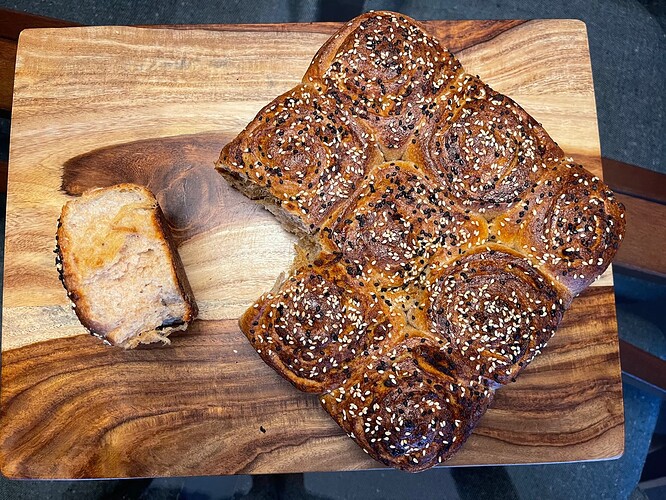
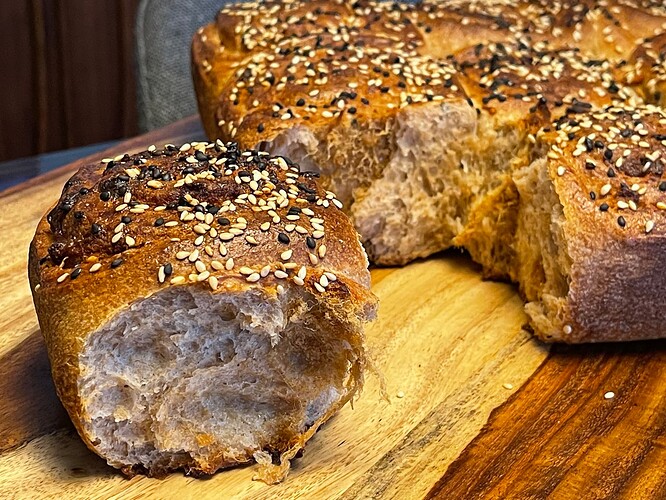
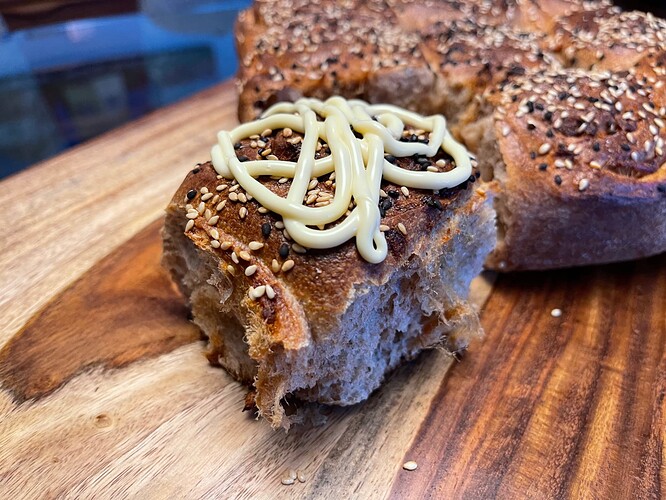
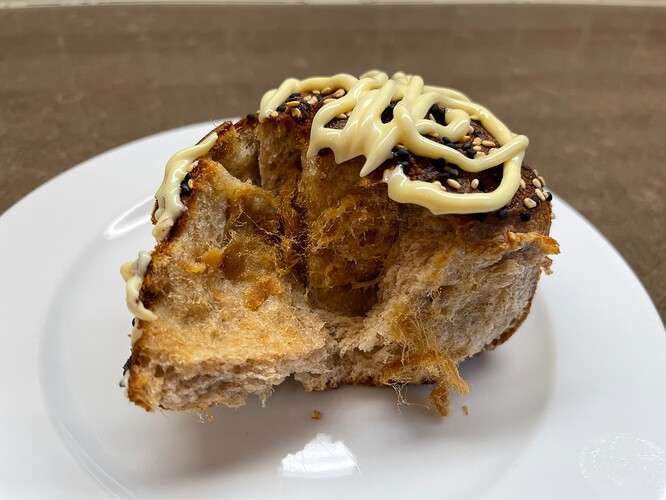
I haven’t made a savory roll in quite some time and have always had in the back of my mind that I’d do one with pork floss. Are you familiar with pork floss? It is something my mother used to make for us. You essentially fry pork with seasonings until it is dried out and stringy. Sounds delightful doesn’t it? Actually it is really delicious. When added to steamed rice it makes a quick meal and because my mother worked evenings and my father was a poor cook, we were often left to our own devices when we were kids so pork floss was an easy meal when you were hungry. Anyhow, I thought I’d add it to a bread of some sort. I was looking in my fridge and noticed that I still had some Kewpie mayo left over for when I made tamago sandos a while back and thought perfect, I’ll make buns or rolls filled with pork floss and Kewpie mayo! Are you familiar with Kewpie mayo? If you’re not, you need to do yourself a favour and seek it out. It it mayo with way more flavour and umami as it has the additional flavour of dashi in it. Soooooo delicious.
For the bread I wanted to use my Hokkaido milk bread formula but decided that for these buns I would rework the recipe and make the dough far more enriched. So the dough has twice the butter and eggs. This is my first time trying this out so we’ll see how this goes.
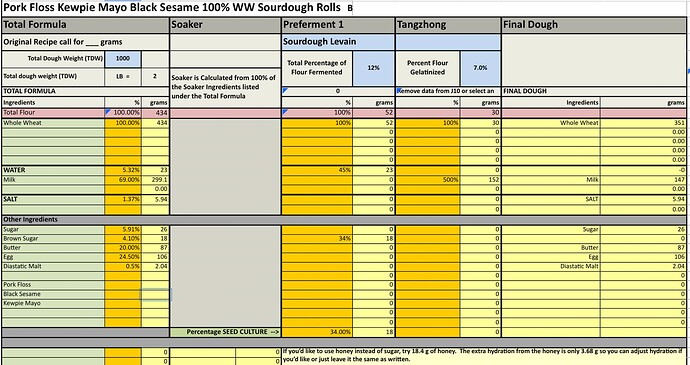
For 9 buns in a 9 x 9” square pan
Overnight Stiff Sweet Levain fermented at 76-78°F
18 g starter + 18 g brown sugar + 23 g water + 52 g whole wheat flour
Tangzhong prepared the night before and refrigerated
30 g whole wheat flour + 152 g milk (skim to whole)
Final Dough
147 g milk + 106 g eggs (2 large eggs) + all Tangzhong + all levain + 2.04 g diastatic malt (optional) + 5.94 g salt + 26 g sugar + 351 g whole wheat flour + 87 g butter
Instructions
Levain
Mix the levain ingredients in a jar or pyrex container with space for at least 300% growth.
Press down with your knuckles or silicone spatula to create a uniform surface and to push out air.
At a temperature of 76ºF, it typically takes up to 10-12 hours for this sweet stiff levain to be at peak. For my starter I typically see 3-3.5 times increase in size at peak. The levain will smell sweet with only a mild tang.
Tangzhong
In a sauce pan set on medium heat, stir the milk and flour until blended. Then cook for several minutes until well thickened, stirring regularly with a spoon or heat-resistant spatula. Let cool in the pan or, for faster results, in a new bowl. Theoretically it should reach 65ºC (149ºF) but I don’t find I need to measure the temperature as the tangzhong gelatinizes at this temperature. You can prepare this the night before and refrigerate it, ensure that it is covered to prevent it from drying out.
Dough
In the bowl of a stand mixer, add the milk (consider holding back 10 g of milk and adding later if this is the first time you’re making this), egg, tangzhong, salt, sugar, diastatic malt and levain. Mix and then break up the levain into many smaller pieces. Next add the flour and vital wheat gluten. I like to use my spatula to mix until there aren’t many dry areas. Allow the flour to hydrate (fermentolyse) for 20-30 minutes. Mix on low speed and then medium speed until moderate gluten development this may take 5-10 mins. You may want to scrape the sides of the bowl during the first 5 minutes of mixing. Next drizzle in the melted butter a little at a time, or alternatively add room temperature butter one pat at a time. Slow the mixer down to avoid splashing the butter at you. The dough may come apart, be patient, continue to mix until it comes together before drizzling or adding in more butter. Once all the butter has been added and incorporated increase the speed gradually to medium. Mix at medium speed until the gluten is well developed, approximately 10 mins. You will want to check gluten development by windowpane during this time and stop mixing when you get a good windowpane. You should be able to pull a good windowpane, not quite as good as a white flour because the bran will interrupt the windowpane somewhat.
On the counter, shape the dough into a tight ball, cover in the bowl and ferment for 4 hours at 82ºF. There may be some rise visible at this stage.
You can next place the dough into the fridge to chill the dough for about 1.5 hours, this makes rolling the dough easier to shape. Remember, if you do so the final proof will take longer. Alternatively, you can do a cold retard in the fridge overnight, however, you may find that this increases the tang in your bread.
Prepare your pan by greasing it or line with parchment paper.
This dough is very soft. Act quickly to roll, spread the filling, and cut before the dough warms and softens further. If it begins to soften, place it in the fridge to firm.
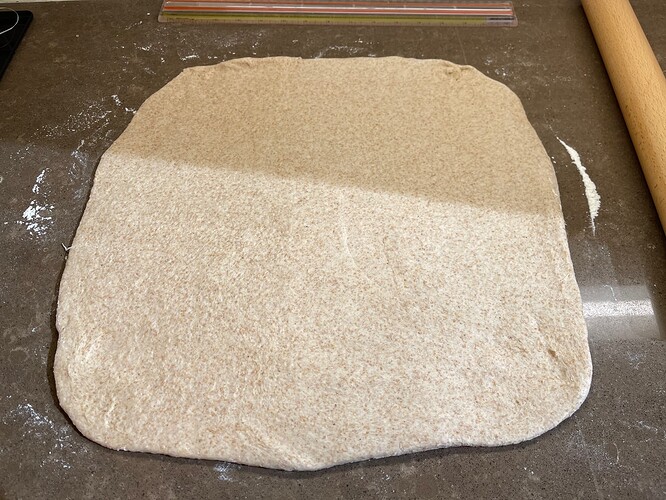
Remove your bulk fermentation container from the fridge, lightly flour your work surface in a large rectangle shape, and the top of the dough in the bowl. Then, gently scrape out the dough to the center of your floured rectangle. Lightly dust the top of the dough with flour, and using a rolling pin, roll the dough out to a 15″ x 15″ square.
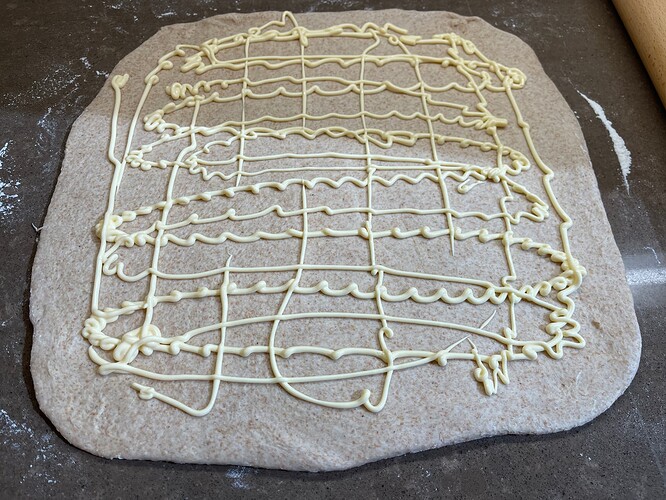
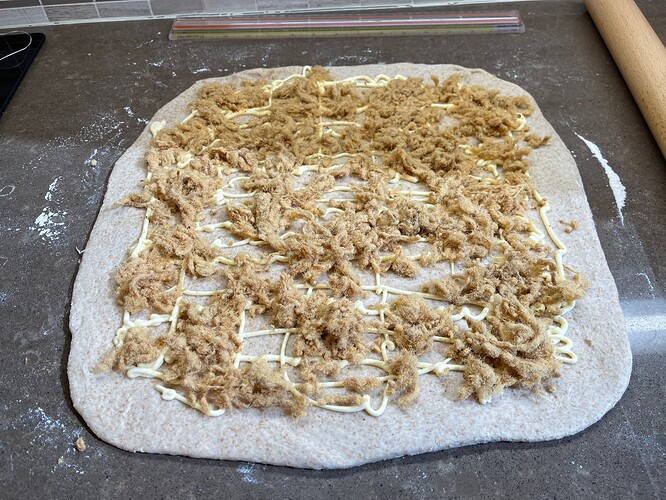
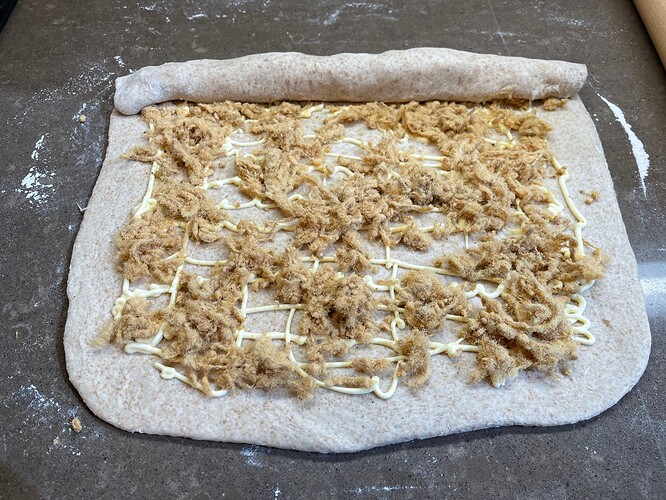
Squeeze Kewpie mayo onto the dough, you can decide how much you wish to use. Then spread the mayo out evenly with an offset spatula leaving about 1 cm border of dough free of mayo. Next sprinkle the pork floss over the dough onto the Kewpie mayo, again use as much as you’d like without overfilling the dough making it too difficult to roll.
Starting at one of the long sides of the rectangle in front of you, begin rolling up the dough as you move across. Be sure to tightly roll the dough by gently tugging on the dough as you roll.
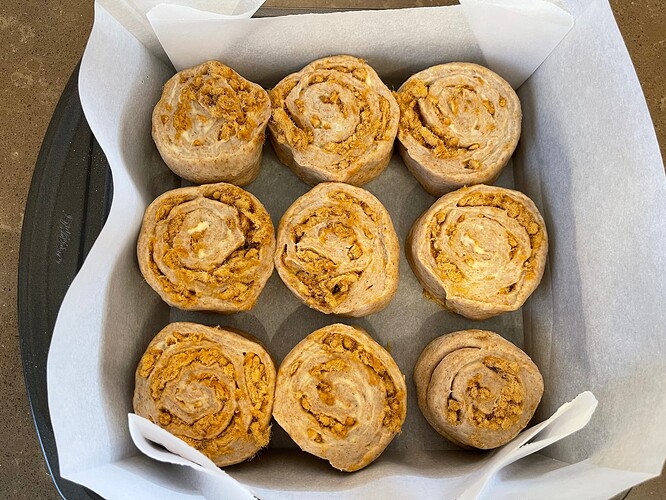
Once finished rolling up the dough, divide it into nine 1 1/2″ pieces using a sharp serrated knife. Transfer the rolls to the prepared baking pan and cover with to prevent a skin from forming.
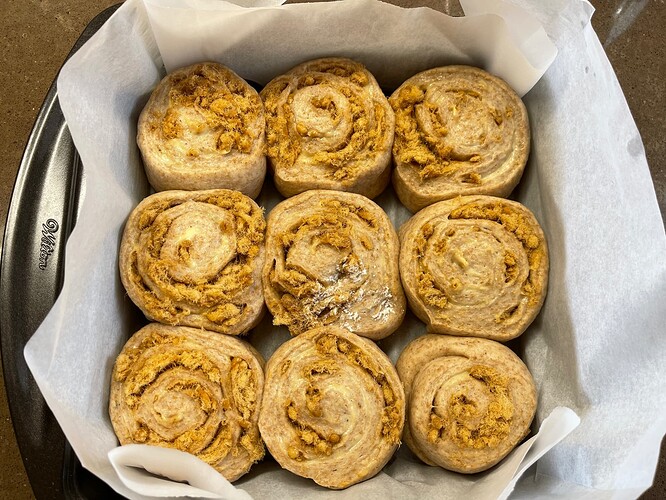
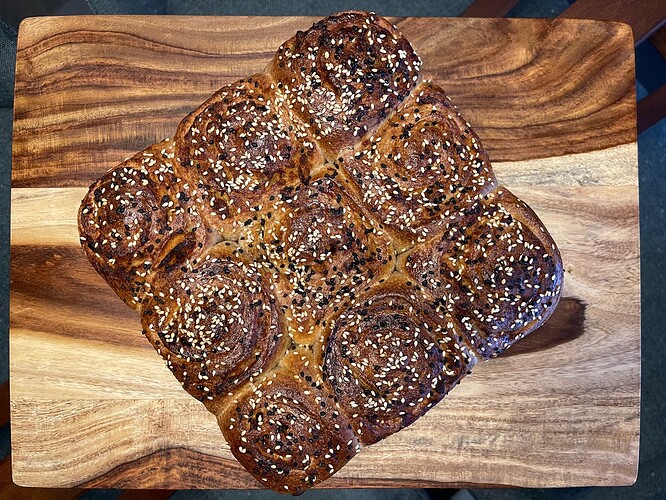
Let proof for 4-6 hours at a warm temperature. I proof at 82°F. You may need longer than 4-6 hours if you chilled your dough for shaping. I proof until the rolls fill the pan and pass the finger poke test. Brush with egg wash when you start the oven and again right before baking. Then if you wish, you can sprinkle some black and white sesame seeds on top after the second egg wash.
end of final proof
Bake
Preheat your oven, with a rack in the lower half, to 400°F (200°C). You should aim to start preheating your oven about 30-40 mins prior to the dough being full proofed. Once your oven is preheated, remove your pan from its bag, slide it into the oven, and bake for 30 to 35 minutes.
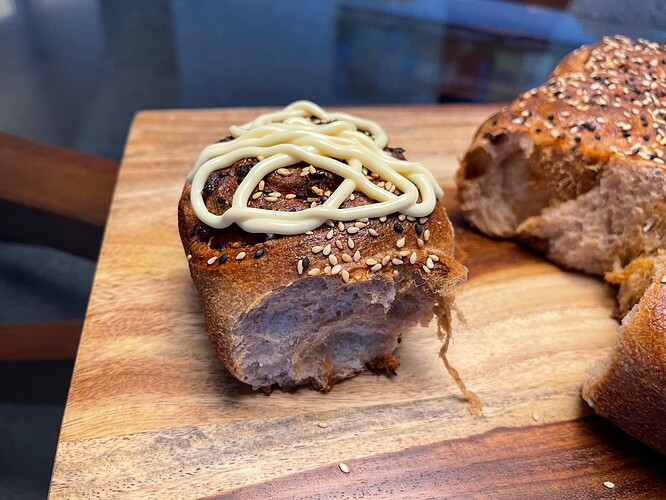
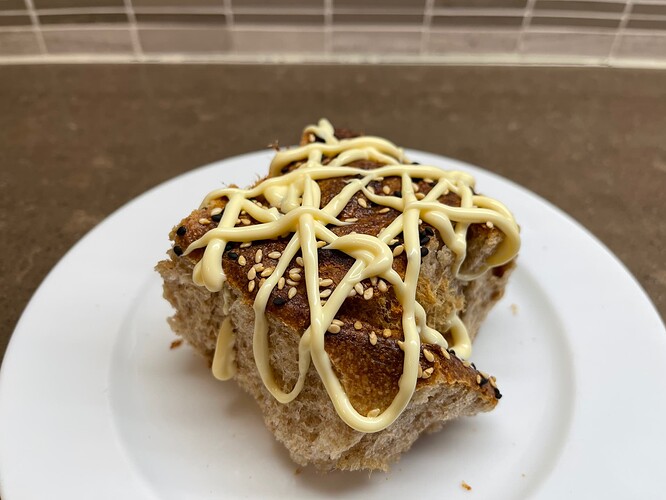
The rolls are finished baking when the tops are well-colored and the internal temperature is around 195°F (90°C). Remove the rolls from the oven and let the rolls cool for 5 to 10 minutes in the pan, then serve. You can squeeze on extra kewpie mayo if you wish right before you eat them. These are best the day they’re made, and certainly fresh from the oven, but can be reheated in a warm oven a day or two after.
