This is the comment thread for the Breadtopia blog post originally published here:
To leave a comment, click the Reply button below
If you do not see the “Reply” button, you will need to log in or register an account. Please click the blue “Log In” button in the upper right of the page.
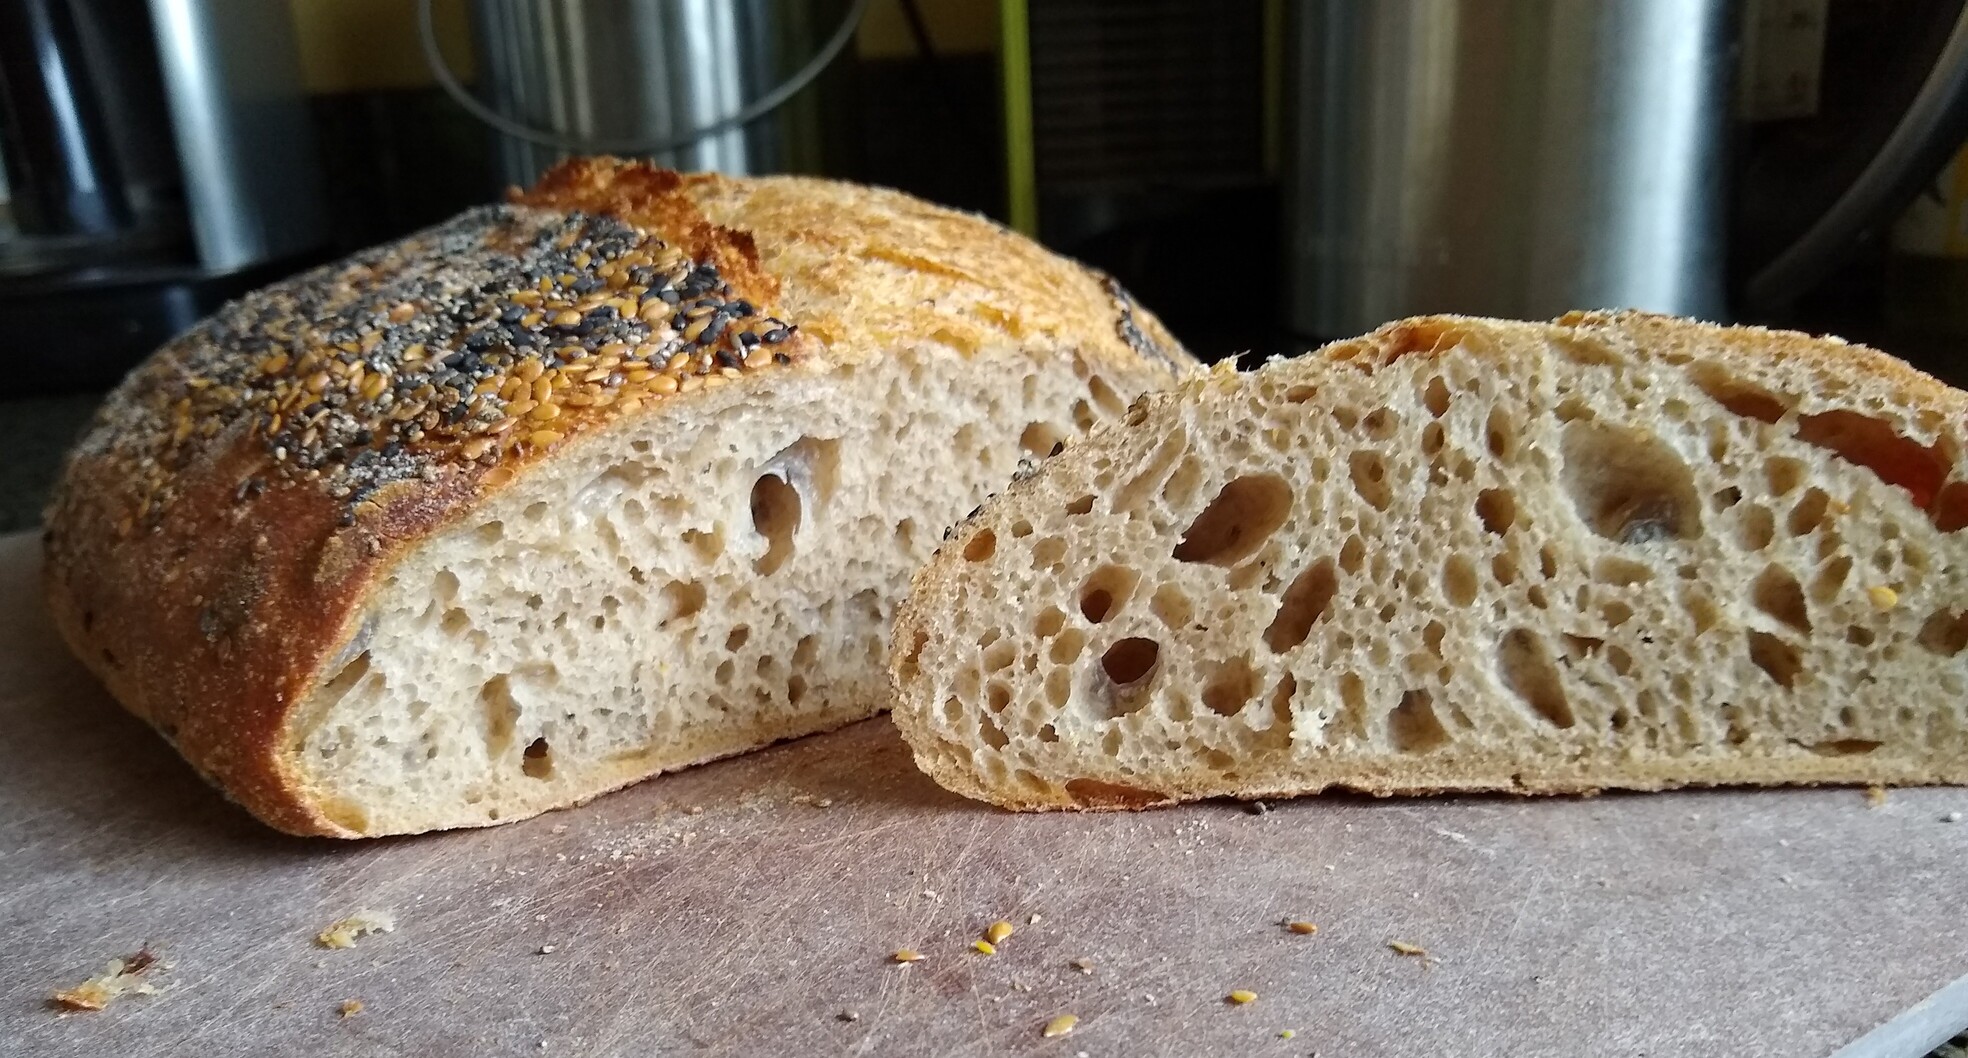
Thanks for the inspiration, Melissa. I tried the same formula with a few adjustments:
50% home-milled whole spelt (250g)
50% Breadtopia Bread Flour (250g)
77% Water
2.2% salt
I did a pre-ferment stage with 50g of the spelt flour and 50g of water. This had 12 hours at 70F. I also did a 2-hour autolyse with 200g spelt and 250g BF and the rest of the water. Then the pre-ferment and salt were mixed in.
I did 3 rounds of gluten development in the first 2 hours of bulk: one round wiggle fold, one lamination, and one round of coil folding.
The bulk fermentation was at just under 2x at just 6 hours at 70F. I was surprised at how quickly this nearly doubled. Then I pre-shaped, rested, and shaped. The dough was impressively taught for 50% spelt I thought. I proofed at room temp for 20 minutes, then cold proof in the fridge for ~22 hours before baking at 475 for 30 minutes covered (with ice cube), then for 13 minutes uncovered.
The spring and bloom were very impressive, similar to your results with the no-knead, it looks like.
This looks sensational. I’m fairly new to spelt, and have only made a couple of loaves with about 10-15% spelt and the rest either bread flour or a mix of bread flour and wheat. I prefer the bread flour/spelt combination because it seems that I can taste the spelt better. I’m going to make this as soon as I finish my current loaf! Thanks for the recipe and the tips.
What a gorgeous loaf and crumb. Thanks for sharing your approach.
It’s great that you can do the gluten development maneuvers that work with the dough at each stage. Sometimes I stick my hand in the dough, with the plan of doing one thing e.g. stretching and folding, only to feel the dough and change course (coil folding in the air for my most recent project feels right).
Melissa - Thank you! This is a very smart and well thought out recipe with clear instructions. As a more experienced sourdough baker, it is really nice to see someone keeping the process as simple as it truly can be. Well done. I will take a look at your other posts, as well as trying this 50% Spelt Sourdough.
Hi, This looks good. Another very satisfactory recipe for 100% spelt sourdough can be found in the Nourishing Traditions cookbook by Sally Fallon Morrell. Just four ingredients: water, salt, sourdough starter and spelt. (We grind our own grains. Great for toast and sandwiches.
Fresh milled sprouted spelt wouldn’t change any percentages. In fact, I often use it in Eric’s Whole Spelt Sourdough recipe.
Sprouted rye and regular rye will behave quite differently. You may be okay with the same hydration but the feel of the dough will be a bit like cement. See these two recipes for photos and hydration info. Both 50% whole grain rye flour (and I’ve used sprouted whole grain rye for them too): Artisan Rye Sourdough and Rye Chocolate Cherry Sourdough.
Hi Melissa! Thanks for the recipe! I have one question before I try it — after the loaf is taken out of the refrigerator how long do you let it come up to room temp before baking?
Hi, you’re welcome. I rarely let the dough warm up, this bake included. It went from the refrigerator to parchment paper, score, and then baking vessel.
I’ve been under the impression, from outer sources, that spelt does not really benefit much from mechanical gluten development, in fact too much can be a detriment. Also, I’ve been dabbling (my way of experimenting) with most of my active gluten development if you want to call it that, much later in the process. The classic high hydration no-kneead process is to stretch or coil mostly during the first couple of hours. I’ve been doing the opposite, waiting until the last couple of hours, a couple of coil folds, one last one and on the bench as a preshape and then shaped. I’ve also been skipping the shape all together, and just add it to the banneton after a final fold. It all works, and actually seems to work better when the coils are done in the latter half of bulk (should note too I am not trying to get hugely open crumb, just nice even crumb)… This is all under ambient conditions though, not using my proofer. If I use a proofer, I deem it more necessary to fold or stretch early on to keep the fermentation even.
Interesting method shifts. Thanks for sharing them. I guess I would place spelt on the side of some gluten development works well, at least compared with rye or einkorn. But I also think time and aggressive shaping or late coil folds (these latter two things probably serve similar purposes) are effective for getting a nice structure too.
They say that everyone bakes a pancake sooner or later, and today it was my turn. The good news is that it is tasty and has a terrific thin crispy crust. Still, I’m hoping to improve my luck with this loaf next time.
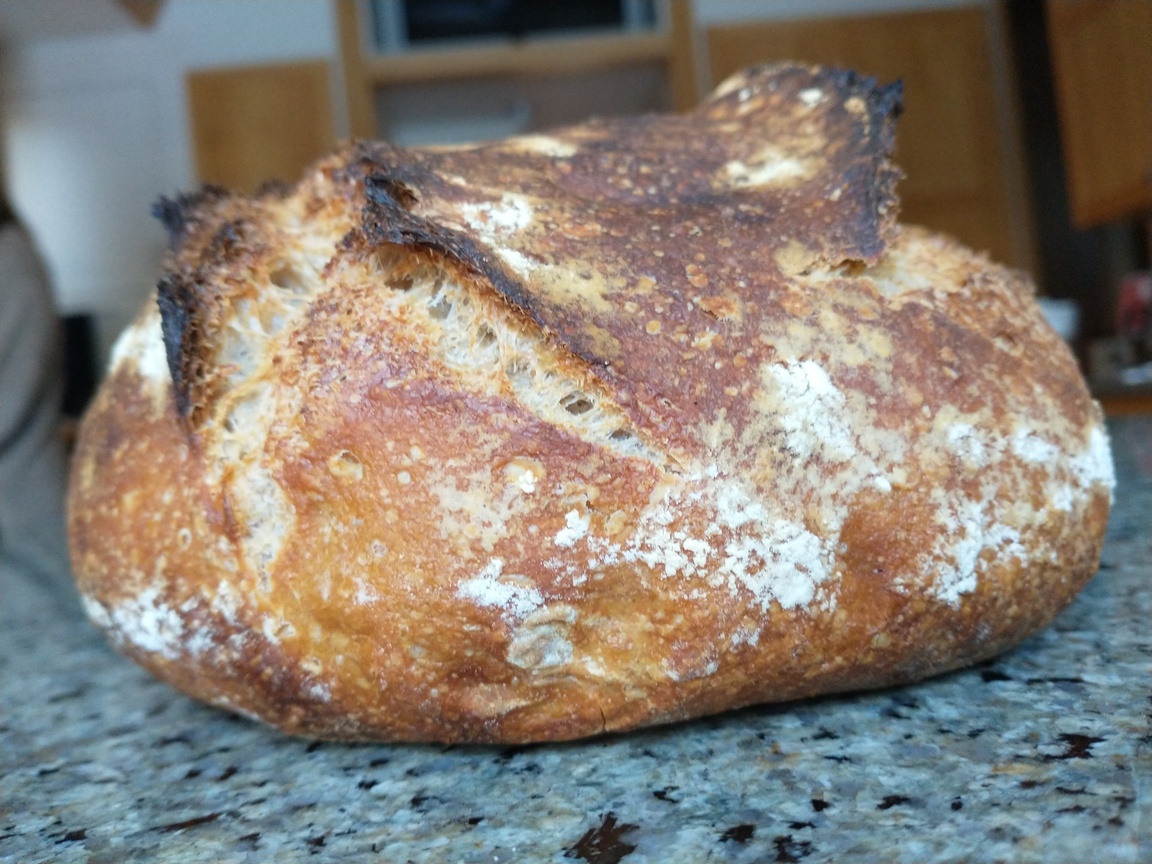
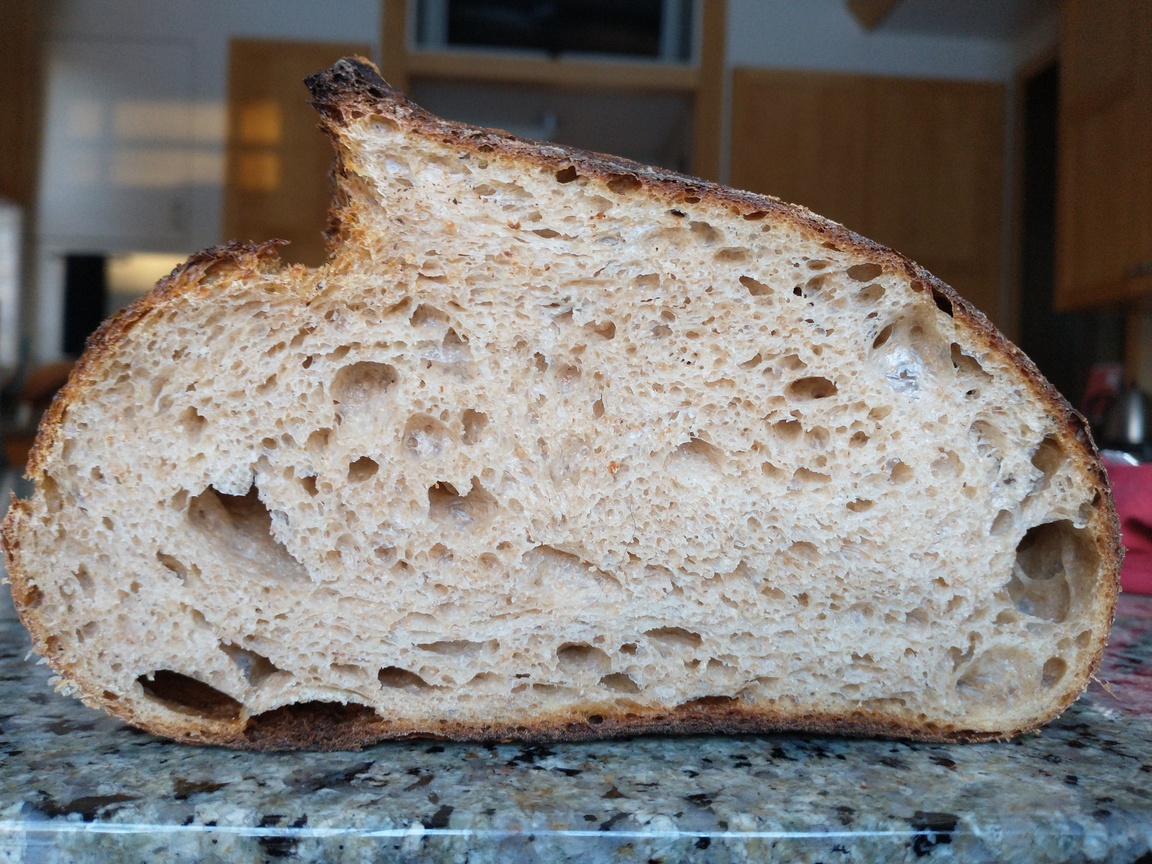
I went all in with 100% no knead and used the lower amount of water (320 grams). My whole spelt was from Arrowhead Mills and BF was Guistos High Performer. Ambient temperature was on the cool side at 69F and I used cool tap water. After 7 hours, the dough had hardly any rise. In order to remedy that, I created a warm spot inside in my microwave using warm steaming water. That seemed to do the trick, and as it warmed up, the dough came to life. In all it took 9 hours to double in size. One thing I struggle with is gauging the rise, even with a Cambro container with markings. When the dough first goes in, it is domed in the center and sloping on the sides, making it difficult tell where your start point is. I wonder if I should be pushing it down flat in order to be get a more accurate reading.
Pre-shaping and shaping were a bit challenging, with more relaxation between the two than I am accustomed to. Once in the banneton, I left it for 20 minutes before giving it a 14 hour rest in the refrigerator. Coming out of the fridge the dough was soft and quickly relaxed as soon as it hit the pan.
Melissa, did you ever try adding in a few stretch and folds? I am trying to figure out if my bread needed more strength building or if I may have overproofed it. Any advice would be appreciated.
Thanks for the delicious recipe.
That may not be a tall loaf but it looks very nice overall. I’m guessing the dough overfermented a little, making for less oven spring. If the dough temp was high when you shaped it, those 20 minutes at room temperature and time cooling in the fridge could have pushed things far.
You will most likely get more oven spring and ear if you do some active gluten development.
Looking at this yecora rojo blog post, you can see that the no knead 50% loaf is perfectly acceptable, but the one with all sorts of gluten development does have more height and structure.
Thank you. It was a leap of faith going no knead, and I actually find stretching and folding kind of satisfying, so will add that back in next time, along with being more careful with proofing. 50% whole grain feels like a nice balance, and all my tasters gave it a thumbs up, so I want to circle back and perfect that recipe Usually I get dramatic ears and spring, so this was a surprise. Still learning, and each loaf brings new lessons.

 I hope you both enjoy the recipe.
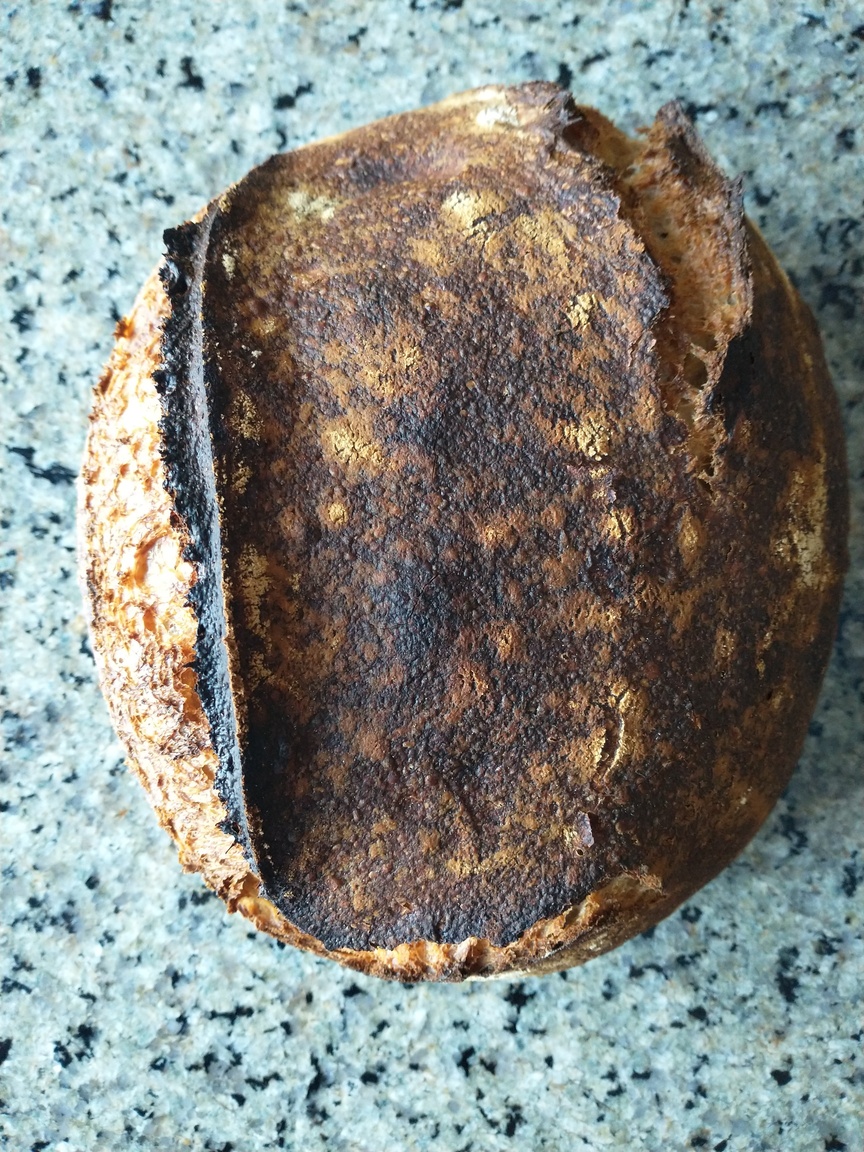
 Great for toast and sandwiches.