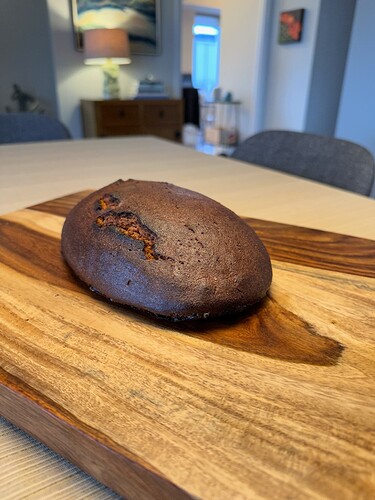
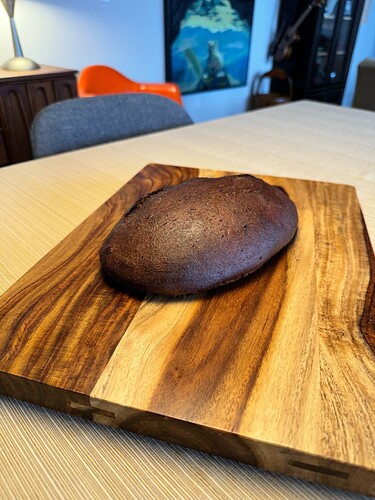
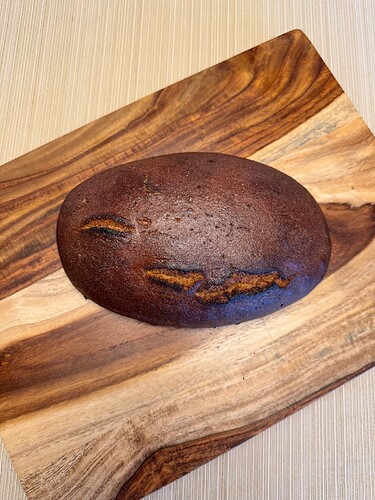
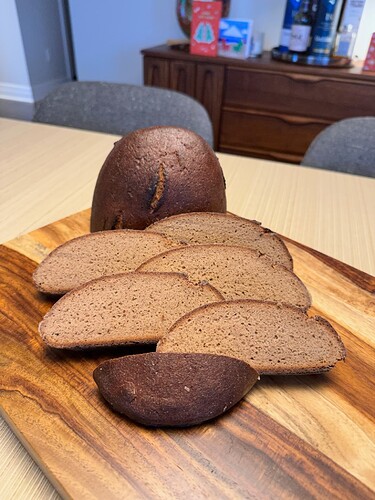
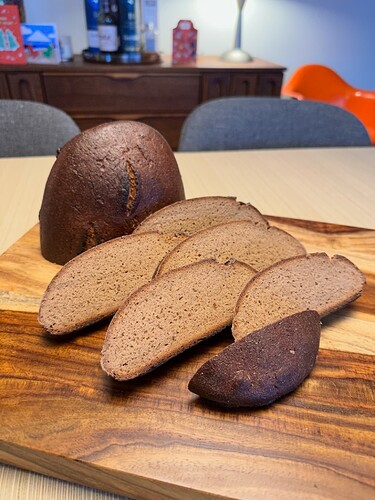
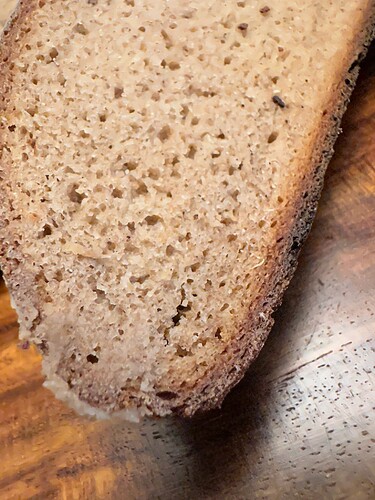
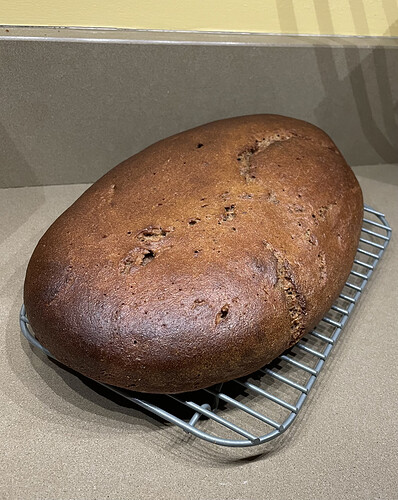
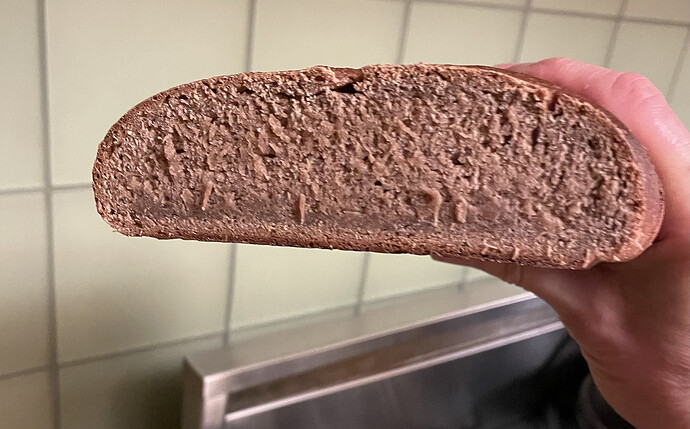
My first time trying this bake which several bakers on TFL have been posting about. Not being sure if I would like it or not since I haven’t like many of the previous 100% ryes breads I’ve baked, I decided to make a half sized loaf. I also bought a fresh bag of Anita’s organic whole rye flour to ensure that the rye I used wasn’t starting to go off and alter the flavour. The cracking appears to show a bit of under proofing, I did 50 mins of final proof but the dough was showing a good number of broken bubbles but not cracks at that point so I decided to bake it. I like the rustic appearance of the cracks and it shouldn’t affect the flavour, but may make the crumb a bit more dense, hopefully not too much.
I’ve made notes in Stanley Ginsberg’s original post with some of the things that Martadella or Lance changed.
![image|375x500]
(upload://d2PnmmWHgpqF890vnvqc7Kh02A3.jpeg)
| Rye %: | 100% |
|---|---|
| Stages: | Sponge, Scald, 2-Stage sponge-scald |
| Leaven: | Rye sour culture, Instant yeast |
| Start to Finish: | 28-32 hours |
| Hands-on Time: | 45-50 minutes |
| Yield: | One 3.15 lb/1.40 kg loa |
Scald (Day 1, Evening):
Ingredient Grams / ½ batch Ounces Baker’s
Percentage
Wholegrain rye flour 320 / 160 11.30 100%
Hot (150°F/65°C) water 650 / 325 22.95 203%
Pale rye malt 20 / 10 0.70 6%
Caraway seed, ground 2 / 1 0.05 1%
Can use Diastatic Barley Malt instead of pale rye malt.
In the mixer bowl, mix the scald ingredients by hand into a firm porridge, cover and let stand at 150°F/65°C until it smells like apples, has a sweet taste and the consistency of pancake batter, 16-18 hours. (Original instruction)
Instead hold the scald at 65°C 150°F for 3 hours. Could also use the instant pot [keep warm normal] 148°F.
Sponge (Day 1, Evening): (Stiff levain)
Ingredient Grams / ½ batch Ounces Baker’s
Percentage
Wholegrain rye flour 50 / 25 1.75 100%
Warm (105°F/41°C) water 30 / 15 1.05 60%
Rye sour culture 20 / 10 0.70 40
Mix the sponge ingredients by hand into a stiff dough, cover and ferment at room temperature (70°F/21°C) overnight, 16-18 hours, until the sponge has visibly expanded and has a pronounced vinegar smell.
Sour-Scald 1 (Day 2, Noon)
Ingredient Grams / ½ batch Ounces Baker’s
Percentage
Sponge all 100 / 50 3.55 100%
Scald all 992 / 496 35.00 992%
Combine the sponge and scald, cover and let stand at 130°F/55°C until it has a strong smell of apple cider, 6-7 hours.
Martadella did the following: At 28-32°C 82-90°F
Drop sour into scald, dont mix, leave in a warm place for 3 hours
(I did 2 hours)
Then mix and let stand in warm place another 3 hours
(I mixed after 2 hours and removed from lukewarm oven, placed at cool room temperature overnight)
Sour-Scald 2 (Day 2, Afternoon)
Ingredient Grams / ½ batch Ounces Baker’s
Percentage
Sour-Scald 1 all 1092 / 546 38.50 100%
Instant yeast, ¼ tsp 1 / 0.5 0.05 0.01%
Add the instant yeast to Opara 1, stir to blend, cover and ferment overnight, 10-12 hours, at room temperature. In the morning, the mixture will be extremely bubbly and have a distinctive sweet-sour taste.
Martadella - dissolve the yeast in a small amount of water, then add to the sour-scald 1 1. ferment 12-13 h at 28-30°C 82-86°F
(He actually added 2g yeast and fermented 8 hours)
Final Dough (Day 3, Morning):
| Ingredient | Grams / ½ batch | Ounces |
|---|---|---|
| Sponge-Scald 2 all | 1093 / 546.5 | 38.55 |
| Wholegrain rye flour | 600 / 300 | 21.15 |
| Water | 100 / 50 | 3.55 |
| Salt | 5 / 2.5 | 0.20 |
| Honey | 30 / 15 | 1.05 |
Add the final dough ingredients to the Opara 2 and use the dough hook at low (KA2) speed to mix until the dough is fully blended into a firm, sticky mass that gathers around the hook, 7-8 minutes.
Turn the dough onto a well-floured work surface and used floured hands to shape it into an oblong loaf, then place it on a well-floured peel, if using a baking stone, or on a parchment-lined sheet pan.
I wet the counter and my hands to shape. Try to shape very narrow since the dough will spread as it final proofs.
Brush the loaf with water, cover it with a tea towel and proof at room temperature, brushing with water every 15 minutes, until it has expanded to about 1 ½ times its original volume and shows cracks and broken bubbles, 45-50 minutes.
I used a spray bottle to keep the dough damp.
Preheat the oven to 480°F/250°C with the baking surface in the upper third. Brush the loaf with water and bake without steam for 40-45 minutes, then reduce the temperature to 390°F/200°C and continue to bake until the loaves thump when tapped with a finger and the internal temperature is at least 200°F/93°C, about 20 minutes more.
Everyone commented that these temperatures were too high.
Start 480°F 30 mins then drop to 400°F until done another 15-30 mins or so. Apply cornstarch glaze and then return to oven until glaze sets, about 3-4 mins.
Glaze:
| Ingredient | Grams / ½ batch | Ounces |
|---|---|---|
| Cornstarch or potato starch, 1 tsp | 3 / 1.5 | 0.10 |
| Water, 1 cup | 227 / 113.5 | 8.00 |
Bring about three-fourths of the water to a boil. Dissolve the starch in the remaining 1/4 of the water water and add it to the boiling water, stirring constantly until the mixture thickens. Brush the hot glaze on the top crust and return the loaf to the oven until the glaze sets, 3-4 minutes. Transfer to a rack and let it sit for at least 24 hours before slicing.
