This is the comment thread for the Breadtopia blog post originally published here:
To leave a comment, click the Reply button below
If you do not see the “Reply” button, you will need to log in or register an account. Please click the blue “Log In” button in the upper right of the page.
This looks fascinating. I do have a question though. Why is it necessary to discard the top layer of the desem when using it to start the levain and then refresh it. Is there a reason the top layer couldn’t be added to the bread dough? I hate discarding!
It’ll be dried out. The fresh doughy centre of the starter is used. Unnecessary discard is a waste. The nature of this starter requires a little necessary discard but it’s served it’s purpose.
It’s always a good practice to discard the exterior of a starter that is beginning to dry out. Undesirable bacteria and mold find a good growth medium here. It can also change the pH.
In addition to the already mentioned lumps.
It’s just useless material that unbalances your starter: no active levain and no food for it.
Good point! That point slipped my mind. I don’t think it’s waste once the benefit has been derived. Discarding what one is able to use is waste.
This isn’t a desem starter (desem being a way to keep a starter encouraging certain qualities) but there is a similar way to make a starter from scratch.
Make a golf sized dough ball with wholewheat flour. Bury it in white flour inside a paperbag. Keep it somewhere dry and warm for about a week by which time it’ll have expanded and grown a hard scaly outer shell. Carefully cut it open, scoop out the gooey inside and feed it. It’ll need a bit of strengthening but it works with minimal fuss.
Too true! you don’t wish to keep the dried out ‘starter’ outer shell.
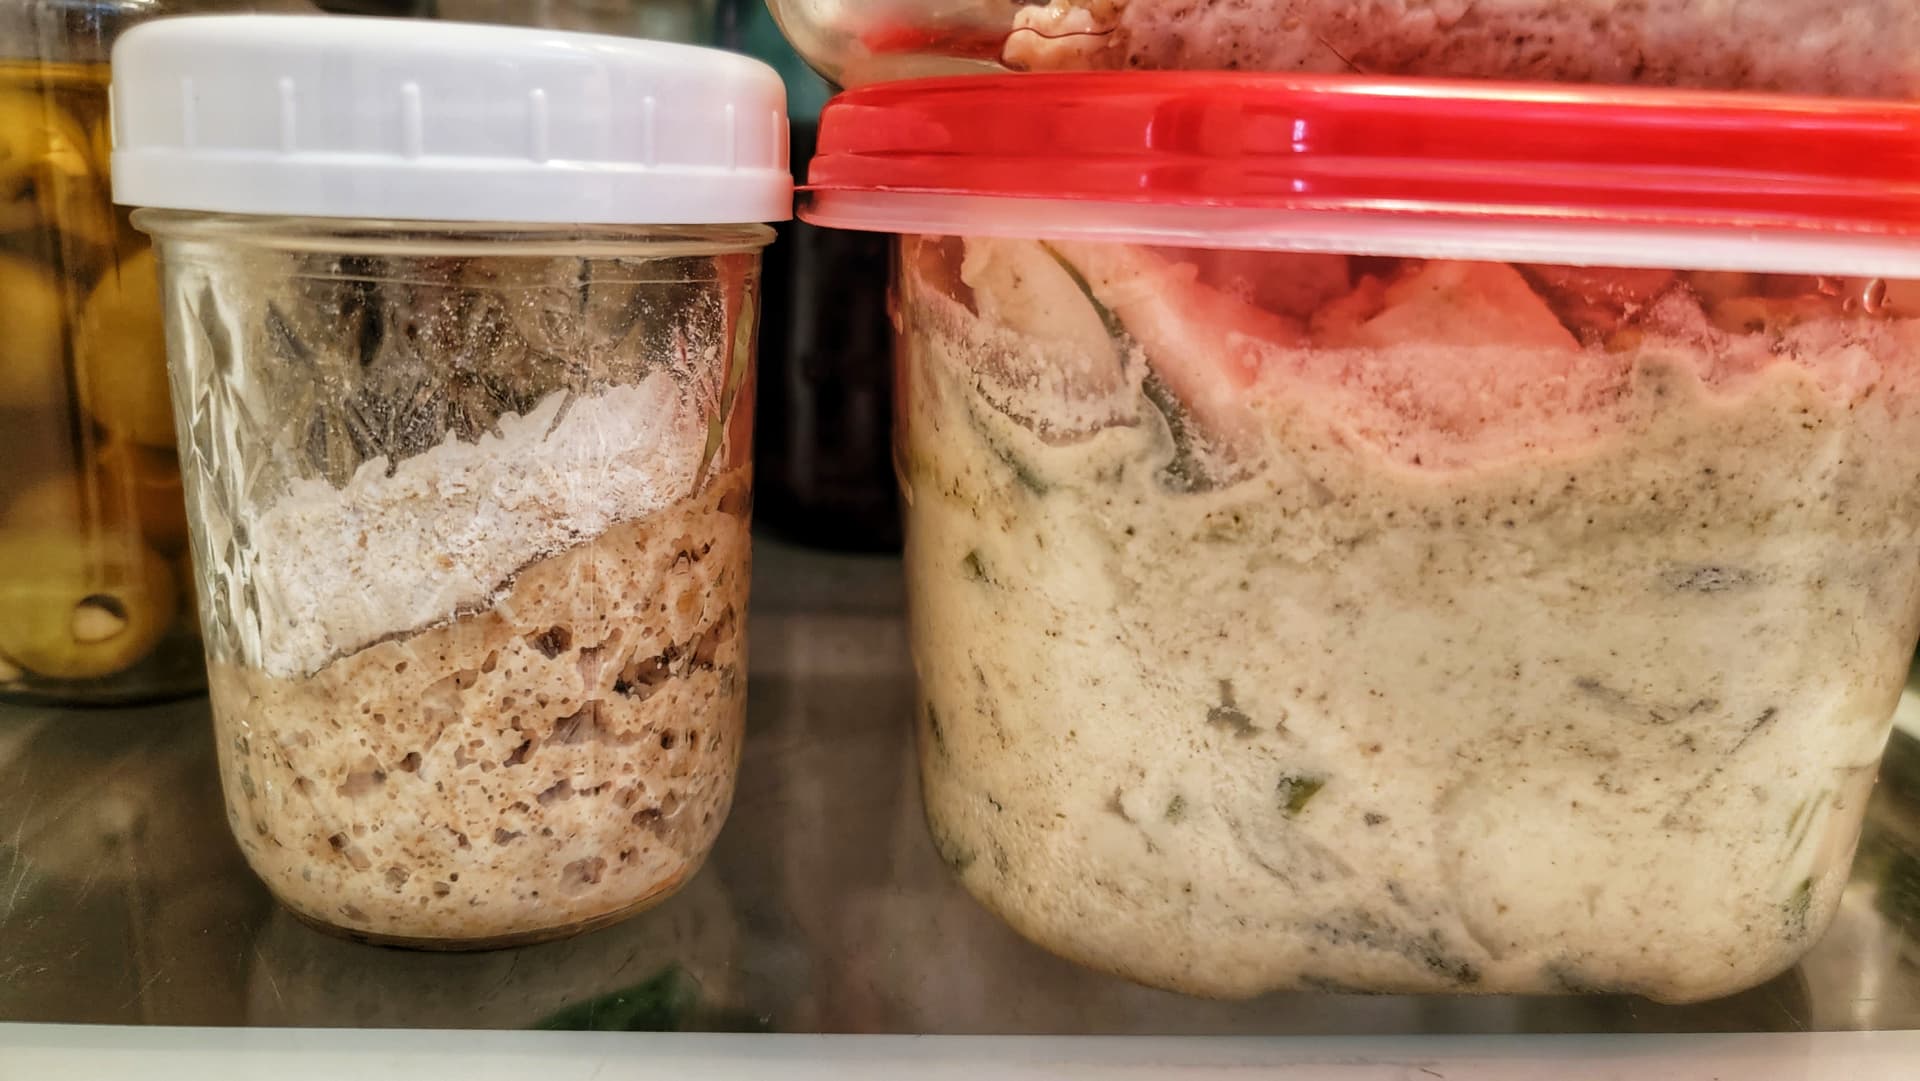
I’m pretty into no waste like you @wendyk320 and I’m not sure if there’s anything off about that top desem layer since it is still under a layer of flour. But I go with discarding for my desem maintenance, because unlike 100% hydration starter, it’s super easy to put that dry chunk in my under sink compost bin. Not a drippy glue mess.
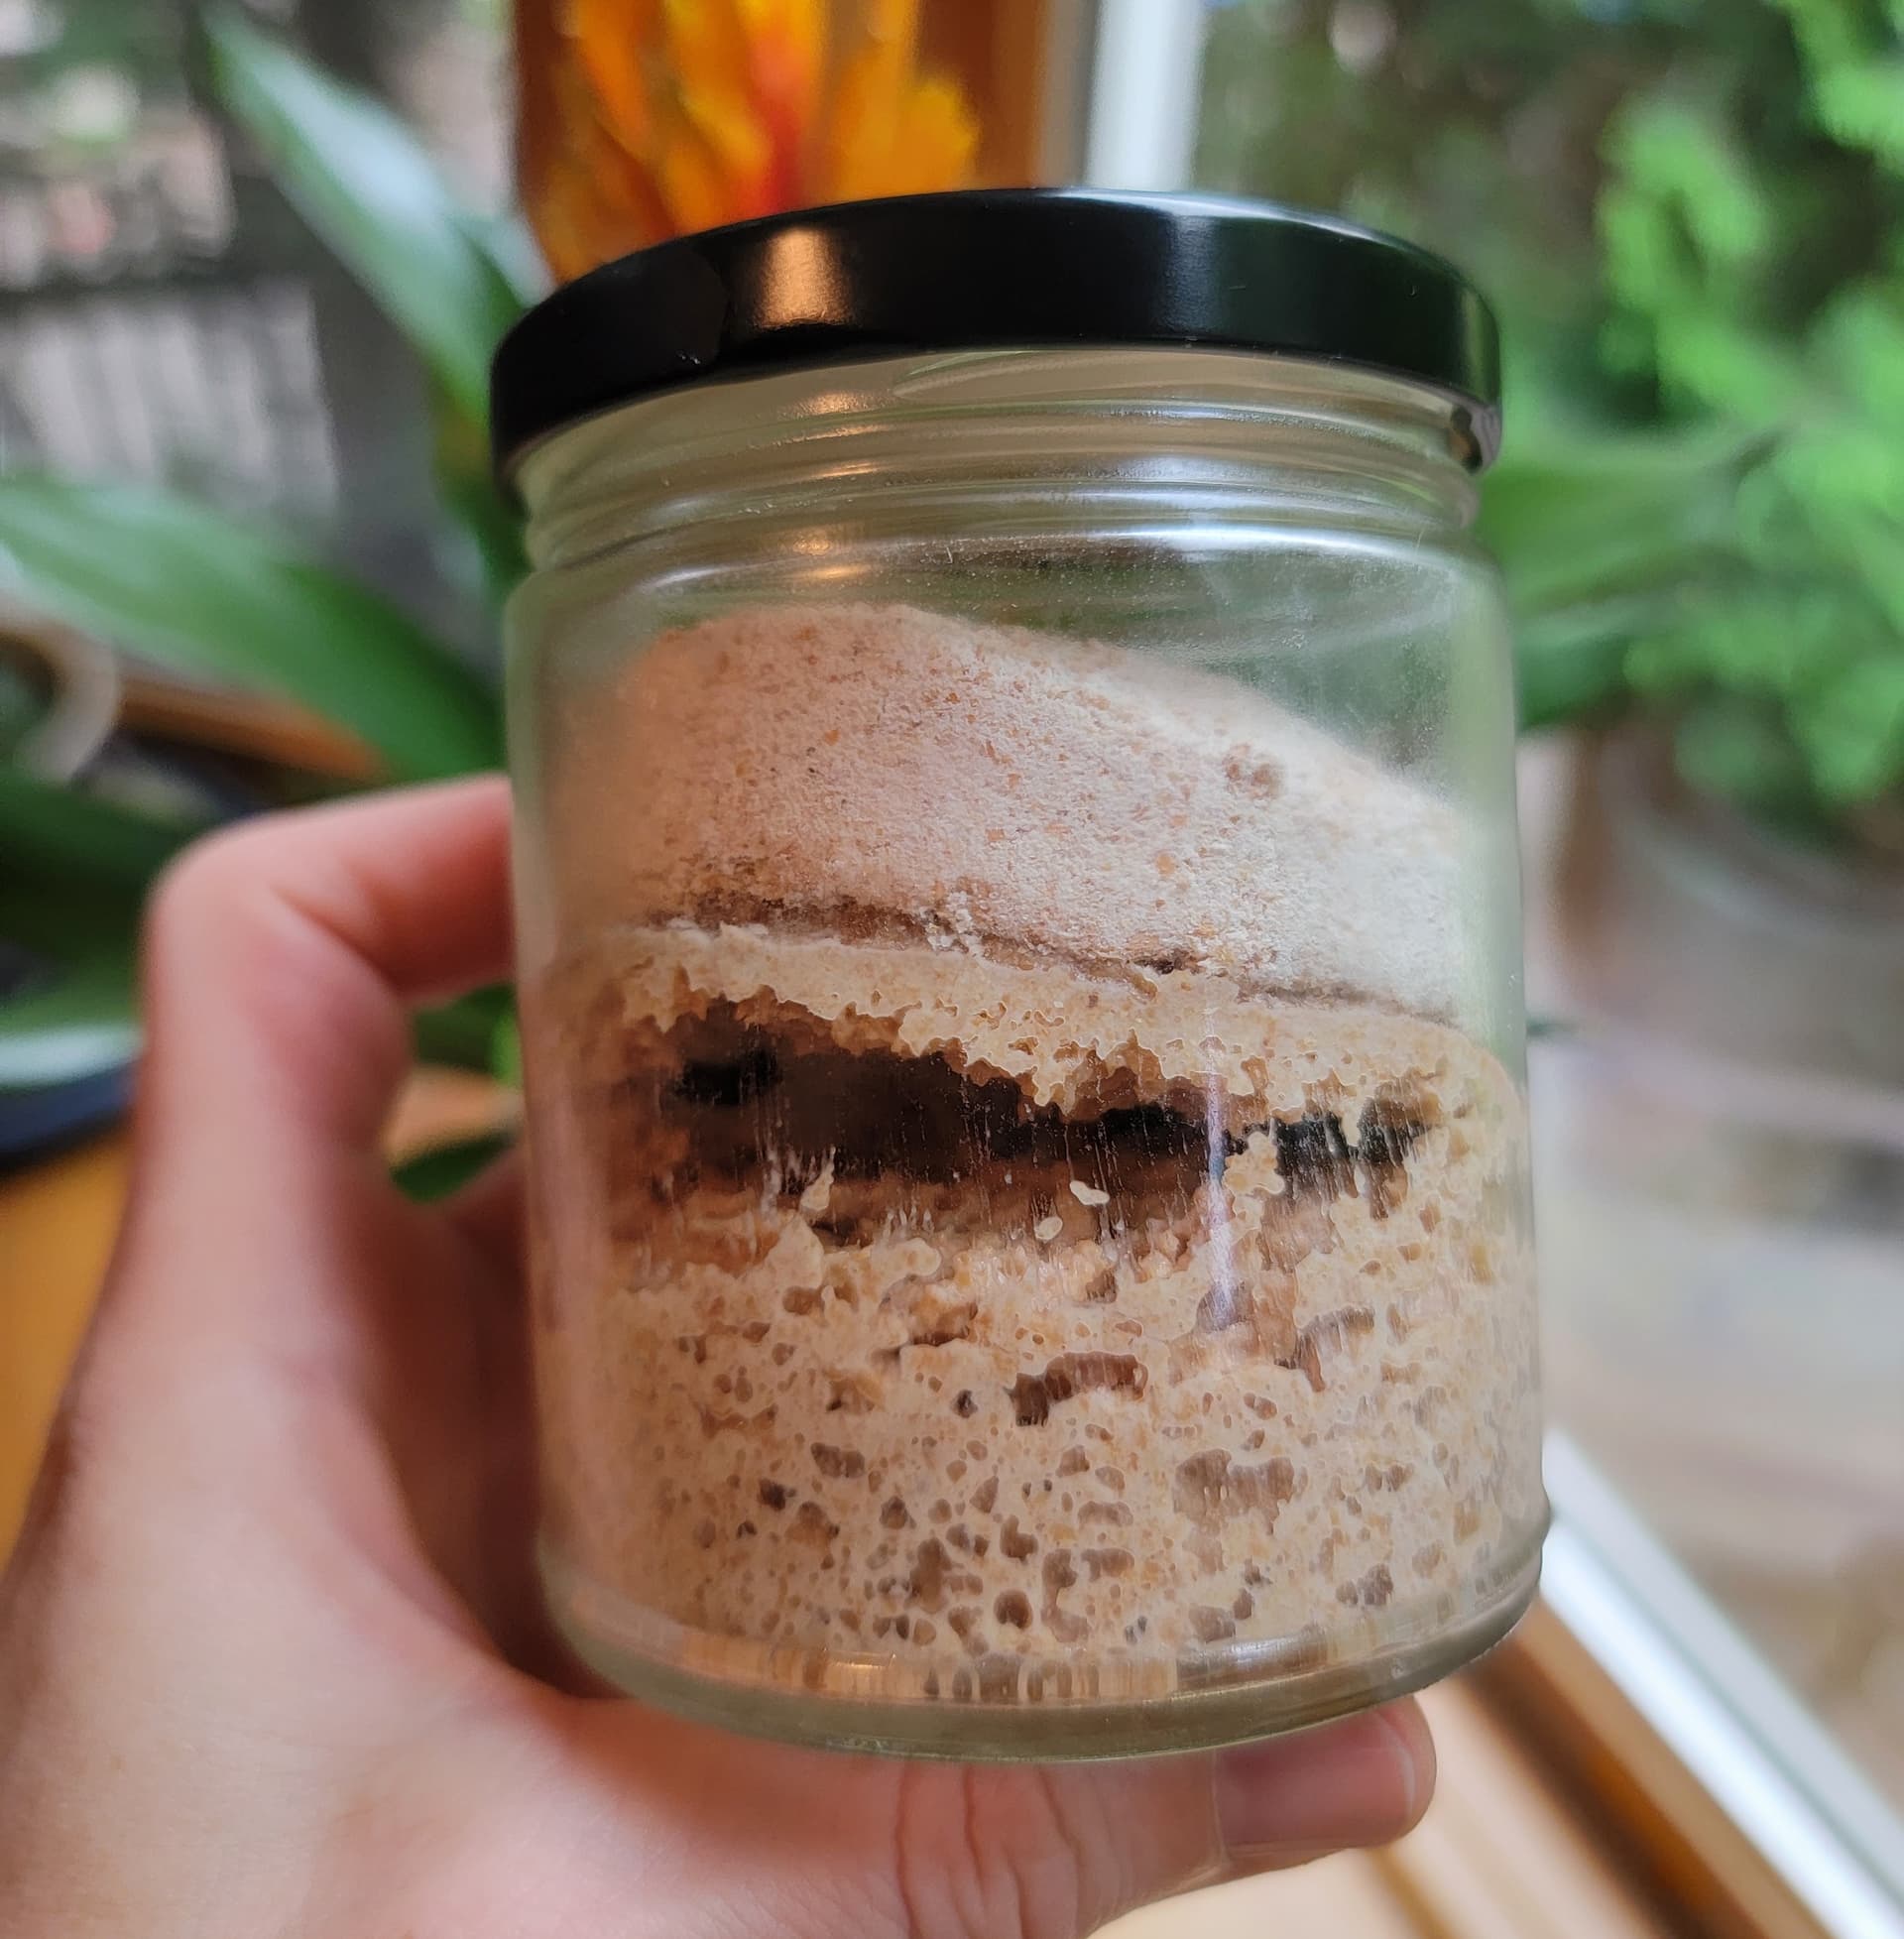
Also I haven’t baked with my desem more than once a week yet. I think if I were to bake with it twice in a week, I might uncover the desem, pull off a little for the levain build, re-cover it with flour, and not even bother refreshing until the second bake. It takes almost a full week for that top part to look gray and dry-ish.
I pretty much left the jar in the refrigerator for a couple of months this summer, and it got lively after 1 discard/feed.
A quick not that you can make perfectly good desem loaf in the 70s. At about 79F things get weird. But below that you just need to make sure you don’t overferment and the dough never gets sour. I follow the alan scott proportions of 1:2:1.6 for the final dough (50% levain) and it takes about 2h for bulk and 1h for rt proof.
Nice! I’m excited for you. This starter smells so lovely. I feed mine weekly, and the dry top goes to the compost while the rest, I divide in half to leaven a bread dough and to be re-fed and returned to the jar.
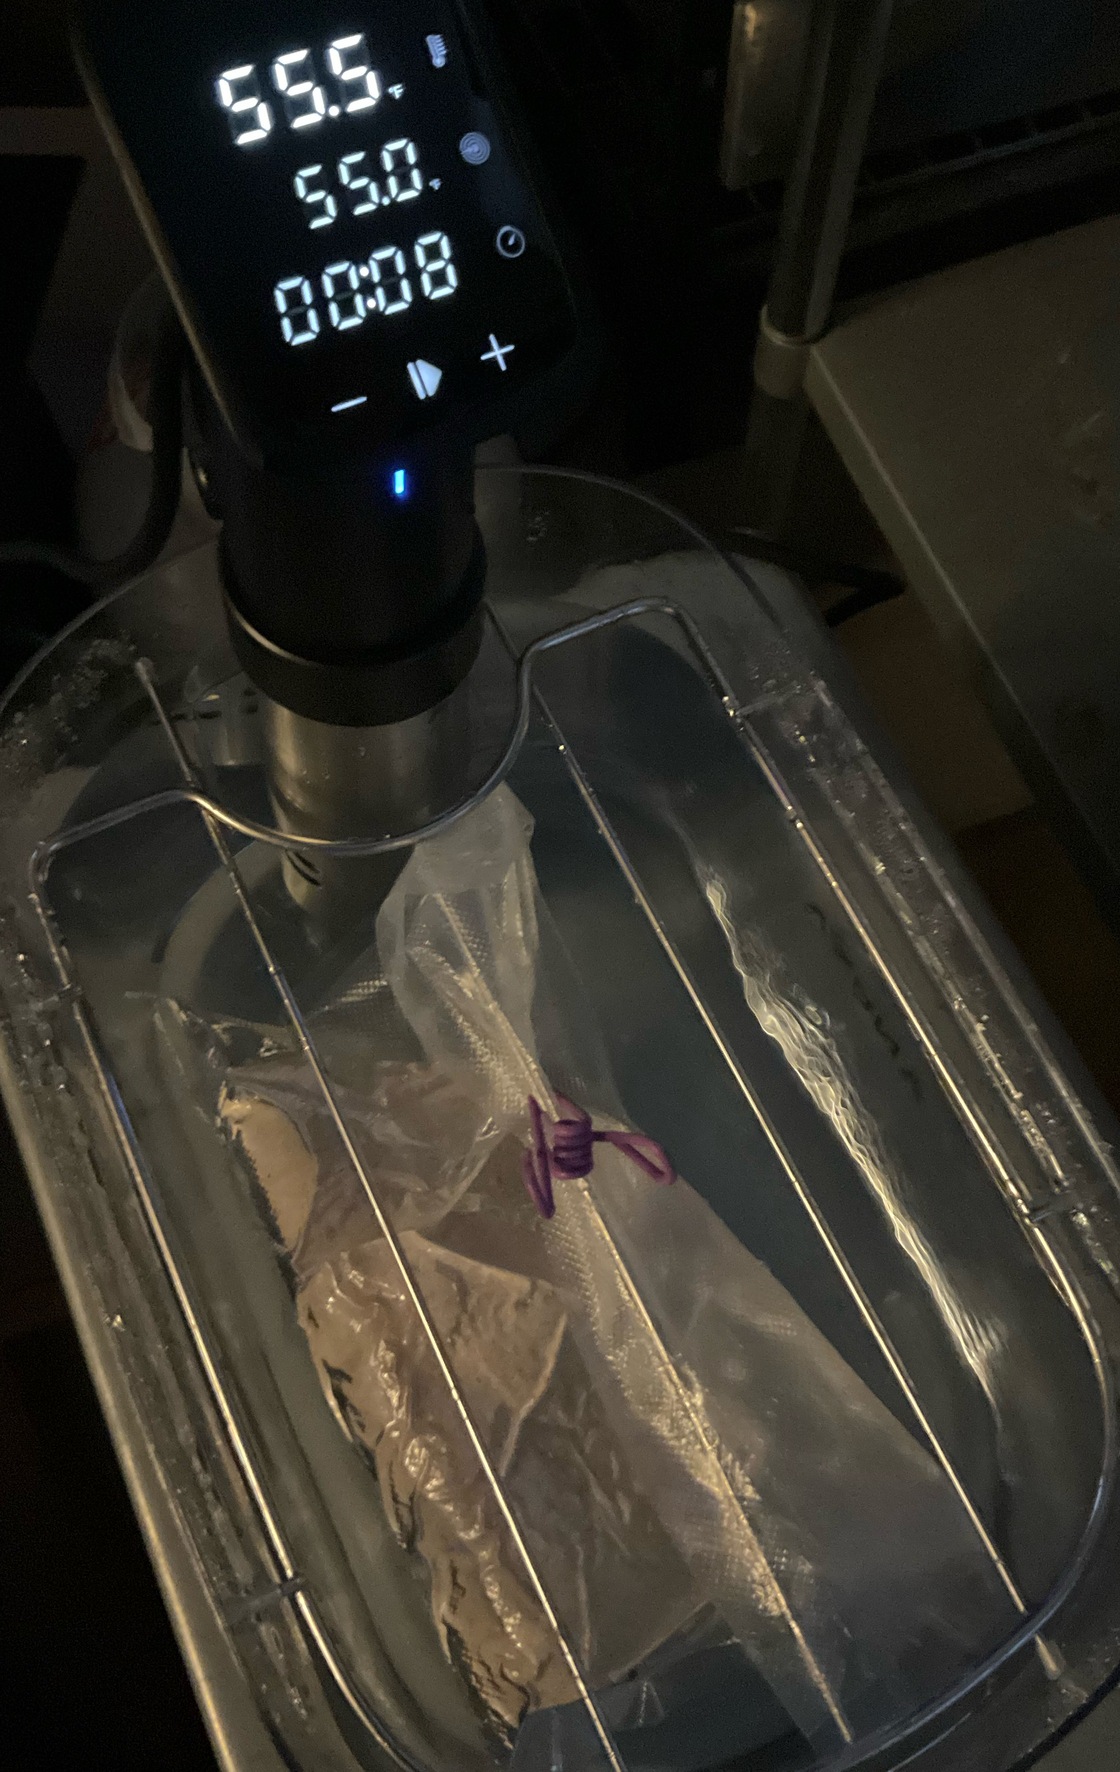
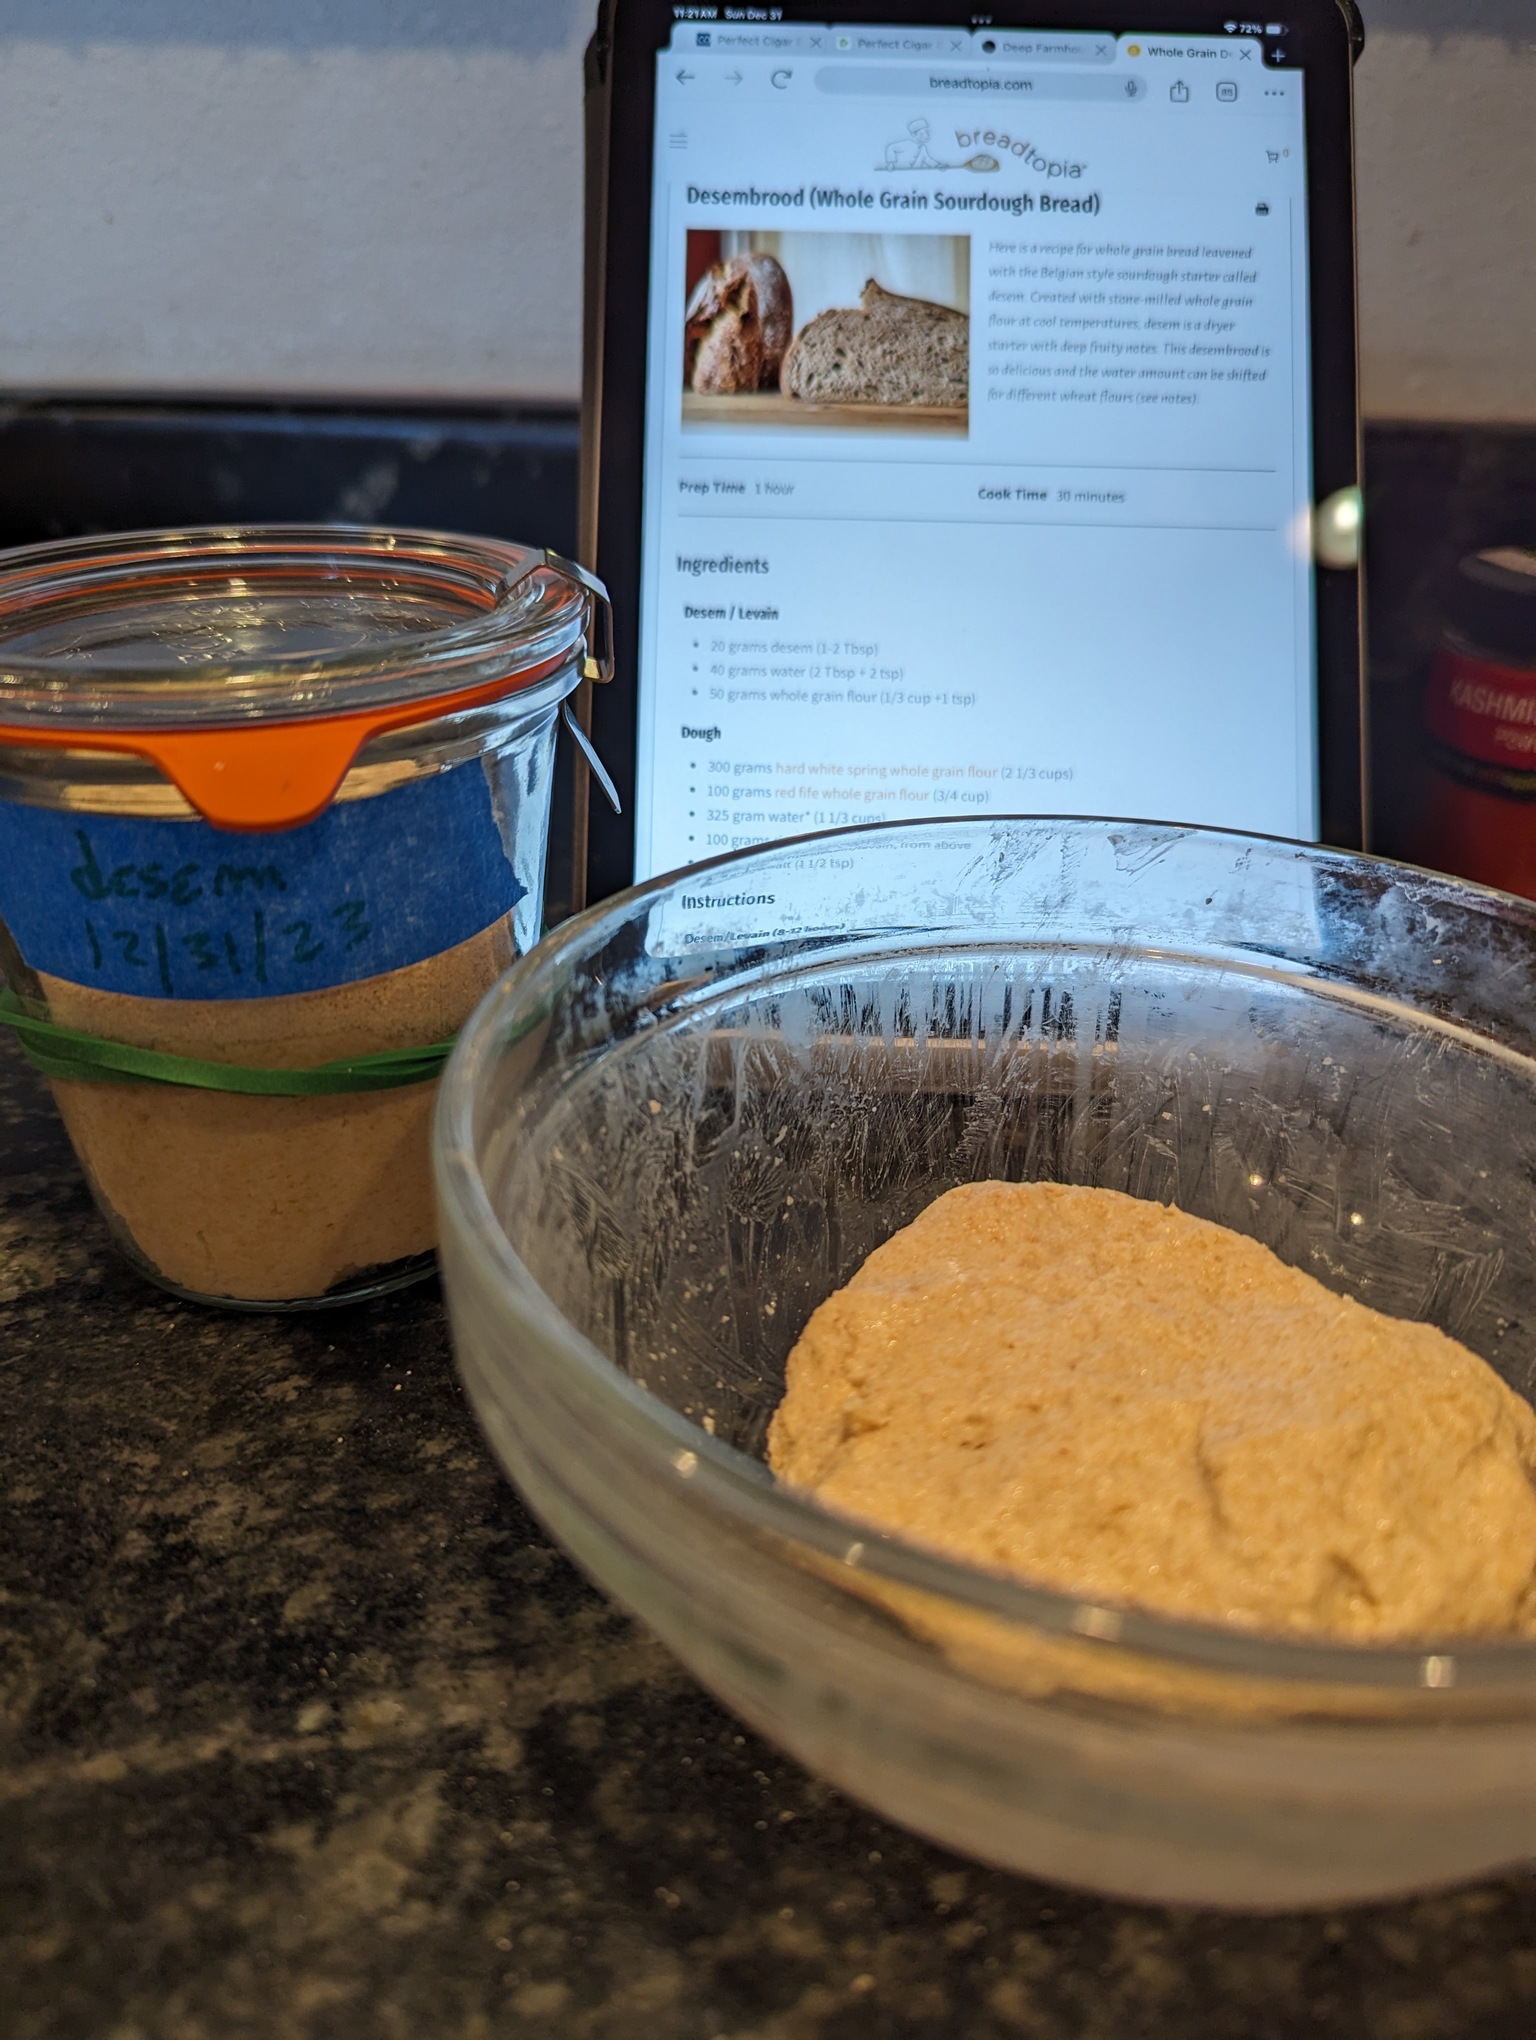
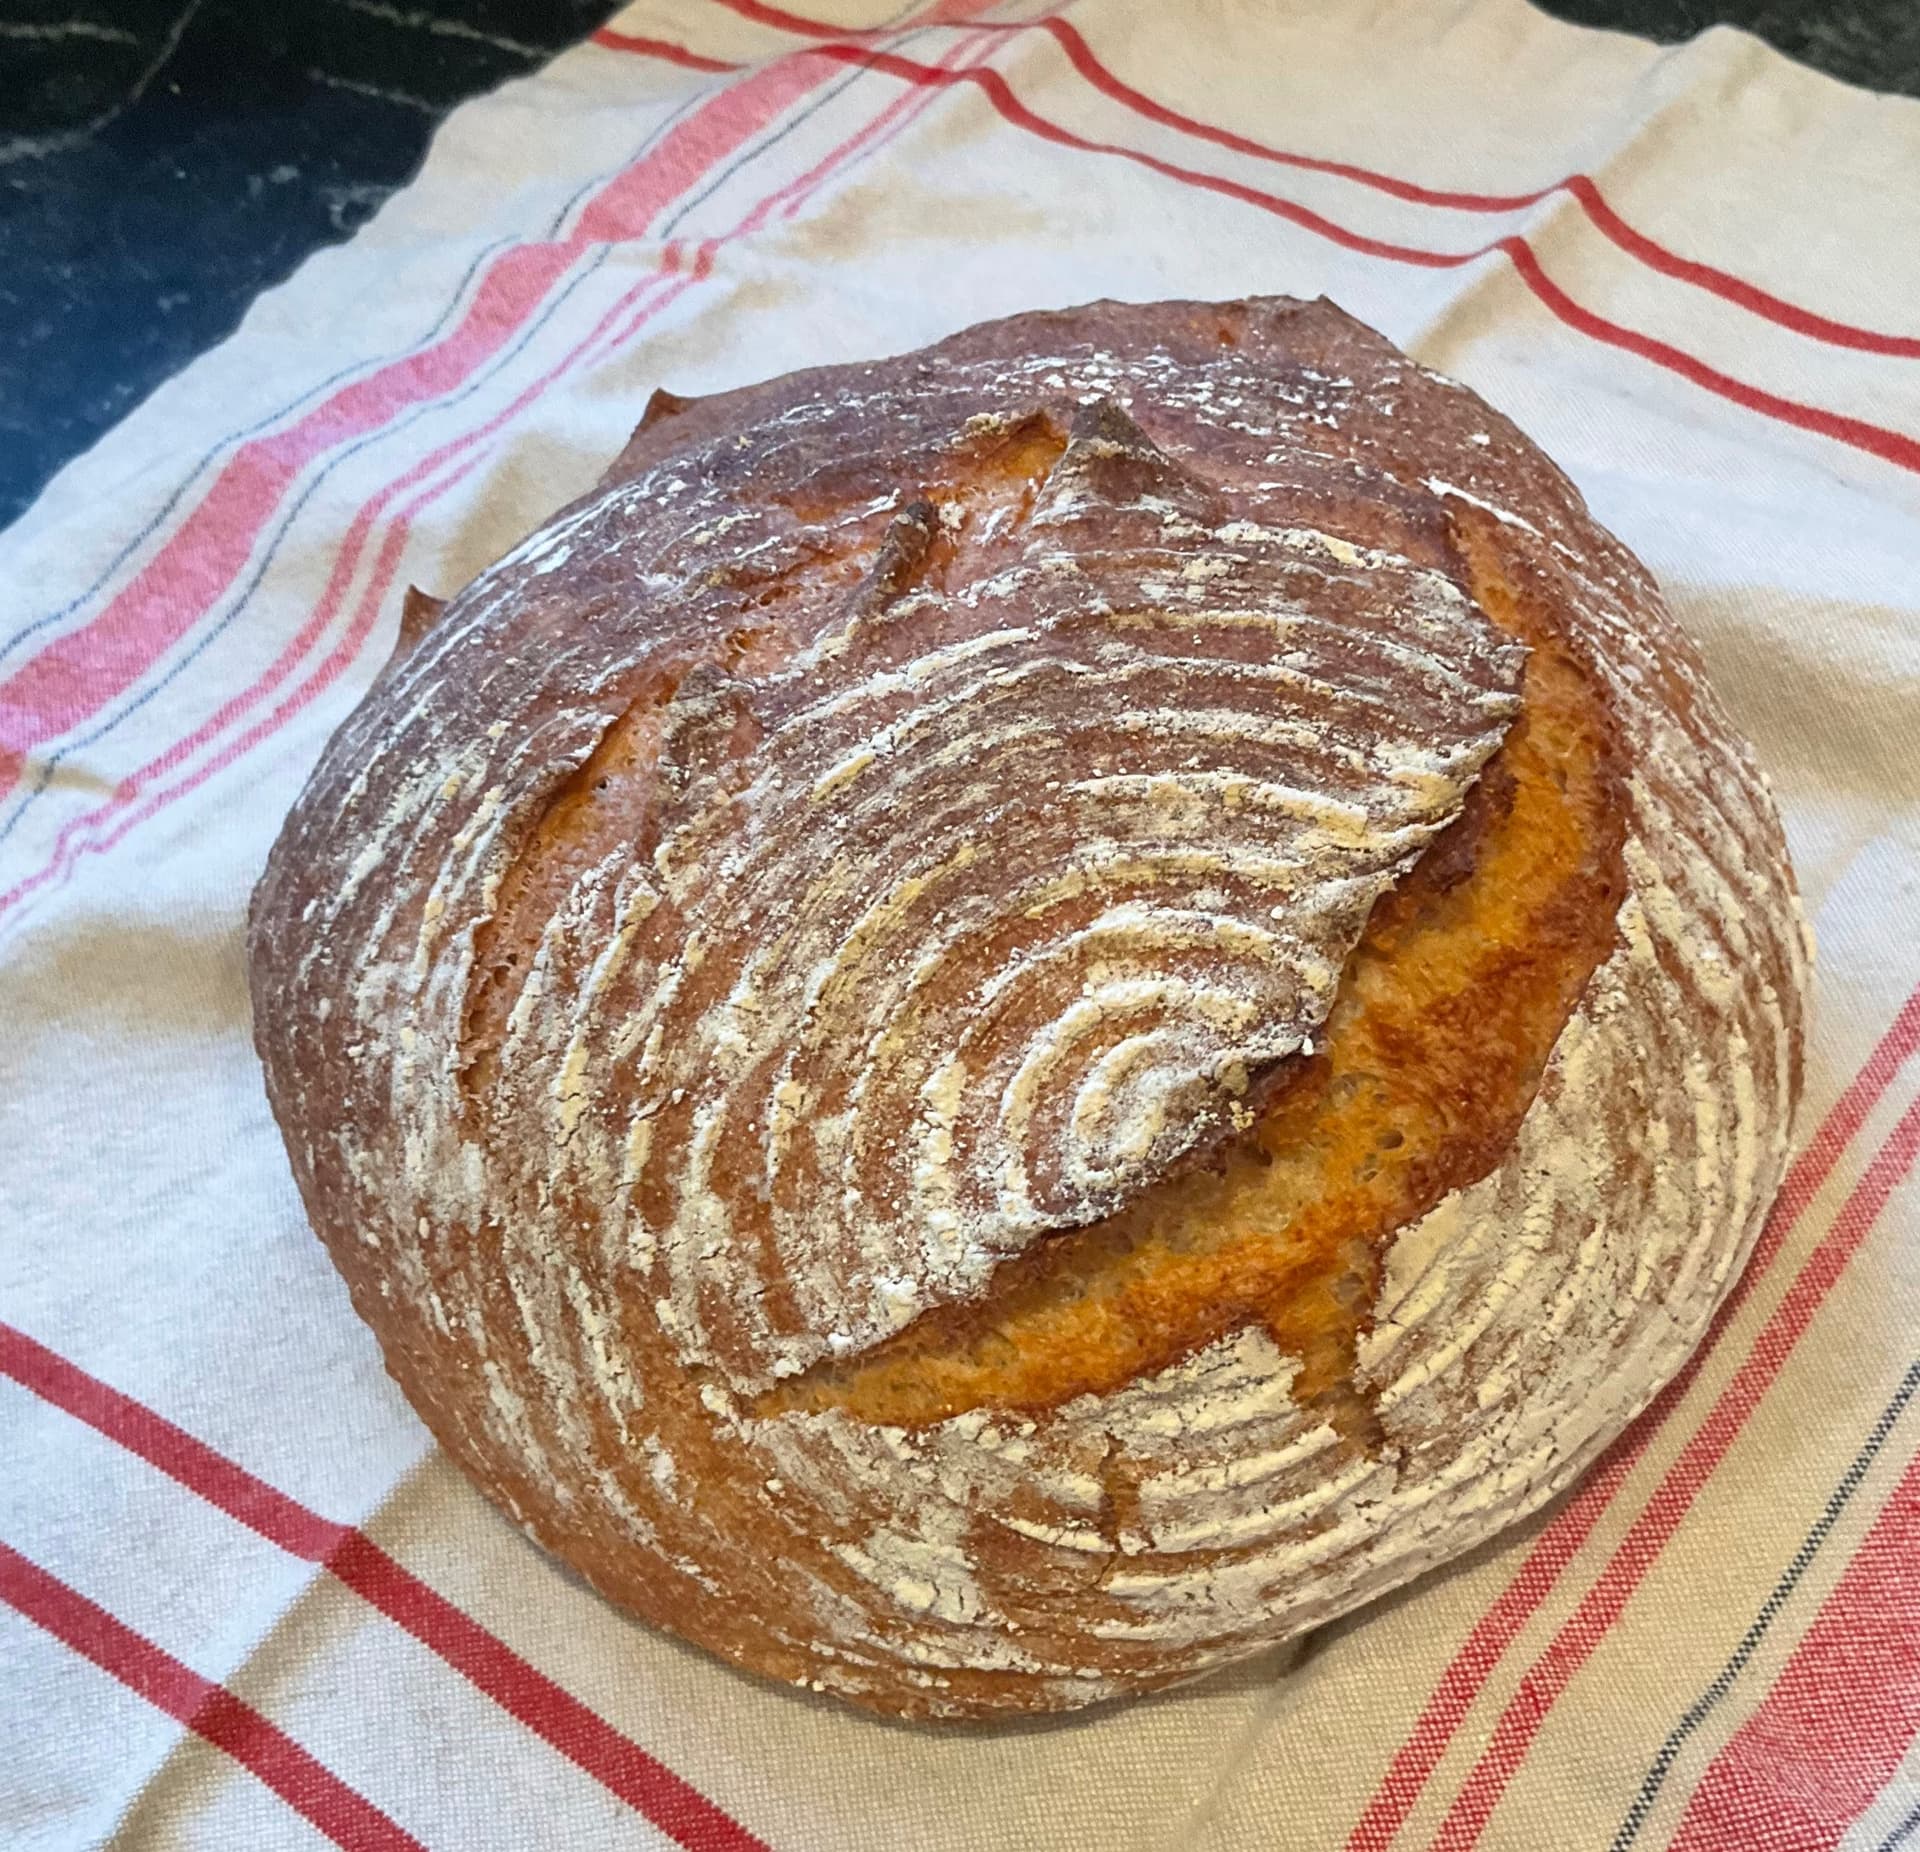
I am really excited to report an update! The sous vide method worked awesome for the first 14 days. The photo shows the fed portion to now move to the fridge and maintain and the fed Desem to use to bake a loaf of bread! Thank you Melissa for the photos of the stages in the process. I had read about it however the step by step photos prompted me to start my Desem! The fragrance is so sweet and nutty!
I’m so glad you decided to try making desem and it worked. It really does smell lovely. I find the maintenance easy and I basically use the “discard” of a refresh-feed to bake bread or pizza or whatever-have-you every week or two. (By discard, I don’t mean the dry layer that I compost, but rather a piece of the desem that I might have built a levain from, except I don’t find that step necessary so I use it to ferment the dough.)
How did your first bread come out?