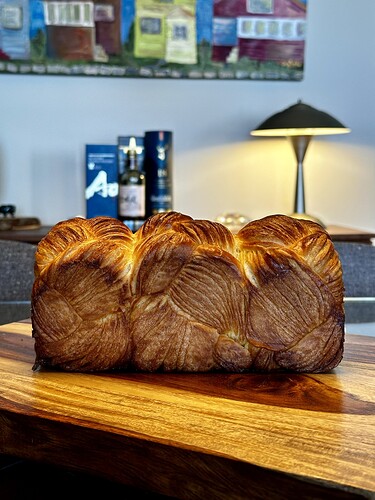
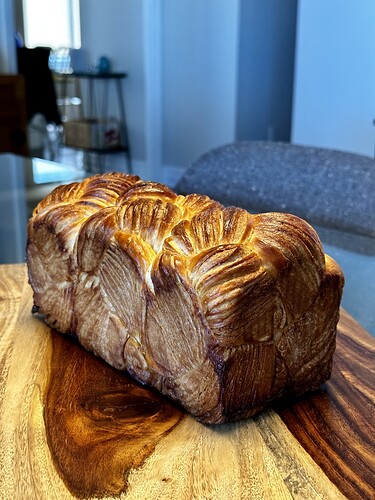
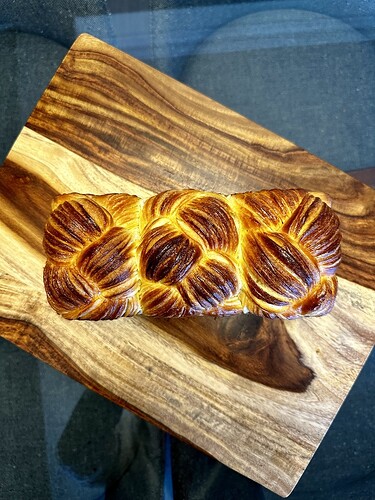
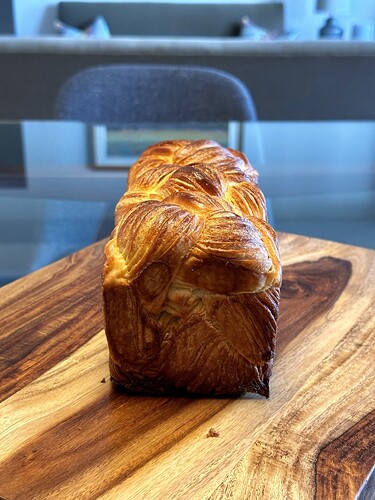
I’ve been wanting to try baking this style of bread for some time, but just couldn’t get my nerve up to trying it. Despite its name, it seems that it is really an Asian style of bread. I’m guessing that the Danish part of it is that it is somewhat like a danish as in the pastry. Also, this isn’t something I could try during the heat of the summer and this week we are finally having some normal autumn weather.
To make this bread one starts by making a somewhat stiff enriched dough. Then you make a flat square of butter that then gets sandwiched inside the dough. This gets a series of folds resulting in 12 layers. One has to keep the butter cold enough so that it doesn’t melt into the dough, yet when rolling it out, warm enough to roll out.
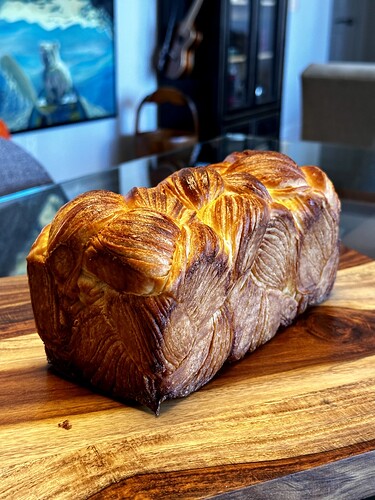
For my first attempt at this type of lamination, I’m quite pleased with the outcome.
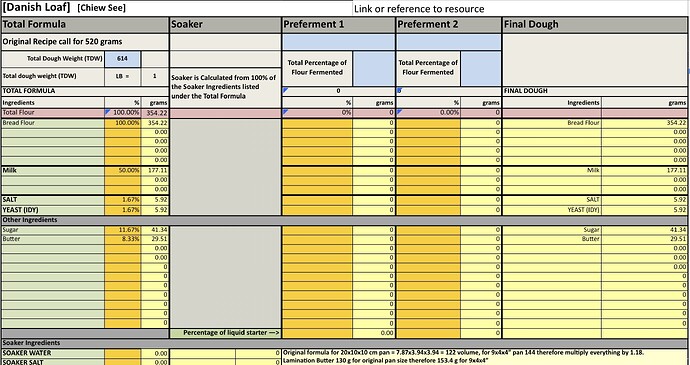
I’ve altered the formula just a bit to fit my 4x4x9” Pullman pan from the original recipe by Chiew See of Autumn Kitchen on IG/Youtube.
To the bowl of a standmixer add milk, IDY, sugar and salt, mix to dissolve. Add flour and mix until the dough starts to come together. Add butter in pats until well incorporated. Mix until moderate gluten development, it doesn’t need to reach good windowpane. In fact, I found this dough too low hydration so added some extra milk and ended up fully hand kneading it.
Flatten the dough with a rolling pin into a rectangular shape. Wrap with clingfilm, leaving space for dough to expand. Ferment at 28°C for 30 mins. Freeze the dough for 1 hour then transfer to the fridge 3°C overnight.
Fold parchment paper into 18 x 18 cm square. Weight out 154 g butter, place it on the parchment square, joining the pieces so that it starts to fill the square. Fold the parchment to enclose the butter. Use your rolling pin to strike or press the butter to soften it without warming it excessively. Roll the butter out to fill the 18x18 square using the rolling pin ensuring that the butter is uniform thickness throughout and that the butter fills right to the corners. Refrigerate the butter overnight.
In the morning remove both the butter and the dough from the fridge. Both the butter and the dough needs to have the same firmness before laminating them together, if the butter is harder, let it soften first. You should be able to leave an indent in the butter if you press into it. The butter should be pliable and be lightly bent without breaking, its temperature should be between 13-15°C.
Roll the dough into an 18x36 cm rectangle, the dough should be twice the size of the butter. Brush off excess flour. Place butter in the center of the dough, fold the dough to enclose the butter pinching the dough where the ends meet to seal. Turn the dough 90* so that the open end is towards you and the closed sides are perpendicular to you. Gently press down on the dough with the rolling pin before rolling. Lightly dust with flour, then roll from center to the ends with firm and even strokes. Flip the dough and continue to roll to 21x53 cm. Trim off the uneven ends. Brush off excess flour.
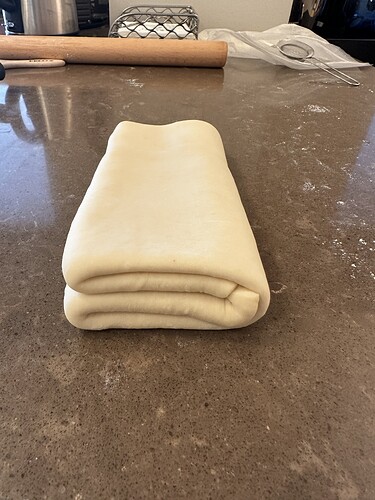
Do a double or book fold, this brings the cut ends of the dough together folding one edge to two thirds of the length then fold the other end to meet. Next fold the dough in half. You now have four layers. Wrap with clingfilm and refrigerate for 30 mins.
Remove dough from the fridge, give it a few minutes if it is too hard before rolling. Gently press down with the rolling pin. If there are any bubbles pop with a toothpick. With either of the open ends towards you roll the dough to about 21x53cm. Do a lenter fold (letterfold in thirds) giving you three layers for a total of 12. Wrap in clingfilm and refrigerate for at least 1 hour.
Prepare your pan by greasing it with butter.
Remove the dough from the fridge allowing it to soften until it is soft enough to roll. Again using the same methods roll the dough out to slightly larger than 30x21 cm. Trim all four sides to achieve 30x21 cm, keep the scraps for final shaping.
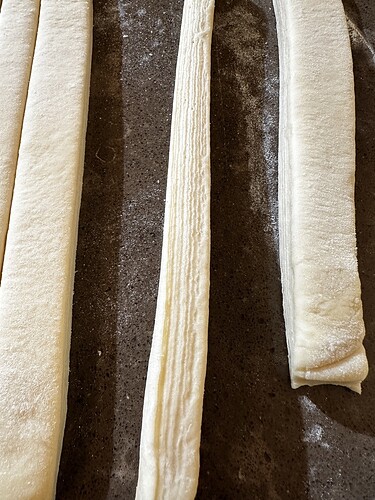
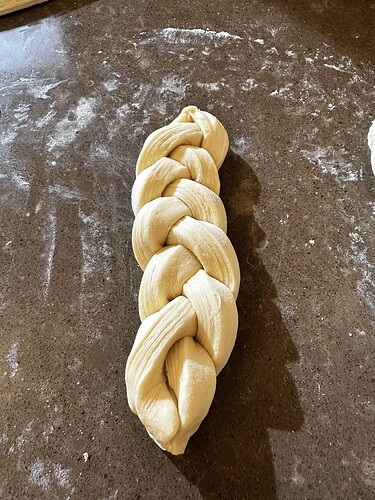
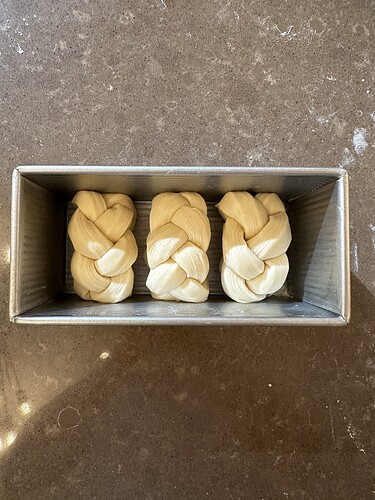
We will require 9 strips that are 30 cm long so mark 2.33 cm intervals on the 21 cm sides of the dough. Cut the dough into 9 strips 2.33x30 cm. We will be braiding three sets of 3 strips, so starting with 3 strips, stack the ends together with the center strand at the bottom and press down so that end sticks. Braid the 3 strands so that the cut sides of the strips face up if possible. Pinch to seal the end. Flip it over, place ⅓ of the trimmings you kept into this underside of the braid now facing up. Fold the two ends together and then place this into the greased pan folded side down. Repeat with the other two sets of three strands so that there are three sets of braided dough in the pan. The sets are placed side by side in the pan.
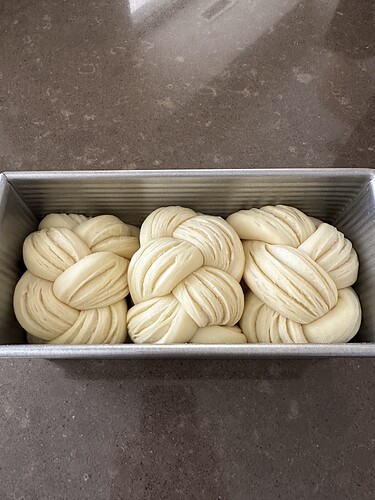
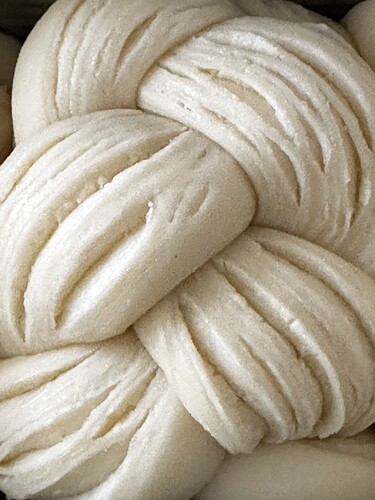
Ferment between 27-28°C 80-82°F until the pan is about 80% filled (3-4 hours). 30 mins prior to baking preheat the oven at 200°C or 390°F. Egg wash the dough when preheating starts and then again immediately prior to baking. Optional, after second egg wash sprinkle almond flakes on the top. Place on a lined pan to bake as the dough will leak melted butter from the tin.
Bake at 200°C 390°F for 8 mins, then drop temperature to 170°C or 340°F and bake for another 25-30 mins or until golden brown. Allow the loaf to cool prior to slicing.
After the first set of folds.
A side view of a strip of dough with 12 layers.
Plaited and soon to be rolled.
30 mins prior to baking.
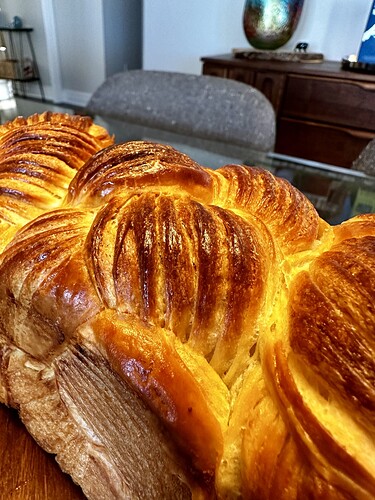
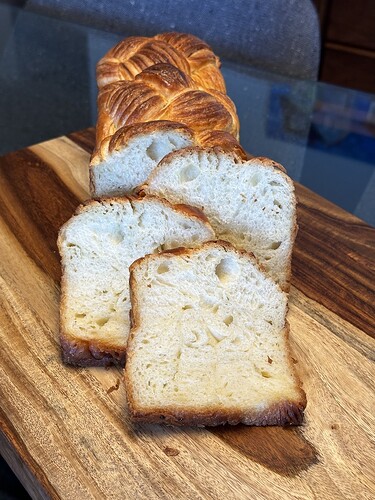
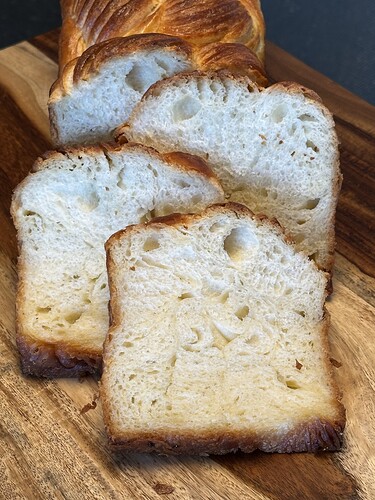
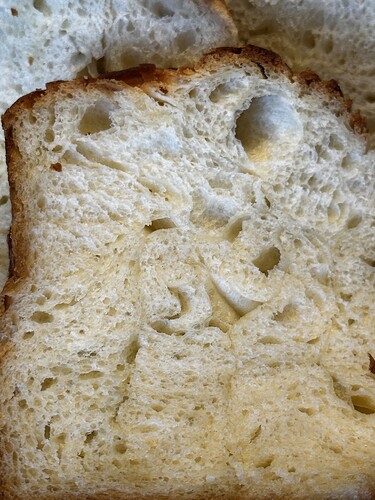
This is a very interesting bread. Despite the very low hydration of only 50%, it is so soft and shreddable. The crust is the real highlight though, it is so crispy with shards of thin flakes of dough just like a croissant, so delicious.
