I typically heat my Dutch Oven for about an hour at 450°. I then remove the Dutch Oven from my cooking oven and drop my dough into it, put the lid on and pop it back into the cooking oven for 40 minutes or so. It works well.
I would like to prove my loaf in a room temperature to lightly warmed Dutch Oven. Can this work? How long should the bread cook and at what temp?
Although I haven’t tried it myself, I know that some folks bake their bread starting with the dutch oven at room temperature. The best way to find out how well it works is to try it out yourself and see. Report back here is you do try it.
So Keith, you place the dough in the cold dutch oven and then place both into the cold oven and then start the oven? Then baking time starts when oven reaches desired temperature and then bake as usual.
Do you not find that the dough spreads out while it sits in the dutch oven in the pre-heating oven?
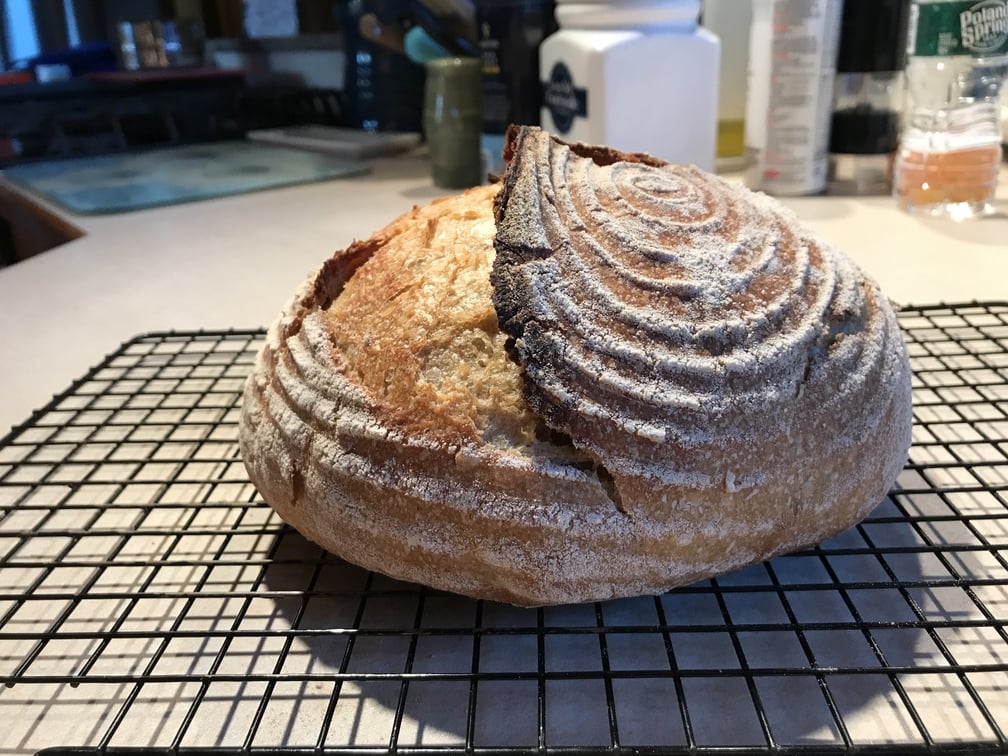
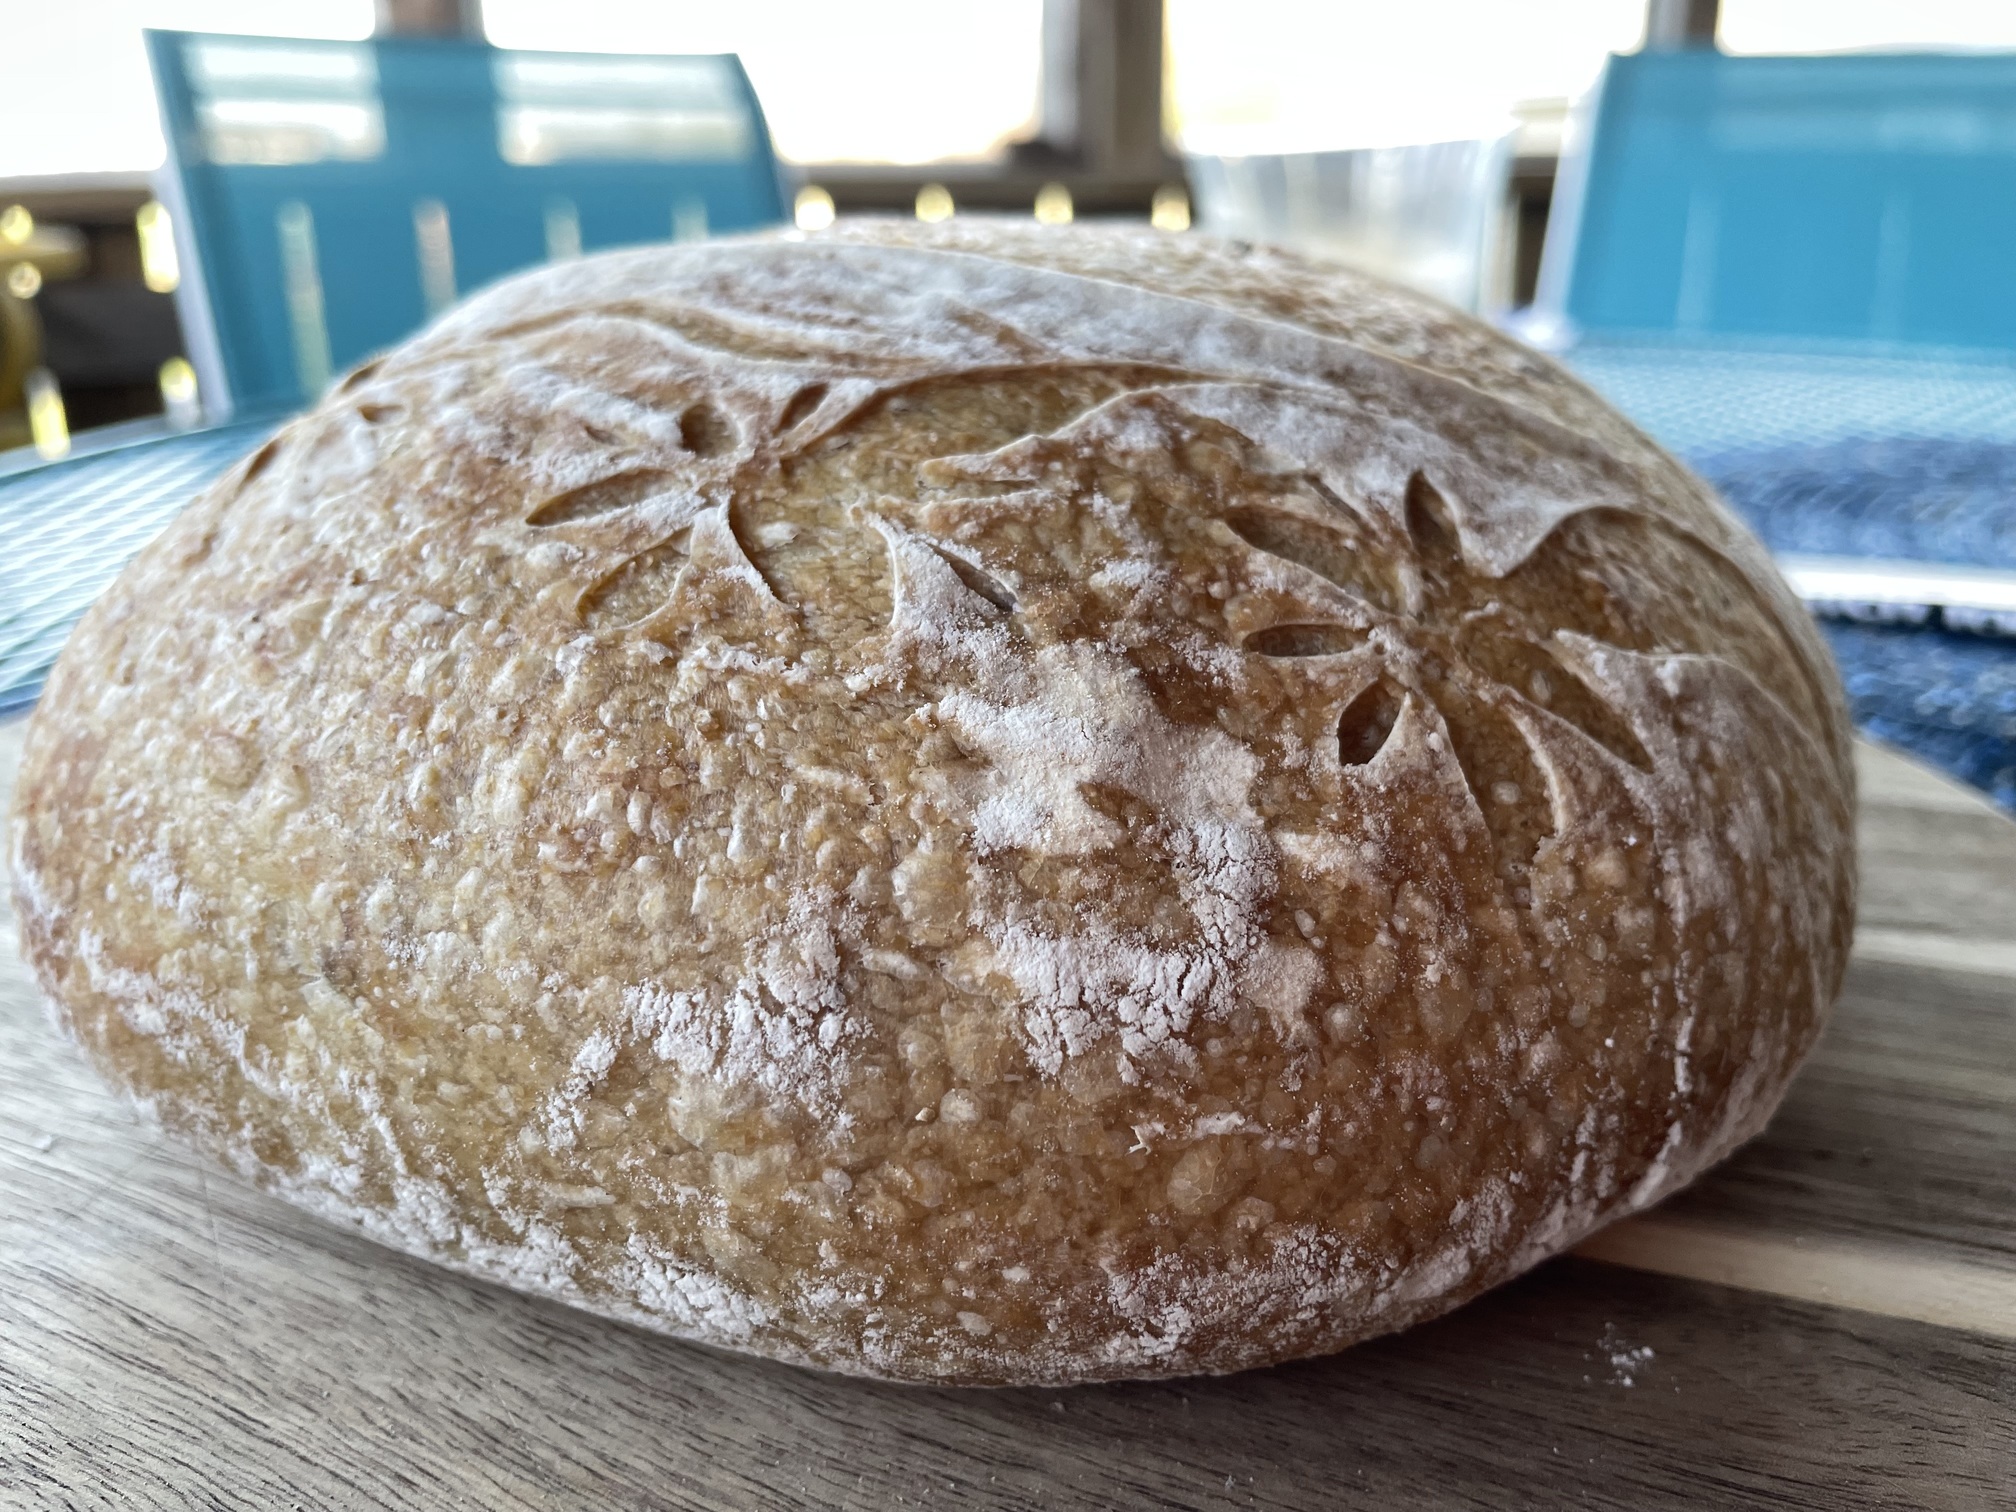
I have done it the same way Keith. The bread is ok, but I do get a a little sag on top of my loaf and the crust is always smooth and unappealing visually. Is there a way to keep the top from sagging and to make it look more artisan?
Look at the my photo of the IPA Sourdough I posted on here. That was done in a cold dutch oven in a cold oven. The sagging could be from an overproofed dough. The color could be a time or temperature issue. I don’t start the bake timing until the oven is up to temperature. With out more details these are only guesses.
It looks perfect, like it was baked w/o the dutch oven! My two attempts had smooth crust, the 2nd loaf was slightly dipped in the middle, although the bread had a wonderful taste and that nasty looking crust tasted great. I’d just like a better presentation - like yours!
Cook’s Illustrated recommends starting with a room temp dutch oven & a cold oven.
I have tried both ways, & don’t find a great deal of difference in the results. Pre-heating the oven to mimic the steam of a professional bakery seems to make sense. The trade off is: how much energy is used in pre-heating the dutch oven for 45-60 mins at 475/500 degrees.
Cook’s Illustrated did a test and found no difference either. Their preference, then, was for the cold start since it was safer for transferring the dough. So what was my takeaway? Stubborn adherence to dogma. I preheat mine. Perhaps one explanation for why I stick to preheating is that I use extremely high hydration in excess of 80%. At that level of moisture, an unsupported loaf would tend to lose its shape in the time that the cloche/Dutch oven was heating.
Here’s what Cook’s Illustrated had to say:
“Our No-Knead Bread 2.0 (January/February 2008) presented a foolproof way to make bakery-quality loaves in a preheated Dutch oven. The heavy covered pot, which preheats at 500 degrees for a half-hour before the dough is added, acts like a miniature version of the steam-injection ovens used by professional bakers: The lid traps steam released by the loaf for maximum rise (without kneading) and a shatteringly crisp crust. But after further experimenting with the recipe, we discovered that this already simple method can be made even more so by eliminating the 30-minute preheating step and starting the loaf in a cold oven. When we started the process in an unheated pot in a cold oven, the loaf rose just as high as the standard hot-oven version did, and the crust browned beautifully. Why does this cold-oven method work just as well as the original? Because the same process is taking place, but in slow motion. Instead of blasting the loaf with heat and steam right from the get-go, we let those elements build gradually. Eventually, the loaf achieves the same amount of “spring.” We did need to make two more adjustments to the original recipe. First, after you put the dough in the oven, simply set the oven dial to 425 degrees (rather than beginning at 500 degrees). Second, start your 30 minute timer as soon as you place the bread in the cold oven and turn the oven on. After 30 minutes, remove the lid and continue to bake 20 to 30 minutes.”
The bread will bake more because it will take more time to warm up the form. In addition, if the form is cold enough, it can negatively affect the yeast, the bread will not work.
I haven’t tried using a cold oven/DO yet, however, looking at the manufacturer’s website for my LeCreuset DO I found that they recommend only five minutes of pre-heating, not the 45+minutes recommended by Ken Forkish, for example. Failure to stick to this rule may compromise the enamel on the inside of the DO. With the cost of gas/electricity rising exponentially I am also keen to avoid pre-heating my oven if I don’t need to.
I’ve heard people get good results with a cold start. I haven’t played with it myself but I believe the bread has to cook longer so the gas/electricity savings isn’t as big as you hope. That said, I never preheat longer than 30 minutes – I have an infrared thermometer and can tell my baking vessels are at or over 500F by 25-30 minutes. So my calculation is oven on for 30+35 minutes.
Compromising the enamel is another story though – I think a lot of people do it, but I completely understand wanting to adhere to the manufacturers instructions!
From the Cook’s Illustrated excerpt posted above:
"We did need to make two more adjustments to the original recipe. First, after you put the dough in the oven, simply set the oven dial to 425 degrees (rather than beginning at 500 degrees). Second, start your 30 minute timer as soon as you place the bread in the cold oven and turn the oven on. After 30 minutes, remove the lid and continue to bake 20 to 30 minutes.”
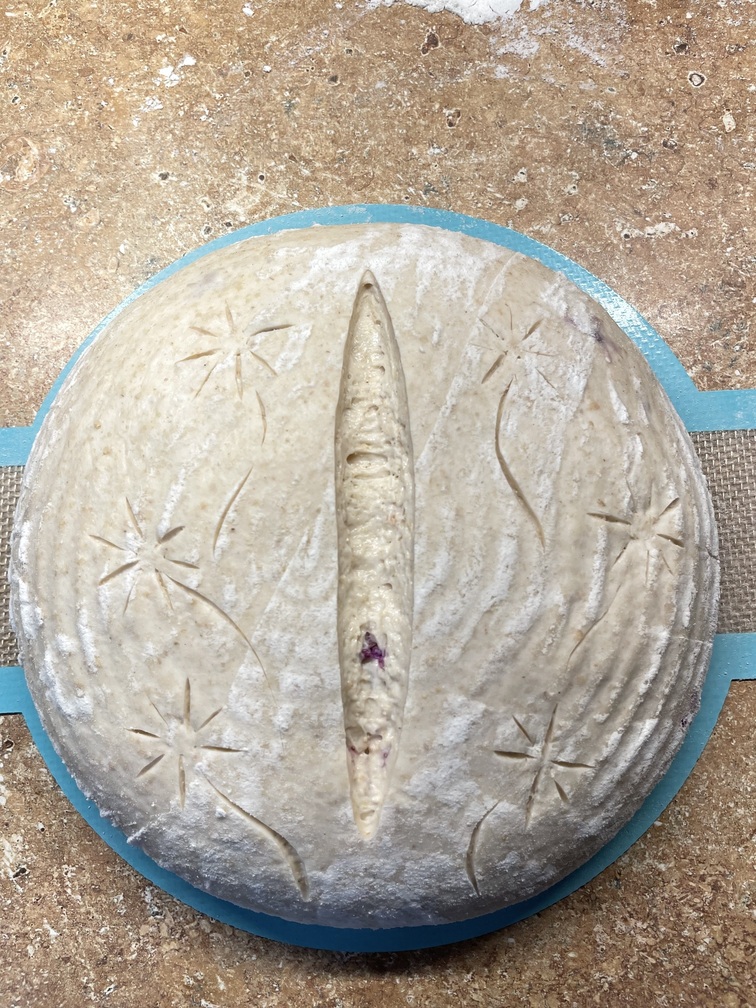
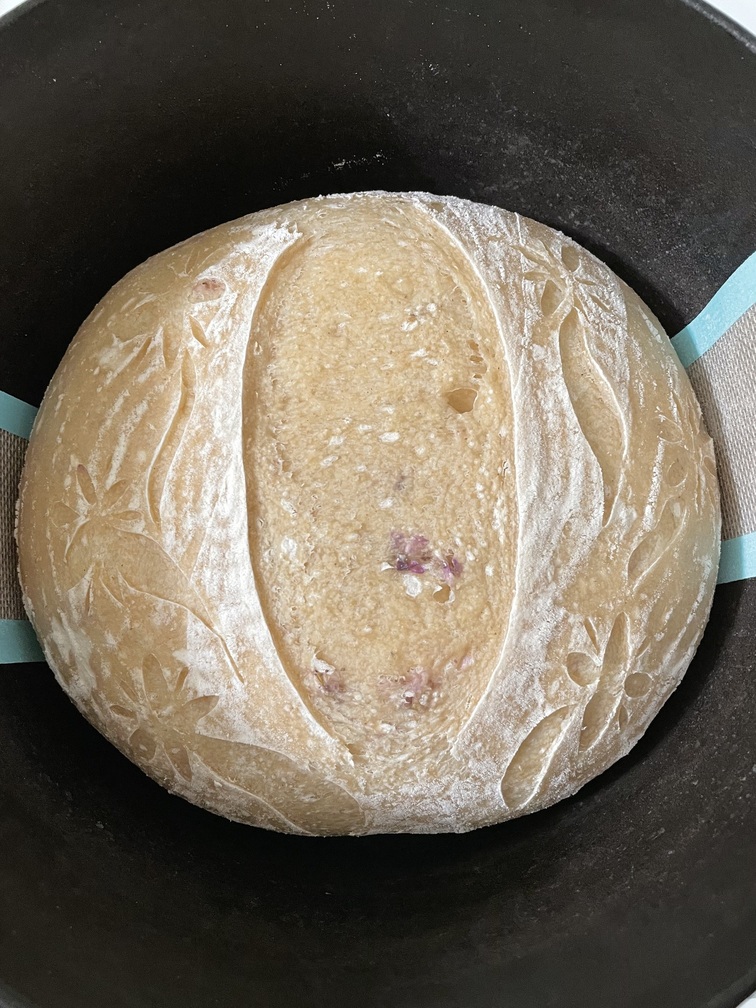
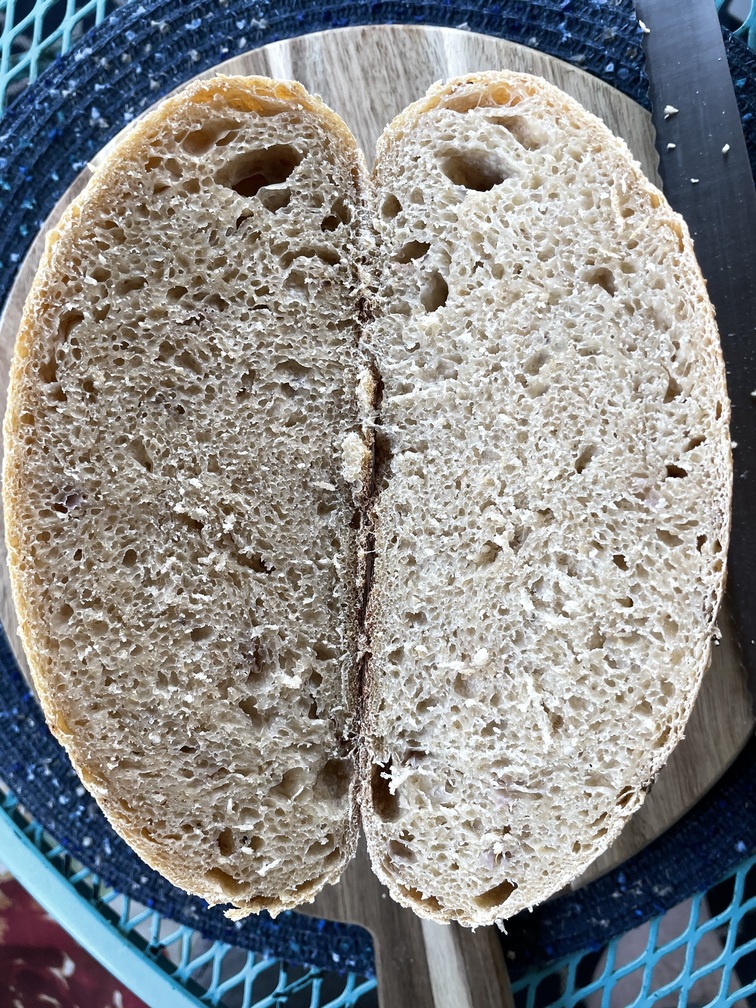
I was going to ask about baking temps, and have been looking for more info. So I could determine how I want to bake various breads. Today I’ll be baking a 590 gram (flour) and 70% hydration, sourdough bread. This dough feels very light and soft. I used 400 g Bob’s Red Mill bread flour, 100 g soft wheat whole grain fresh milled, and 50 g hard wheat fresh milled. I left it out on the counter last night, and it over proofed : ) I shaped it, which deflated it a bit, put it into a banneton, and into the fridge. Hopefully, I’ll have it in the oven a few hours from now. Thinking about trying this cold start method. Putting into our DO, and into the oven. Setting the temp to 450, and see how it goes.
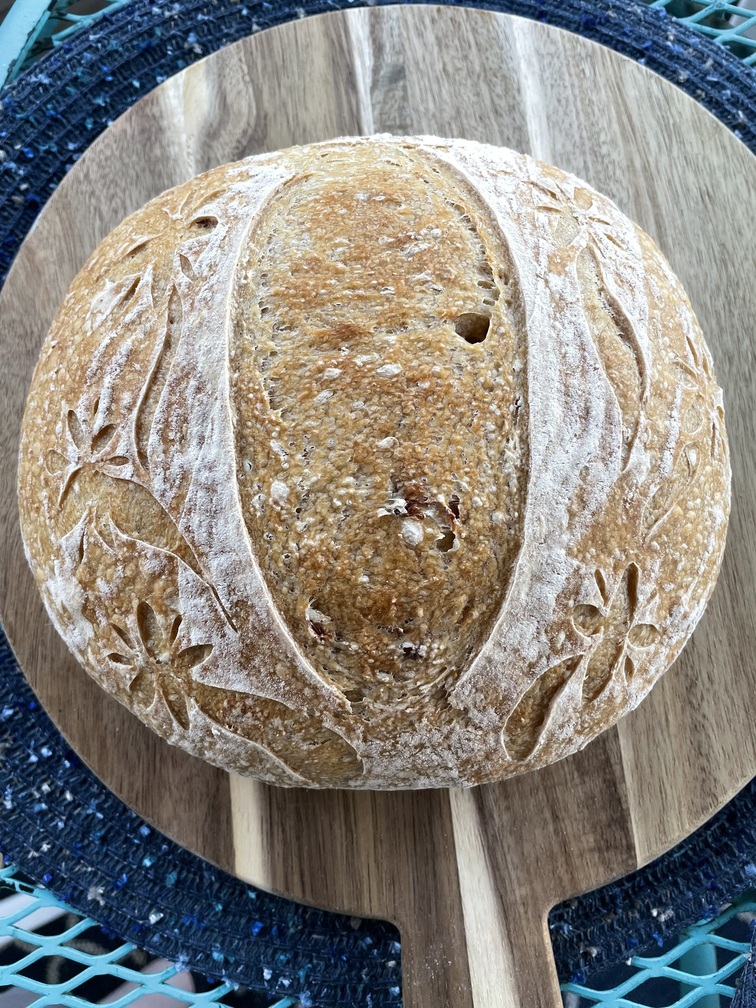
This one is a bit gummy. It baked, and I would try this method again, but with a basic dough that I’ve made before.
The crumb consistency could be due to many things, and not necessarily the baking method,
I think.