This is the comment thread for the Breadtopia blog post originally published here:
To leave a comment, click the Reply button below
If you do not see the “Reply” button, you will need to log in or register an account. Please click the blue “Log In” button in the upper right of the page.
Yes, you can use milk instead of water. There are some solids in milk, meaning you might need a little more milk to get the dough to feel as wet as it would with the same amount of water.
Also, the protein and fat in milk will make the dough ferment a little slower, and the crumb may be a little denser and softer.
I’m used to bake my sourdough bread in an American bread loaf pan with a lid the 20 first minutes, then, I remove it for the remaining time.
May I proceed like I do habitually?
May I omit brushing some water on bread before baking?
I am planning to bake this using parchment paper directly on a pizza stone and following the temps and times for the cloche. Do you have any suggestions or changes?
Thanks!
If you bake on a stone or steel, you’ll need to add steam to the oven at the beginning of the bake.
Here’s an explanation why and some strategies for getting that steam:
I believe the crust will darken faster, which is beautiful and a style preference of many, but if that’s not your goal, you may end up wrapping the bread in foil halfway thru.
Starting at a lower temp (450F) and baking for longer would take care of this but I’m not sure it’s going to be the case.
Either way, I would keep an eye on the dough as you’re baking.
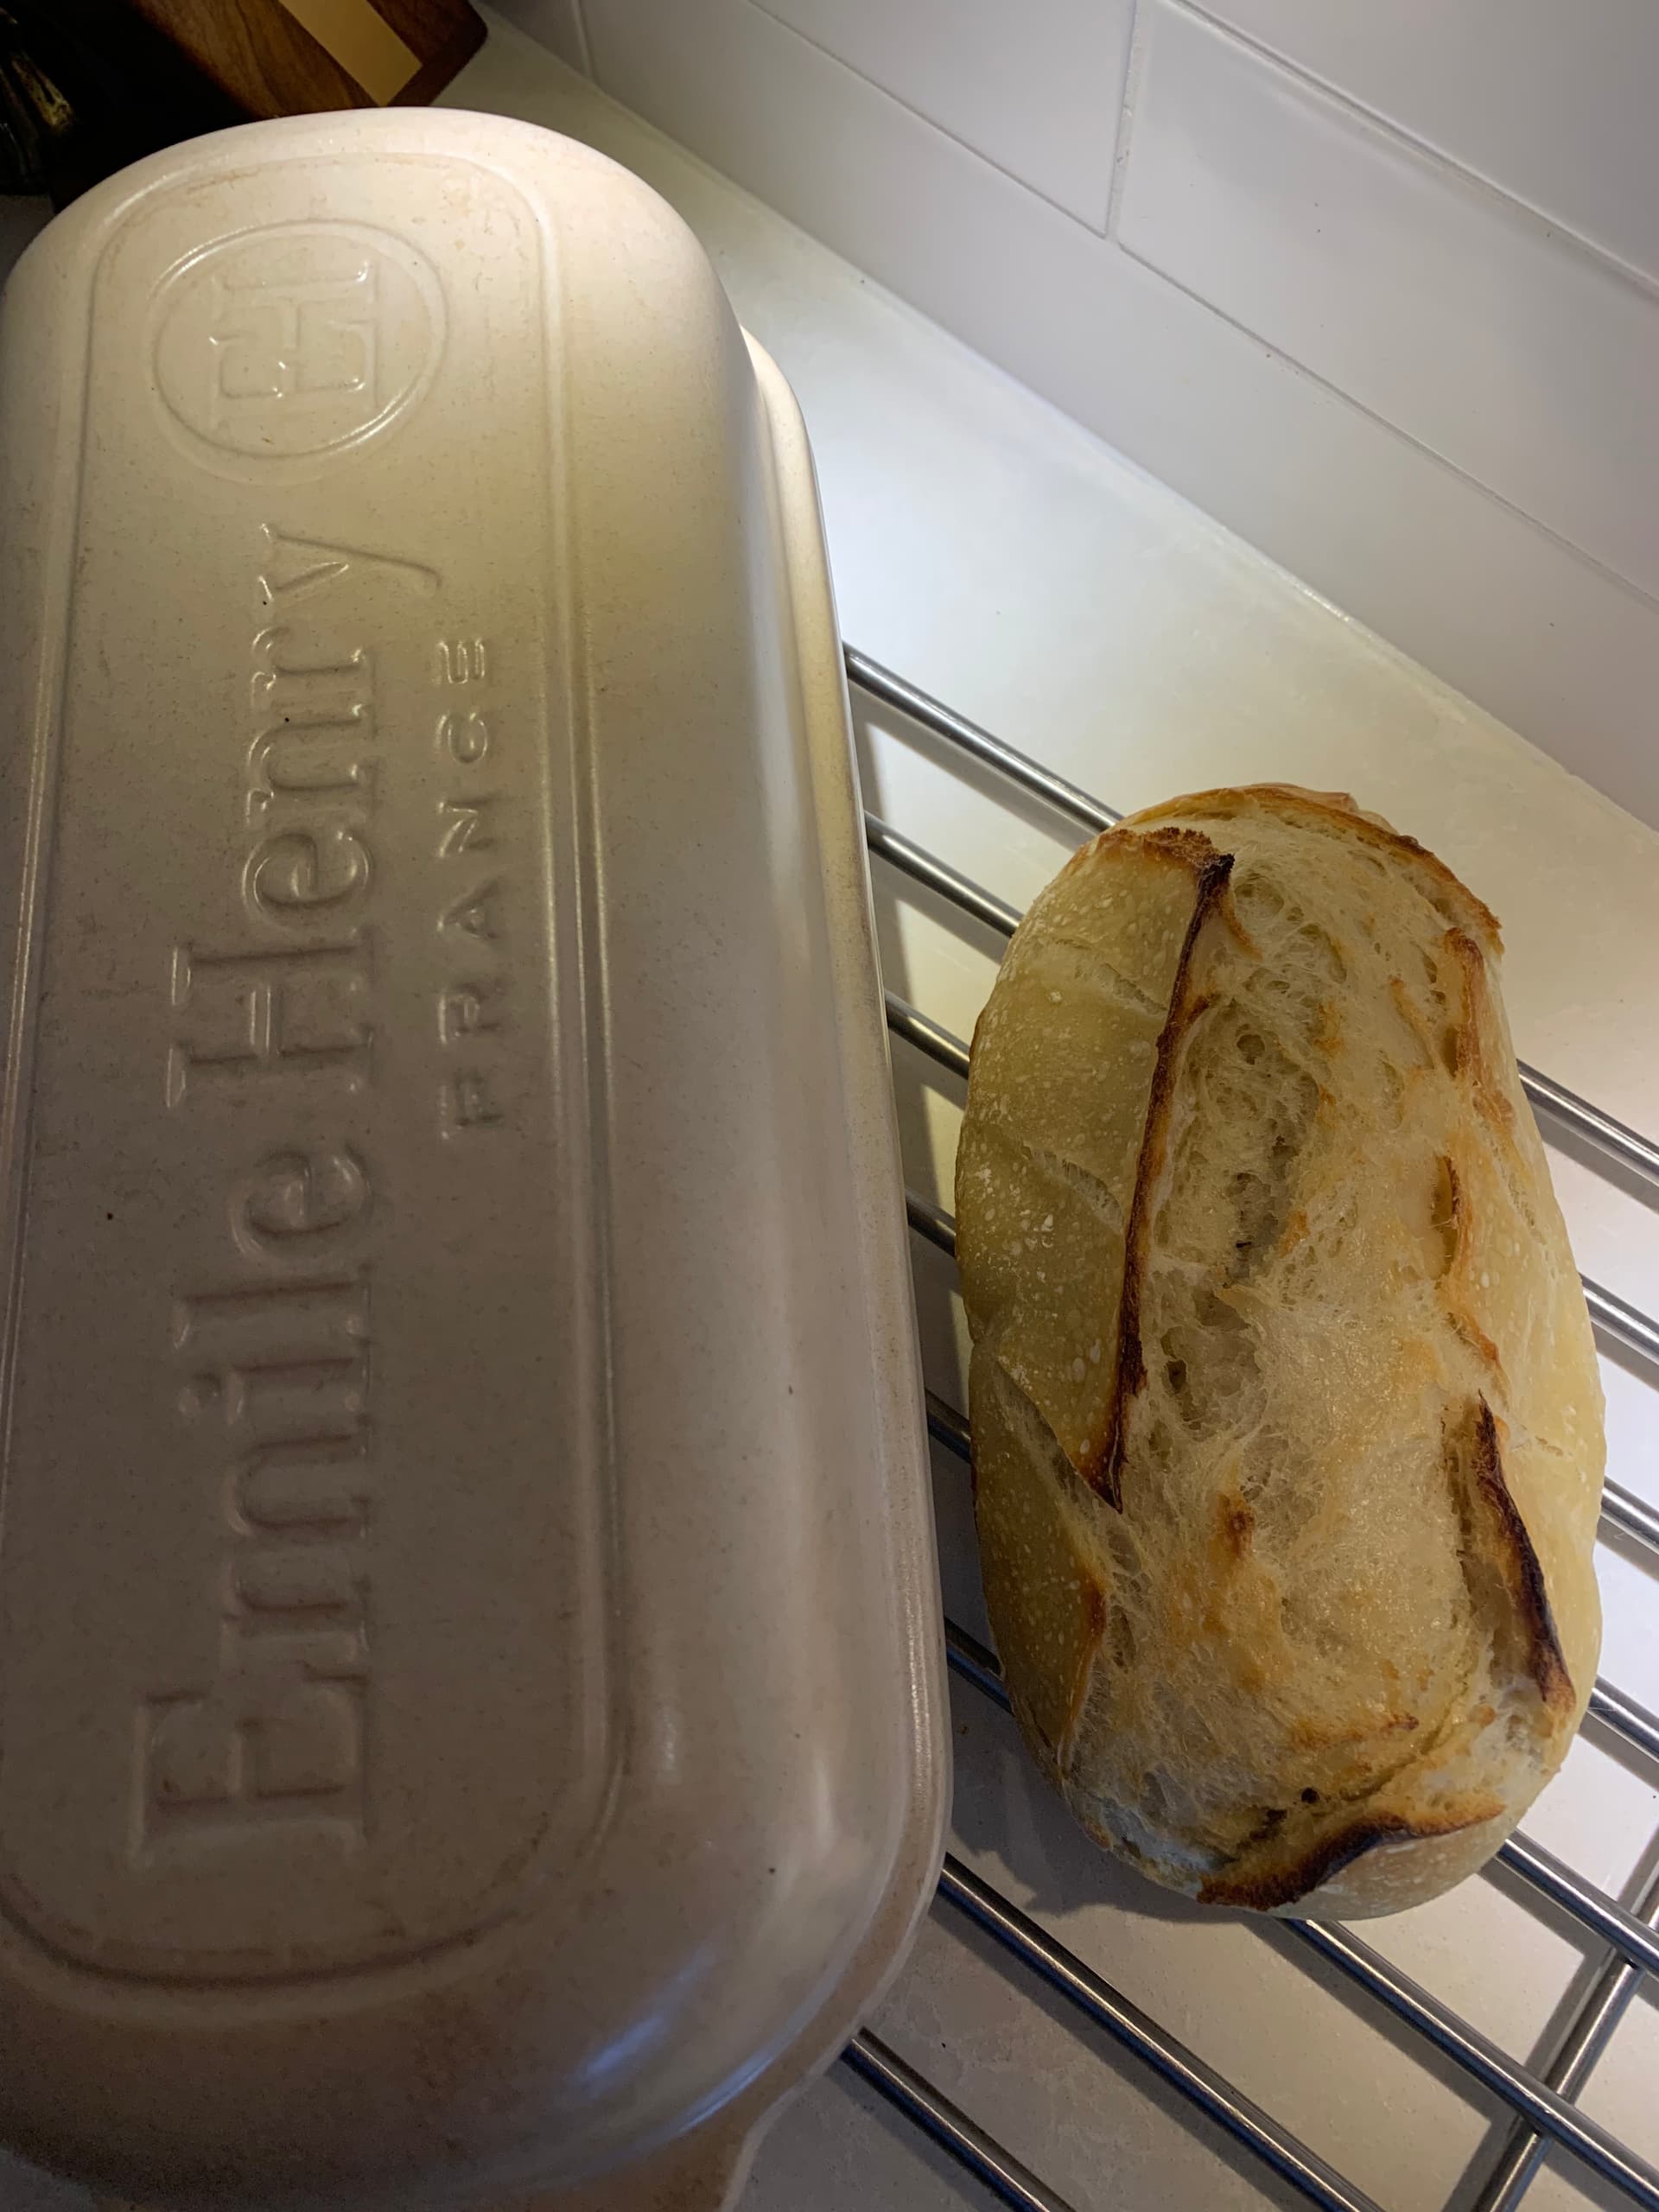
Since my sourdough hobby has continued over two years, I invested in a baker. It’s pretty large. Since it’s just two of us eating the bread, I made the recipe as is, and proofed it in my oval banneton. It turned out great.
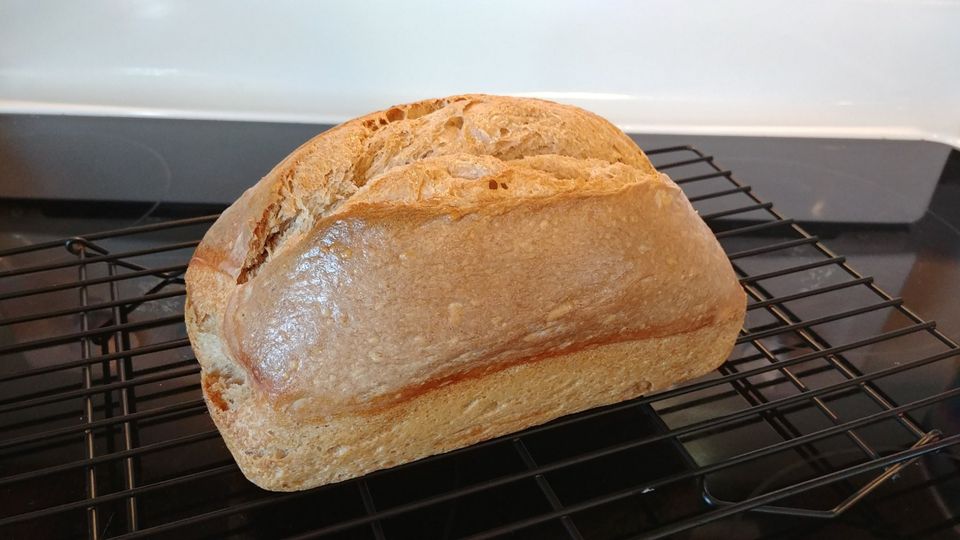
This is my second attempt at sourdough and I wanted to bake in a loaf pan (I chose to use a 1 lb / 8.5x4.5 inch pan based on the comments in the recipe about pan size). I used 25% whole wheat flour and 75% all purpose flour and changed nothing else. Bulk fermentation was done in the oven with the light on for part of the time (it gets too hot if I leave it on, so I have to alternate an hour with the light on and an hour with the light off, etc) to keep the temperature in the 80-85 degree range, and I fermented for something like 4-5 hours, with a stretch and fold after 1 and 2 hours (I guess I deviated from the recipe in that respect, too). I let the dough proof in the loaf pan for over 2 hours before I put it in the fridge last night, and let it rest at room temperature for about 45 minutes this morning. It had spread a bit and lost some loft, so I chose to score it before baking to help with the oven spring - not sure it needed any help though. I buttered the crust when it came out of the oven, because we’re not into crunchy crust in our house. Super helpful recipe, and the results are beautiful! I had to leave for work after pulling it out of the oven, so I haven’t cut it or tasted it, but I know I like how my starter flavors things, so I am sure this will taste good. I’m keeping this recipe, because I work from home some days and in the office others, and this worked great for making on a home day and baking before work in the morning, which is perfect for my schedule and for my preference for baking in a pan. Many thanks for sharing this recipe. It’s a keeper!
@denisebrownell Your batard looks lovely. It’s good to see that a big oblong baker works well on a smaller batard.
@FumbleBee What a pretty and springy pan bread! With pan loaves, I sometimes score when not needed (a sad line down the center of the bread) and don’t score when I should’ve (side explosion). You clearly do not have this judgment issue. Congrats!
I’m glad you enjoyed the recipe and the timing works for you.
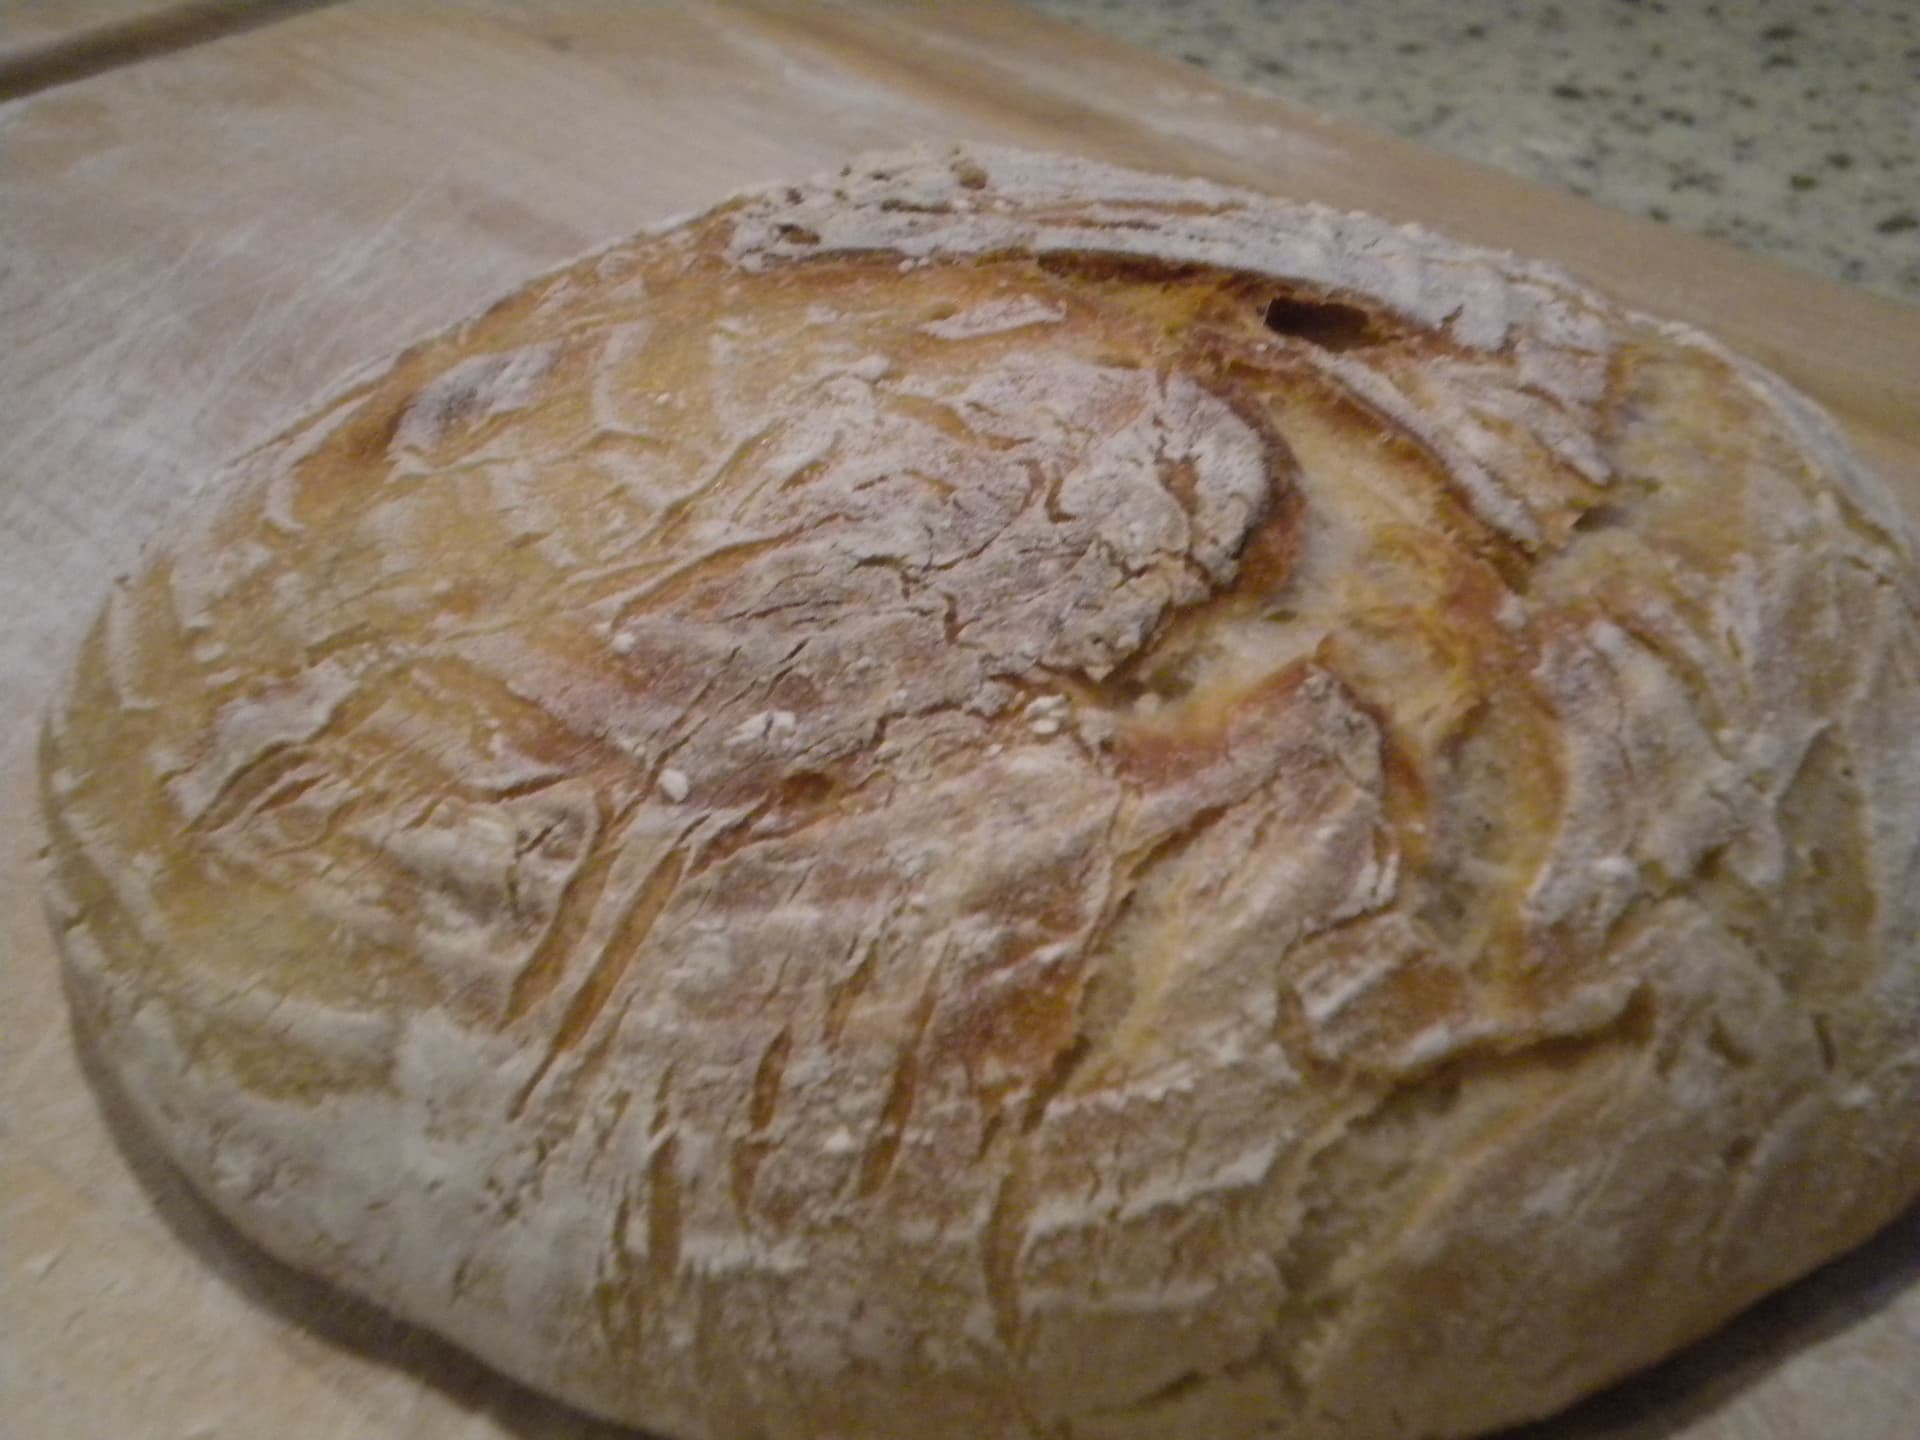
I sed this basic recipe and followed the directions, but I don’t think that my bread rose as it should. I am in Denver at 5280 ft. I did the initial start build and got the 1/3 of starter, measured out all of the flour as indicated. I let it sit as indicated. I might add, we keep our house at about 64 degrees. So I heated up a cup of water in the microwave and got that warm then put the dough in there for the allotted time, actually 4.5 hours. It seemed to have doubled in size. I put the dough in my bouler and let it rise. I did the proof again at room temperature (microwave, again) rather than overnight in the frig. I used a Wearever stainless steel dutch oven and did the 500 for 17 minutes, 450 lid on for 10 minutes and 450 for 15 minute with lid off, since when a thermometer was put in it didn’t register 205 until about 20 minutes. You see the results. I read somewhere that at this altitude, you need to adjust the flour. What can I do different to get my bread to look like yours. Taste is good though. Thanks.
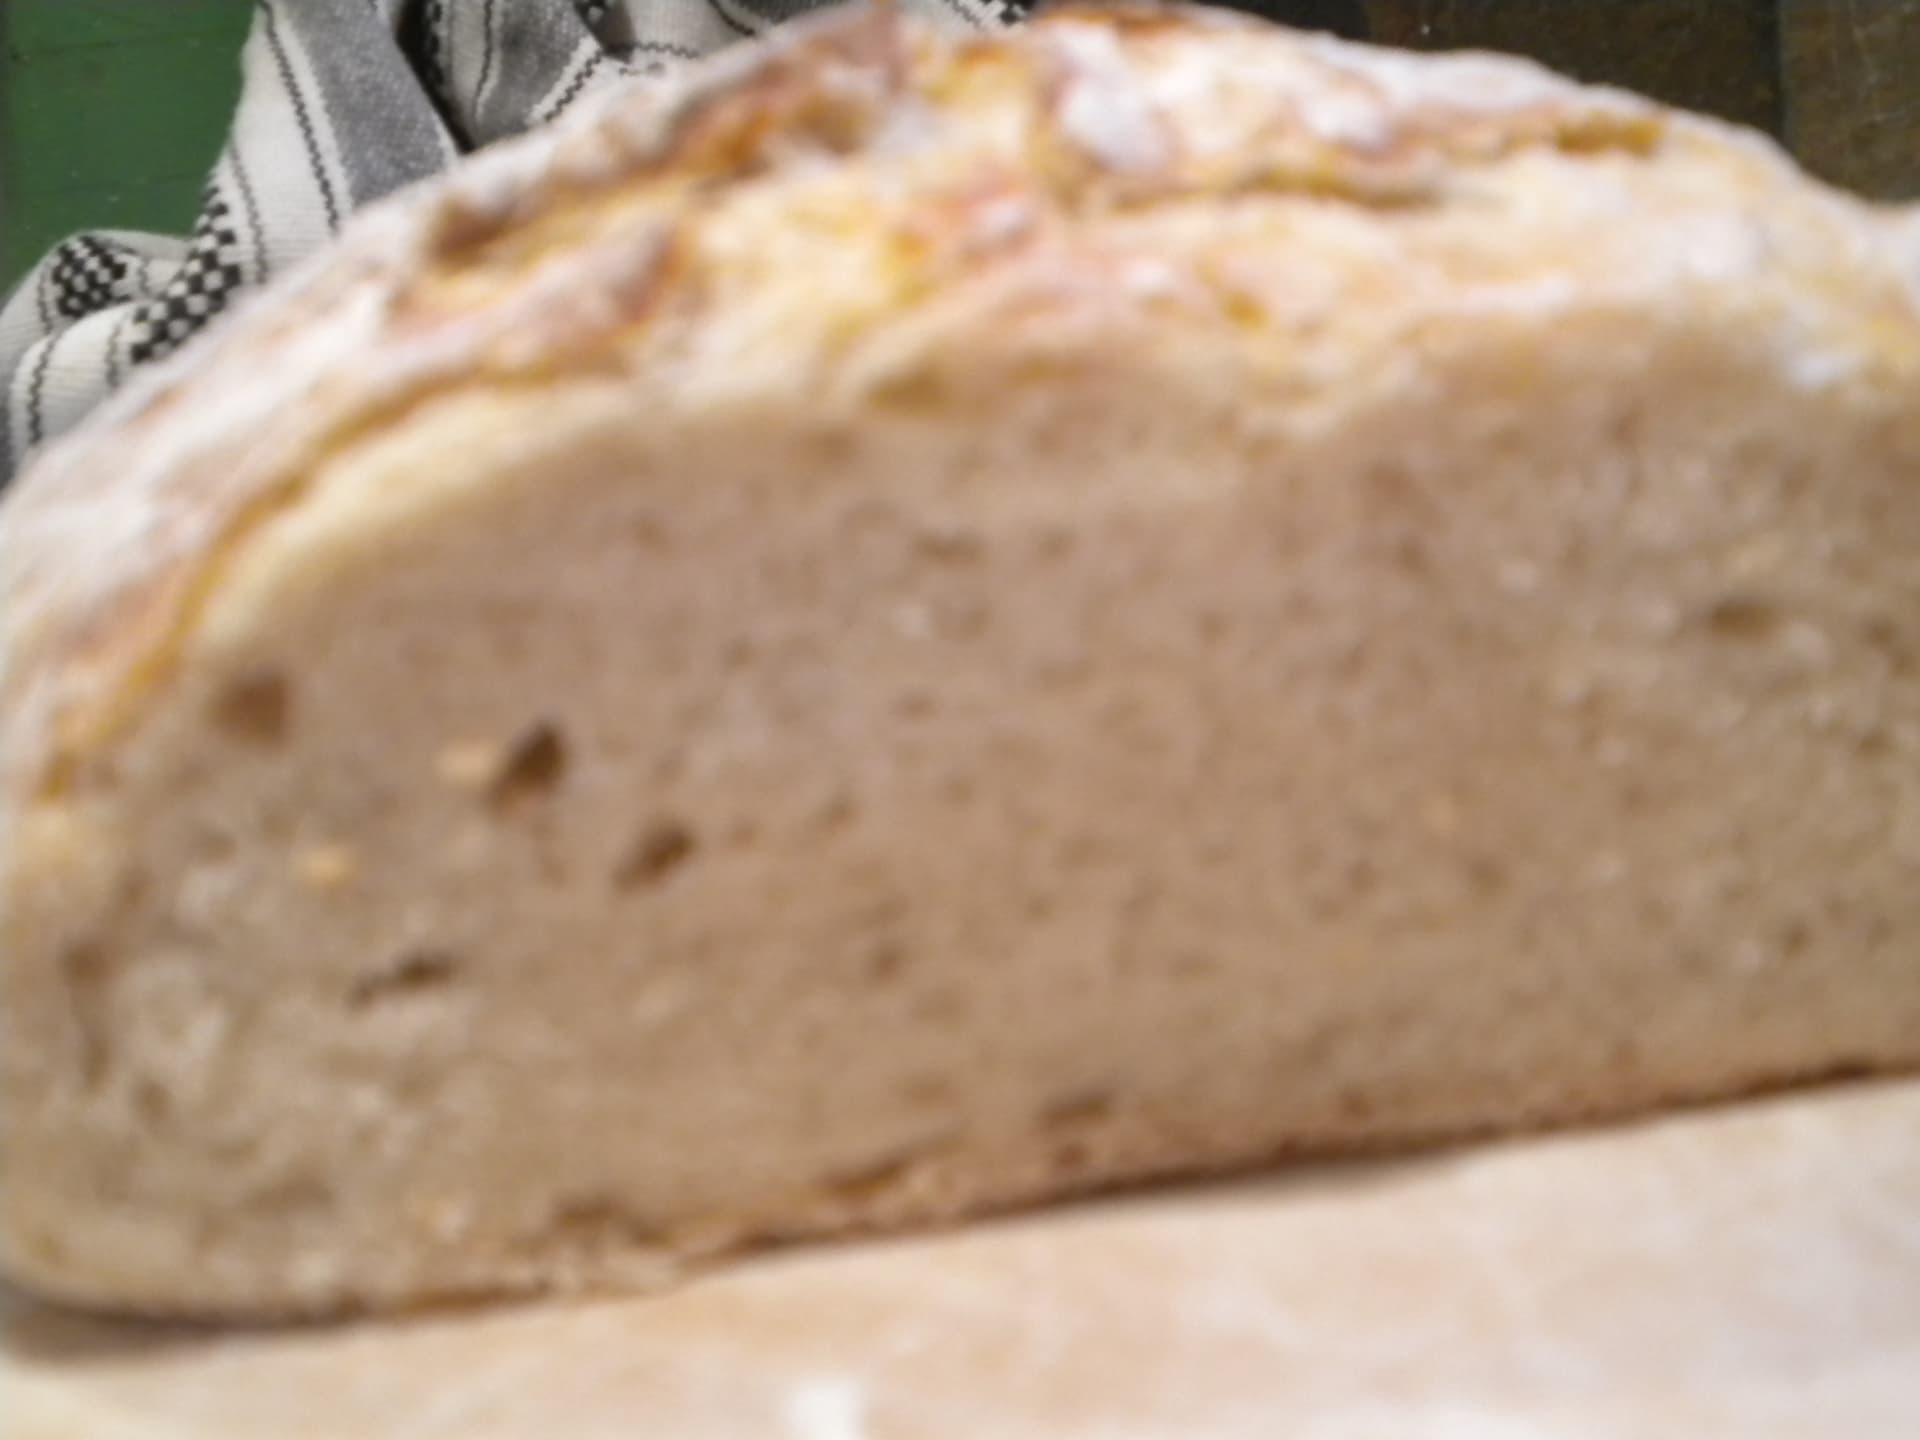
Why all-purpose rather than bread flour? My bread always ends up looking like a frisbee. I’ve heard switching to bread flour works to keep the boule shape. I’m going to try tomorrow when my starter is nice and bubbly. Thanks!
@ganderson That looks great to me! I understand you’re hoping for more oven spring. Sometimes that is simply about getting more tension during shaping. Your fermentation looks pretty good, which is why I’m trying to think of other pathways. Did you preheat your stainless steel dutch oven to 500F? Starting very hot can prevent some of the initial spreading of the dough. Also, stainless steel has a lower thermal mass than cast iron and clay, and that likely impacted your bake time. Some additional “tricks” for taller bread are to lower the hydration and pop the dough into the freezer for 20 minutes just before you load it into the oven. There are a few threads in this forum about baking at higher altitudes, but I think the general consensus is that the process doesn’t need to change until you’re even more elevated.
@diane54martin I agree you’ll have a dough with more potential gluten strength using bread flour, and thus may end up with a taller bread. Being on target with fermentation/proofing and getting tension with shaping are also factors that come into play. So many variables!
Bread flour can hold a little more water, so you might up the amount in this recipe by 10-20g. It’s not imperative though.
I have a question regarding the following baking method for cast iron…
" * 500°F for 15 minutes lid on and then place a baking sheet under the cast iron on the same shelf"
I’m used to baking rustic boule loafs in a cast iron pot but this will be my first attempt with sourdough. The above method from the recipe has me confused. What is the purpose of placing a baking sheet under the cast iron on the same shelf? And is the total bake time 15 minutes with the lid on?
If you don’t experience burning of the bottom of your loaves in your cast iron pot, then skip the baking sheet step. It’s there because many people seem to find this a problem, but it’s certainly not universal.
15 min lid on 500F
10 min lid on 450F
5-10 min lid off 450F
Total bake time ~35 minutes, but use your judgment and a probe thermometer too, if you have one
Interesting and good to know. I usually put about a half a cup of flour on the bottom of my cast iron to keep the bread from burning on the bottom. A baking pan is a cheaper alternative. I’ll give it try.