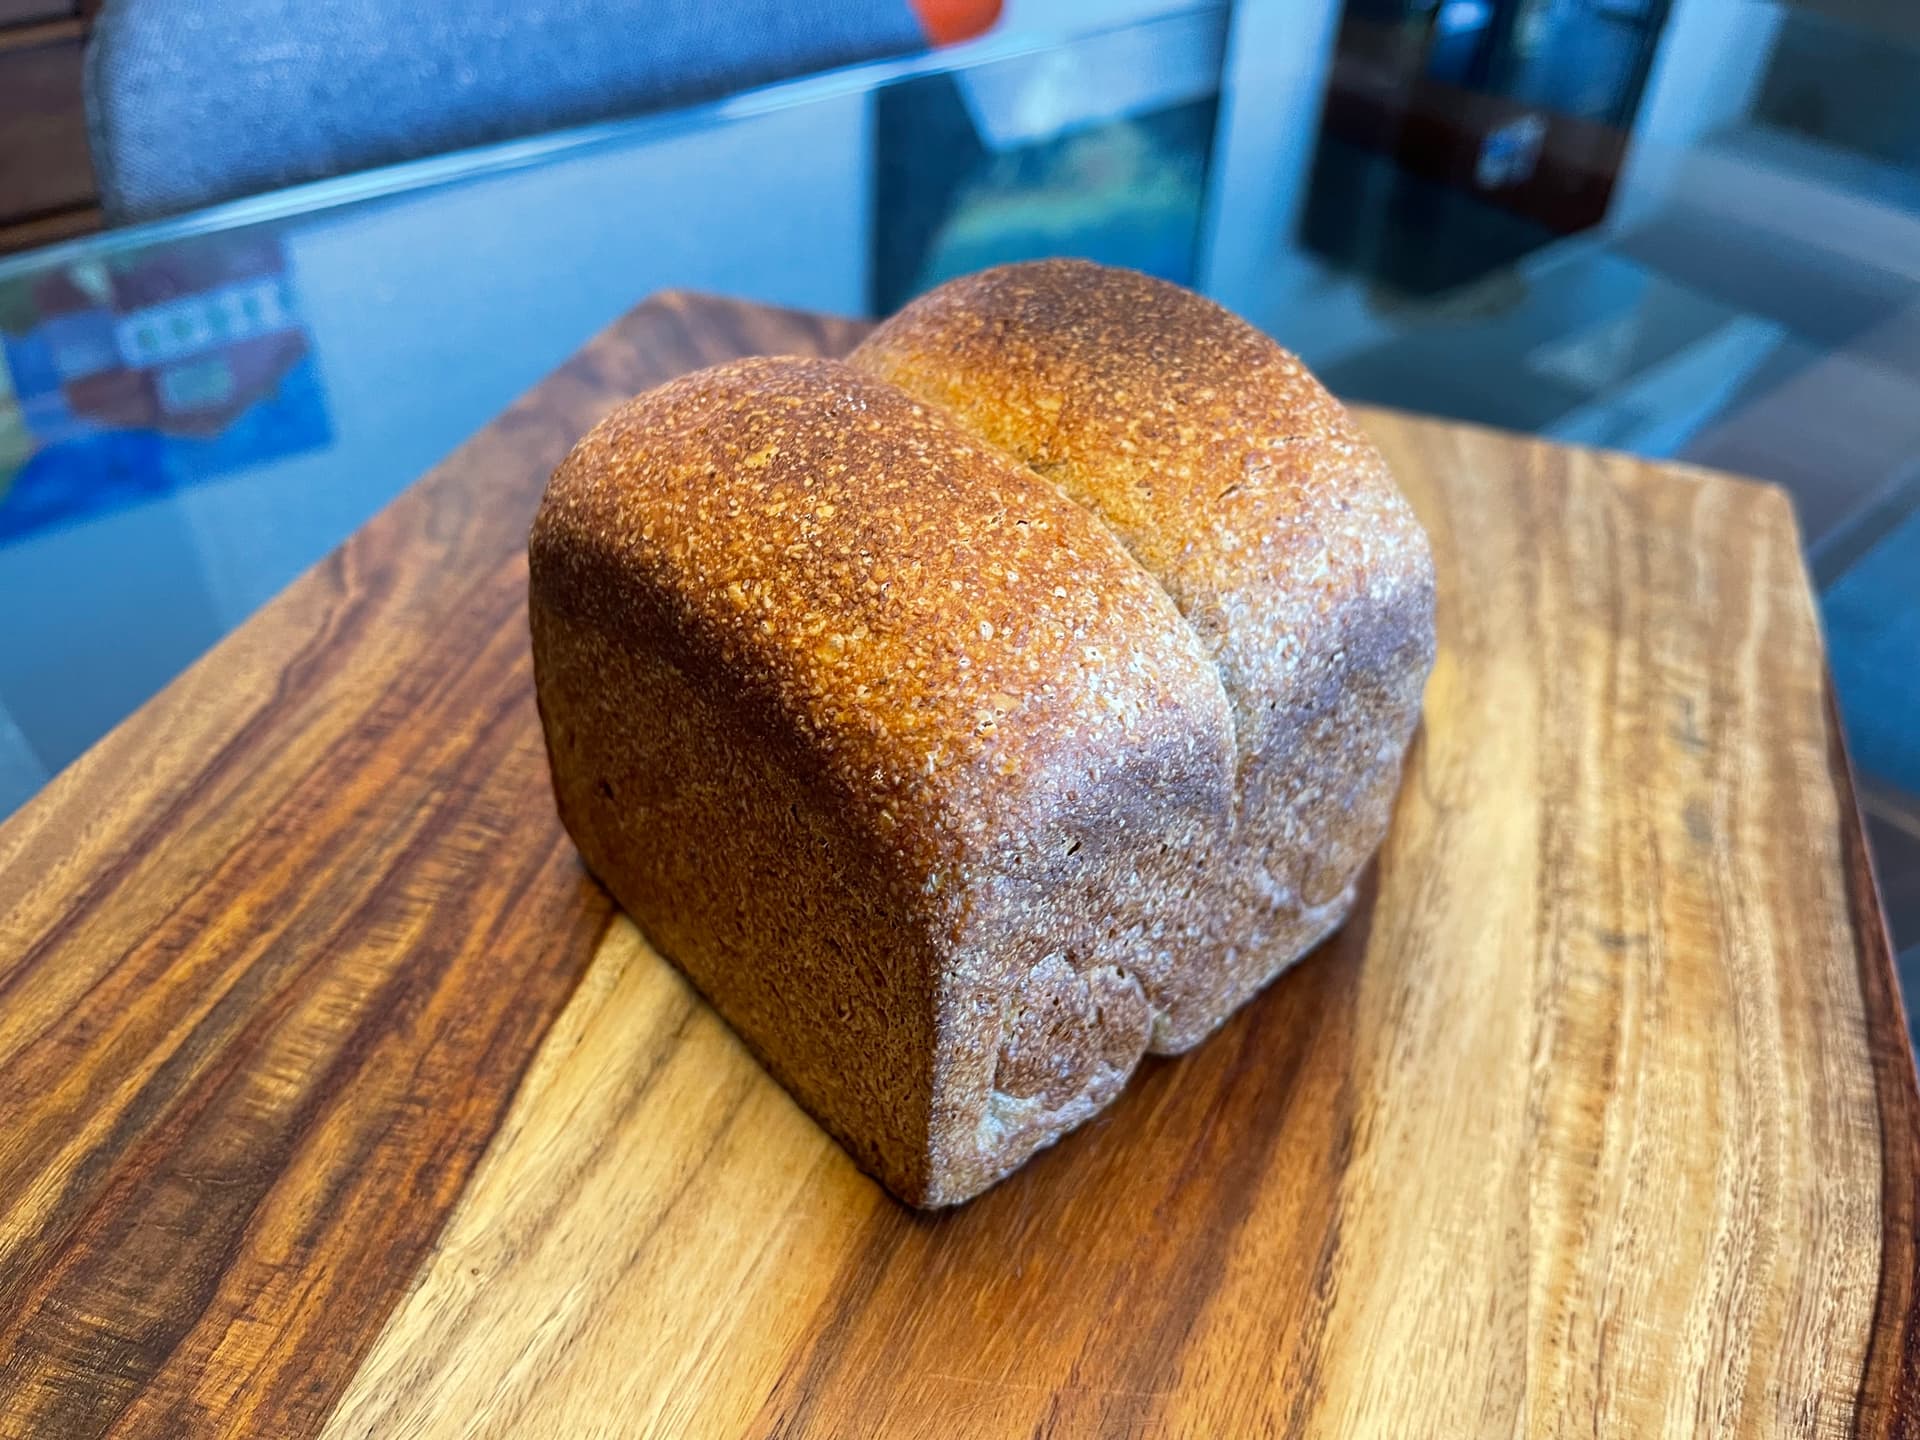
In my earlier post I described how I made my first ever amazake from scratch. It is delicious, rich and sweet despite there being no added sugar. Today I am doing a test bake of an Amazake Sourdough Vegan Hokkaido Milk Bread. The amazake was used to make the tangzhong. Because it is so sweet I didn’t add any sugar to the dough as I usually would. I’m hoping that I have enough dough to fill the 10x10x10cm pullman pan I have and that it’ll bake up into a nice cube.

Instructions
Levain
Mix the levain ingredients in a jar or pyrex container with space for at least 300% growth.
Press down with your knuckles or silicone spatula to create a uniform surface and to push out air.
At a temperature of 78ºF, it typically takes up to 10-12 hours for this sweet stiff levain to be at peak. For my starter I typically see 3-3.5 times increase in size at peak. The levain will smell sweet with only a mild tang.
Tangzhong
Put about 1” of water in a sauce pan set on medium high heat. In the bowl of the stand mixer stir the amazake and flour until blended. Then place the bowl on the sauce pan to cook the tangzhong (Bain Marie) for several minutes until well thickened, stirring regularly with a spoon or heat-resistant spatula. Theoretically it should reach 65ºC (149ºF) but I don’t find I need to measure the temperature as the tangzhong gelatinizes at this temperature. Let cool in the bowl and then refrigerate until the next morning.
Flax seed gel
Grind 1 tbsp of flax seeds and combine with 2-3 tbsp of water and stir to form a thick gel.
Dough
Into the bowl of a stand mixer with the tangzhong, add the soy milk (consider holding back 10 g of soy milk and adding later if this is the first time you’re making this), ground flax seed gel, salt, and levain. Mix and then break up the levain into many smaller pieces. Next add the flour. I like to use my spatula to mix until there aren’t many dry areas. Allow the flour to hydrate (fermentolyse) for 20-30 minutes. Mix on low speed and then medium speed until moderate gluten development this may take 5-10 mins. You may want to scrape the sides of the bowl during the first 5 minutes of mixing. Next drizzle in the toasted walnut oil a little at a time. Slow the mixer down to avoid splashing the oil at you. The dough may come apart, be patient, continue to mix until it comes together before drizzling in more oil. Once all the oil has been added and incorporated increase the speed gradually to medium. Mix at medium speed until the gluten is well developed, approximately 10 mins. You will want to check gluten development by windowpane during this time and stop mixing when you get a good windowpane. You should be able to pull a good windowpane, not quite as good as a white flour because the bran will interrupt the windowpane somewhat.
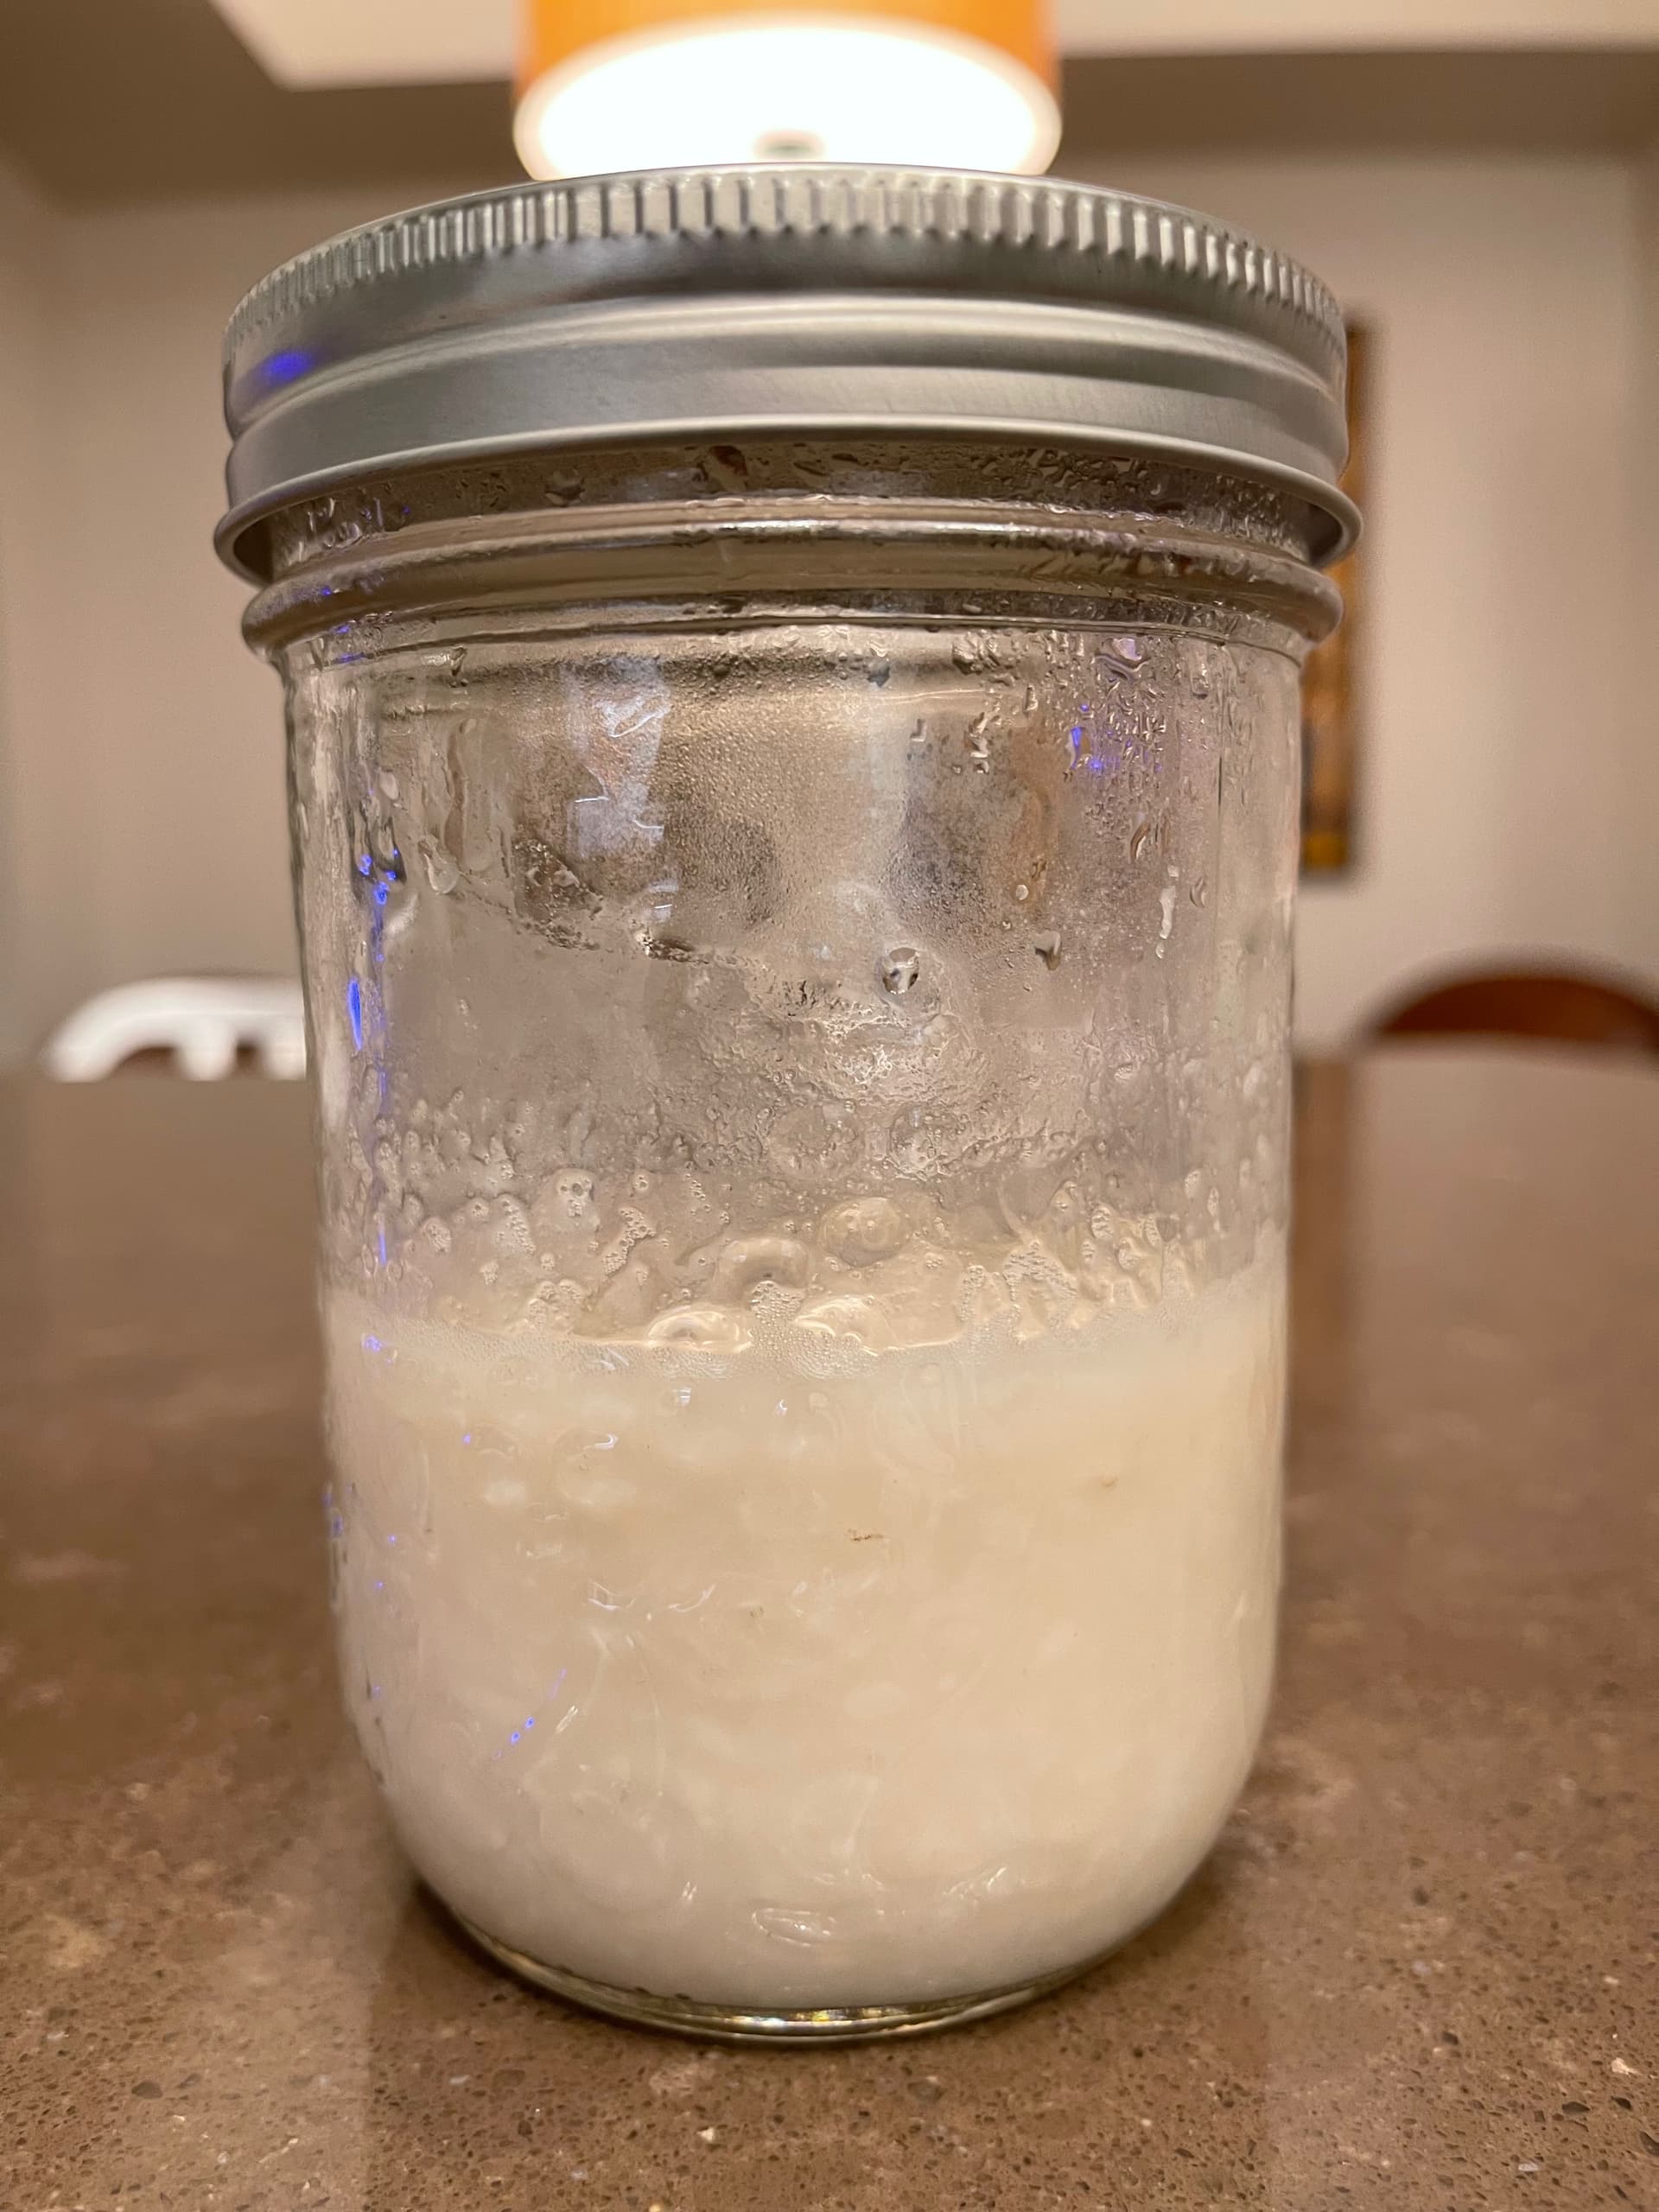
On the counter, shape the dough into a tight ball, cover in the bowl and ferment for 4-4.5 hours at 82ºF. There should be some rise visible at this stage.
You can next place the dough into the fridge to chill the dough for about 1.5 hours, this makes rolling the dough easier to shape. Remember, if you do so the final proof will take longer. Alternatively, you can do a cold retard in the fridge overnight, however, you may find that this increases the tang in your bread.
Prepare your pans by greasing them or line with parchment paper. I used a muffin pan oiled with walnut oil.
Lightly flour the top of the dough. Scrape the dough out onto a clean counter top and divide it into six. I like to weigh them to have equal sized bun. Shape each tightly into a boule, allow to rest 5 mins. Flatten each boule, divide it into three pieces shaping each into a small boule. Place each set of three small boules into the muffin tin to bake into a three lobed bun.
Cover and let proof for 3-5 hours at a warm temperature. I proof at 82°F. You will need longer than 3-5 hours if you chilled your dough for shaping. I proof until the top of the dough comes to within 1 cm of the top edge of the pan.
Preheat the oven to 350°F.
Bake 20 mins lid on then remove lid and bake further 10-15 mins.
I’m guessing that for 100% whole wheat without any added VWG I’ll need to increase the dough weight by about 50-75 g if I want to fully fill the cube pan with the lid on. I do remove some dough for the aliquot jar so I have to account for that loss.
I will post the crumb and flavor description later when we try this bread.


