75% Whole Wheat Hokkaido Sourdough Milk Bread

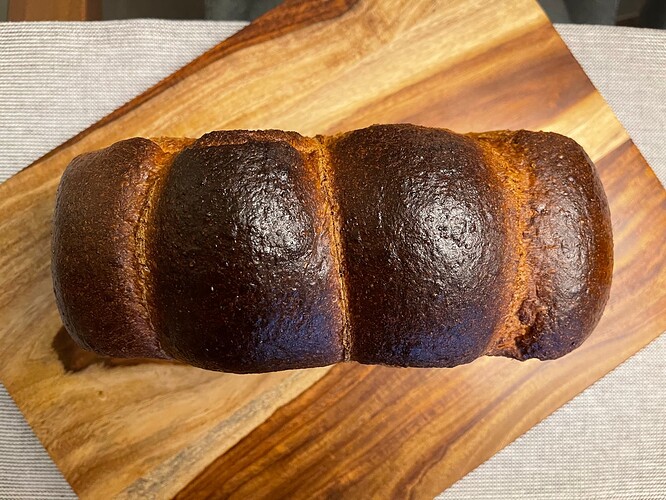
Slowly working my way up in the percent whole wheat in my Hokkaido sourdough milk breads. 75% is the highest so far and I think it was quite successful. I’m not sure how much higher I can go and still get the result that I’d like. I did change things this time to add an autolyse because a majority of the flour is stoneground whole wheat.


For one loaf 9x4x4” Pullman pan

Ingredients
Sweet Stiff Starter
• 53g bread flour
• 24g water
• 18g light brown sugar
• 18g sourdough starter ~100% hydration
1:1.33:2.9:1 starter:water:flour:sugar

Tangzhong classic 1:5 ratio
• 89g milk (adjusted down to 1:5 ratio from original)
• 18g Whole Wheat flour

Dough Dry Ingredients
• 55 bread flour
· 305 g whole wheat
• 54g sugar 12.5%
• 7g salt 1.6%

Dough Wet Ingredients
• 169g milk 36.8%
• 50g egg beaten (about 1 lg egg)
• 60g butter 13.9% softened but do not melt, unless you are mixing with the mixer then melt. Combine with 30 g of flour to make easier to add to dough if hand mixing.

Pre-bake Wash
• 1 egg beaten
• 1 Tbsp milk

Instructions
Starter
Mix the starter ingredients in a jar or pyrex container with space for at least 50% growth. (See gallery where 150ml grows to approximately 225ml.)

Press down with your knuckles to create a uniform surface and to push out air.

At room temperature, it typically takes 7-9 hours for this sweet stiff levain to be at peak.

Tangzhong
In a sauce pan set on med-low heat, whisk the milk and flour until blended. Then cook for several minutes until thickened, stirring regularly with a spoon or heat-resistant spatula. Let cool in the pan or, for faster results, in a new bowl.

For my first bake, in the morning mixed the wet ingredients including the tangzhong with all the whole wheat flour to allow the bran to hydrate for 1.5 hours. Added levain next and mixed to incorporate.

Next added sugar, salt and bread flour and mixed to incorporate, rest 10 mins. Mixed until very good gluten development and windowpane.

Transfer the dough to a lightly oiled bowl, form it into a ball, flip it smooth side up, cover and let rise for 6-12 hours depending on room temperature. Bulk lasted 5 hours at 82ºF. You can place the dough into the fridge to chill the dough for about 1.5 hours, this makes rolling the dough easier. I didn’t do that this time.

Prepare your pans by greasing them or line with parchment paper.

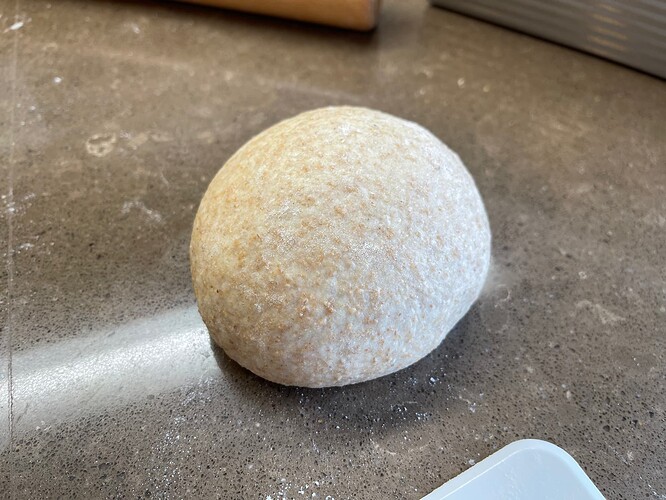
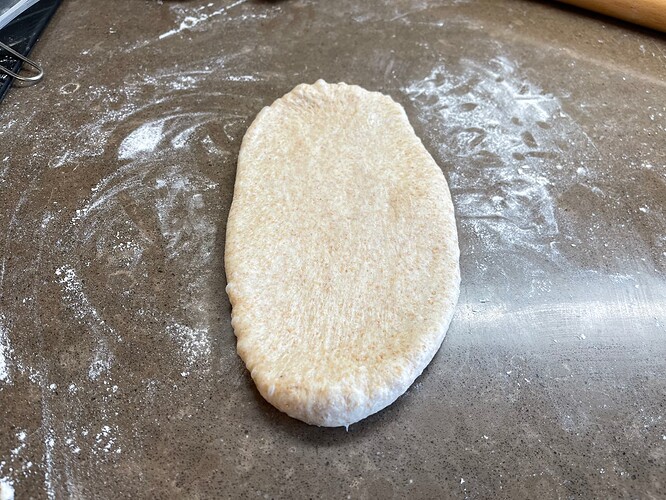
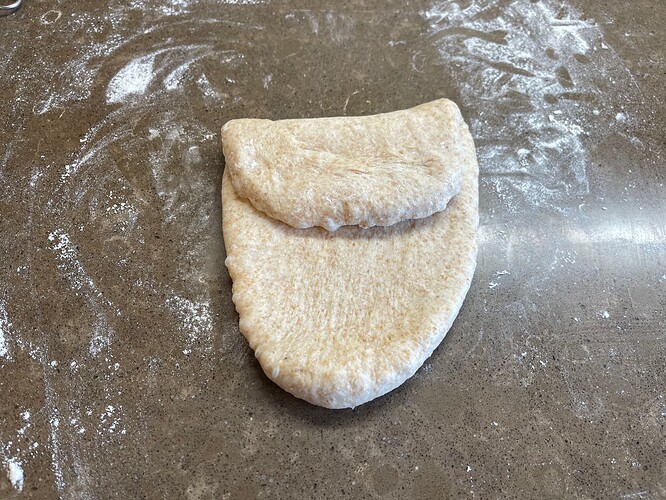
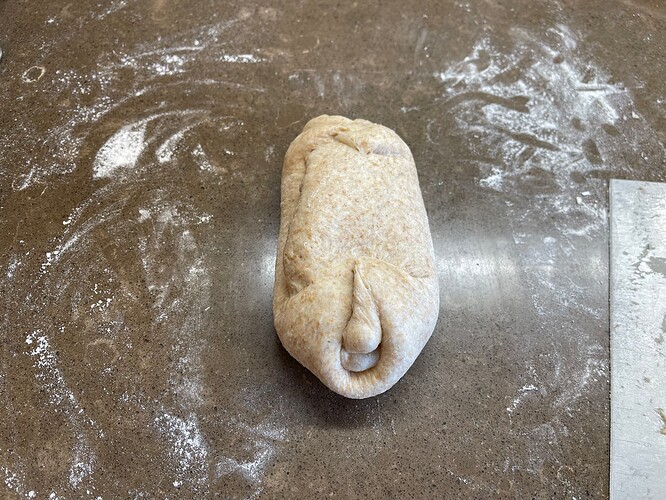
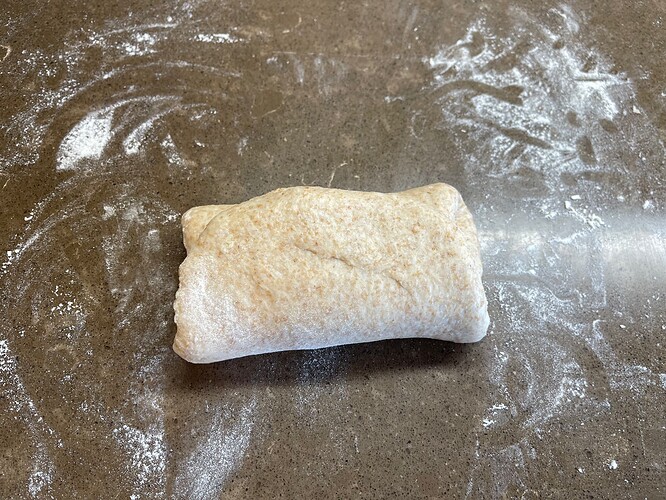
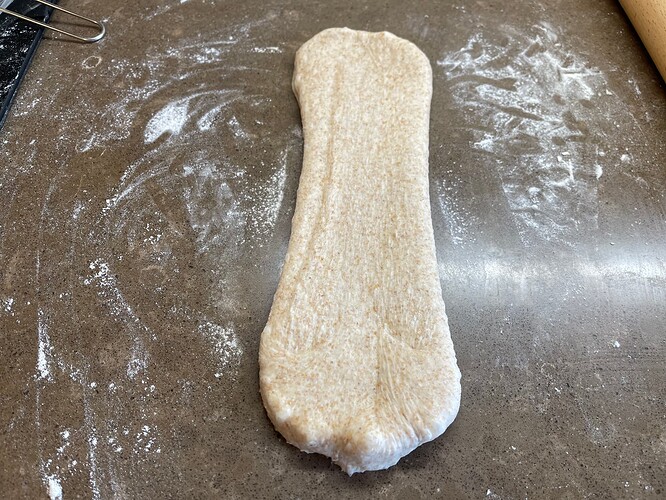
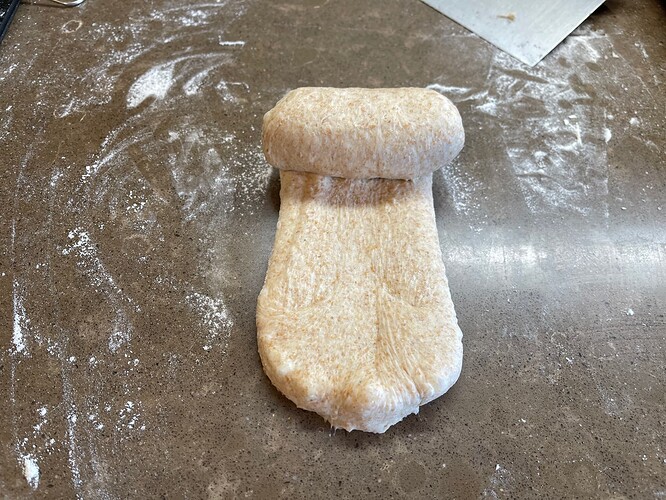
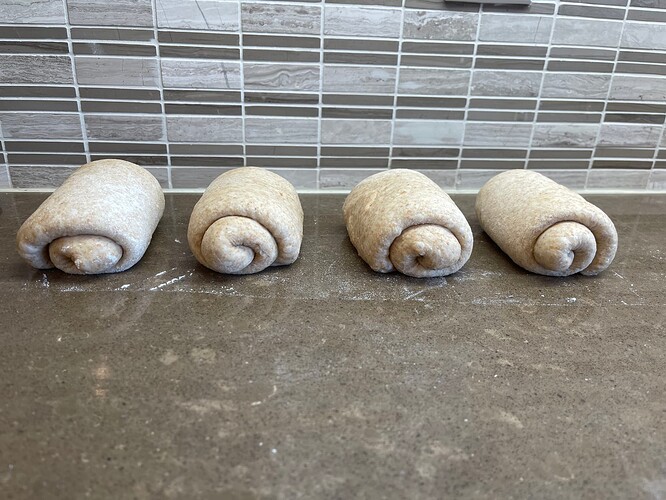
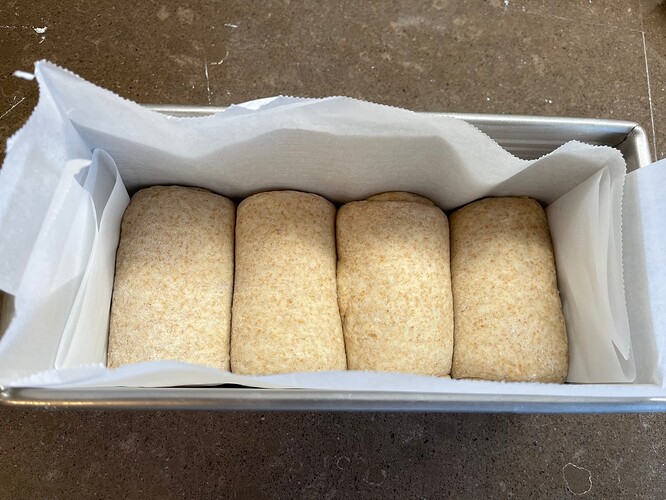
Scrape the dough out onto a clean counter top. Lightly flour the bench. Press the dough into a rectangle and divide it into four. Shape each tightly into a boule, allow to rest 5 mins. Using a rolling pin roll each ball out and then letterfold. Turn 90* and using a rolling pin roll each out to at least 8”. Roll each into a tight roll with some tension. Arrange the rolls of dough inside your lined pan alternating the direction of the swirls. This should allow a greater rise during proof and in the oven.

Cover and let proof for 4-6 hours (more if you put the dough in the refrigerator). I proof until the top of the dough comes to within 1 cm of the top edge of the pan.

Preheat the oven to 350F and brush the dough with the egg-milk wash.

Bake the loaves for 50-55 minutes or until the internal temperature is at least 190F. Shield your loaf if it gets brown early in the baking process. After 50 mins remove the bread from the pan and bake a further 10 mins by placing the loaf directly in the oven on the rack with the oven turned down to 325ºF. You can brush the top of the loaf with butter if you wish at this point while the bread is still hot.

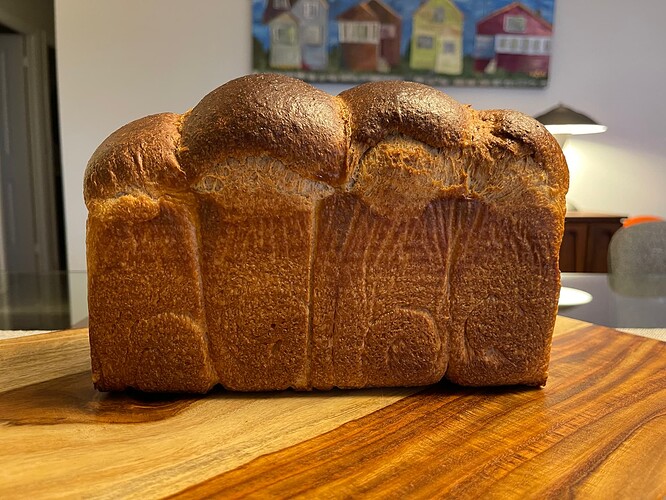
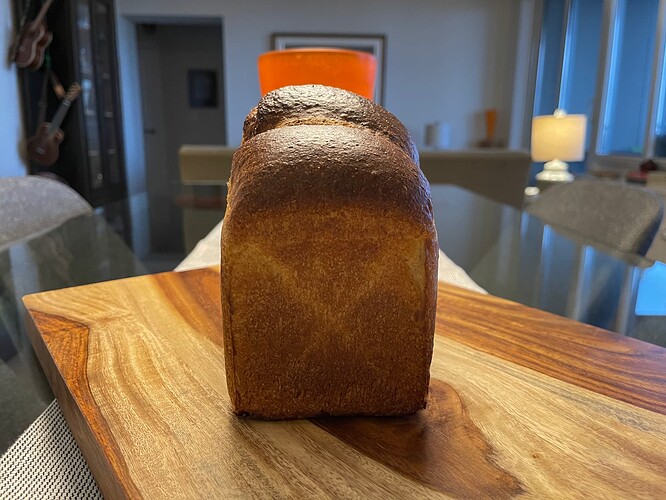
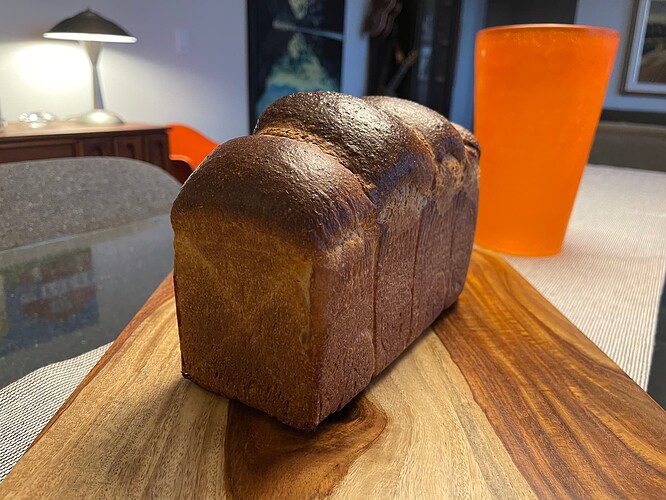
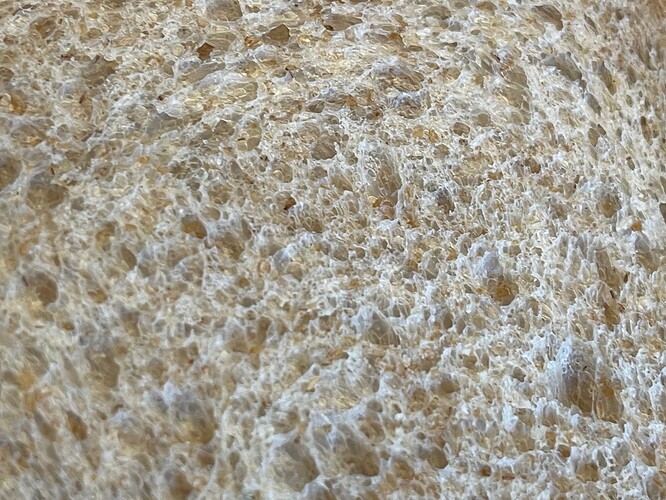
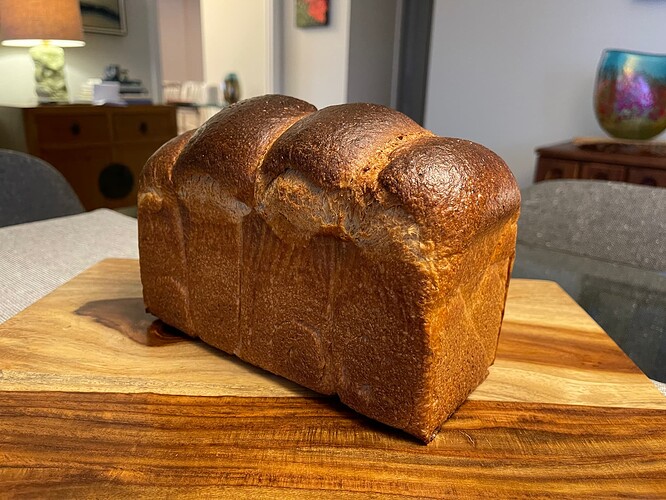
I’m quite pleased with the oven spring this dough was able to achieve with this much whole wheat. I think going higher than 75% I’ll probably need to add some vital wheat gluten in order to attain a shreddable crumb which is a characteristic of this style of bread.


Alternate direction of the swirls for greater rise.


1 Like

Very impressive, for being 75% whole wheat. I’ll bet it’s delicious.
Richard

1 Like

Thank you Richard, I’m a bit scared to open it up. Fingers crossed the crumb is good.
Benny

I’m waiting anxiously to see the insides of this beautiful bread baby :heavy_heart_exclamation:

2 Likes

I’ll be slicing some for lunch James and will post then. :crossed_fingers:it is OK.

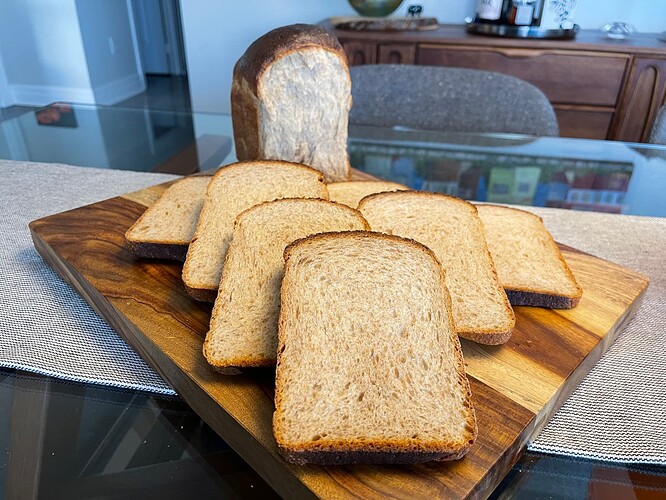
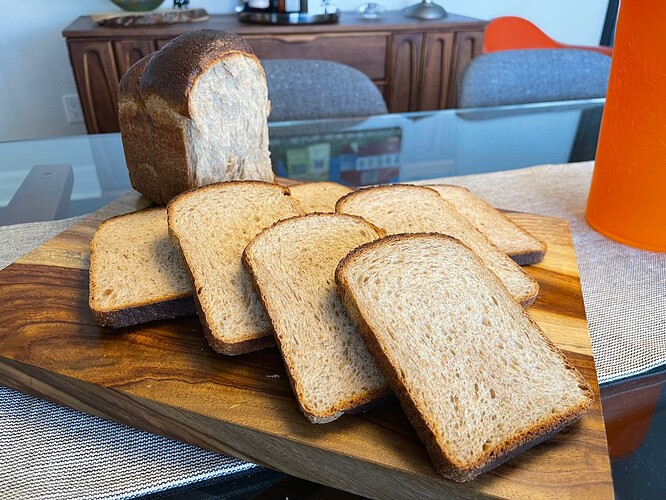
I’m so pleased with this bake my first time at 75% whole wheat for this style of bread. The crumb still had that great shreddable crumb that I was hoping for. The bread is delicious if I can say so myself and didn’t disappoint me in any way. A fix for the gaps between rolls that I would sometimes get is simple, make sure you press each roll down and together as you add them to the pan and down again after they are all in place.


1 Like

Looks fabulous!

1 Like

Thank you very much :pray::pray::pray::pray: It is a delicious bread, try making it sometime I doubt you’d be disappointed.
Benny

The crumb is beautiful. I’m impressed with your slicing such tall bread into nice even slices for sandwiches. They almost look like they were done with a bread slicer in a bakery. Since I primarily bake bread for weekly sandwiches, I’ll have to give this one a try. Thanks for posting such clear directions for your recipe.
Richard

1 Like

Thank you Richard, I hope you do try this recipe and enjoy it. We’ve been really happy with the flavour and texture of this bread. Enough that I’m tempted to try it going higher on the whole wheat. I’m thinking I might need to add some vital wheat gluten, which I’ve never used before, in order to try to get the shreddable crumb.
By the way, I put the loaf on its side in order to slide it evenly. It is a bit too tall and soft to slice top down.
Benny

I am on my second try of the March ‘22 version of this recipe that went on to the site. I’m
Struggling with the sweet stiff starter. The first try it took nearly 20 hrs to get the sweet stiff starter to rise 2x. I gave up thinking my seed starter needed to be fresher/stronger.

Second try with happier stronger refreshed starter to make the whole wheat brown sugar starter. It’s been 12 hrs and it’s barely moved! I had it the first 4 hours in my oven on proof setting but turned that off over night thinking that would maintain an okay environment. But today —12 hrs— later it’s barely started to move.

What can I do? What am i doing wrong? I am using King Arthur White Whole Wheat (what I could get)

1 Like

The stiff sweet levain will be challenging to for some starters to create if they aren’t very vigorous. When you say your starter is is happier and stronger and refreshed can you tell me more about this?
What hydration do you keep it at? What are the feeds? What temperature do you ferment it at? How much of a rise do you get at peak and how long does it take to reach that peak? what flour do you feed the starter? How long since last fed when you build your levain?

My starter is 100% hydration. I feed it at least every week and more often when I’m baking a lot. I keep it in the fridge. To feed it I use King Arthur bread flour and filtered water (I’ve been using this starter very successfully for maybe 4 years). It takes about 4-6 hrs to double in size and then I pop it in fridge to use when I need it.

This time I fed it late afternoon to use the next evening to begin the stiff sweet starter.

1 Like

At what temperature is it fermenting at? Typically my starter which is 100% whole rye 100% hydration will rise 3x to peak @ 82ºF in 6 hours.
Also is double peak or would it continue to rise if left longer?

The low hydration and presence of sugar is very challenging on the microbes (this is the point) so unless our starts are really used when they are full of microbes they won’t make a good stiff sweet levain.

I often ferment my white bread flour levain at room temp which can be chilly this time of year (I live in Wisconsin)*. I have noticed that since I have turned the proofing setting back on in the oven this morning, the stiff sweet starter is at 2x size now. I will continue to ferment but if it’s 18 hrs before it gets to 3x, should I proceed with the recipe? Or is the started not good enough since it took so long? My kitchen gets quite cool at night but I’d hoped staying in closed oven (not on) would be enough.

*on cold days I usually use oven proof setting if no one else needs oven

1 Like

I have found that if the stiff sweet levain takes an unusually long time to ferment, the LAB population will eventually start to grow and then the dough you make with it will be more sour than you might want.

If you have a proof setting in your oven then I’d use that to make fermentation more reliable and reproducible.

I might refresh my starter, then use it at peak when the dome is just starting to recede and make a stiff sweet levain from it then. Ferment everything in the oven proofing setting on.

Timing is key but also a challenge since even though I am dedicated to my baking I am not willing to wake at 3 am to mix dough! I will feed my regular starter this afternoon to achieve peek strength to begin the stiff starter by 6-7 pm.

I have ordered a proofing box so I do not occupy our one oven for so many hours as well.

Thanks for taking the time to advise!

Also I might try the bread with this starter anyway even if it’s more sour tasting. Although less authentic flavor for Hokkaido bread, I do not mind sour in my breads,

1 Like

Certainly who not? You might find that you like enriched breads that have a sour tang. Good luck.
I couldn’t bake without my proofing box, before I got mine, things were too unpredictable.
Benny

I am really looking forward to the proofing box. Now if only I could get my hands on a mill…

Thanks again for responding to my queries.

1 Like