A baker posted a little while ago about using potato flakes instead of the usual flour based tangzhong. Although potato flakes are more expensive than flour per gram, at least the good quality ones without additives they have one advantage. Because the flakes are prepared from cooked potatoes, the starches are already gelatinized. Apparently even through drying to make the flakes, although the water is gone from the starches, they retain whatever change that occurred so you do not need to precook the flakes to use them.
This is a quote from the article the baker shared the link to.
” Potato flakes as tangzhong
In both wheat flour and potatoes, amylose and amylopectin exist in about a 1:4 ratio. This, plus its lower gelling temperature, means that amylopectin is the molecule responsible for the softness and staling-preventing effects of a tangzhong paste. As Dr. Ross explains, the amylopectin in instant mashed potato flakes are in a state of suspended gelation, ready to rehydrate as soon as they see water again.
Potato flakes, instant mashed potatoes are cooked and dried, maybe spray dried, but the starch never returns to the condition it was in the uncooked potato. The amylopectin doesn’t really retrograde much and when dried fast enough remains as an amorphous matrix predisposed to fully rehydrate on the next introduction to water, even without heating. The amylose probably retrogrades, but this is an advantage as it doesn’t rehydrate fully on the next introduction to water and gives some structural strength to the rehydrated mash. In potatoes this is complicated by the presence of starch within cells and whether the cells rupture or not during cooking. Rupture depends on the amount of cooking and the amount of shear applied during stirring/mixing.
Back to the method: You want enough additional water to completely saturate the starches in the potato flakes, so that they can do their thing in the dough and so that they don’t suck up water that would otherwise be destined to hydrate the flour—but no more than that, or it will make the dough stickier than it needs to be. Twice the weight of the potato flakes is about right, based on the tests I’ve done.
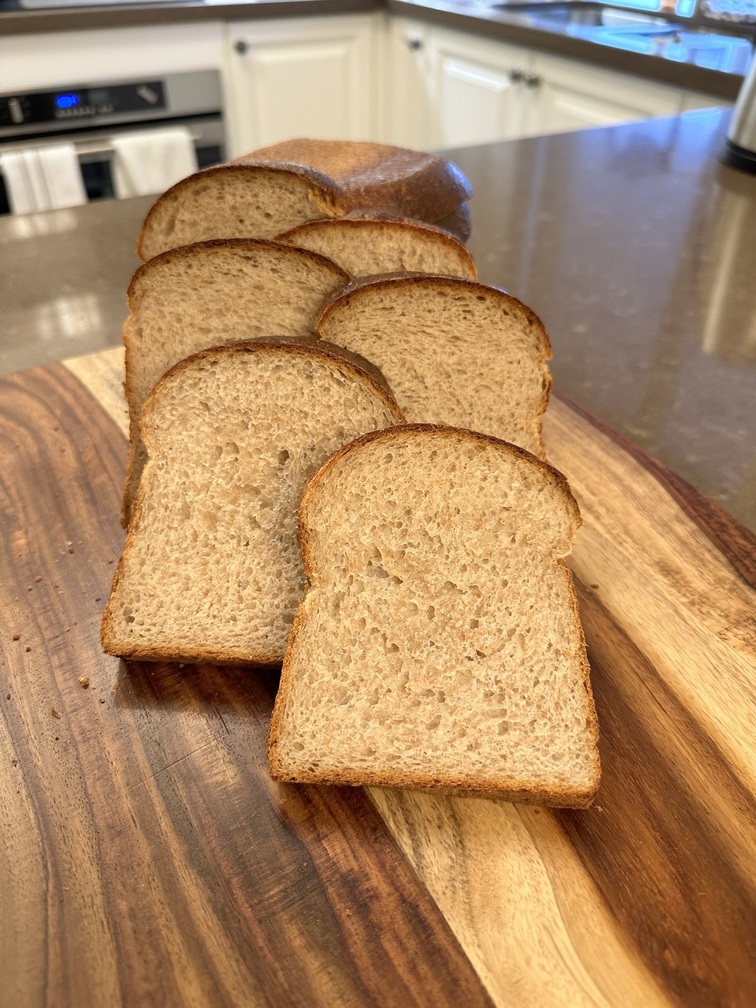
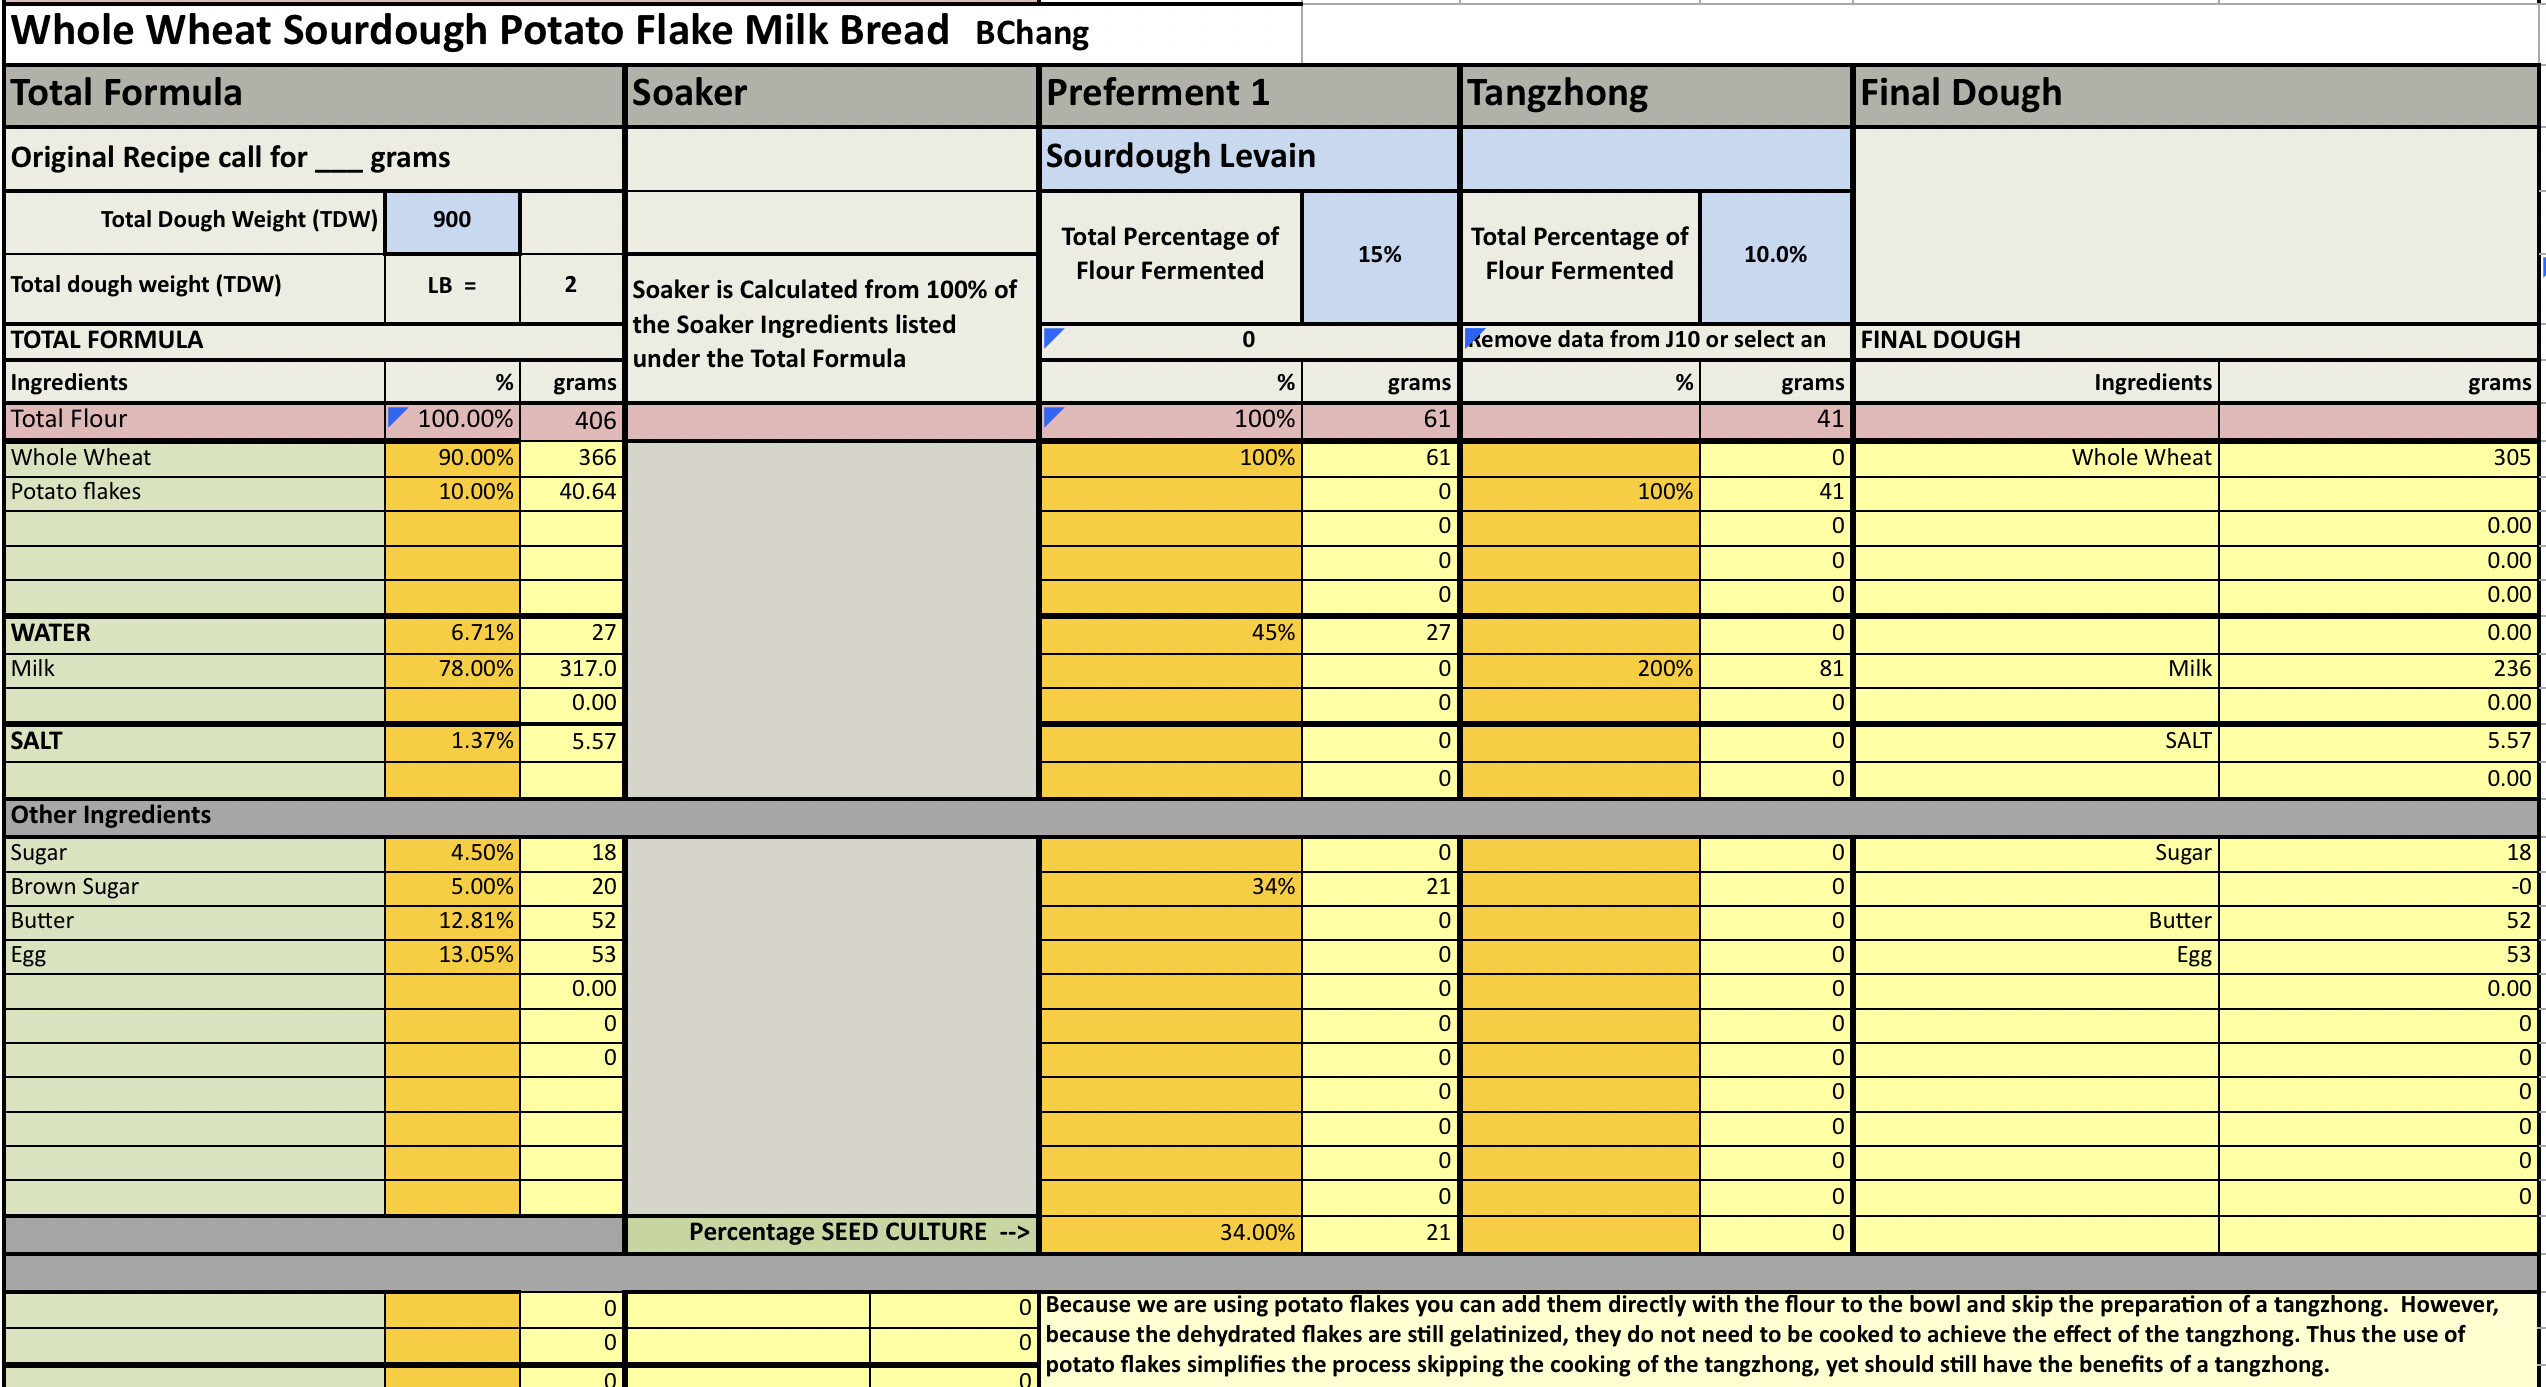
As for the amount of potato flakes to add, I’ve tested up to a 15% substitution of the total flour, though I think that in most cases sticking to no more than 10% is probably best, especially if the goal is to retain adequate crumb structure. (If you want a more dense, custard-like, tight crumb, by all means try higher amounts, but keep in mind that you need some structure to avoid a sticky dough—so you might have to reduce the total water to keep it easy to handle.)
In summary:
You can amend the dough with as much as 15% of the total flour—meaning adding 15g of potato flakes for every 100g of flour—but to keep the dough texture close to the original, you probably want to limit it to no more 10%
To fully saturate the potato starches, you want to add 200% water, relative to the weight of the potato flakes (aka twice as much water as potato flakes)
And 2% salt, relative to potato flakes, to keep the overall salt % correct
For example: Add 50g potato flakes, 100g water, and 1g salt to a bread that contains ~500g flour, for a 10% amendment
If the dough is going to be machine-kneaded, you can just add the flakes to the dry ingredients, they’ll get sufficiently moshed up during kneading. To prevent a lumpy dough if you are hand-mixing, you’ll want to either grind them to a flour in a spice or flour mill, or instead mix the flakes with a small amount of the water from the dough and whisk them to a smooth paste before adding the remaining liquid ingredients.
I’ve yet to prove conclusively that instant potato flakes are as “good” as other cooked starches in a tangzhong-style approach, but they are so convenient to use that it might not matter to me if you can get a slightly better result using another starch. (I’m entirely happy with them in a soft-and-squishy enriched bread application, such as the bun recipes I’ve got coming up in the Summer 2021 edition of Edible Boston.) The amount of amylopectin relative to a traditional flour-based tangzhong is close to identical, so they should behave comparably. But it is something I plan to test eventually with a side-by-side.”
So for a baker who doesn’t feel like having to cook and mess up a pot to prepare a tangzhong, using potato flakes might be a time saving step to prepare a bread that uses a tangzhong. At the same time, you get the benefits of the tangzhong, the delayed staling and fluffiness of the crumb with less work. Win win as long as the flavour is still good.
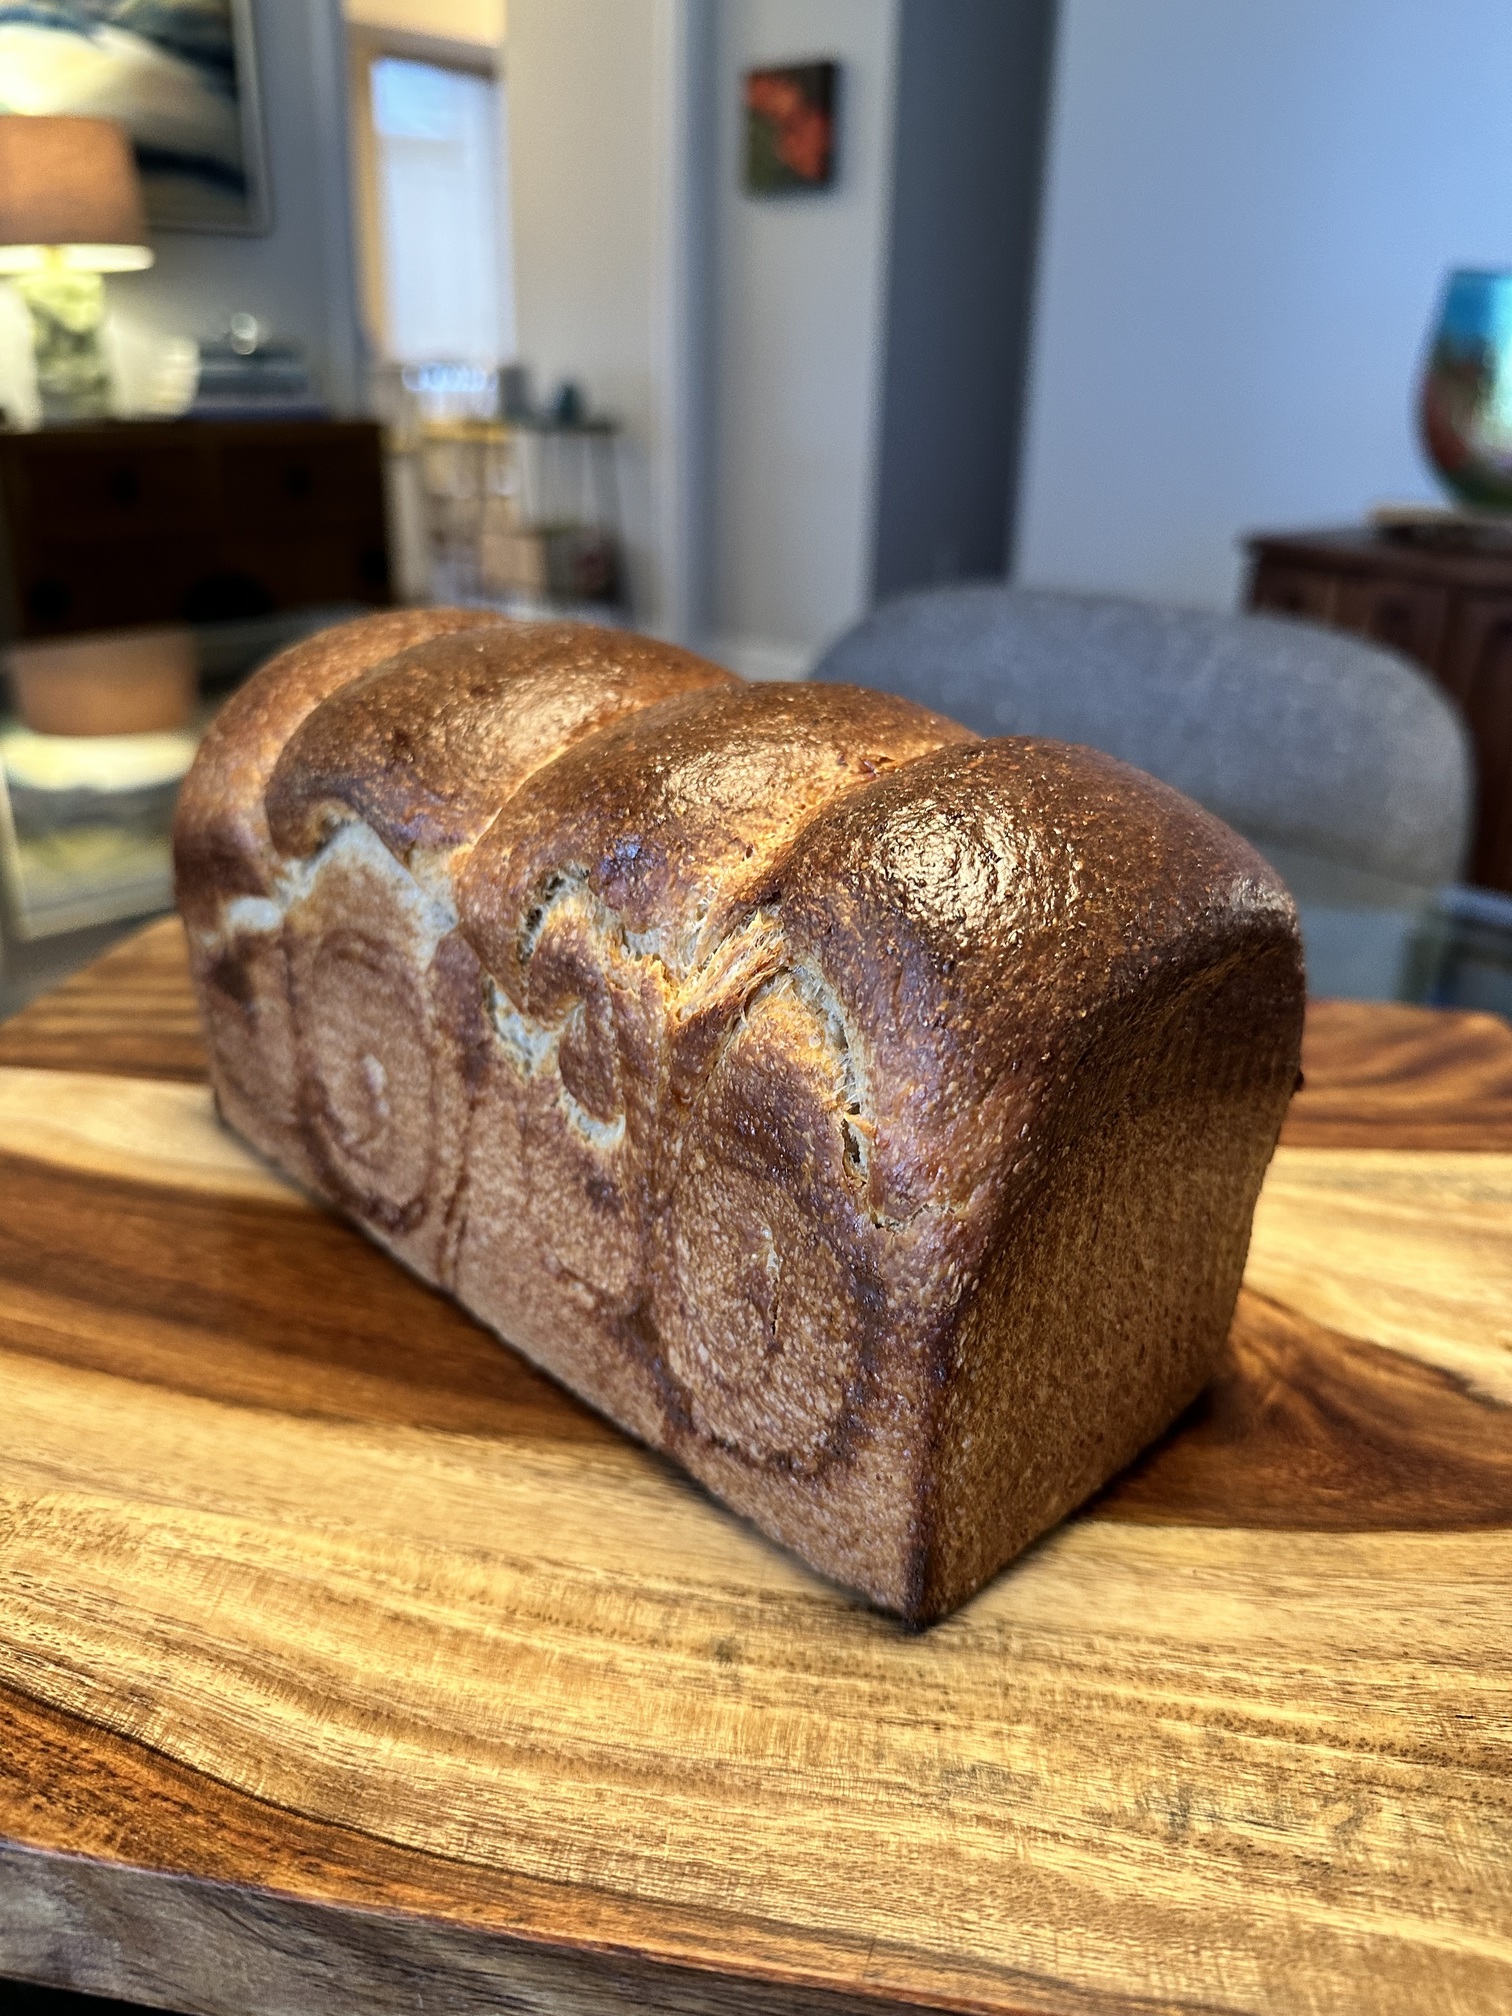
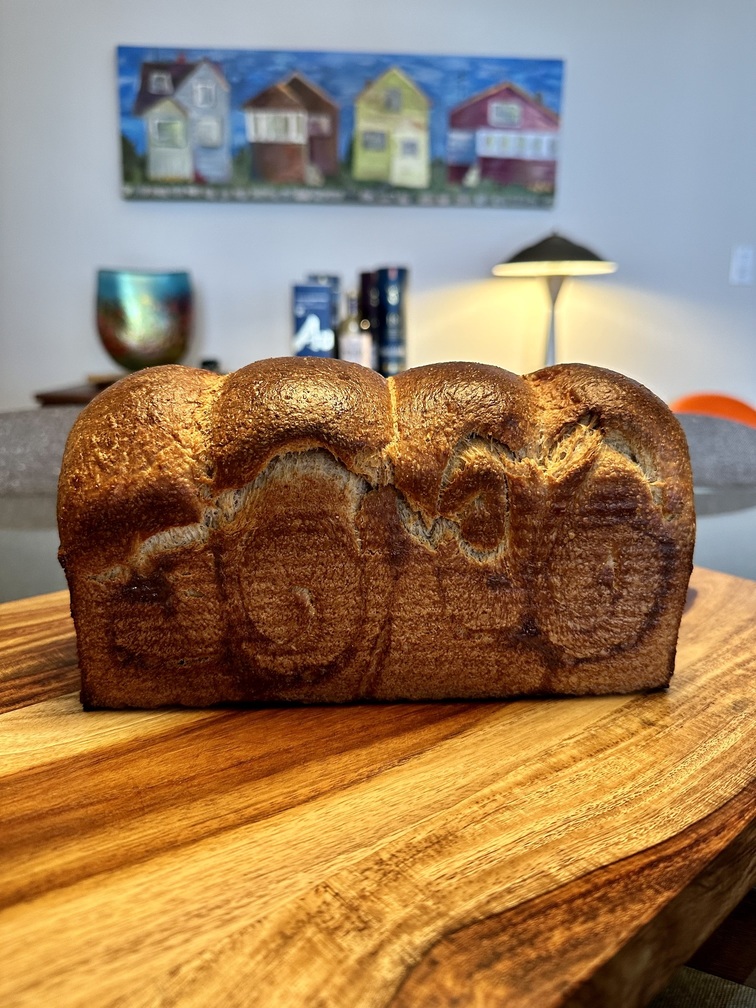
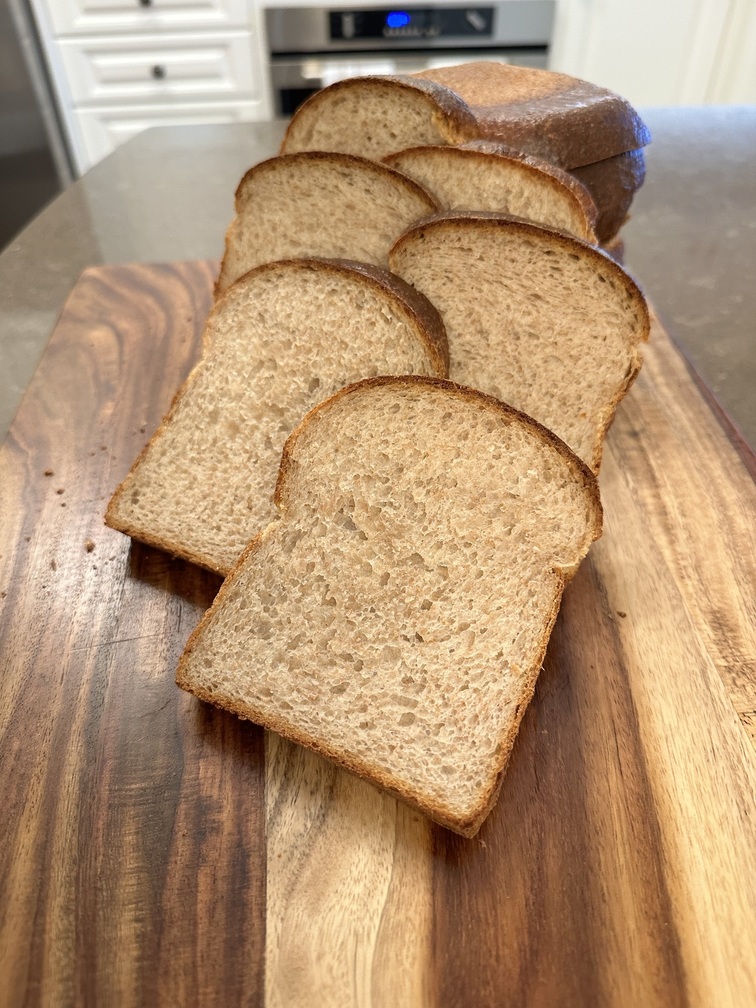
For one 9x4x4” Pullman pan loaf.
Instructions
Levain
Mix the levain ingredients in a jar or pyrex container with space for at least 300% growth.
Press down with your knuckles or silicone spatula to create a uniform surface and to push out air.
At a temperature of 76-78ºF, it typically takes up to 10-12 hours for this sweet stiff levain to be at peak. For my starter I typically see 3-3.5 times increase in size at peak. The levain will smell sweet with only a mild tang.
Tangzhong
If you are mixing by hand, then prepare the tangzhong by cooking the milk with the potato flakes until they form a mash potato. If you are using a stand mixer then add the potato flakes with the tangzhong milk to the bowl along with all the other ingredients.
Dough
In the bowl of a stand mixer, add the milk (consider holding back 10 g of milk and adding later if this is the first time you’re making this), egg, salt, sugar and levain. Mix and then break up the levain into many smaller pieces. Next add the flour and the potato flakes. I like to use my spatula to mix until there aren’t many dry areas. Allow the flour to hydrate (fermentolyse) for 20-30 minutes. Mix on low speed and then medium speed until moderate gluten development this may take 5-10 mins. You may want to scrape the sides of the bowl during the first 5 minutes of mixing. Next add room temperature butter one pat at a time. The dough may come apart, be patient, continue to mix until it comes together before adding in more butter. Again, knead until well incorporated. You will want to check gluten development by windowpane during this time and stop mixing when you get a good windowpane. You should be able to pull a good windowpane, not quite as good as a white flour because the bran will interrupt the windowpane somewhat. Add the seeds, then mix again until they are well distributed.
On the counter, shape the dough into a tight ball, cover in the bowl and ferment for 2 - 4 hours at 82ºF. There should be some rise visible at this stage.
You can next place the dough into the fridge to chill the dough for about 1.5 hours, this makes rolling the dough easier to shape. Remember, if you do so the final proof will take longer. Alternatively, you can do a cold retard in the fridge overnight, however, you may find that this increases the tang in your bread.
Prepare your pans by greasing them with butter or line with parchment paper.
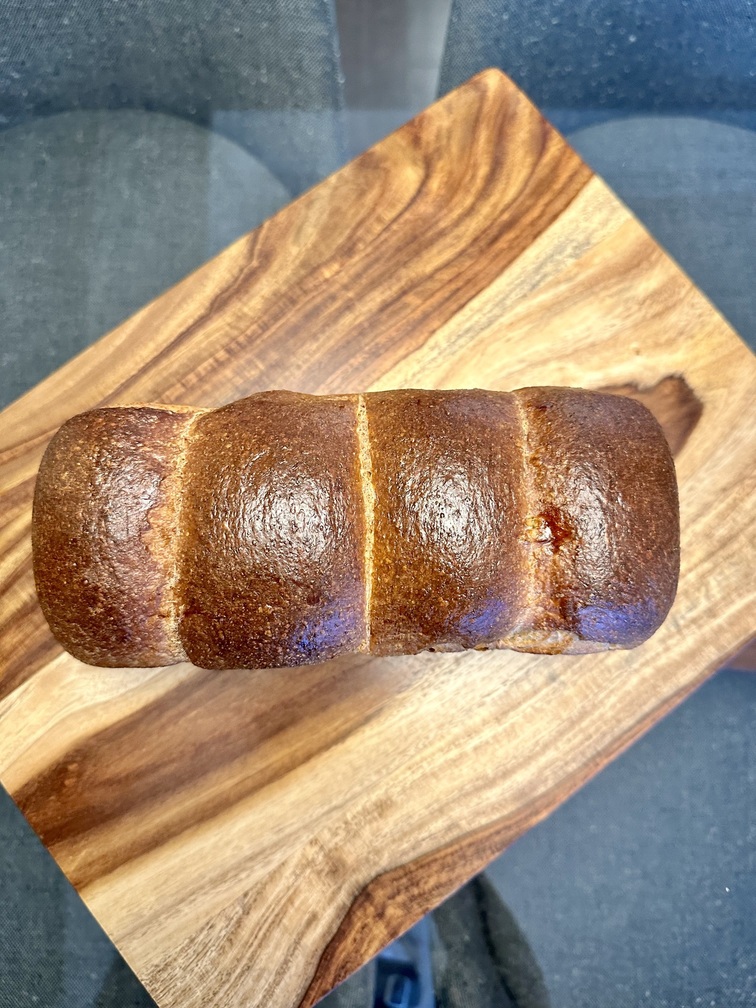
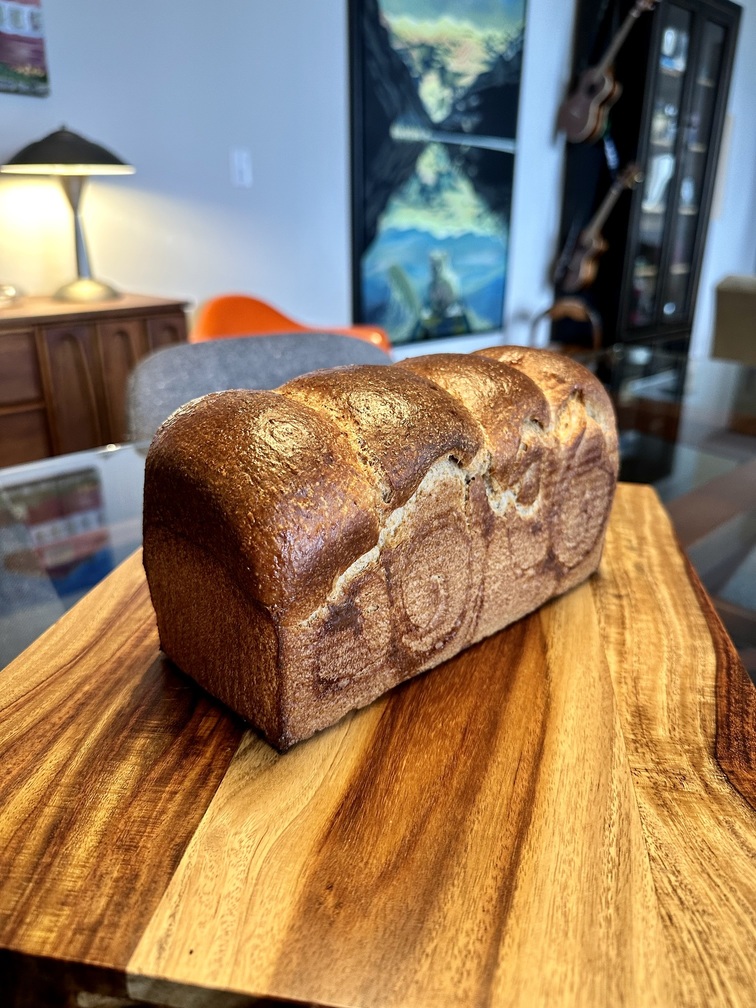
Lightly oil the top of the dough. Scrape the dough out onto a clean counter top and divide it into four. I like to weigh them to have equal sized lobes. Shape each tightly into a boule, allow to rest 5 mins. Using an oiled rolling pin roll each ball out and then letterfold. Turn 90* and using a rolling pin roll each out to at least 8”. Letterfold again from the sides so you have a long narrow dough. Then using a rolling pin, roll flatter but keeping the dough relatively narrow. The reason to do this extra letterfold is that the shorter fatter rolls when placed in the pan will not touch the sides of the pan. This allows the swirled ends to rise during final proof, this is only done for appearance sake and is not necessary. Next roll each into a tight roll with some tension. Arrange the rolls of dough inside your lined pan alternating the direction of the swirls. This should allow a greater rise during proof and in the oven.
Cover and let proof for 4-6 hours at a warm temperature. I proof at 82°F. You will need longer than 4-6 hours if you chilled your dough for shaping. I proof until the top of the dough comes to within 1 cm of the top edge of the pan.
Preheat the oven to 350F and brush the dough with the egg-milk wash. Just prior to baking brush with the egg-milk wash again.
Bake the loaves for 50 minutes or until the internal temperature is at least 190ºF, rotating as needed to get even browning. Shield your loaf if it gets brown early in the baking process. After 50 mins remove the bread from the pan and bake a further 10 mins by placing the loaf directly in the oven on the rack with the oven turned down to 325ºF