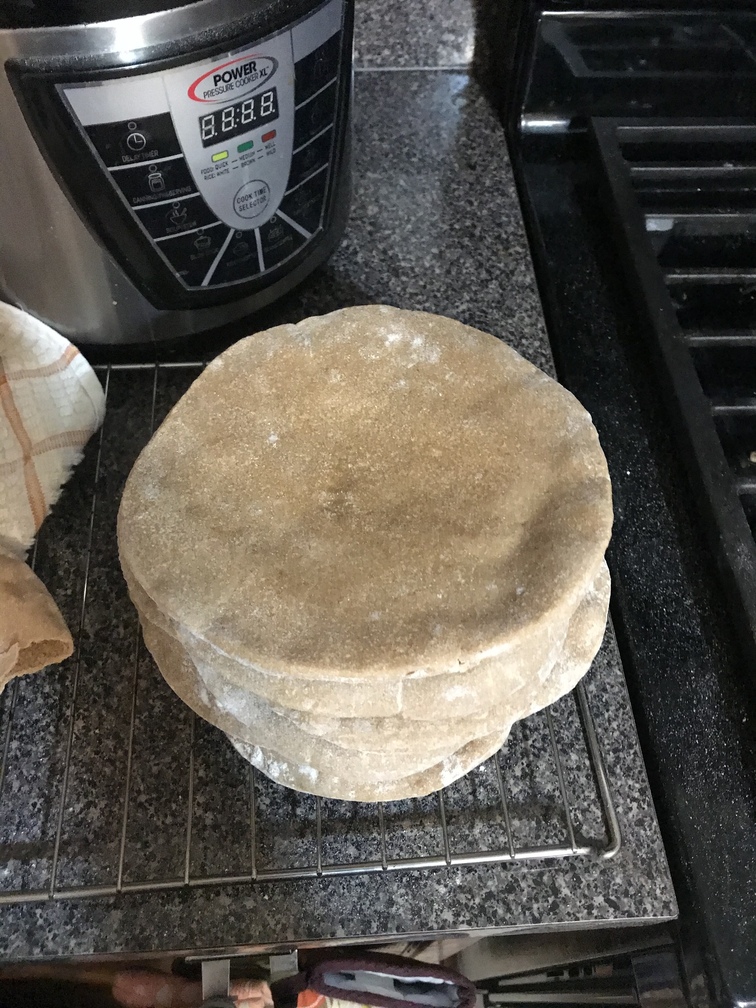
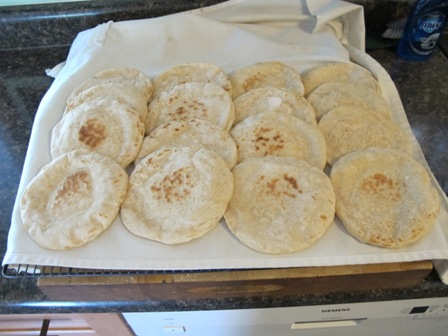
Just took the last one out of the oven - very delicious. Made them with sourdough starter and half all-purpose, half whole spelt flour. Even though they didn’t all inflate as I would have liked, I will definitely be doing these again. Thanks so much for the instruction!
These do look amazing. As a stuffing, they sell some incredible Mujadara at Kalustyans in NYC, but better yet make it yourself with crispy onions, lentils, etc
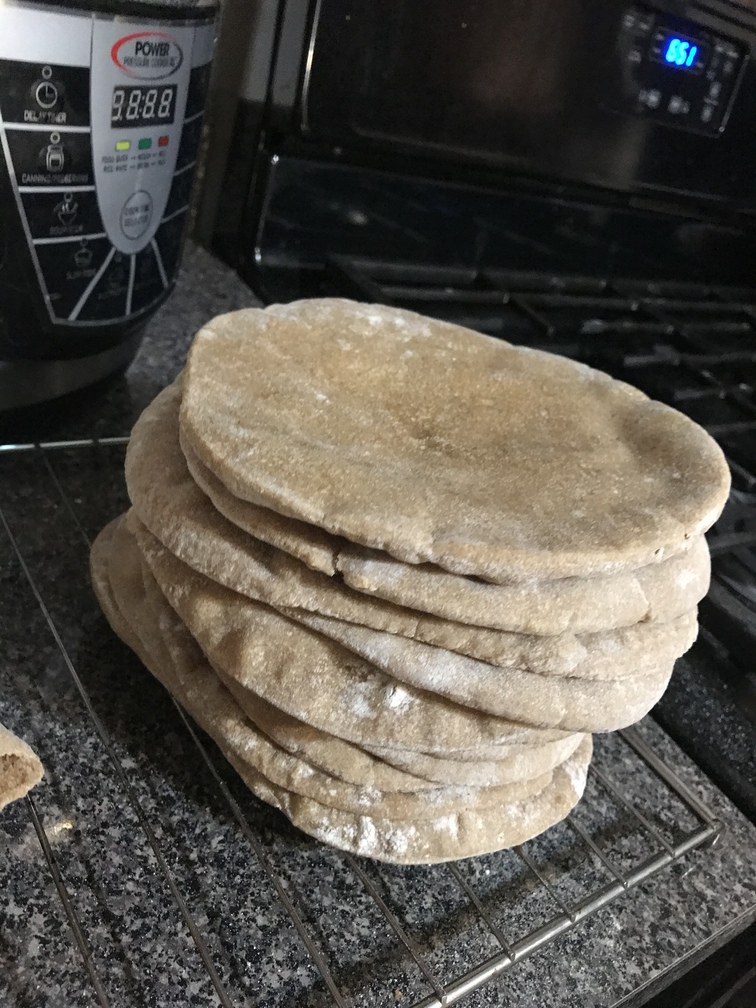
Thank you for this recipe!! I’ve made whole grain pita before, but I’ve never had this result. All 8 puffed up beautifully. I used fresh ground wheat with small amounts of spelt, kamut and rye. They were delicious. This is a keeper! The video was really helpful.
This looks incredible! I need to add this to the menu plan next week! I am suffering from ulcerative colitis and hence I’ve been advised to add a lot of whole grain recipes in my diet plan. Your site has provided me with a lot of healthy options. For your reader’s guidance, I have diagnosed with https://www.everydayhealth.com/ulcerative-colitis/guide/ this medical condition. Thank you so much for sharing this amazing recipe.Blessings, Sam.
This recipe worked perfectly and was delicious. I literally just got them out of the oven,and am about to get a double recipe started, this time with sourdough instead of yeast!
Hi - Can I replace with Spelt flour?
Just tried the recipe with Spelt flour and it worked perfectly, just need to add extra flour to the same amount of water.
4 Likes
Very nice! 
Saw your video and since I love pitas I had to try baking them with my starter. Have had great results 3 times now! Soft and a little tangy. The wife bought some Golden Temple Durum Atta (whole wheat) flour at an Indian shop here in North Texas and it worked fine.They’re perfect with my homemade hummus.
Cheers,
Peter F.
2 Likes
Any chance I could make these without any oil?
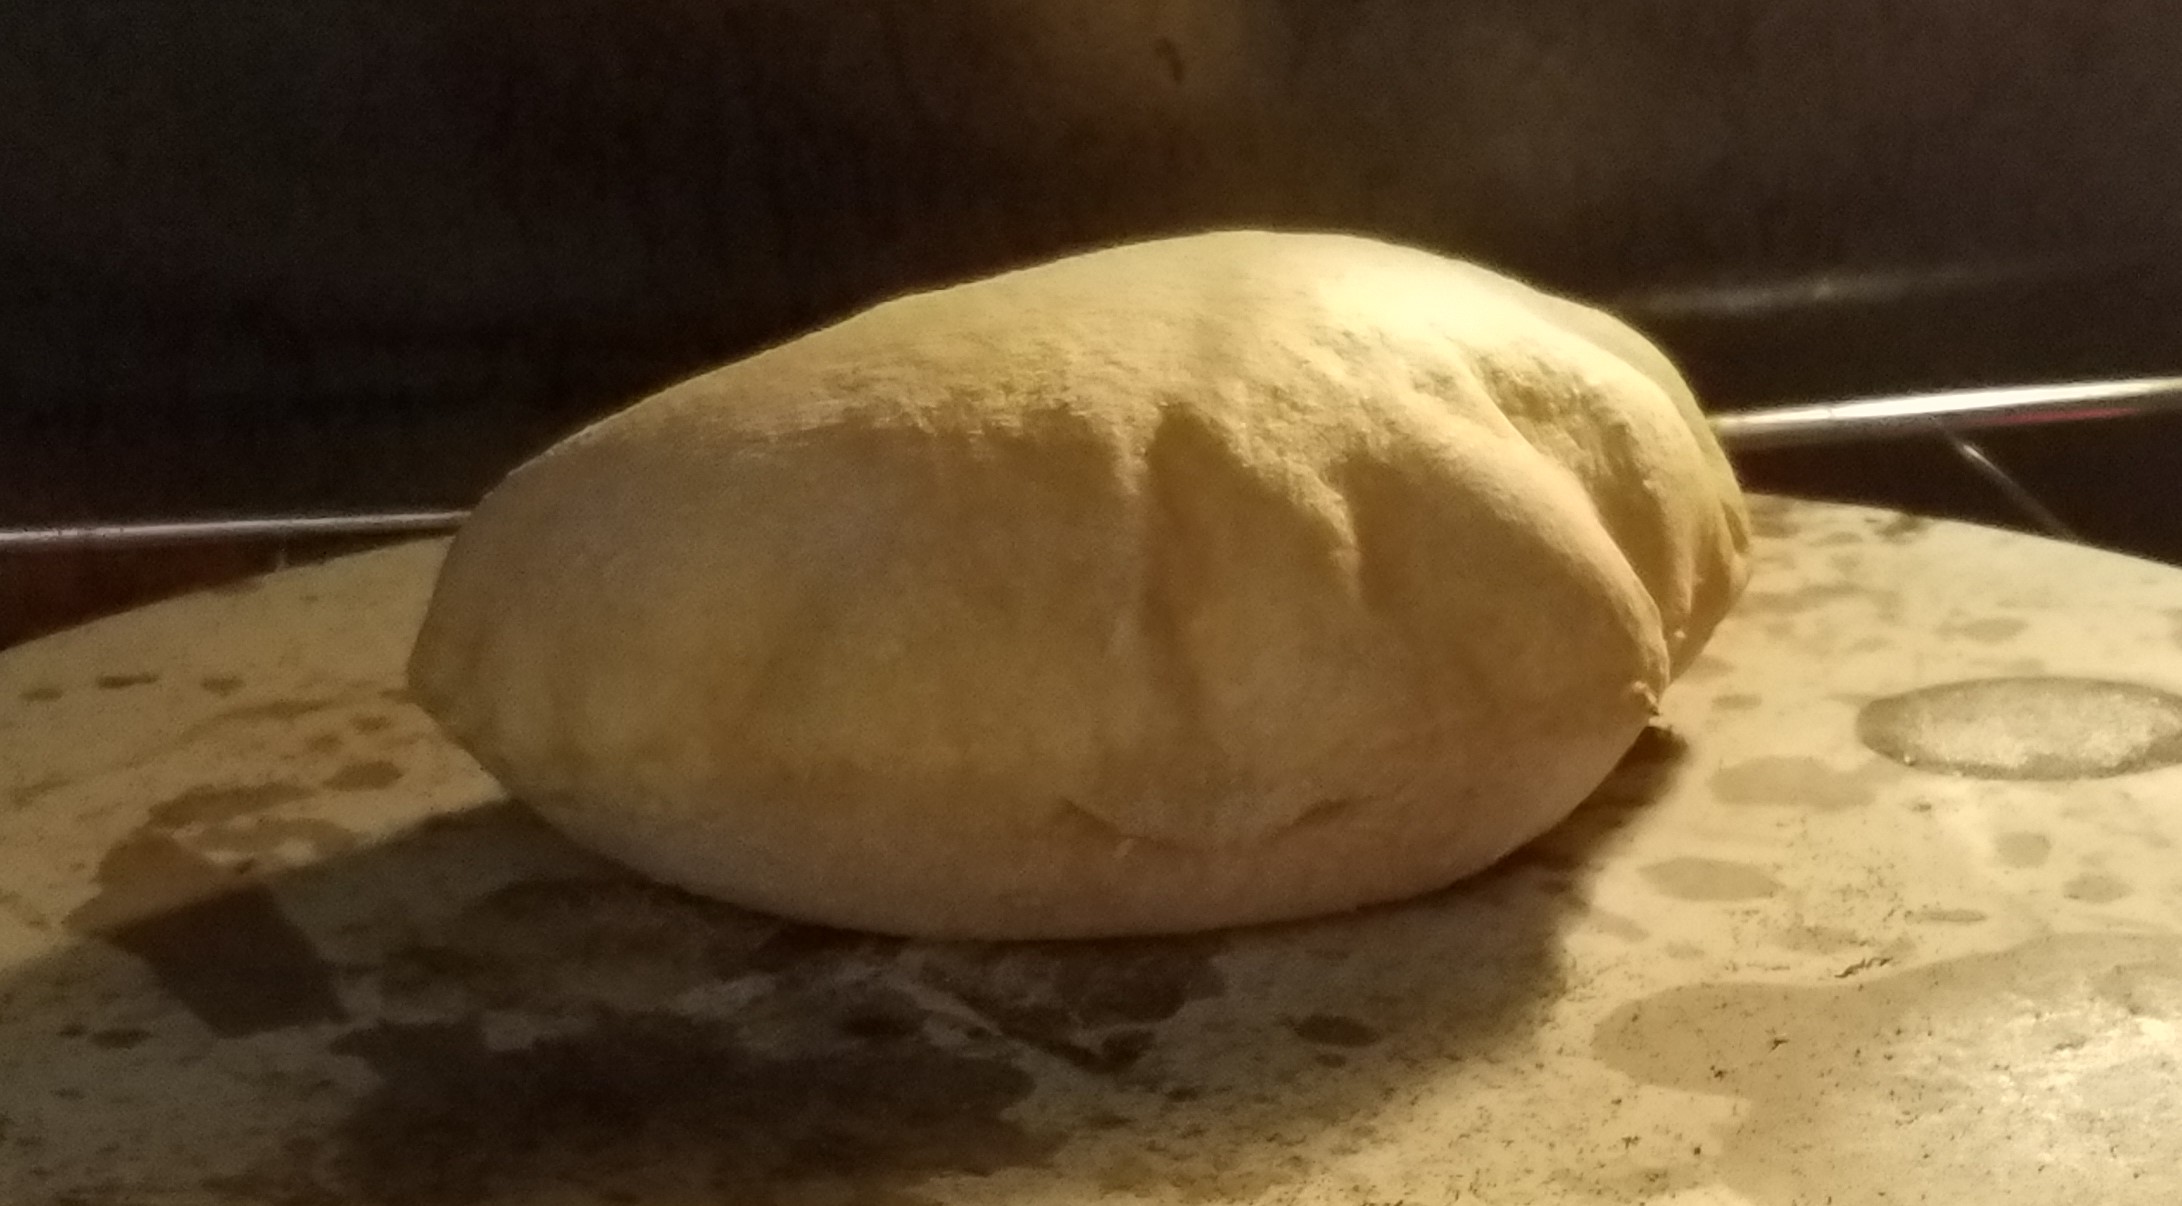
Thank you very much Eric for your wonderful recipes. I already made no knead bread several times, following your recipe and loved it. Yesterday I made pitas :). Not all of them looked the same. Some of them puffed like in your video, some -puffed less. May be because I need thicker baking stone? I have a small pizza stone, which is thinner than yours. Also, I have a question. Do you dust using all purpose flour, or rice flour?
The recipe indicates proofing for 8-12 hours – so some questions:
I have a Brod & Taylor proofer and usually proof my Tartine loaves at 80F for about 3.5 to 4 hours. After the 3.5 to 4 hour proofing I get about a 30% rise – the dough temp holding steady.
My DDT for Tartine loaves – with 80% or so hydration, 15% overnight starter – is generally around 78-80F.
What kind of dough temperature (and proofing temperature) would be a good target for pita?
I ask because 8-12 hours sounds like it might overproof if I go with my normal temps.
Am I looking for the pita dough to essentially double at the end of proofing?
Even though I live in the middle east and pita are readily available, I often bake my own. Now I would like to try these with sourdough starter, and perhaps bake them on a stovetop grill. Where can I find instructions for stovetop baking?
Thanks much for your help!
@raul Hi, Raul! I’m brand new to baking sourdough pita, any pita at all really, and only did it for the very first time yesterday! I’m attaching the thread I was posting on below because I think the best person for you to communicate with is @dave_r. He posted on my thread about stovetop making his pita!
All the best,
Leah
@raul, I saw your post about your interest in stove top pita bread technique and thought I’d post my method. I use commercial yeast so you will have to refer to Breadtopia’s thread about wild yeast pitas.
I bulk ferment my dough in the refrigerator overnight, so I let the dough sit a room temperature for about two hours before starting.
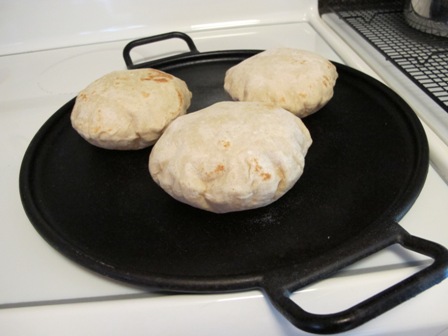
I start with 19 ounces of flour (two of them whole wheat). I make my pitas small enough to fit into my toaster, so I end up with 16 dough balls and roll them out to about 5 1/2 inches. Most people make their pitas larger and that’s not a problem until we get to timing of the final rise.
You want the rolled out pitas to rise for about half an hour. That is with commercial yeast. You may have to alter this depending on how active your wild yeast starter and final dough are. The reason you need to worry about timing is that you will have to pre-heat your griddle to 500° to 540°. I use an infrared thermometer to check. This again may vary based on your starter. My griddle takes 15 to 20 minutes and I do three small pitas at a time on my griddle, so I start timing my 30 minute rise after I’ve rolled out my first three pitas. This again is something you will have to determine for your own needs.
The next thing to know is that there is a top and a bottom to the pitas when using a griddle. The top facing you as you look at the pitas must go down onto the griddle first. I was taught this many years ago and it is true still today.
I have to assume that you understand how to handle the dough because you will be picking the raw pita gently with your fingers and flipping it over. You want to make sure it stays round and you can’t be afraid of the very hot griddle. I work with three at a time but I’ve been doing it for a while. You might want to start with one until you get your timing figured out.
When I learned this there were no clocks around but I’ve since shown people how to do this and I’ve timed things out from the start. Once on the griddle gently feather your fingers around the edges of the pita. This helps to seal and get a good puffy pita. The first side is cooked for 20 seconds and then flipped over. Once flipped over feather the edges again with your fingers to help the sealed edges. If you have set a timer starting with the first side, you will now flip the pita at 1 minute and twenty seconds. Things can vary here and the pita may actually start to puff but you are now flipping the pita so as to get even browning. If an edge breaks open and you see steam coming out use an offset spatula to press the edge down. It will keep the steam in and allow the pocket to continue to form. Keep turning and watching the browning. The pitas should be done at three minutes. If you need to adjust the heat for even browning you should know at this point.
Start to finish.

Dave
1 Like
@dave_r Thanks, Dave! I hope Raul sees your answer. Thank you so much for helping him out.
@raul All the best on your quest for the perfect homemade pita. I hope Dave’s expertise and stovetop technique are a good match for your needs.
Baking blessings to you both,
Leah
Thanks very much, Dave. As I said, I have often made pita in the oven before, so I think I can get the timing for the rise and the griddle. At least, I hope so! I am looking forward to sourdough pita, I think this is going to be even tastier than those with instant yeast. I’m going to try moving them with a peeler rather than my fingers, though of course my fingers will do the feathering/sealing.
Also, I’ve never used a rolling pin, rather flatten a ball of dough with my hands. I bet they’d look more evenly round with a rolling pin…
My first post here lol and its to you sooooo, this non pop up ones make DELICIOUS personal pizzas  Just a thought