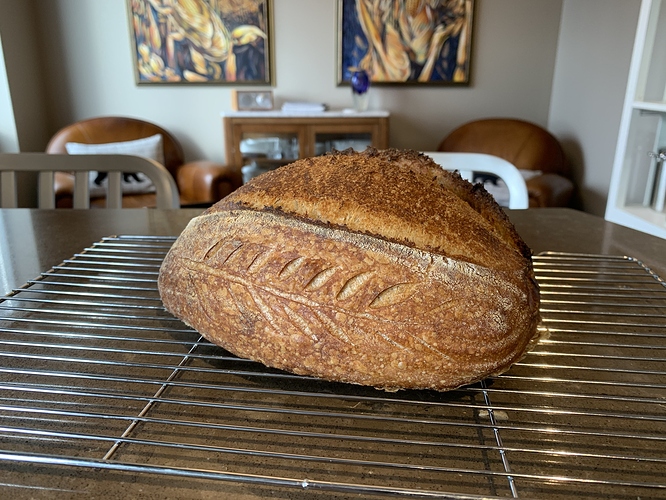
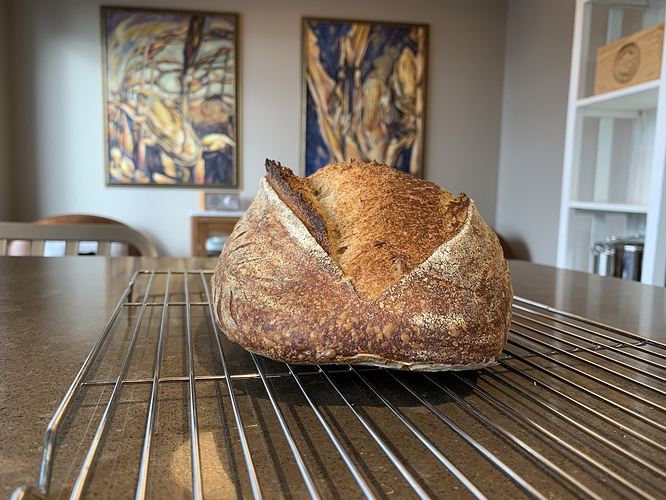
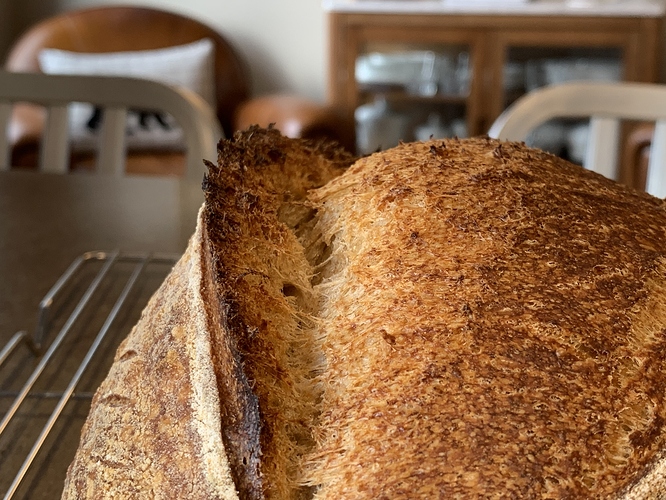
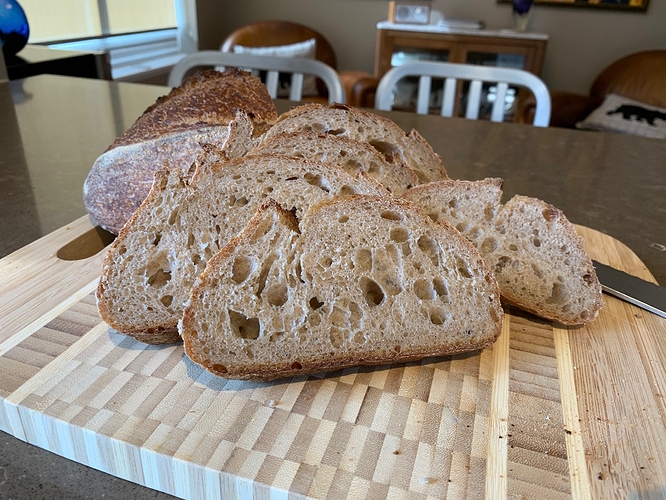
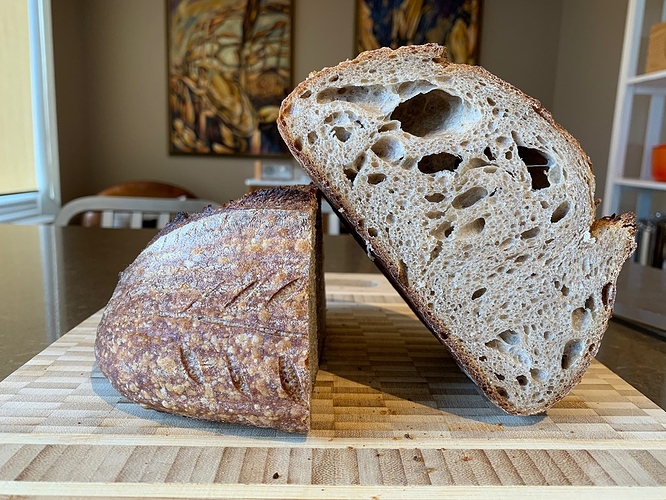
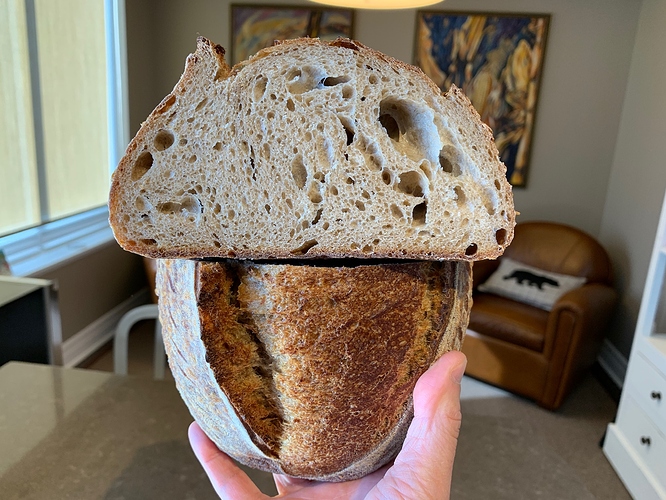
This is my first bake of this recipe from The Perfect Loaf by Maurizio. I make a 800 g dough as follows.
Dough Formula 800 g dough
| Weight | Ingredient |
|---|---|
| 197 g | White bread flour |
| 93 g | Whole Spelt |
| 83 g | Whole Red fife |
| 21 g | Whole Rye |
| 332 g | Water 85% hydration |
| 8 g | Salt |
| 66 | Mature Levain |
Hold back 20% of the water so hold back 64 g and use
268 g of water during Autolyze. I added 32 g of the water to dissolve the salt and mixed. Through the coil folds I would estimate that I added back another 15 g of water so my hydration would have been around 80%.
Levain Build for 800 g dough
| Weight | Ingredient |
|---|---|
| 25 g | Mature starter |
| 12 g | White Bread Flour |
| 13 g | Whole Spelt Flour |
| 25 g | Water |
Maurizio’s method below.
Method
- Liquid Levain – 10:00 a.m.
Add the called for mature sourdough starter, water, and flour listed in the Levain Build section above to a clean jar. As I mentioned above, try to hit a final dough temperature of 78-80°F (26-27°C). Mix well and cover loosely for 3 hours.
- Autolyse – 12:30 p.m.
Note: This dough has a fairly high hydration. If you’re familiar with the flour you’re using and you know it can handle it, proceed, otherwise, you might want to withhold more water through mixing than the 100g I do (I’d suggest 200g). Add this reserved water in slowly through mixing if it feels like the dough can handle the addition.
Add the called for flour and all but 100g of the water to a mixing bowl. Using your hands, mix to incorporate the ingredients until there are no dry bits of flour remaining. Cover, and keep somewhere at warm room temperature until it’s time to mix 30 minutes later.
- Mix – 1:00 p.m.
Add the liquid levain, salt, and appropriate amount (add this reserved water in slowly as the dough handles it) of the remaining water to the mixing bowl holding the autolysed dough. Using your hands, mix everything until it comes together into a shaggy mass. Then, dump the bowl out to the counter and slap and fold the dough for about 8 minutes to develop strength. This is a wet dough, and it benefits from a little extra kneading time.
I recently uploaded a new post to my Baking Guides page with more information on the slap and fold technique, including the video below. Check out the Slap and Fold Guide Page for more information on this technique.
When the dough is mostly smooth and starts to hold its shape on the counter, transfer it to a container for bulk fermentation and cover.
- Bulk Fermentation – 1:15 p.m. to 4:45 p.m.
During the three and a half hour bulk fermentation, give the dough three sets of stretch and folds. The first set will be 15 minutes after the start of bulk fermentation, then every 30 minutes thereafter. Let the dough rest after the last set of stretch and folds for the remainder of bulk fermentation.
- Divide & Preshape – 4:45 p.m.
Fill a bowl with a little water and place near your work surface. Gently scrape out your dough from the bulk container onto your dry counter. Divide the mass in half using a bench knife and using a wet hand and the knife, preshape each half into a very taut round.
Let the dough rest, uncovered, for 20 minutes.
- Shape – 5:05 p.m.
This recipe is nice shaped as a boule or batard, but I tend to prefer the long, oval shape because of how it slices. However, a boule is a nice change now and again — it’s up to you. If you do go with a batard, I would suggest shaping it a little tighter than usual, and when scoring, a double (or triple) score will help eke out a bit more rise.
I rolled the final, shaped dough on a towel with a layer of instant rolled oats spread from edge to edge to get them to stick to the exterior. Then, place the dough in the final proofing basket.
- Proof – 5:10 p.m. to 9:00 a.m. (the next day)
Cover both proofing baskets entirely and put them in the fridge to proof overnight.
- Bake – 9:00 a.m. (pre-heat oven at 8:00 a.m.)
Preheat your oven with a baking stone or Baking Steel inside to 500°F (260°C).
I baked these boules on my Baking Steel in my oven: see my post on how to steam your home oven for baking. However, you could also use a Dutch oven: see my post on how to bake with a Dutch oven (in which case don’t use a baking stone or Baking Steel).
The next morning, preheat your oven with baking stone/steel for one hour at 500°F (260°C).
Score each piece of dough and load it using one of the two methods listed above, then turn the oven down to 450°F (232°C). Bake for 20 minutes with steam. Then, remove the steaming pans from inside the oven (or remove the lid to your Dutch oven) and bake for an additional 30-35 minutes, or until done.
Once fully baked, cool your loaves on a cooling rack for 1-2 hours.
What I did slightly differently is that I did a coil fold 15 mins after completing the slap and folds. I followed that 30 mins later with lamination of the dough which for the first time went super well, perhaps the spelt’s extensibility really made it easier than I have experienced in the past. Then two more coil folds at 30 mins intervals.
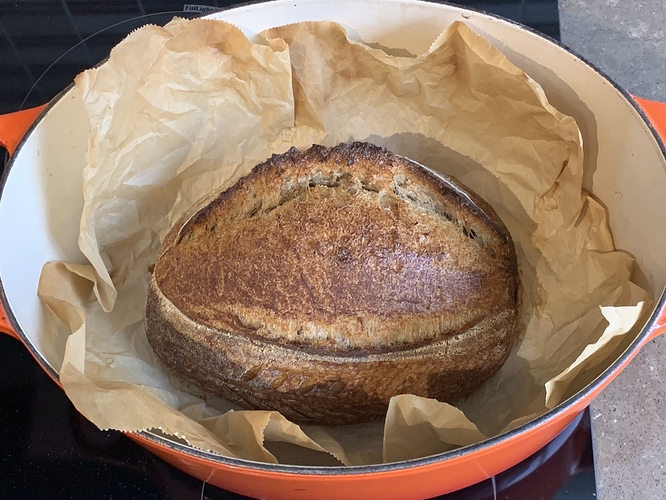
I otherwise followed his instructions until baking, since my dough is 800g vs his 1000g, I baked for 20 mins in my Dutch oven with lid on at 450ºF, removed the lid and dropped the temperature to 420ºF and baked for 10 mins, then replaced the lid leaving gaps by placing the lid across the Dutch oven to shield the bread and baked for a further 10 mins.
The bread is cooling and won’t be cut until tomorrow at lunch so I’ll cross my fingers until then that fermentation went well and that the crumb will be good. Of note, this was my first time using my starter after a 30 day vacation during which time it wasn’t fed at all. The levain was built after only refreshing the starter 3 times.
Benny
