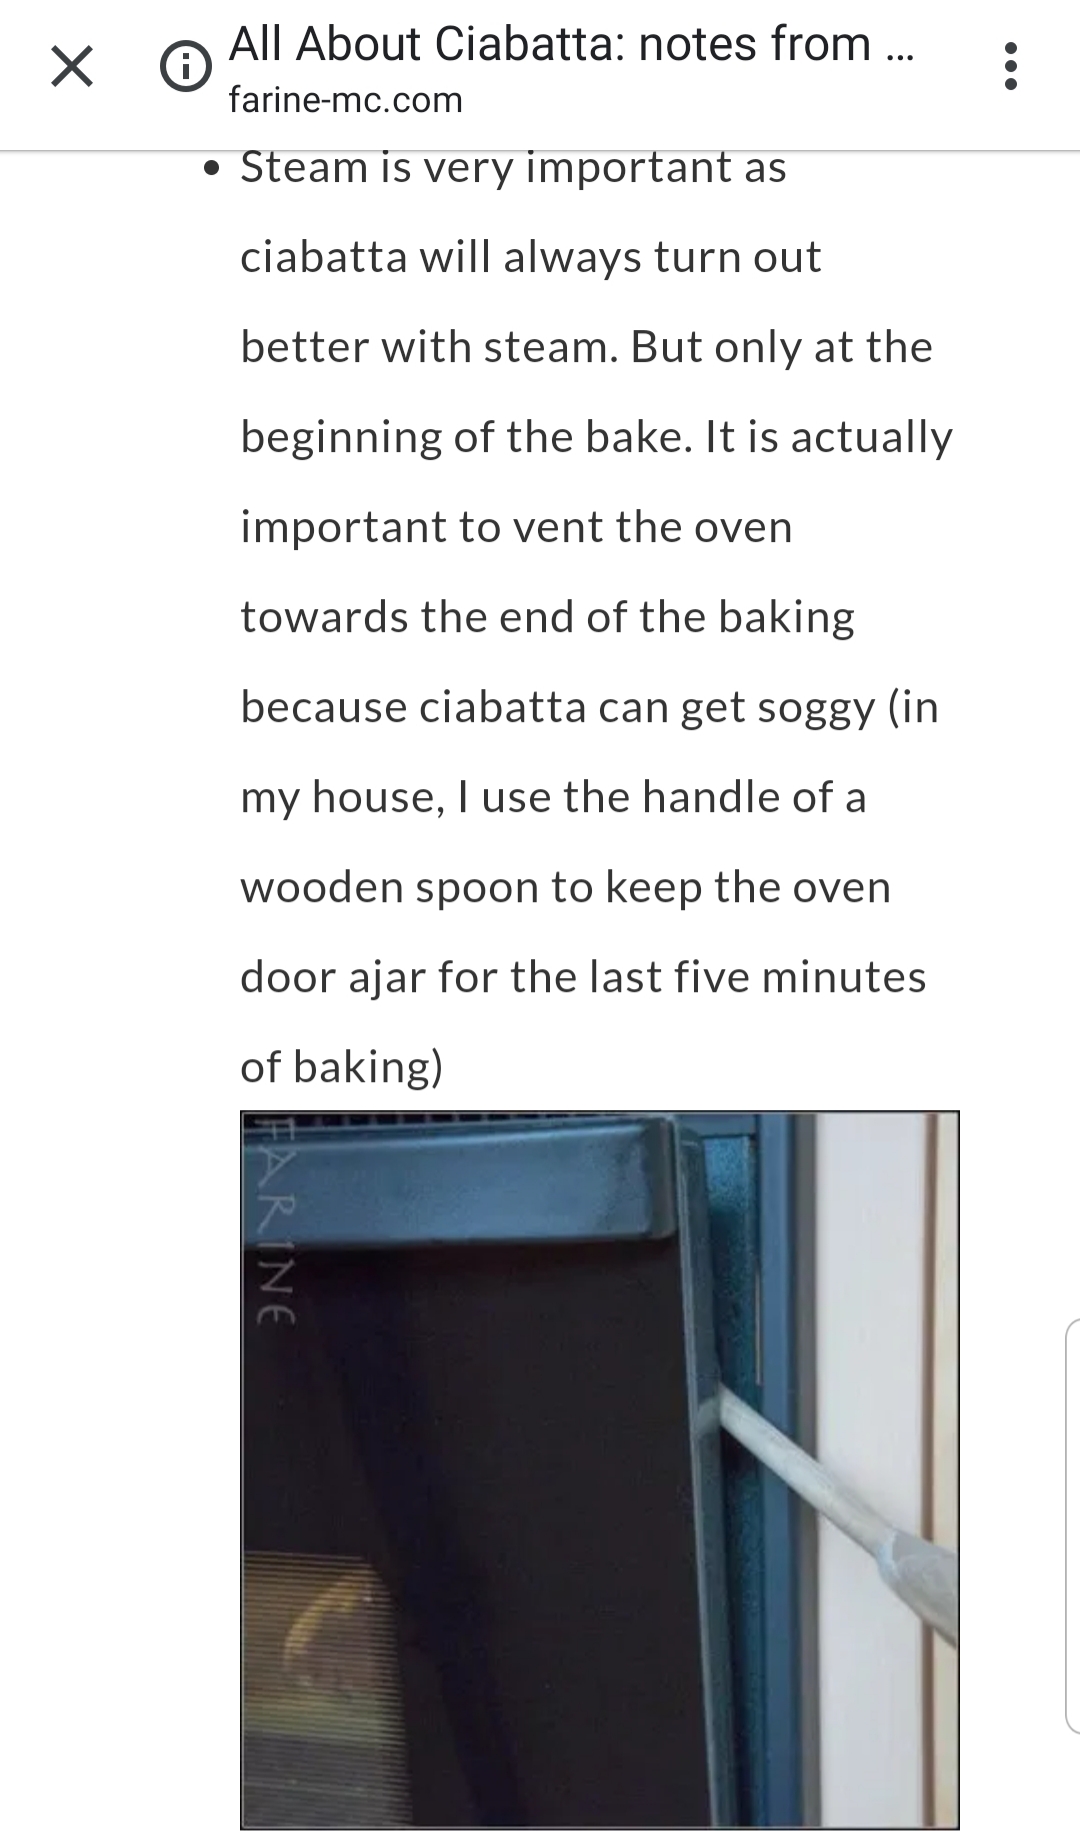
Wow! Beautiful ciabatta and plate of food. You’re welcome and thanks for sharing your experience with the recipe.
I am on my fourth try with this recipe with one coming out with about an 80% success rate. I’m hoping I can figure out what is going on with your help. My dough has never been able to pass the window pane test until yesterday. The first two tries left me kneading for almost an hour. The last one I did with my mixer and it took about 45 minutes but I had to add flour and it barely passed the test. This last time I significantly decreased the water to 265 g and the mixer worked on it for about 15-20 minutes with a beautiful window pane. I did not add any water after. Also, instead of doing a levain the day of, I have been making a big batch of starter with a 50/50 combo of rye and all purpose flour. I’ve only had one day where the bread rose nicely and I’m wondering if both reasons mentioned above is why. The bread that is currently in the oven didn’t have starter which passed the float test, but I did it anyway. Anyhow…would love some insight. This newbie has been enjoying the experimentation process but at the end of the day, I want to have a fabulous loaf of ciabatta. P.S. The steam method is awesome! I’ve been doing it with my cast iron and I can’t believe the difference it makes!
I think if you get a good ciabatta with less water than that’s the way to go.
Or you could feed your starter only strong flour (no rye) for this recipe and then the dough may be able to handle all the water.
This recipe uses a lot of starter/levain, so if 50% of the flour in your starter is rye, that could be why you’re struggling to get a windowpane on the final dough.
A dough made entirely of strong flour is going to be more stretchy then one that is partly rye (rye about 16.6% of the total flour weight in your ciabatta if I’m calculating correctly).
Good morning Melissa!
This past month my husband and I decided to give bread making a try. We have never made bread. Since sourdough is our favorite we looked online for tips and ideas on how to make sourdough. Wow! We were surprised at the steps, but went for it anyway. We decided to buy a starter and found Breadtopia had the best online support, with videos on reviving and maintaining the starter. Next we bought a kitchenaide mixer! We went all in on this project!
Once the starter arrived and we revived it and it grew like it was suppose to we looked for a recipe that had all the ingredients we already had and the kind of bread we could eat the rest of our lives, if it was the only choice!
Being completely new to bread making we had to google some of the bread making terms, and hoped we understood what 100% hydration looked like. This recipe truly was easy to make! You explained the steps perfectly and as visual learners the photos were a major plus!
Our loaves turned out perfect! Eating them we felt like we just bought them from an Italian bakery in San Francisco or Italy! I just had to thank you for being a great online instructor and we look forward to many more hours of learning to bake sourdough breads.
2 Likes
Thank you! You confirmed some suspicions I had. I am in the middle of making a starter without rye now. The ciabattas I made yesterday were a little dense and did not rise very well, but still. have a delicious taste and one hell of a crispy crust due to steaming.
1 Like
@Tinymom Thank you. It’s wonderful to hear that you’re enjoying bread baking, Breadtopia, and my recipe tutorials. I remember when I was new to bread baking, I scoured the internet for before and after pics of dough fermentation, and so I try to help in that way.
@Verona Glad I could help. You may end up preferring a part rye ciabatta, but playing around with flour types can be interesting and a learning experience. Steaming is key too – good job on nailing that.
Steaming importance echoed by the expert in the article @djd418 posted in this thread Ciabatta Polesana which you might enjoy. I love the bullet that says: Do not dimple ciabatta dough lol.
Thanks for this! It’s going to be very useful for me!
Thank you for the recipe! Here is my first sourdough ciabatta made this morning! 100% hydration starter. My only change was adding 2% salt at 16.5g. Wonderful dough to work with. Bulk fermentation was 5 hours and 45 minutes. Baking time took a little longer for me to reach proper internal temp.
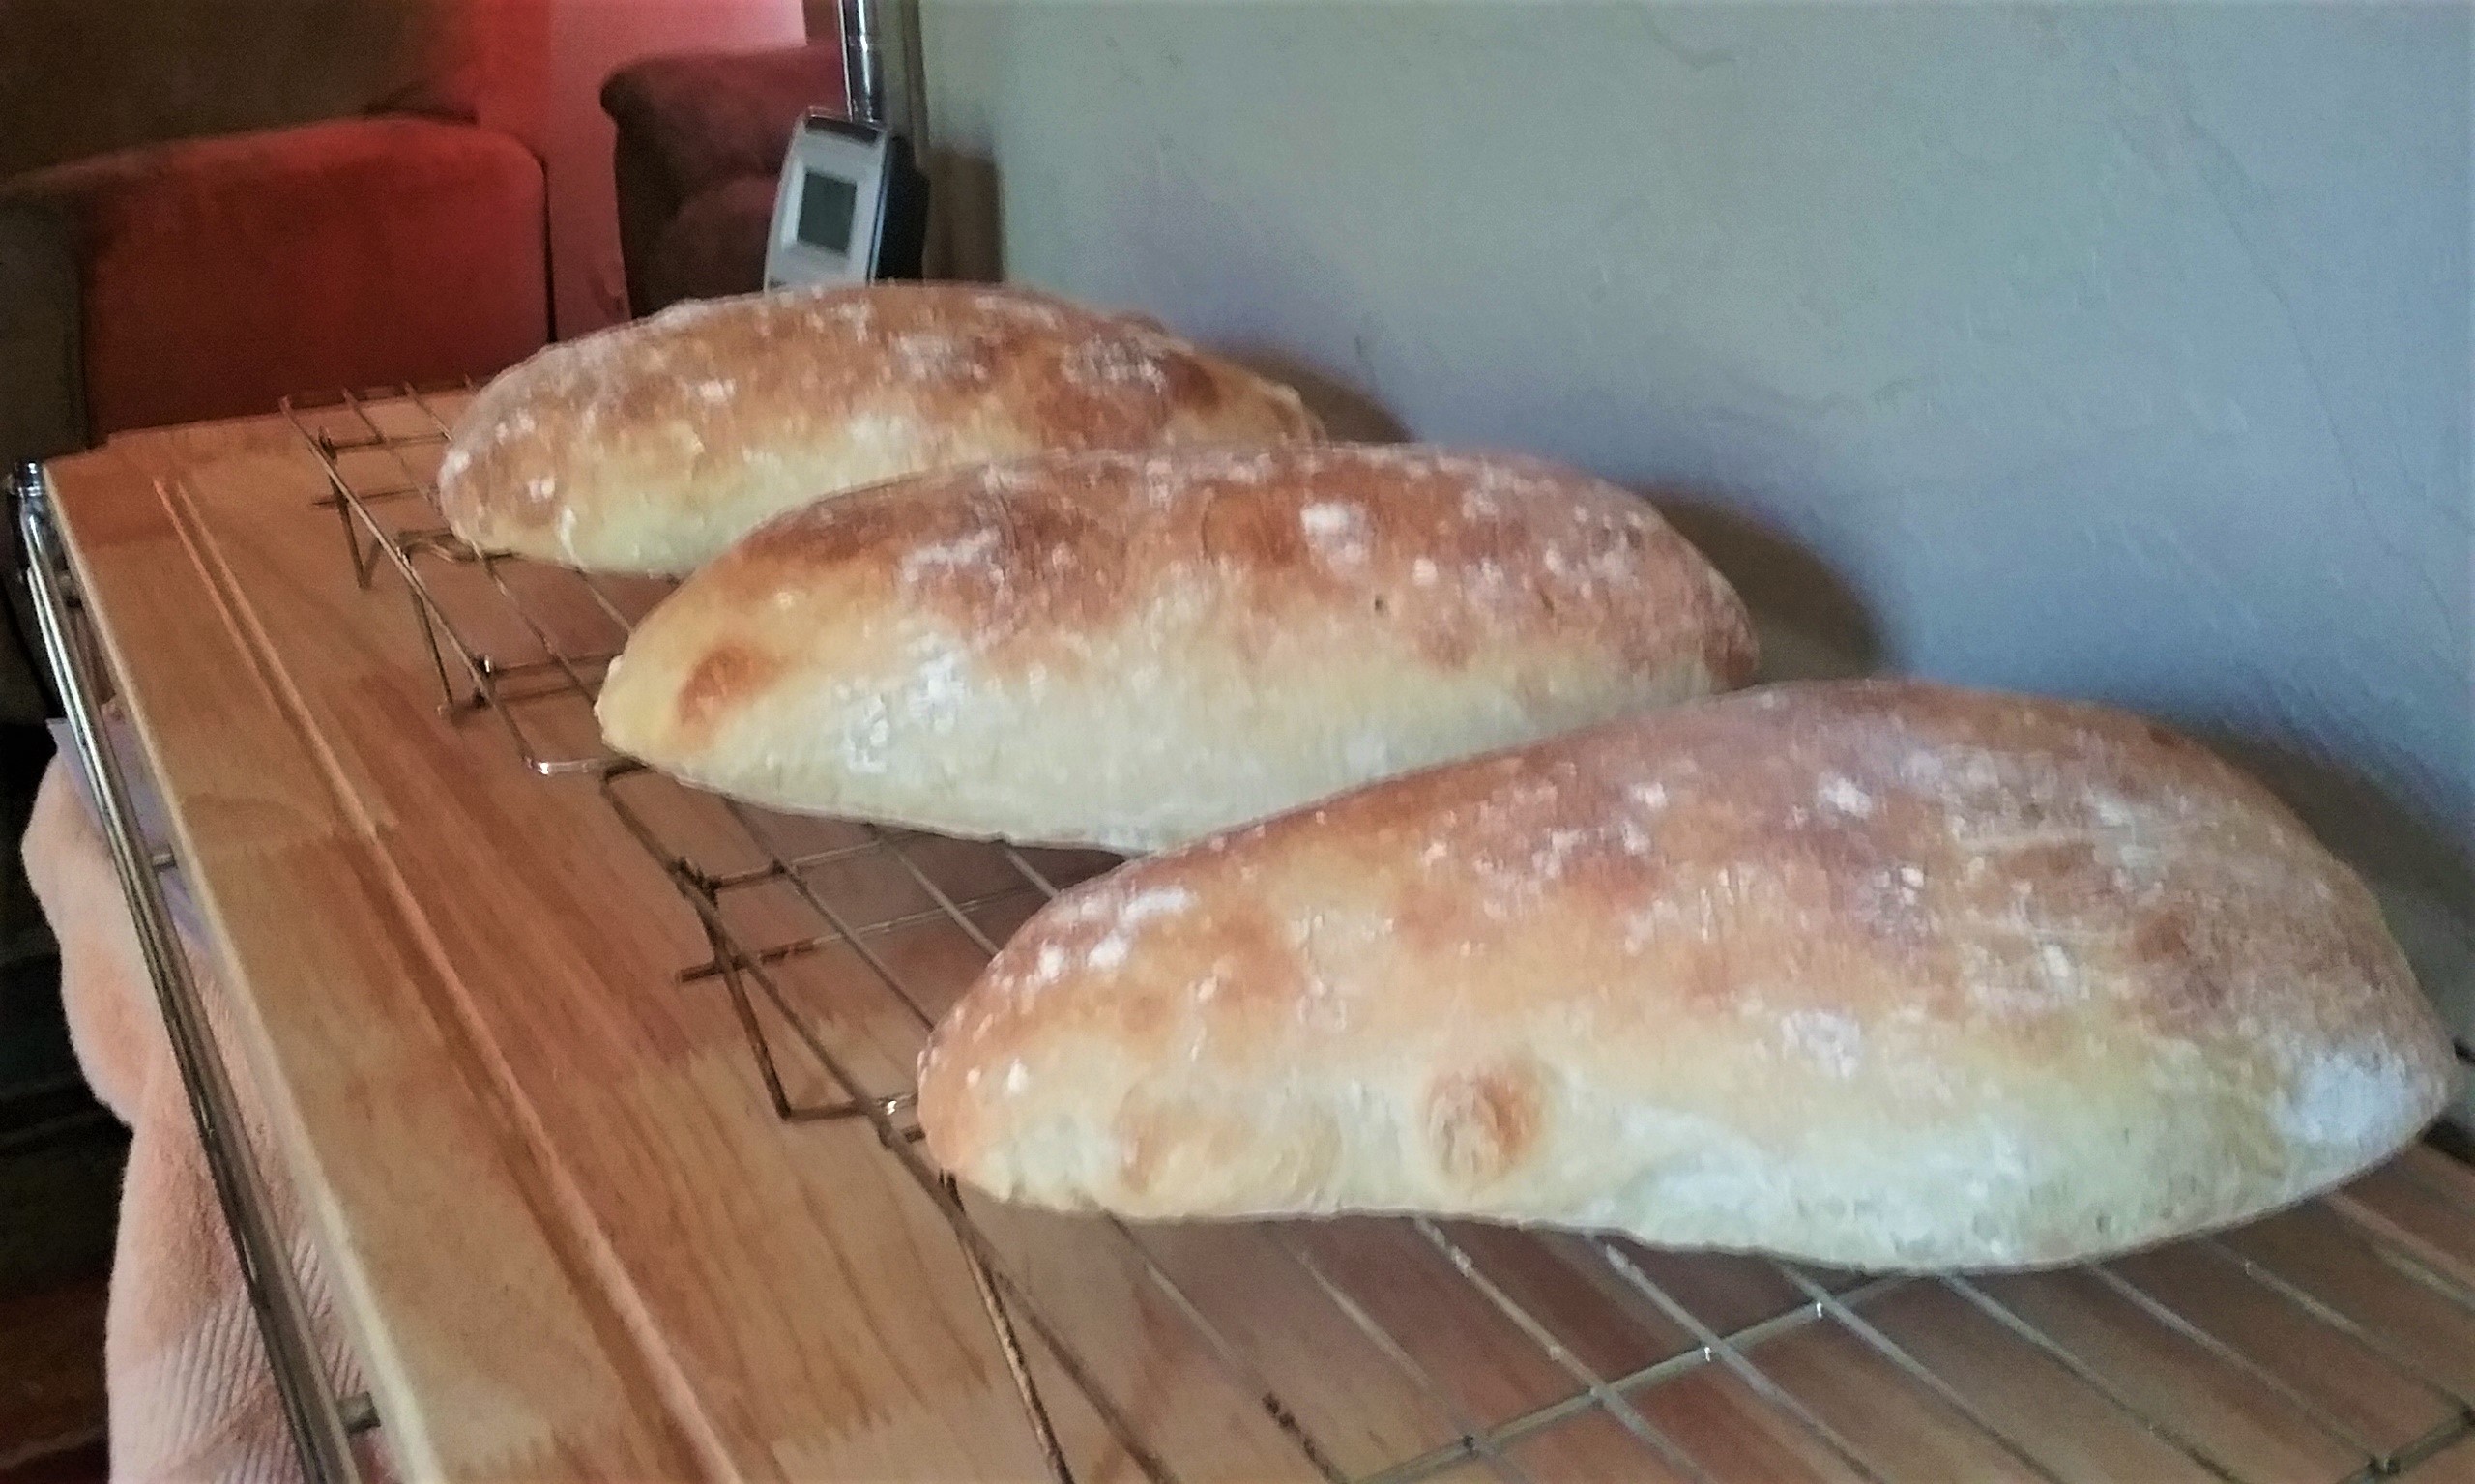
Very nice! It is so fun to work with a bubbly wet but cohesive dough 
1 Like
Hi! I’m new to breadbaking (pandemic cliche - been baking daily since mid-March) and am learning so much from your site! Today I’m trying this ciabatta recipe and I have a question. I recently purchased the oblong cloche clay baker from your site, could I use that instead of a baking stone? It would probably be big enough for 2/3 of the dough - I’d need to put the other 3rd on a baking sheet (or my small pizza stone). And then, if I did use the cloche, covered, would I still need to make steam in the oven? (The steam thing intimidates me a little bit - I’ve done it once - but it took two of us and definitely complicates the process  )
)
Thanks so much for maintaining this site! You are a terrific teacher!
Jennifer
When baking in closed vessels, like the cloche, you don’t need to produce more steam in the oven. The wet dough within the closed cloche will produce enough steam while it is baking to get the job done. With regard to the size of your cloche, if it is too small to fit the entire batch, you could just use your baking stone and an appropriately sized, inverted, oven-safe vessel to enclose the loaf for baking. Something like the cover from a turkey roasting pan. I use a large metal steam table pan inverted over a baking stone to bake larger loaves like ciabatta and baguettes. And if I want to bake with even more steam, at the beginning of the bake I lift up the edge of the inverted cover and spray a few squirts of hot water up into the cover and then close it up tight. (Note: I probably would not spray water into a pre-heated clay vessel in case it might cause a thermal shock that could crack it.) For ciabatta I usually remove the cover after 10 minutes to allow it to brown. Hope this helps.
1 Like
Also, you could scale down your recipe so that you won’t have to deal with the steam issue while baking the excess dough. Scaling a recipe up or down is very easy to calculate if you measure in grams.
1 Like
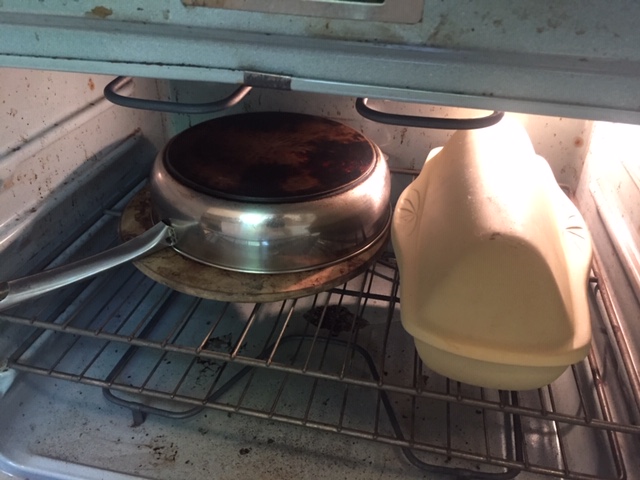 Thanks for your feedback! Here’s a picture of my plan…
3 Likes
Just make sure that the cover is tall enough to accommodate the rise of your loaf and that it will provide a good seal with your baking stone. It will be interesting to see how it comes out! Happy baking!

Oh boy… not sure how this is going to work. My dough was so wet that it almost spilled off my counter! I could barely shape it. I’ve decided to use the cloche and a round le creuset dutch oven. We’ll see!
High hydration ciabatta dough can be challenging to handle, but it might just surprise you. I have dropped loaves while transferring them onto my peel and had the resulting loaves look pretty wonky, but once they hit the hot oven deck and inflated, they still turned out ok. Good luck! 
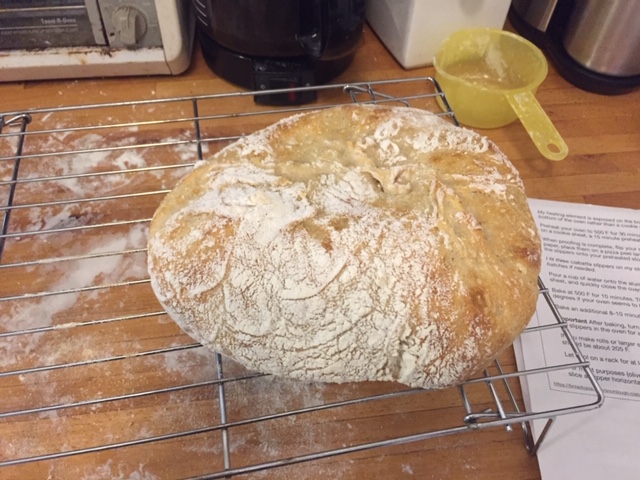
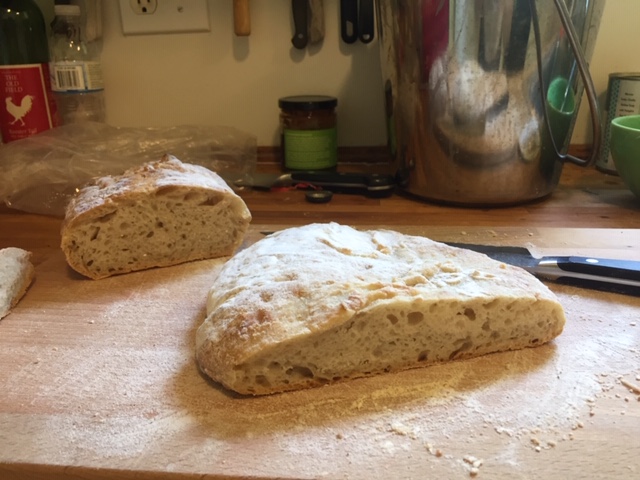
They were tasty, but not very ciabatta-like. Not enough holes in the crumb. I have several theories about this - maybe you could speculate with me.
Usually, this time included, I do the final proof on a tea-towel dusted with flour, usually nestled in some sort of vessel, depending on the shape I want to give the final product. The wetter the dough, the more flour I use. Sometimes it doesn’t work and the tea-towel sticks to the dough, pulling off pieces of it as I’m transferring it to the the preheated baking vessel. Usually, this makes nice interesting rough spots, but if a lot of the dough comes off, it can be a problem. That, among other things, is what happened yesterday. (See the shiny-ish unfloured patches on my crust - those are the places where the dough ripped off). Is it possible that caused de-gassing which ruined my chances for bigger bubbles?
Also, when I poured (literally) the dough onto my counter I had to work it more than the recipe said, (fold it a few more times) just to keep it from running off the counter. When I transferred it to the channeled tea-towel for the final proof, it got squished a bit - actually a lot. I think this was the main problem. I know it’s a wet dough, but I think this was too wet. Which brings me to wonder why it was so wet. One possibility - I feed my sourdough regularly and keep a bit on the counter for daily baking. But for this, I took half of what I needed out of my stash in the fridge, fed it, and went to bed. (I always feed with equal weights flour and water, but this time I followed the instructions and used a little extra water). The next morning, the starter passed the float test so I mixed up the dough. The starter did seem very wet. Was that because I left it longer than 4-6 hours? (It was probably 9 or 10).
I hope I’m not asking too many questions here. This website is the BEST!
Thanks!
Jennifer 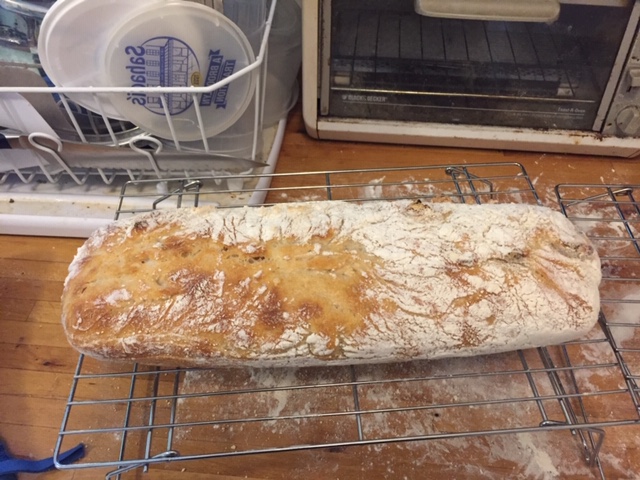
That ciabatta looks pretty good!
The more you develop the gluten in a dough, the less uncontrollably wet it will feel – but sometimes it’s just too wet, also. It’s hard to say and the photos in a recipe are helpful, but don’t convey texture 100%.
Another thing that can make a dough feel unmanageable is if the starter is past ripe, especially in a dough like this where so much starter is used in the formula.
You might try this recipe, which I developed a little later, mostly to deal with having less starter.
You can simply use all refined flour if you don’t want to use any sprouted wheat flour, and maybe hold back 20g of the water since refined flour absorbs less water. (Add it if the dough can handle it though.)
I’d also try baking the ciabatta on an upside-down preheated baking sheet – with the “aluminum pan-pinhole” steam system. Microwave a pyrex or mug with one cup of water in it. Have it on hand. When all the dough is loaded and your oven gloves are still on, pour the water into the aluminum pan and shut the door.
Minimal handling of the dough after the bulk fermentation + free-form baking will optimize the openness of the crumb.
Happy baking!
Ah, ok. So next time I will feed the starter closer to the time I’m baking (like the recipe says). I’ve been intimidated by the steam process, but how you’ve outlined it doesn’t seem that hard. I’ll try it next time. And, I just tasted the round ciabatta I made, and it’s definitely much better than the one I baked in the cloche. So maybe squishing it into the form was a big part of my problem. (Now I’m eyeing one of those big rectangular baking stones on your website… hmmm… that might be worth the spend…)
Thanks again!