This is the comment thread for the Breadtopia blog post originally published here:
To leave a comment, click the Reply button below
If you do not see the “Reply” button, you will need to log in or register an account. Please click the blue “Log In” button in the upper right of the page.
I intend to give the process a try next bake, although different flour mix. I tend to use a bit more starter and I don’t mill, but I do like a long, cold ferment. At any rate, I think there is much to be learned from your approach.
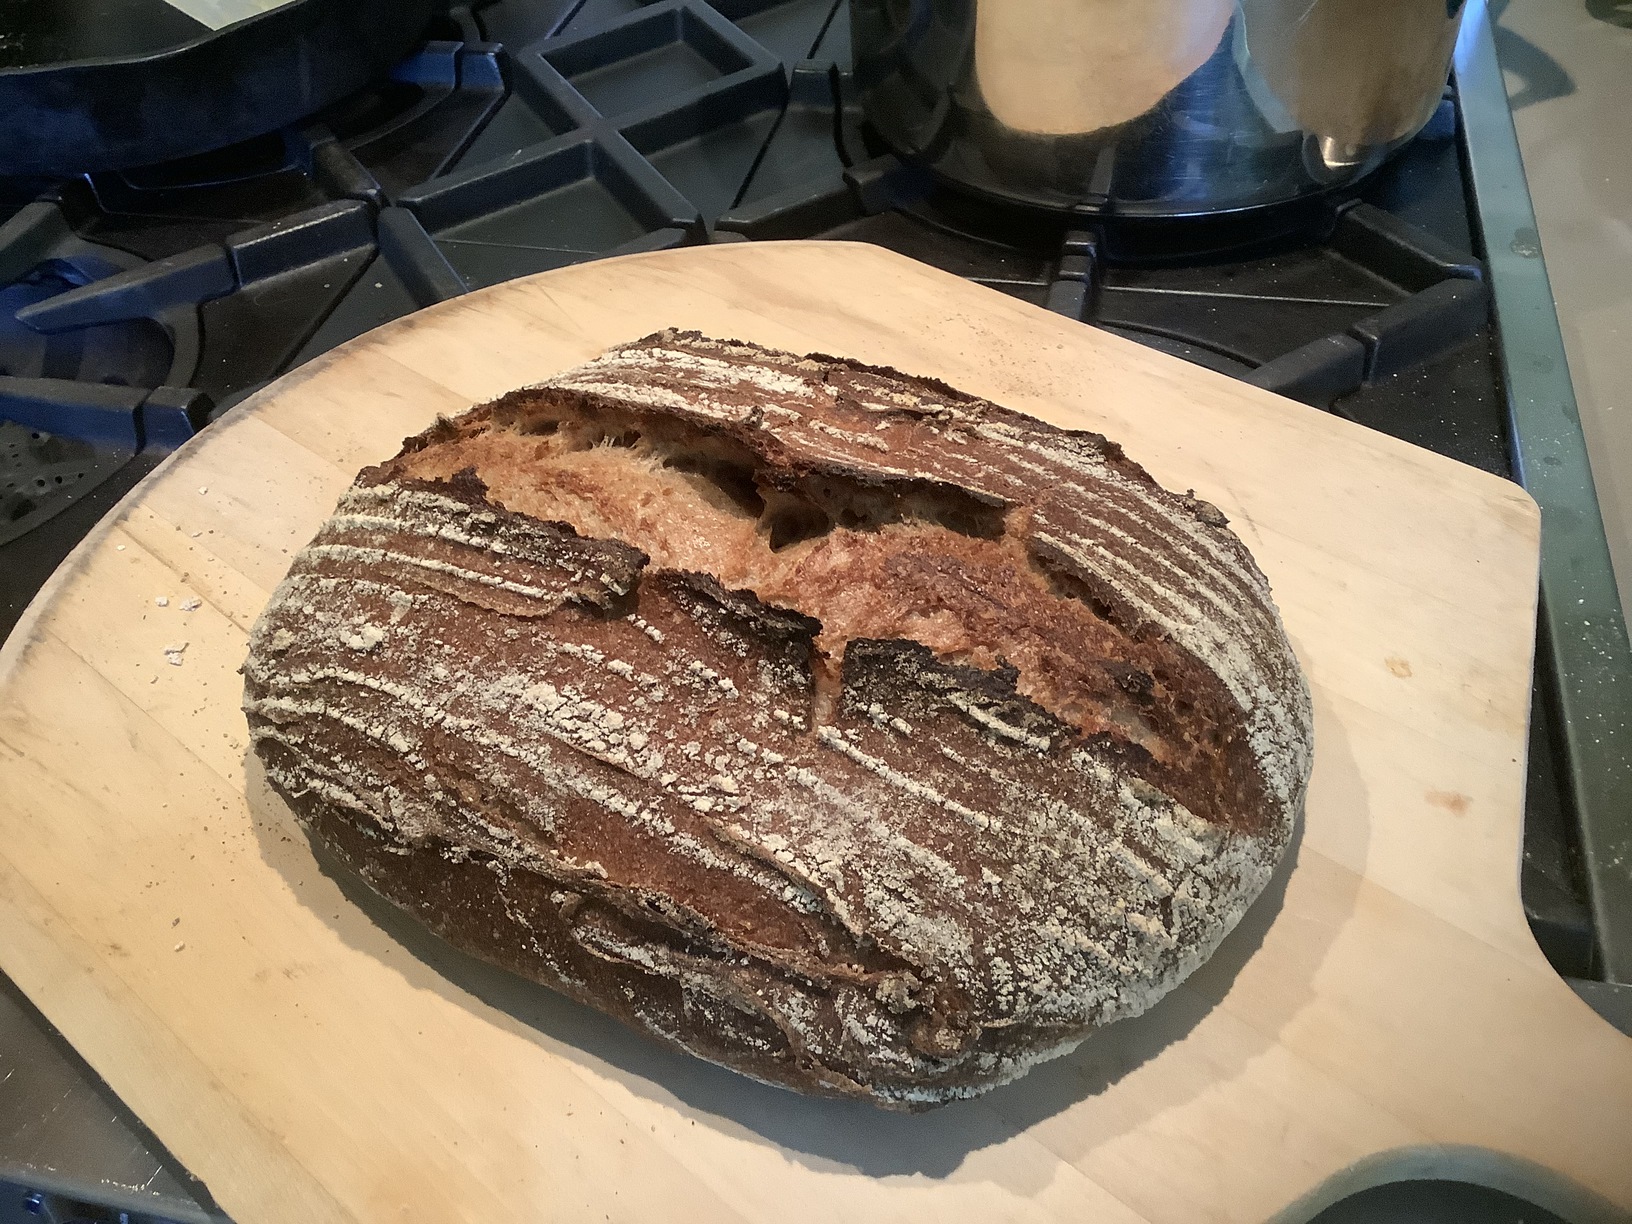
@homebreadbaker, thanks for the great post. Coincidentally, just yesterday I baked a bread that completely validates your method! And it is what I think is my best tasting bread ever, the one I’ve been striving for for 2-1/2 years. I wanted to time the bake to be right after baking bagels so as to not heat the stone twice, but then the bagel project got delayed by a day, so I left the bread dough in the fridge a total of 34 hours. The grand total from mixing to baking was 46 hours, 34 of which were in the fridge, the rest on the counter before and after the fridge. After the final proof, the room temp dough went onto a preheated stone, and while it did spread a bit (probably due to rye flour), the resulting flavor and crust were fantastic and made up for the slight flatness of the loaf. If I had baked it in my clay baker it would’ve been loftier, but I don’t think the crust would not have been as good.
I took the laziness one step further and did not knead the dough at all. During the first room temp period of 7 hours (after mixing and letting rest 1/2 hr), I did 4-5 stretch and folds at random times. After the bulk fermentation (34 hrs later during which negligeable rising took place) as it was coming to room temp over 3-4 hours, I did maybe two very gentle stretch and folds. When I shaped it, it felt quite poofy but had only risen maybe 50%. The final proof was about 1-1/2 hrs and again only rose about 50%.
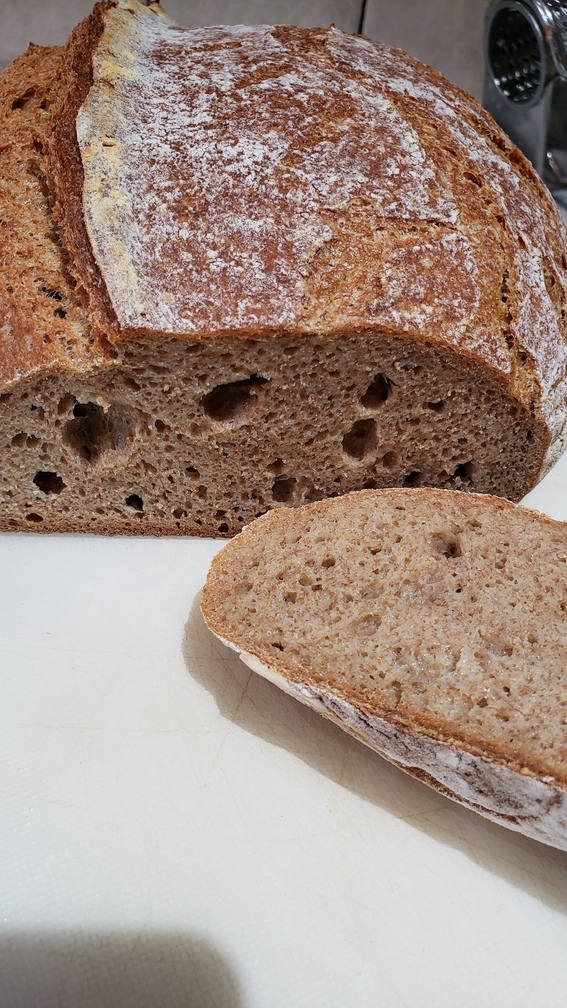
It was a loaf of 600 g flour: 75% whole grain and 25% bread flour. The whole grain flour was home milled (Mockmill): 25% hard red, 25% hard white, 25% rye. Hydration was 75%. Salt 2%. Starter 15g.
The holes are a little weird, and some were much bigger than those in the photo. Not sure why. I hope I can replicate it. It’s half eaten so now I have to get going on the next one!
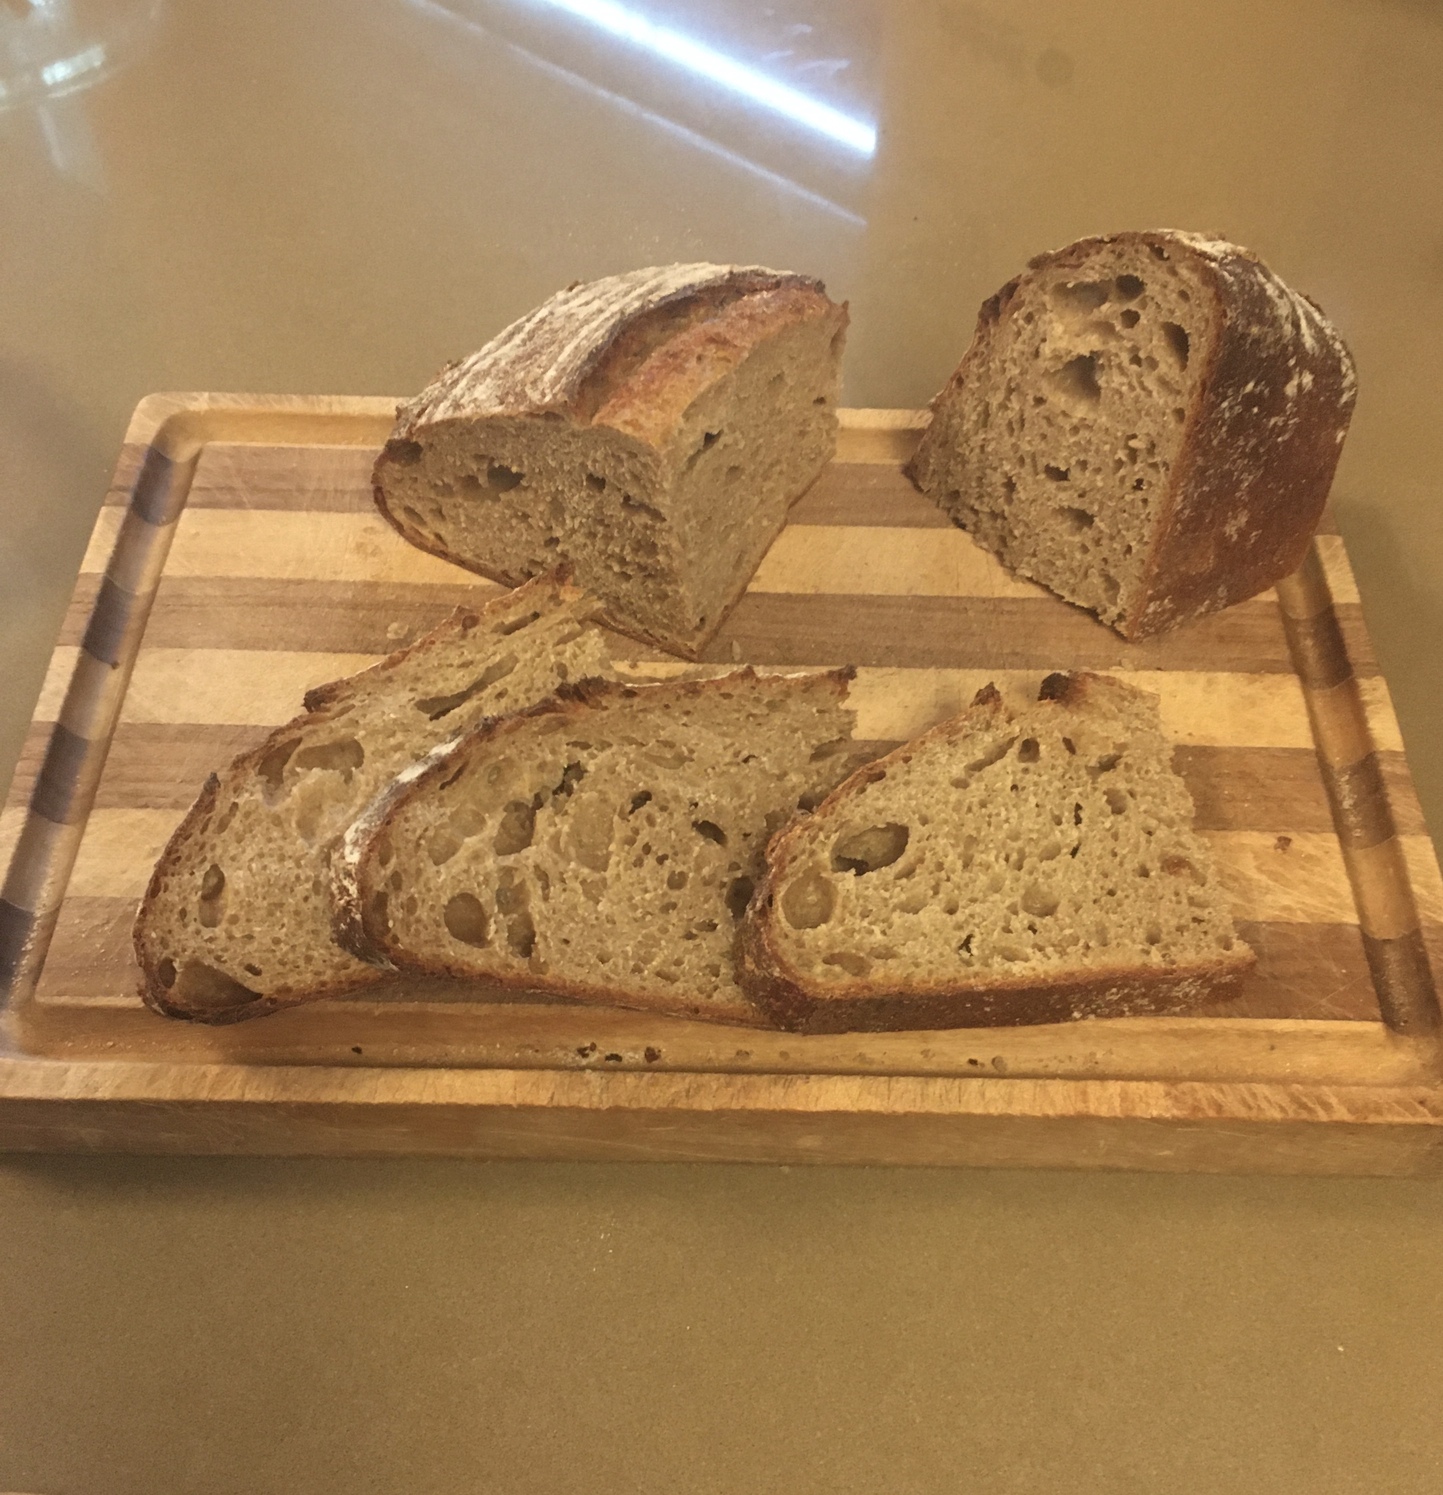
I gave this technique a try this weekend, following your percentages and timing almost exactly. Total bulk fermentation was about 22 hours, with 3 rounds of gluten development starting at about 12 hours. I did the bench rest and shaping started when the dough was at about 2.25x the original volume. I proofed in the banneton for one hour at room temp. This was all at ambient temps of 65-68F. Cold fermentation was ~18 hours.
The results are below. I would have liked to get a little more spring than this, and a slightly more open crumb. The flavor is really excellent though, sweet and rich, with only a mild sourdough tang.
I might try increasing the hydration some the next time around. 80% is along the lines of what I would use for a dough with only 25-30% whole grain flour.
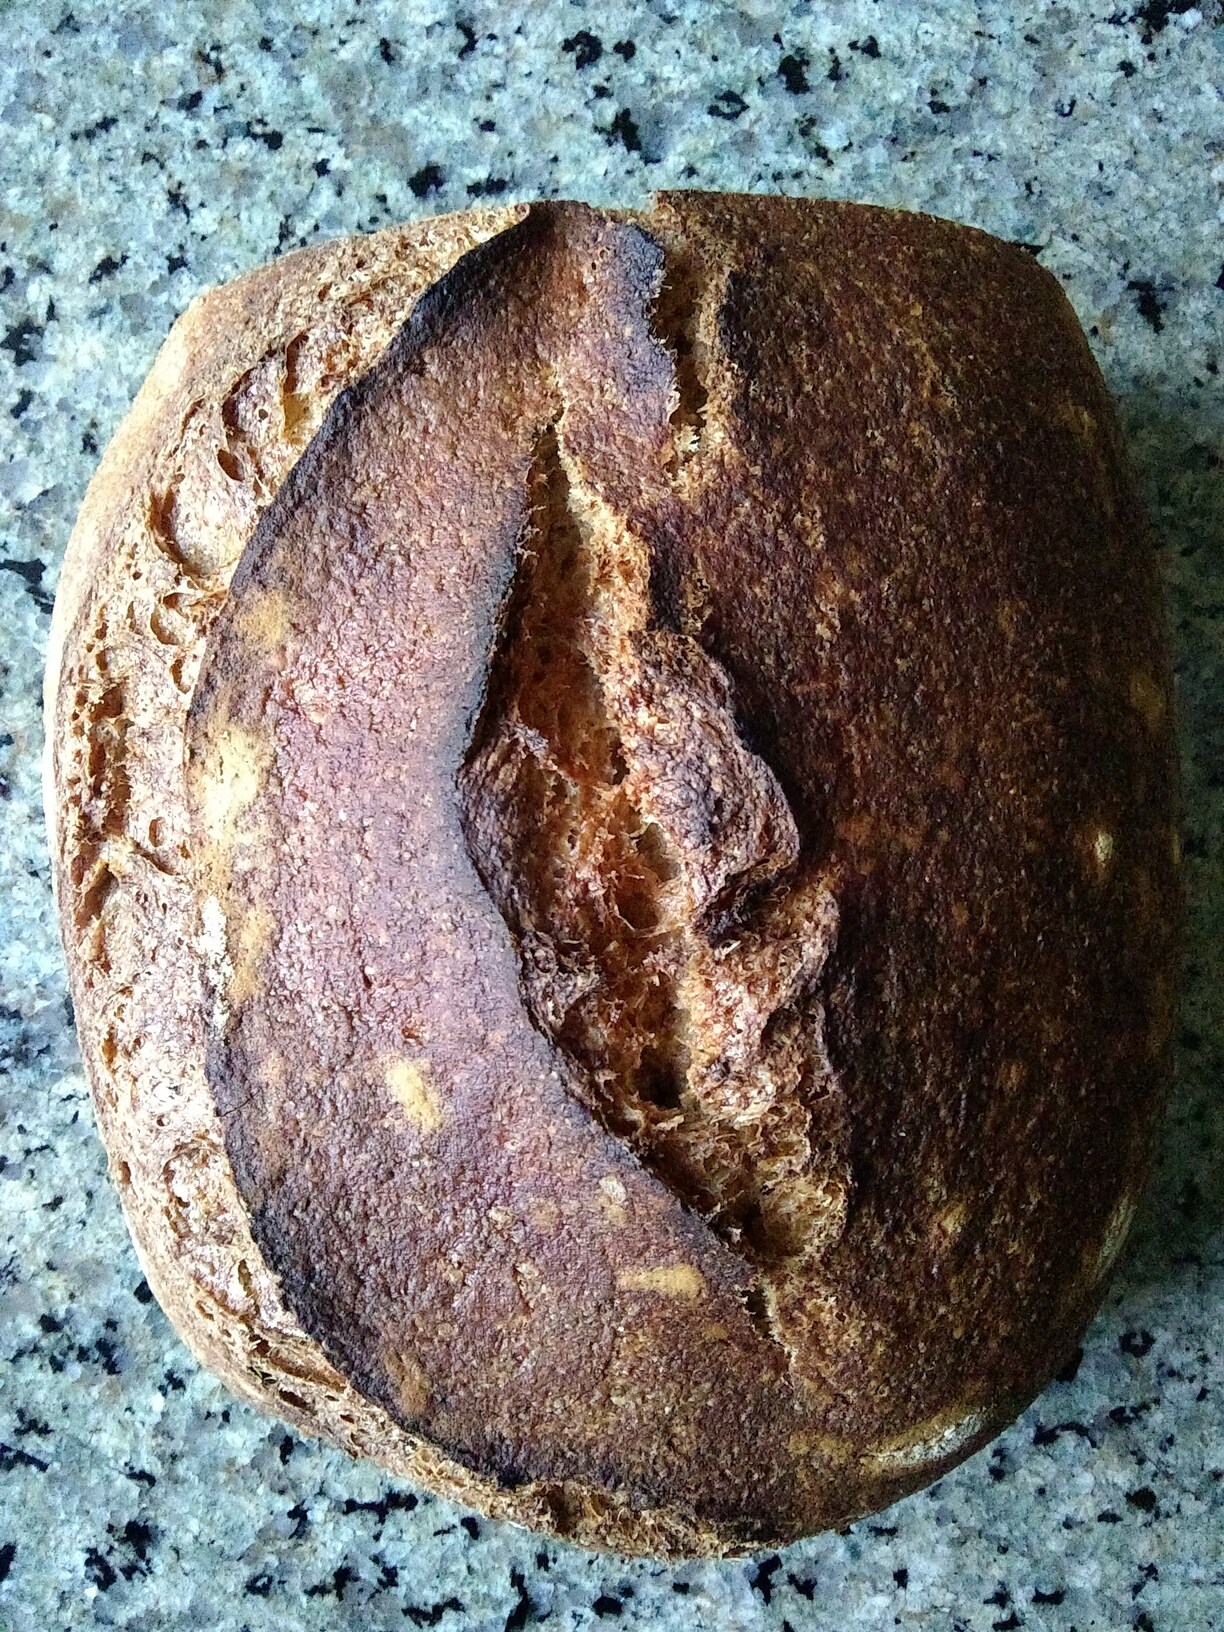
Curious what grain(s) you used for your loaf. I do often get a somewhat more open crumb than that (but not way more). Your oven spring looks pretty similar to what I typically see, though I will also see better pop sometimes when I really nail the proofing perfectly.
I generally don’t do a room temperature period during the second proof unless I feel like I’ve short-changed the bulk proof for some reason; usually it just goes straight into the fridge as soon as it’s in the basket.
I have experimented with hydrations up to about 95%. In truth, the 80%-ish that I put in the recipe is really just a starting point where I am assuming that most people won’t have trouble with dough handling. I usually start at 80 or 85 percent and introduce an unknown amount of additional water during gluten development. I’m going for a specific feel of dough and not a specific hydration percentage.
Mine was 80% Red Fife and 20% Hard White, both home milled. The room temp proof after shaping may have been unnecessary. I do usually do it, but I also usually stop my bulk fermentation slightly underproofed, so closer to 2x original volume.
I also felt like a lost a lot of air during shaping, so part of it might just be handling the dough a bit more gently. That, and adding a little more water will be my next adjustments.
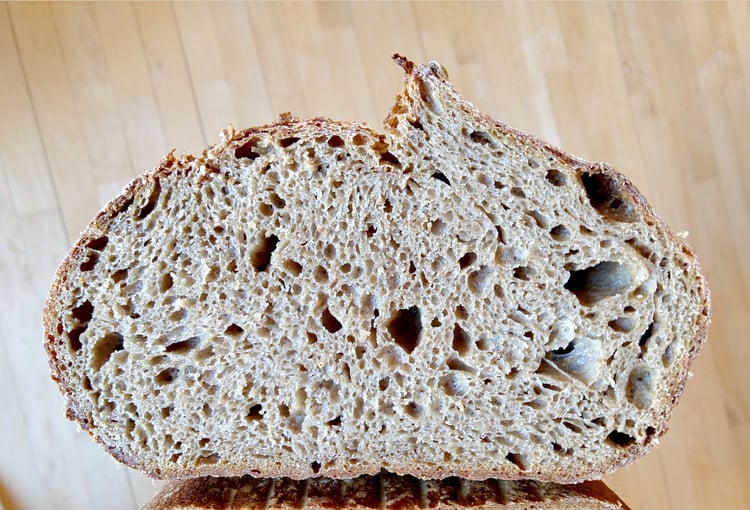
I would be thrilled to get a crumb like the one you just posted on a 100% whole grain dough. That looks fantastic!
I am usually doing something pretty close to 2/3 red fife and 1/3 hard white, which is the composition of the loaf pictured above. But I think the main thing is probably nailing the bulk prof duration (which I think is the real art in sourdough baking) and maybe also you’re right about dough handling too.
Anyway, I’d be very happy to have a sandwich made from the loaf you posted.
Very nice. Ya, easy and good. Definitely should salt to taste.
Your loaf looks great. I think if that’s what I saw when I cut it open I’d probably try to push the bulk proof a little longer next time (unlike the loaf I just baked this morning where - even though the proofing dough was literally sitting right next to me all morning yesterday - I somehow managed to over-proof it ).
Thank you for such a refreshing article emphasizing simplicity. Your journey is similar to mine. I learned from Peter Reinhardt’s The Bread Bakers Apprentice, which was a wonderful book, but overwhelmingly prescriptive, and using whole grains typically involved 10 or 20 percent at most. I too scoured books and internet to try to make the “best” loaves, but ultimately reverted to a simple system like yours:
Ignore my starter until I need it,
keep and use only a small amount when it was time to bake
incorporate salt at the beginning, because why take an extra step?
learn that the timing depends heavily on the temperature in my house, so winter baking is very different from summer baking
milling my own flour is great, but King Arthur’s WW Flour is excellent and easy, as is the sprouted WW and Spelt grains that I started using recently.
100% whole grain, and don’t look back
Don’t be afraid to experiment, but stop worrying whether what I did this time is the “best”. Side by side comparisons are unnecessary and send the wrong message. Anything I bake at home is going to be way better than anything I can buy at a store. Did what I did this time result in a great loaf? Great, do it again.
Here’s my own attempt to describe this education a few years ago, and it’s in serious need of updating. In particular to add a link to this article!
Might I suggest one modification to your article? For those that don’t have a clay baker or a dutch oven, I have found that using loaf pans with one loaf inverted on top of another to keep the moisture in for the first part of the bake works really well, and results in great bread for sandwiches. I’m sure your formula will work great, and that final refrigerator proofing could go right in the oven without fear of cracking.
For my next loaf, I will be trying your straight from the fridge to the oven technique. I recall an article in Cooks Illustrated where they suggested that the starting temperature of the dough was an important factor in the final product, and to bring the dough to room temperature. But, Cooks Illustrated is very big on side-by-side comparisons, so the simplicity versus outcome trade off might be small.
Thanks for a great article…I plan to pass this article on to my bread baking friends!
It brings to mind something I read ages ago (Perhaps it was Ed Wood), when he told the story of how bread was made in times long, long ago, when no one really knew what made the bread rise. Back then one man, either the head of the tribe, or the witch doctor, or whoever, carried a “magic stick,” used to stir the dough, and only then would it rise. Of course we understand today that the stick would have had leftover yeast from the last batch, and would have inoculated the new batch.
I frequently refer to that story to remind people that our craft Is not rocket science. All we nned to do is introduce a sufficient load of yeast to “infect” the dough,
The temperatures (450 / 375 F) called for in this recipe are already on the low side for this style of bread. I’d give it a try once as listed and see how it comes out. If it’s too dark, then maybe lower the initial temp to 425 on the next bake.
I’m interested in trying this recipe but does the very long times for fermenting and proofing result in a strong sour taste? I’m curious what the resulting bread tastes like as our family actually prefers very little sour taste and the recipes I usually follow don’t result in bread that tastes sour. Any guidance would be appreciated. Thanks!
Just concentrating on your point about preferring non tangy sourdough alone (recipe aside for now) have you thought about the flavours imparted by different flours? You might wish to consider using durum flour in your bread baking as that doesn’t give a tangy taste at all.
The bread I make using this method does have a sour twang to it. More or less depending on how long I let the proofing periods run.
I think it would be possible to lessen or even eliminate the sour by experimenting with shortening both the bulk and final proofing times and also as @anon44372566 suggested by experimenting with different flour.
That said, when I want to make a loaf of bread for my mom, who doesn’t like sour bread at all, I use a totally different method where I create a very active “levain” of an amount that is more conventionally used in most sourdough recipes and use it before its peak in order to add no sour flavor from the starter and shorten my total proofing time to 4 - 6 hours.
Many thanks for the clear, and FAST response. I will take your suggestions. Now I have another question. On the Breadtopia page for “Slow, Lazy Sourdough Bread” the text reads: The way I typically time it is that I mix up dough for a Saturday morning loaf on Thursday evening. Then it bulk ferments over night and I start paying attention to it when I wake up on Friday morning. Sometime between mid-morning and mid-afternoon, it’s risen to about 2X the original volume and then I’ll shape it and put it in a proofing basket and then it goes directly into the fridge. Saturday morning, at whatever time works for me that particular day, I bake the cold dough straight from the fridge. Altogether it’s in the vicinity of 36 hours of slow fermentation, more than half of which is at 38f in the refrigerator.
I love this idea because of the flexibility in timing. Yet in the recipe that follows, the bulk fermentation and proofing processes are different don’t follow this model I know many variations work, but I’d like to apply that long, cold ferment and long, cold proofing to this bread. I’t’s a little awkward to do intermittent folds with an overnight ferment.
Without stepping on @homebreadbaker 's toes, I hope Paul chimes in here as its his recipe, after a brief read I see the folds are optional. Most of the work is done through time alone. Given enough hydration and time the gluten will form naturally. Plus, its given a good start with the mix at the beginning. While the occasional fold will certainly help its not a requirement. Instead, if you do wish to add more strength to the dough, you can do two pre-shapes followed by a 20 minutes rest before the final shaping. This will also add strength and it means you won’t have to do folds intermittently.
So I think you’re saying go ahead with the long cold bulk fermentation, don’t worrry about the folds. I gotta say, the long refrigeration (and the to me revolutionary way he uses just a tiny bit of starter) – an epiphany. I can’t wait to try it.) Oh, wait – another question: no way can I mill my own flour (my kitchen is about as big as his tiny mill) nor do I have a way to buy and store the special flour brands he lists in the recipe. I can only use the more mass-market brands (usually, if I’m lucky, KAF). But I know this process is flexible and forgiving. So I’m going to do it. And THANK YOU! It’s comforting to know these messages aren’t going out into the ether to languish unanswered.
The bulk ferment is done at room temperature! Only the final proof is done in the fridge. After the dough is formed in the mixer its basically left at room temperature till doubled with some folds at the 6-8 hour mark. I think you’ve misunderstood the recipe. Here’s how I’d tackle it… If I’ve understood it correctly!
Before bed make the dough in the mixer. When done transfer to a bowl and cover. Leave at room temperature. Next morning form some folds (you don’t have to stand over it watching it every hour) then leave to finish bulk fermenting. When ready go onto shaping and place in the fridge for the final proof to be baked the next day. Very little hands on time. Less than you thought it’d be.
Flour doesn’t matter. Just try and aim for good quality high protein flour and match however much bread flour and wholegrain he uses.

 ).
).