Just found this online in manual for my cooker but it likely applies to any and all of them:
Conditioning grids
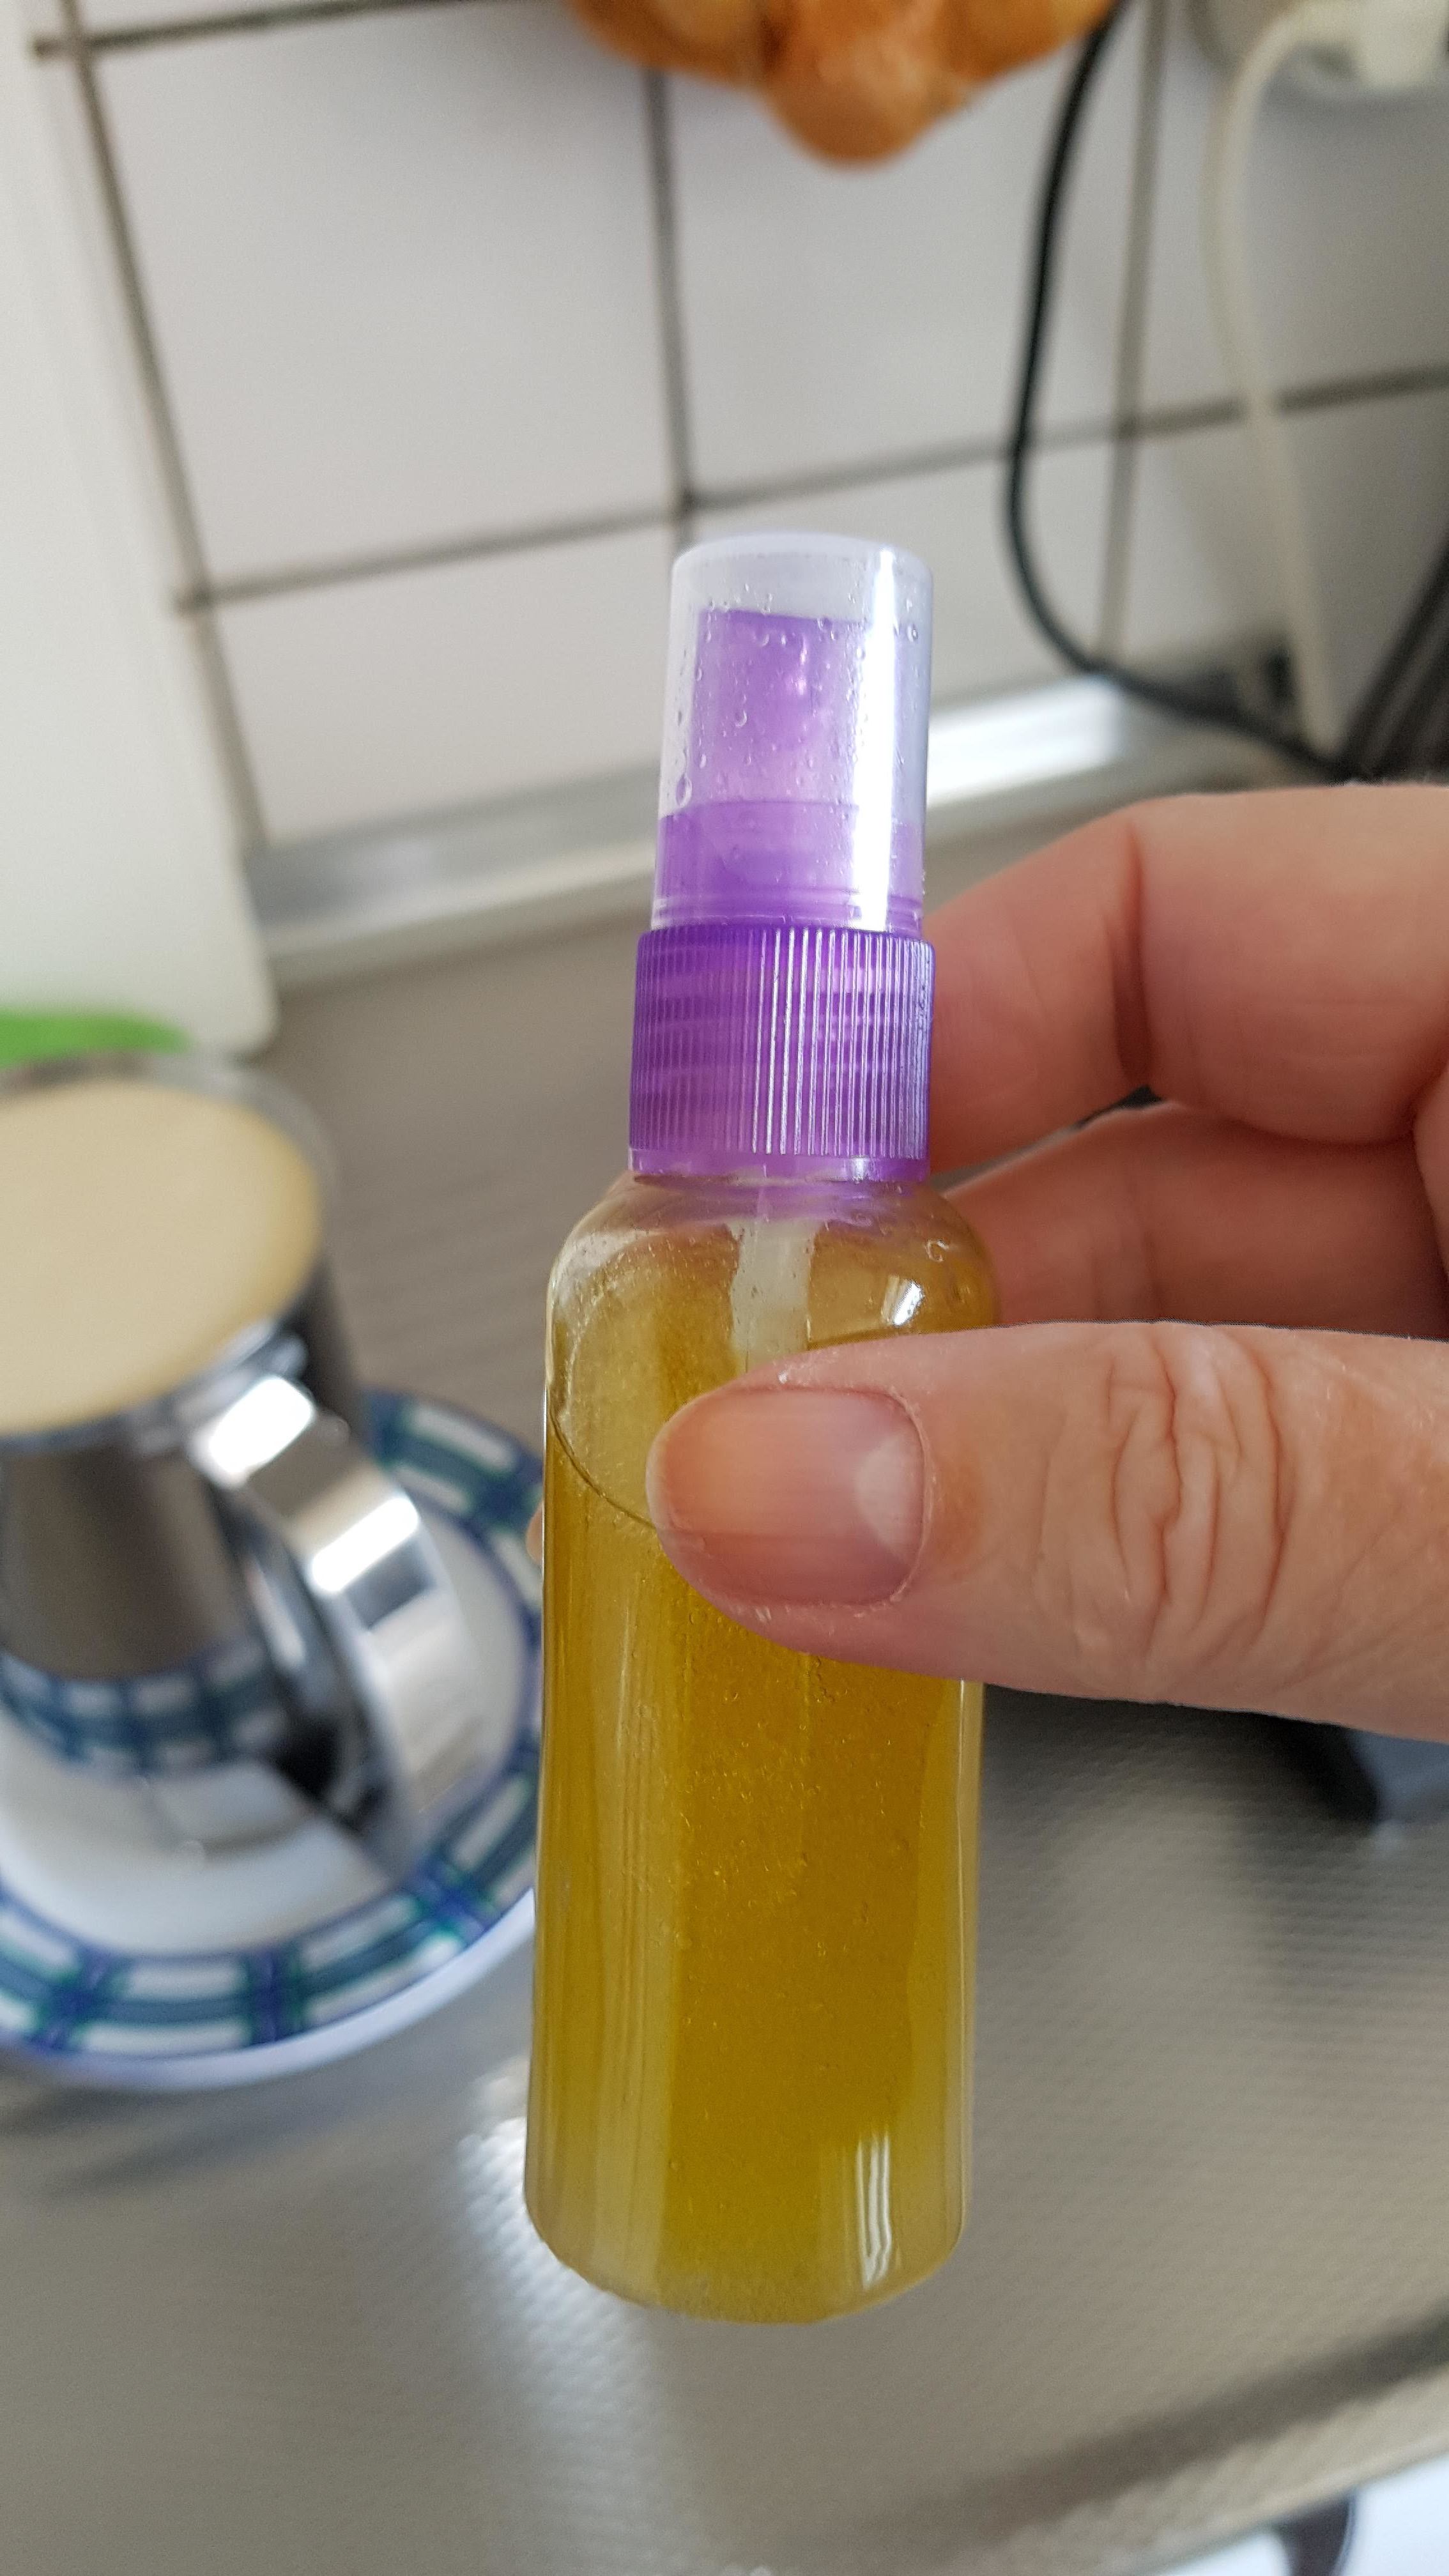
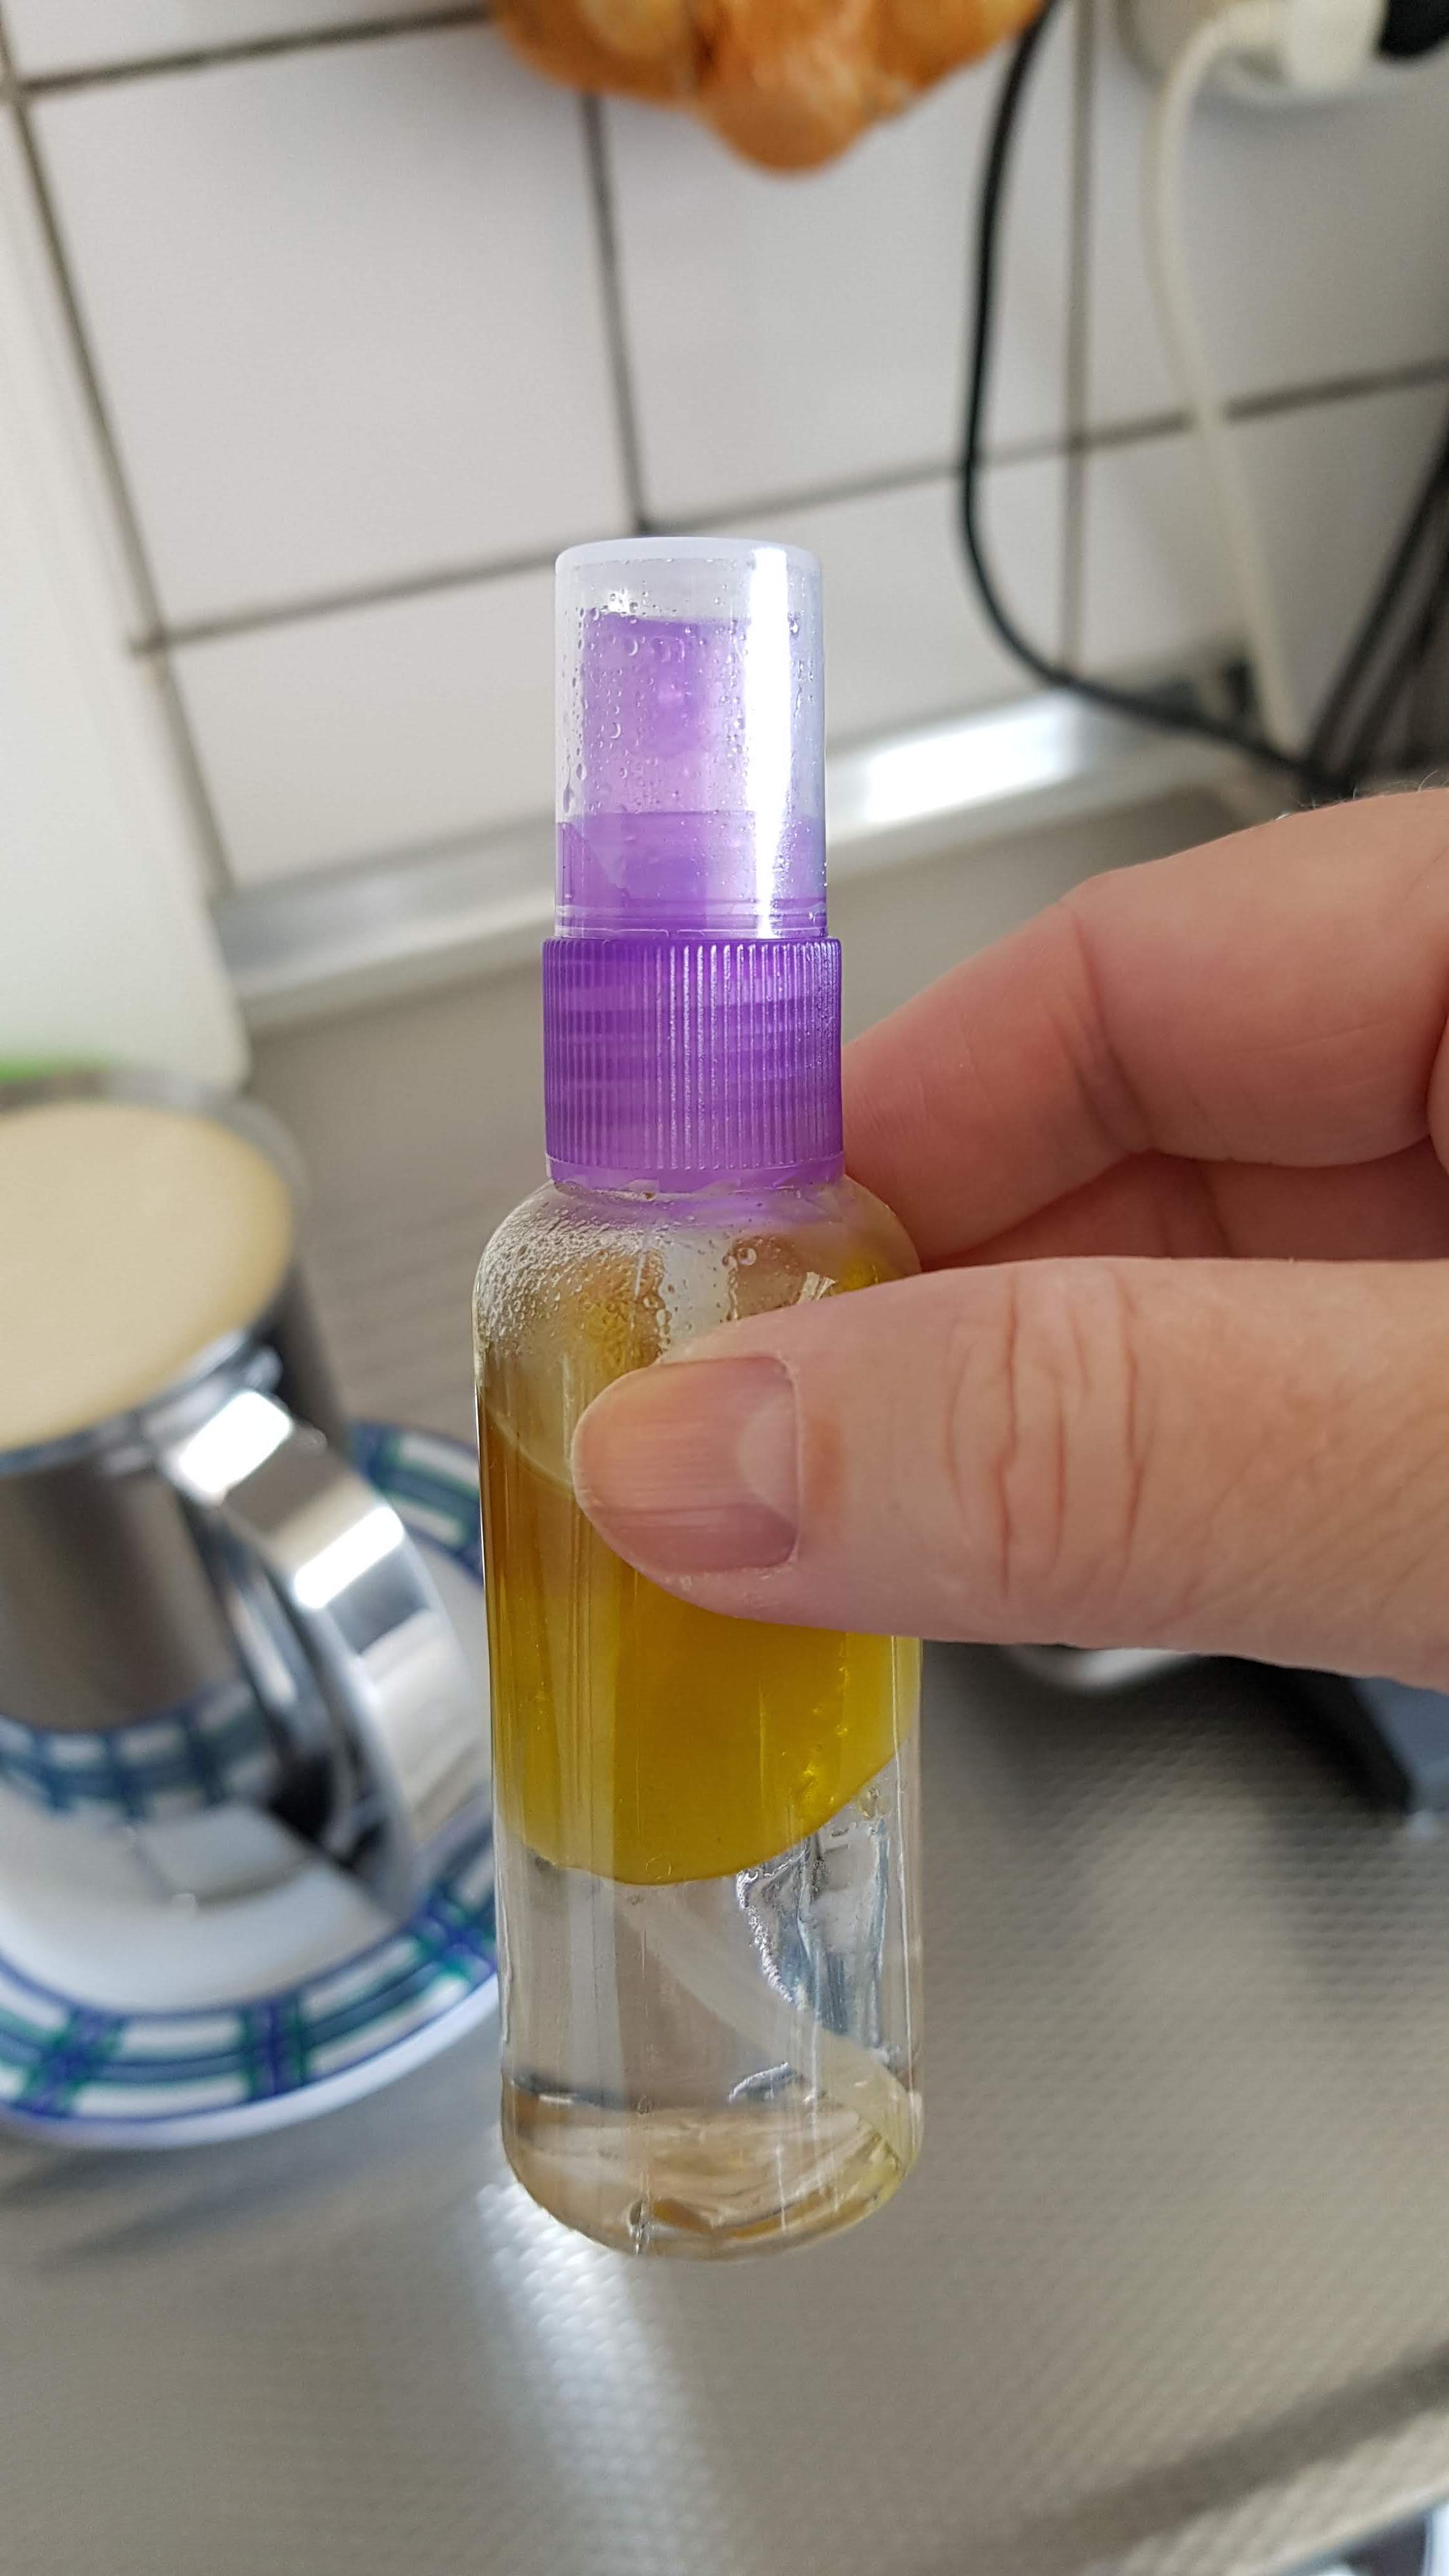
The grid surface being used requires conditioning before each
heating that follows cleaning. To condition, lightly coat the grid
surface with vegetable shortening. Plug into any 120 V ~ 60 Hz outlet.
The yellow power on light will come on. When green ready light
comes on, unit is preheated. The grids are ready to use.
To protect the premium quality non-stick surfaces, use only plastic,
nylon or wooden utensils. Carefully follow suggested cleaning
procedures. After time, if waffles show signs of sticking, carefully
recondition your unit.
Using your waffle baker
- Before using, wipe cooking surface with a damp cloth and dry.
Lightly coat grids with vegetable shortening and close lid.
- Plug into a 120 V ~ 60 Hz outlet. The yellow power on light will
come on. Allow to preheat approximately 5 minutes. Initially, some
smoking may occur. This is normal for newly manufactured
appliances and will not occur after the first few uses. When
preheated, the green light will come on.
- Raise lid and pour approximately
(Model 287) of batter on lower grid using an “X” pattern. Close the
lid; do not latch. The green ready light will stay on for a few
minutes and then go out. The amount of batter required may vary
with recipe or brand of mix. Any waffle recipe or mix may be used.
While cooking, the yellow or red power on light will be on and the
green ready light will go off.
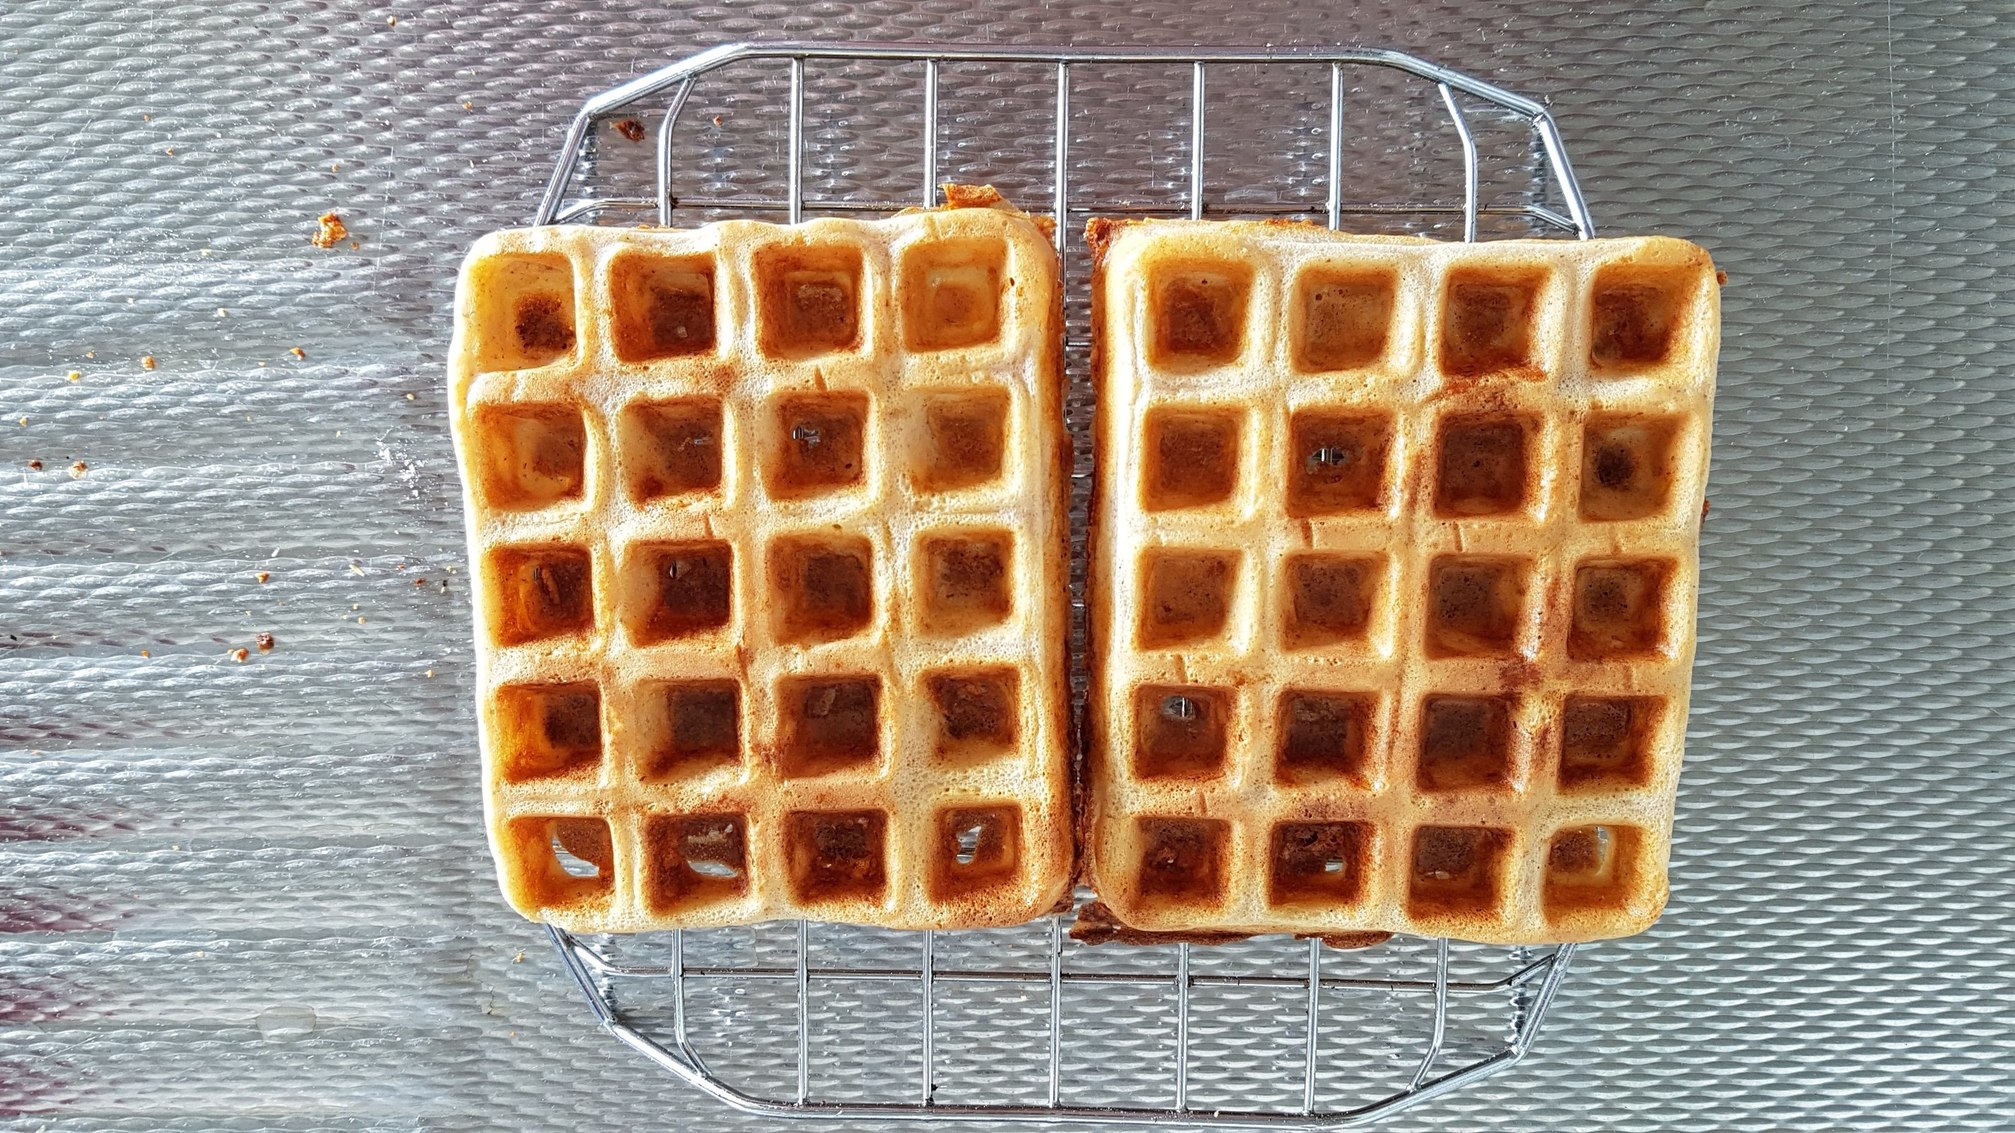
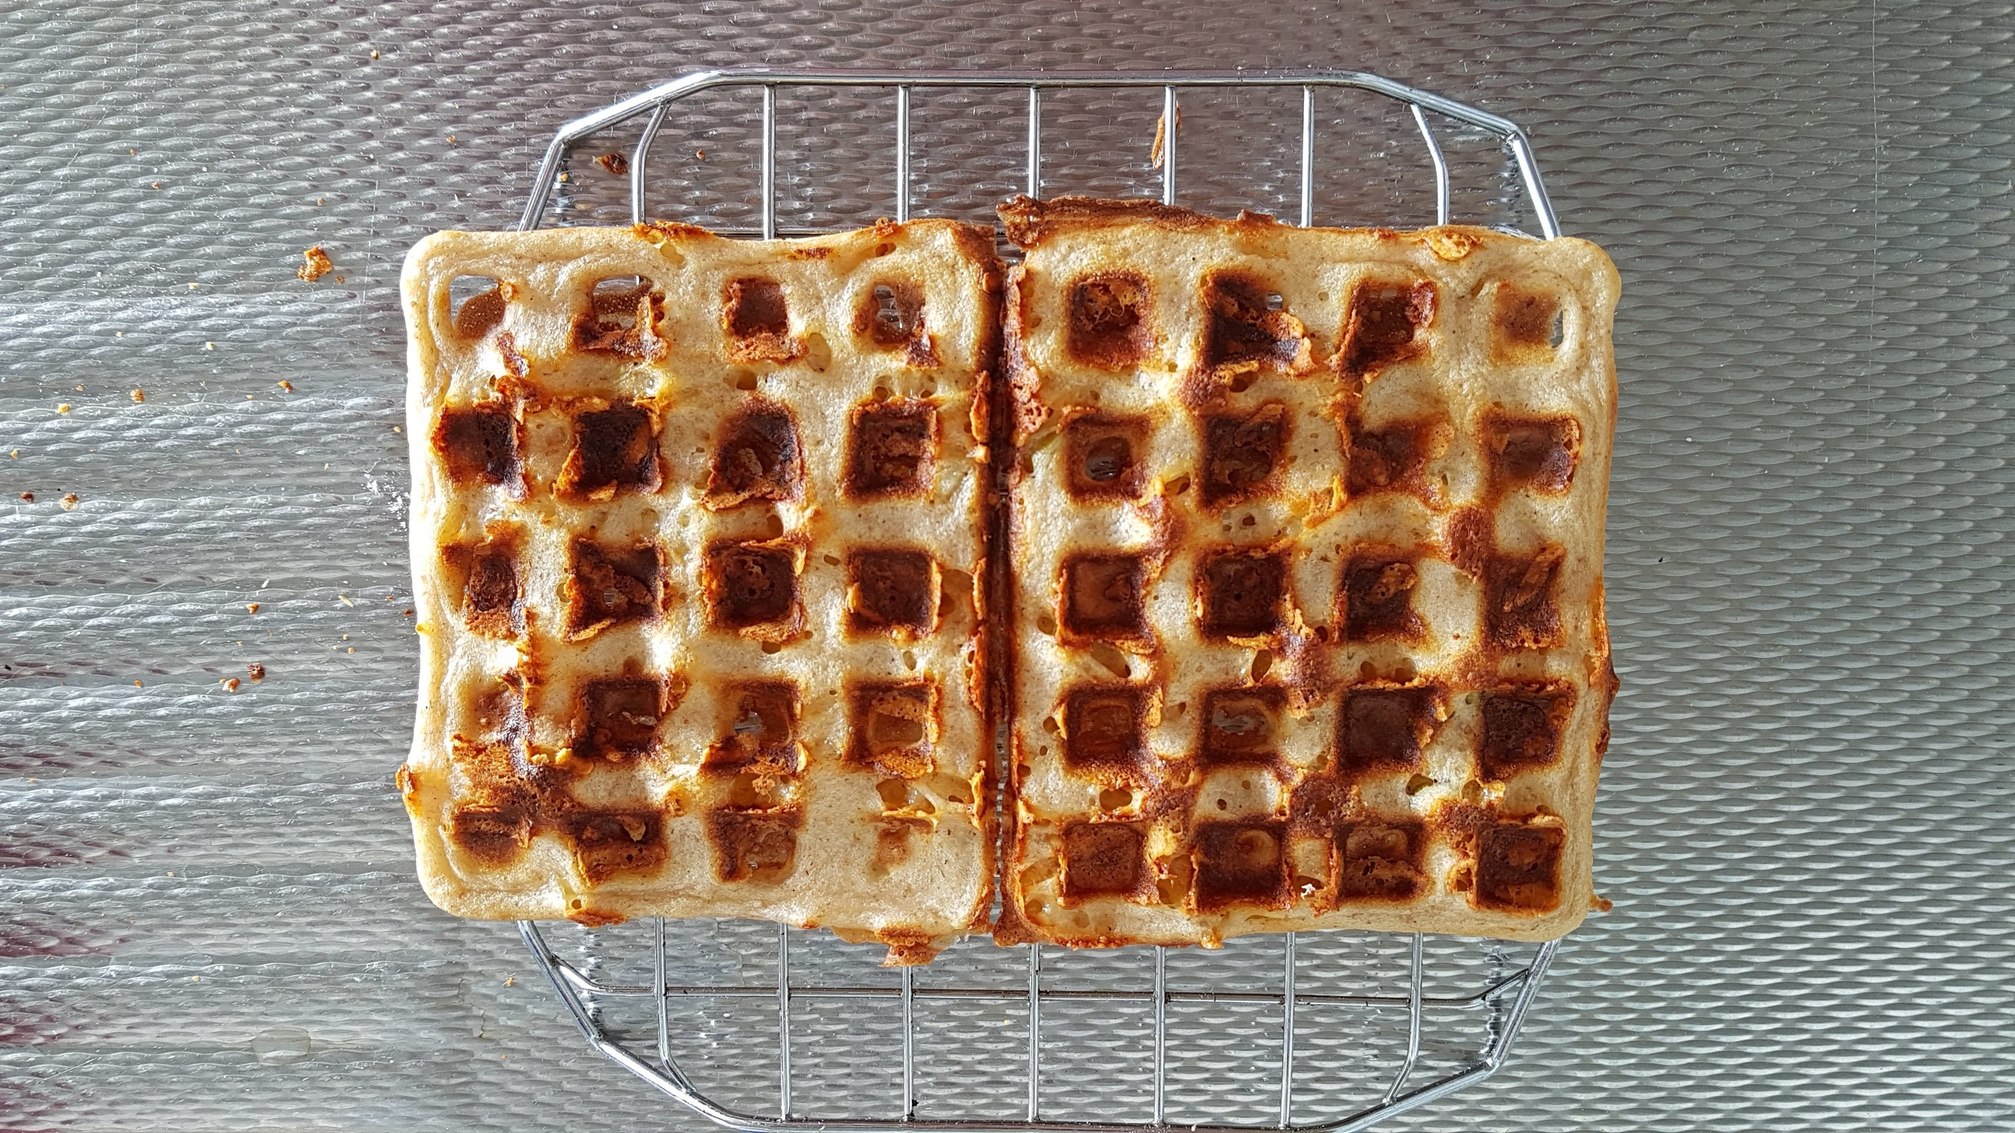
- When the waffle is done, the green ready light will come on again.
Gently lift the lid to check for brownness. If lid shows resistance to
lifting, the waffle may not be quite done. Close top and watch for
steaming to stop before checking again.