I have used my new Emile Henry baguette mold several times, it is easier and faster each time. I am new to making baguettes and truly I dont know why I have waited this long. I find baguettes are easy to make even easier than making loaves of bread. They can be made with a variety of ingredients to suit your tastes from plain French to cinnamon raisin and everything in between. I have made onion/garlic, garlic, plain and soon will make cheese.
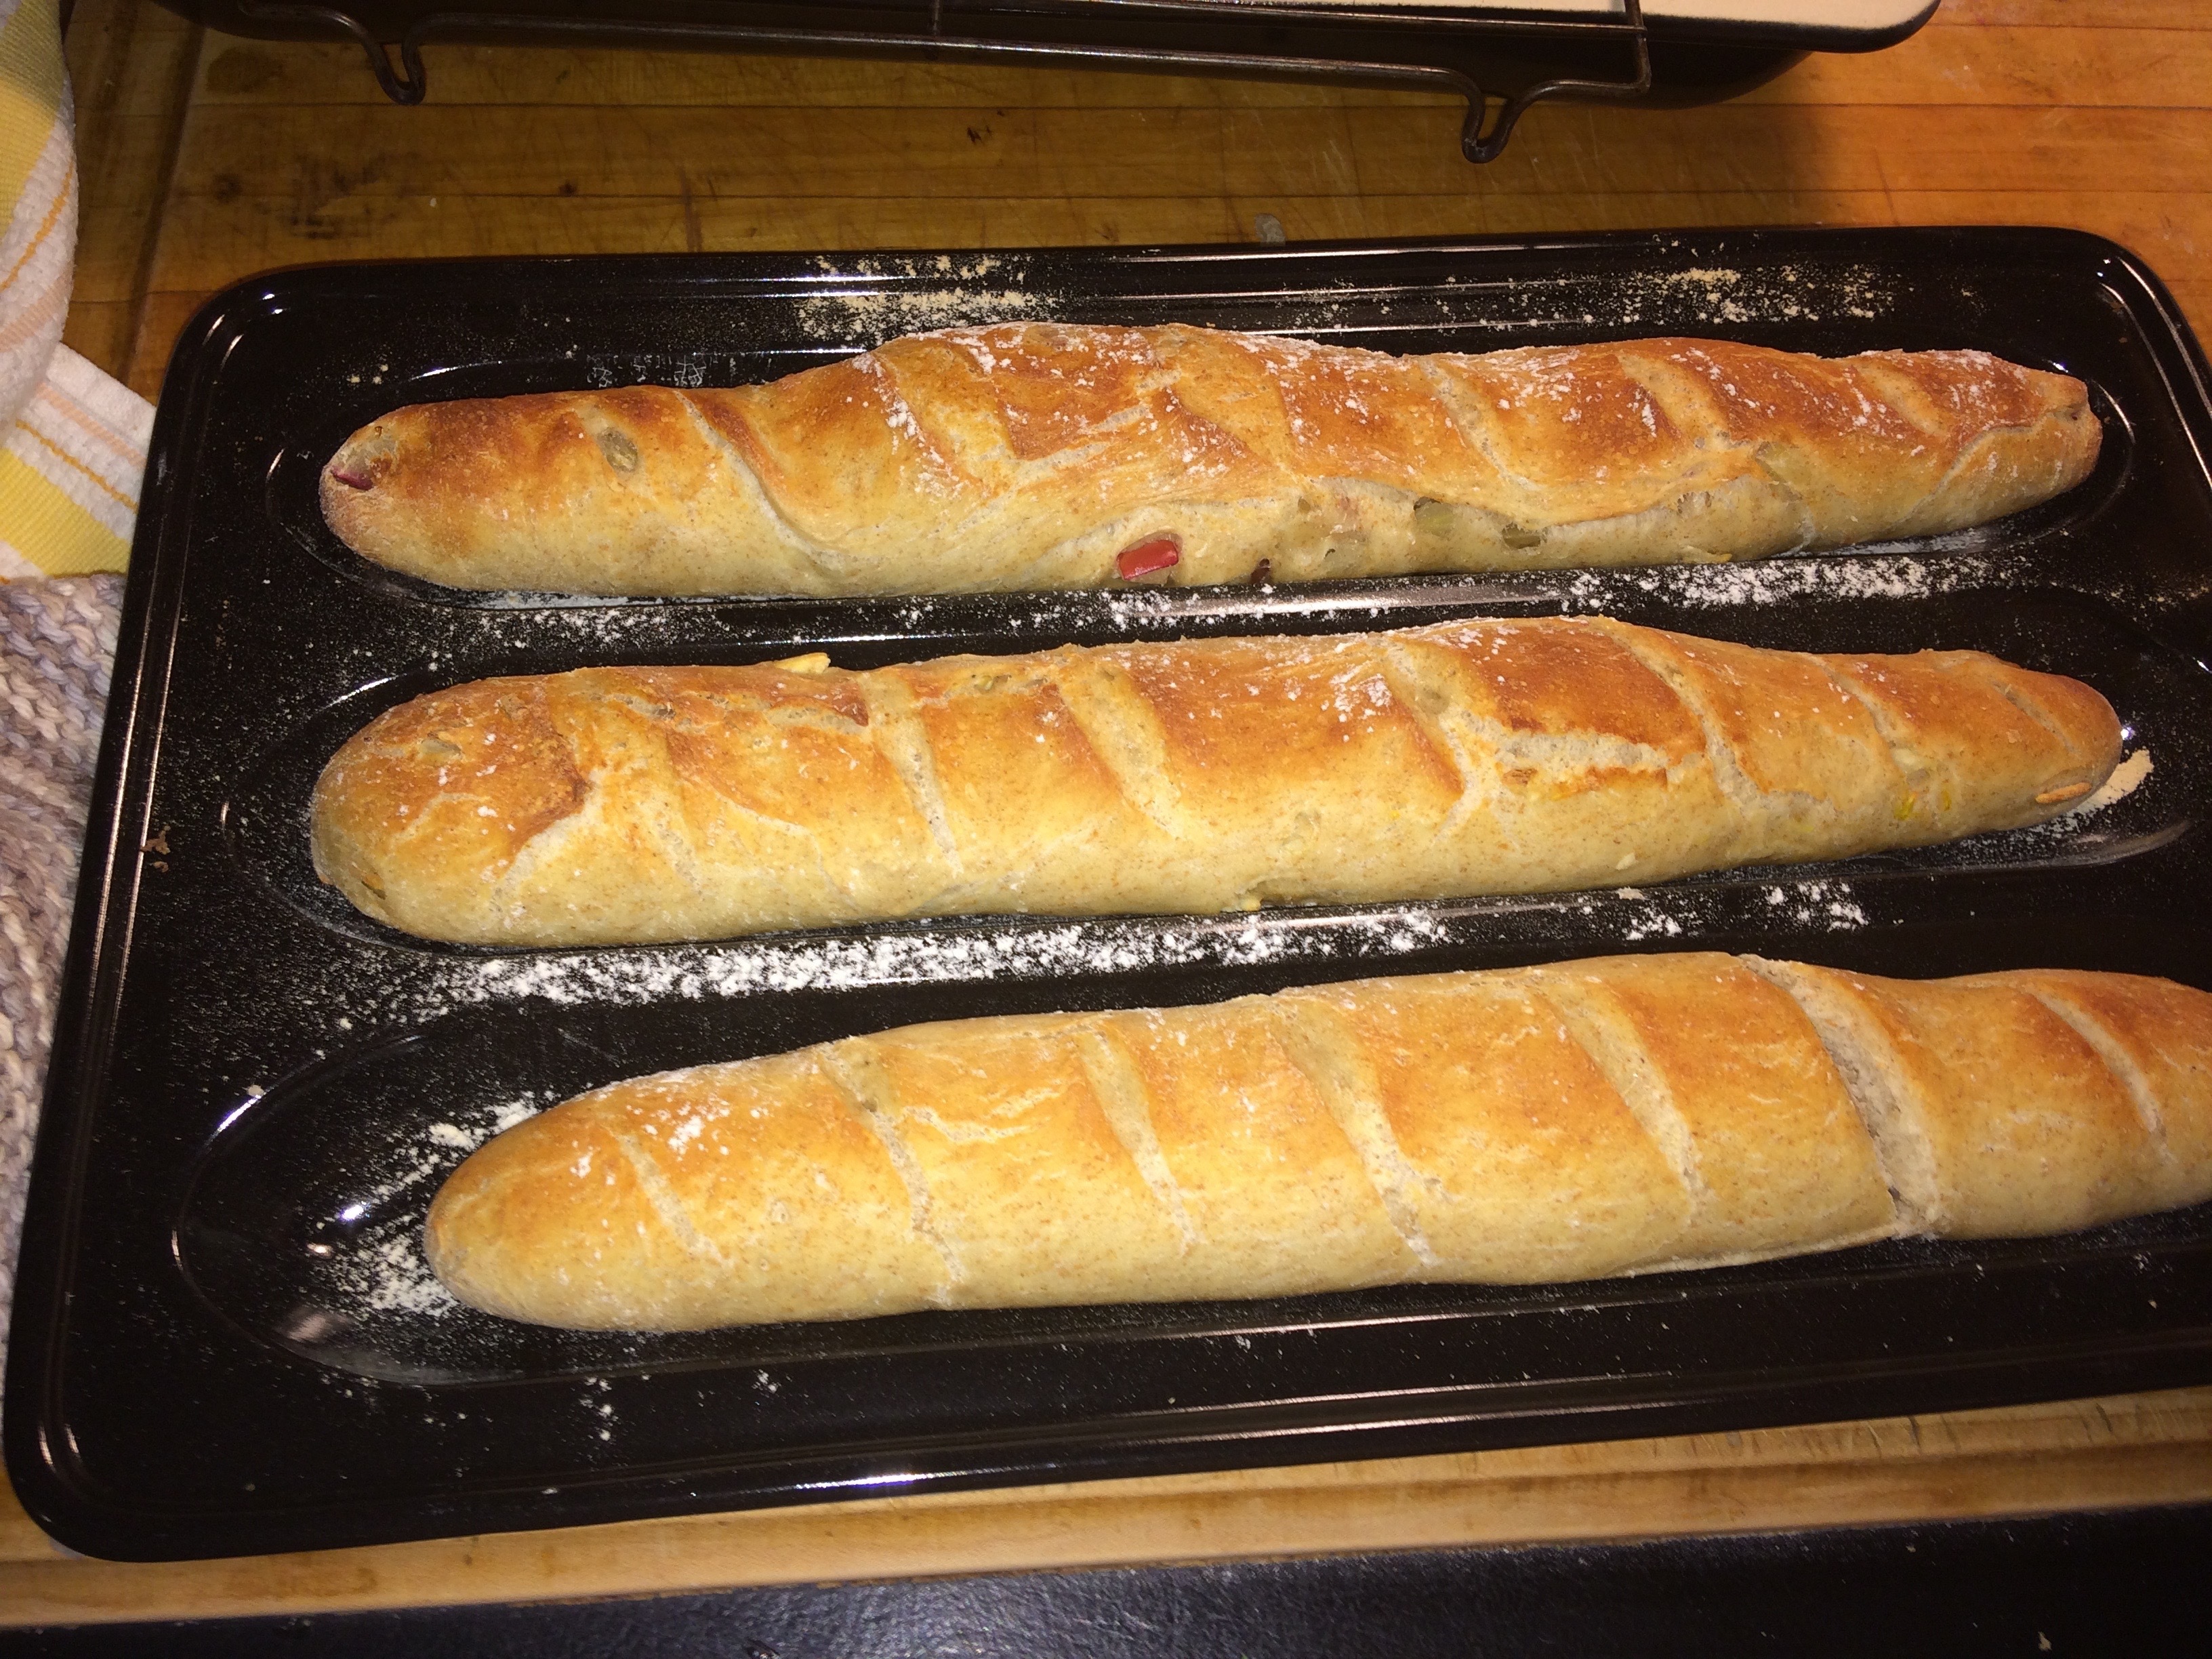
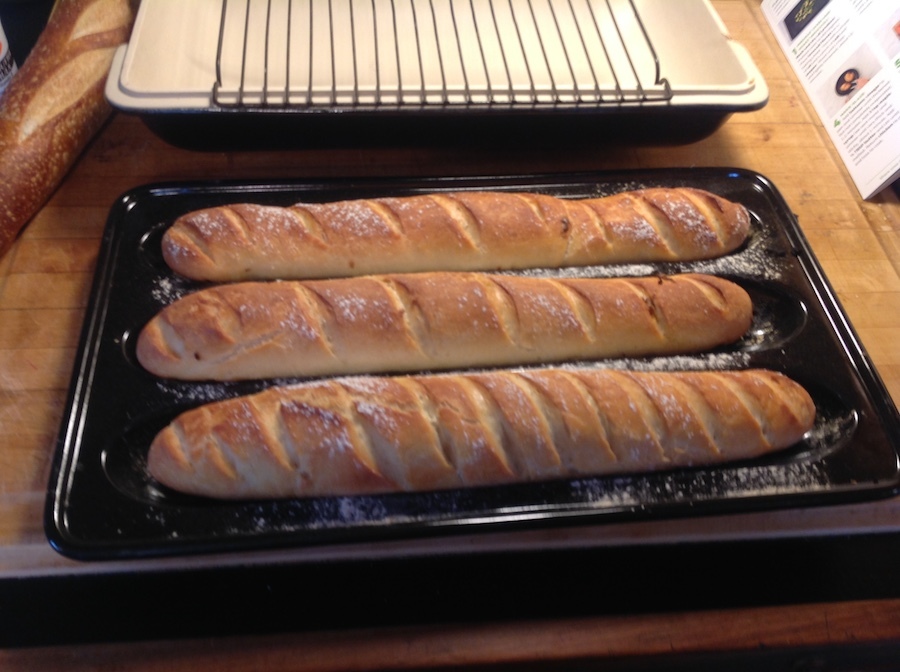
showing an example of the baguettes an inexperienced baguette maker can accomplish. These are not the same size as the bakery baguettes. The mold could be longer and still easily fit in a large oven, but they are a perfect size for most home ovens. Baguettes are fast, but it takes a bit of time to learn how to roll and stuff.
The easiest way I have found to stuff is to roll dough to a 9” wide 19” long (make longer than you need - they will shrink); place filling in three rows, leaving space between the rows for the dough. Then roll one row at a time; rolling then pulling back; rolling and pulling back again until almost completely molded. Paint the last dough edge with some water to help the dough to stick together; next, place in the mold with the folded end on the bottom. EH recommends your second proofing be done in the mold for 20 minutes, then placed into the preheated 460º oven for 25 minutes.
Above baguettes are stuffed with sautéed onion and garlic. EH recommend slightly brushing the top of your soft baguette dough with water to make the sugars combine and brown the top, then score the dough and lightly flour. I think that works well for me.
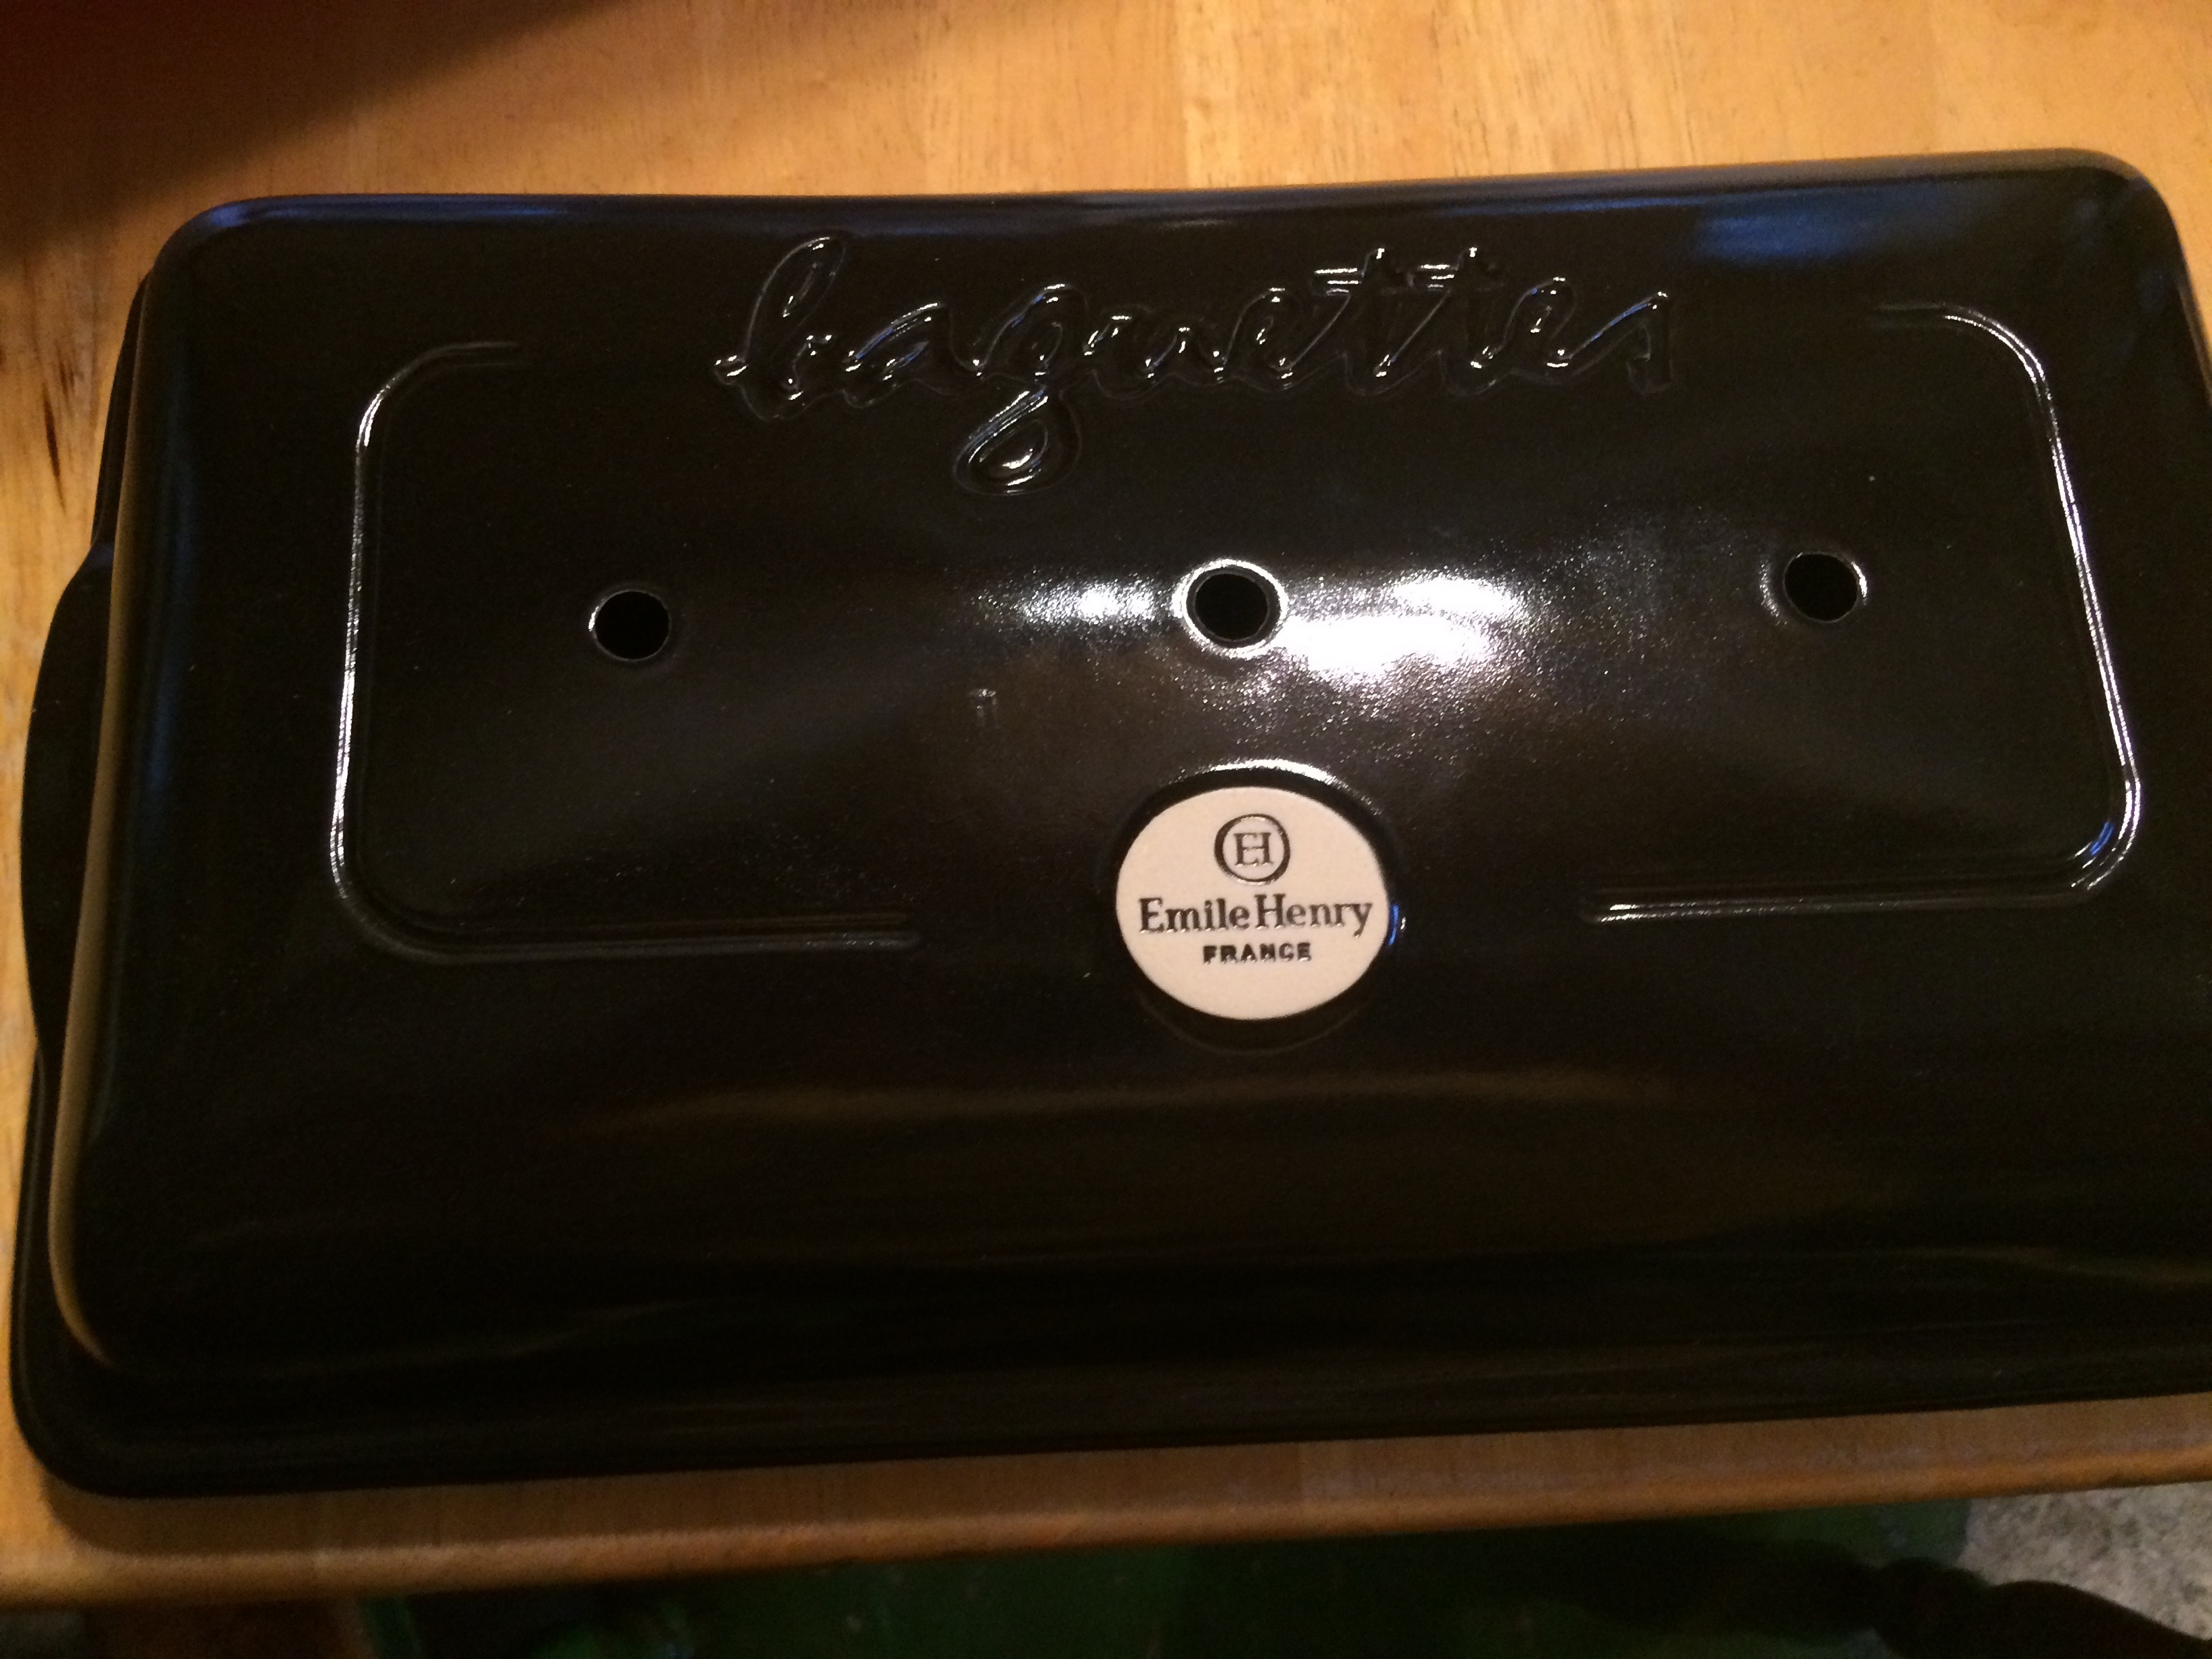
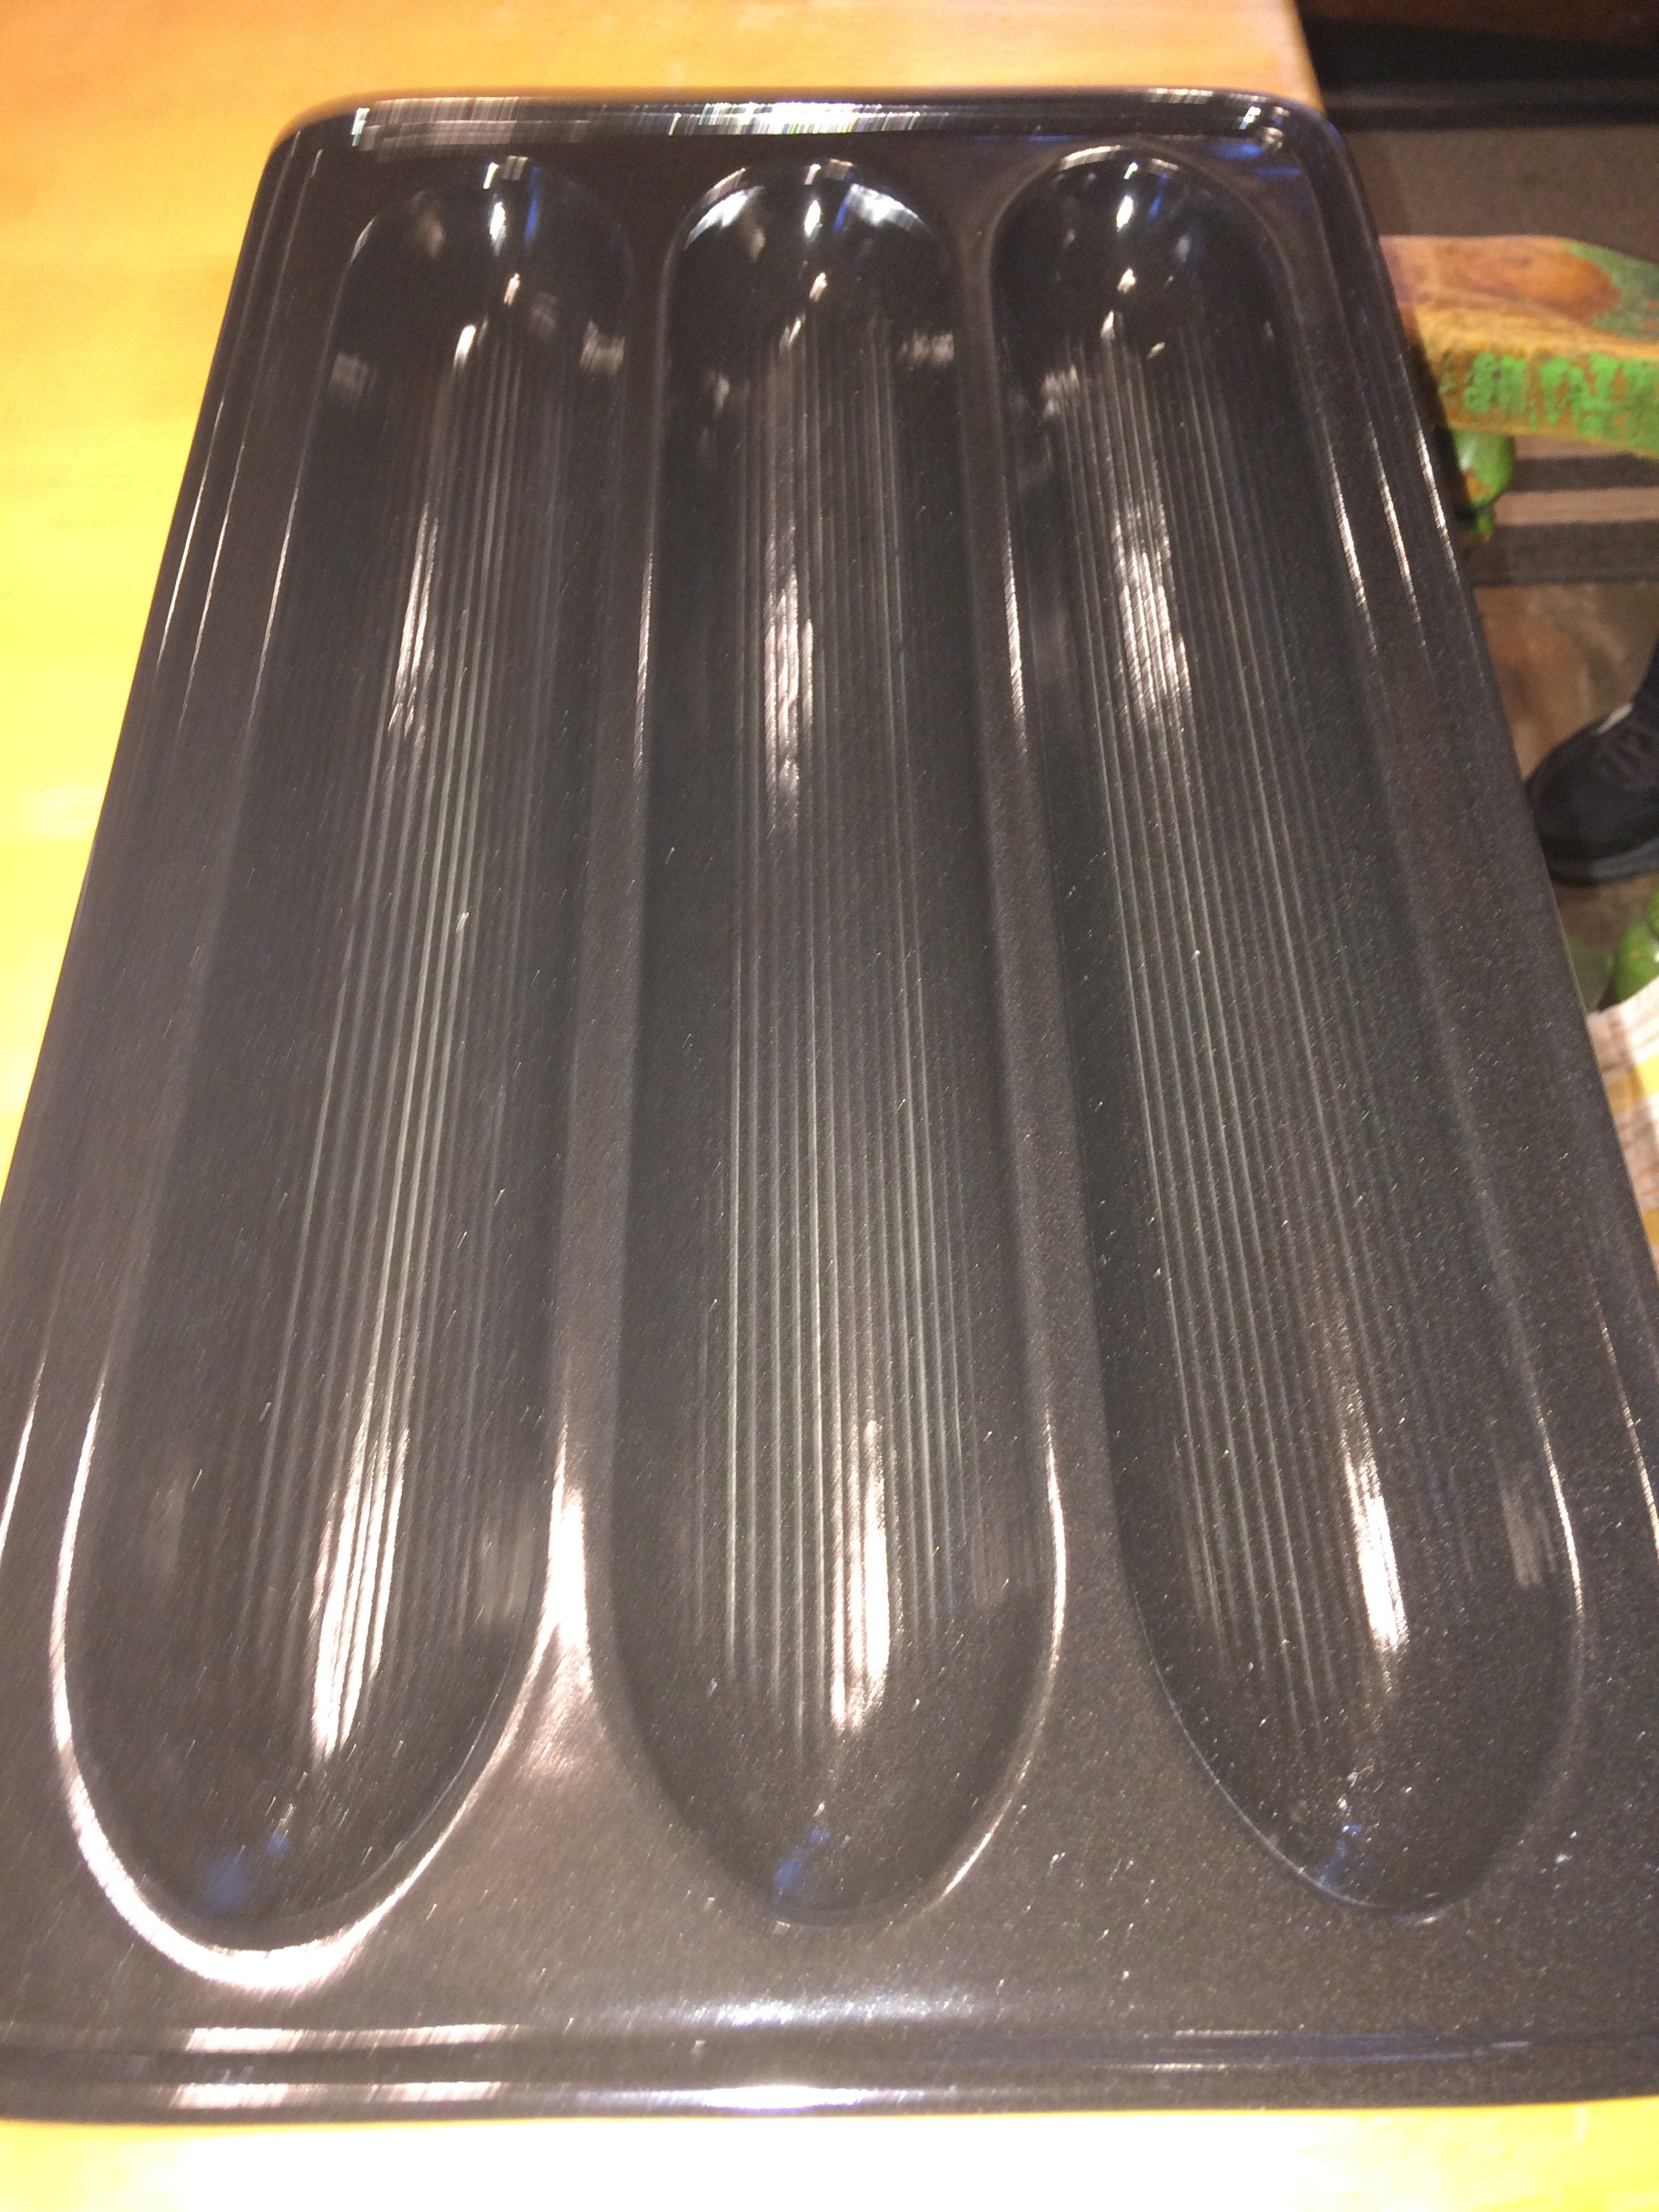
I find having a mold makes it simple and there are many molds, but Emile Henry Ceramic is IMHO the best. Mold is glazed on the outside, bottom inside then unglazed on the inside top; there are 3 - ¾” air holes in the top.
For cinnamon add (to the recipe referenced above) 1 t of cinnamon for each baguette - 3 baguettes add 1 T of cinnamon increase this proportion based on your taste. This will give a hint of cinnamon;
For raisin cinnamon add to the cinnamon dough 1/3 C raisins for each baguette, soak raisins in hot water while making the dough. after raising the first time roll dough out into 9" x 20" thin flats. Place raisins in a row longways; roll the dough over and away from you pulling the raisins and dough toward you; repeat with a second row again rolling and pulling toward yourself; on the third row of raisins baste the end of the dough with water to fix it to the other dough then roll the dough and raisins again pulling toward yourself. Place the seam side down and raise the second time. Then follow the referenced above recipe.
Whole Wheat Baguette Whole wheat requires more warm proofing along with several extra steps to get the rise that you are looking for. I would exchange 1 C of bread flour to help develop the crumb, but then I’m not making 100% Whole Wheat
Yield: 2 Baguettes
Ingredients:
1 1/2 cups warm water (108 degrees)
2 tablespoons honey or sugar
1 3/4 teaspoons active dry yeast
3 cups whole wheat flour (split into two)
1 teaspoon salt
Olive oil to grease
Mix warm water, honey, yeast. Set aside to allow the yeast to activate.
Mix 1 1/2 cups flour and salt in a large mixing bowl. Add yeast mixture and mix until fully combined.
Knead in remaining 1 1/2 cups flour for 6-8 minutes with a dough hook on medium speed or 10-15 minutes by hand until smooth and elastic.
Lightly grease bowl and place the dough in it. Lay a damp towel over the bowl and place the bowl in the warmest spot or in microwave or oven for 1 1/2 hours.
After 1 1/2 hours, remove the dough from the bowl onto a lightly floured surface and fold it in half to punch the gas out. Then, rotate it 180 degrees and fold it again in to a ball. Put it back into the greased bowl. Re-cover with the damp towel and return the bowl to raise for 1 1/2 hours.
Then take to floured surface knead and fold again. Press the gas out of the dough and shape the ball into a rectangle. Rest dough until it doubles in size.
Once again, on a lightly floured surface and press down gently with your fingers (not the palms of your hand) until a uniform rectangle forms. Form into baguettes, Placing into baguette mold covered to proof for 45 minutes until double in size then score baguette. When the baguette is finished proofing, preheat the oven to 425 degrees.
Brush with water then bake for 20 minutes. Allow to cool completely.
Loved your pictures and explanation so jumped in and bought one. The first try didn’t turn out very well. The baguettes stuck hard to the bottom of the baker! Ruined them prying them out. Help! What do you do?
I did liberally flour the baker first.
When I removed it from the oven I did check the temps and they registered over 200 in the center however I did note there was some sticking to the probe from the bottom. I basically lost the bottom 1/4 of each baguette, stuck to the pan. Any suggestions pls.
Two things that could have caused the excessive sticking,
the newness of the mold. After flowering liberally, I still had a bit of sticking on the first time the mold was used. Much less the second, and the third time I used it there was no sticking. At first, I was not applying the flour evenly, there were gaps where the sticking happened. Later, I learned to dust the mold more evenly. Thinking the combination of use and me spreading the flour more evenly did the trick. I’ll try it again this week and see what happens when I decrease the flouring. I think it is broken in and will work easily. I really did not have a big problem, just enough to make me know I needed to tweak my handling
Applying too much water and having the water find its way along the side and bottom of the mold. Then it makes the flour a wet mess that will surely stick the bread to the mold. ** Think this is likely and easy to overlook.
Thank you so much I hope to give it a try again today. Meanwhile the 1st attempt is being turned into Breakfast Strada!
Another question: in the little booklet they included they call for two cups of bread flour. Their inline recipe is the same but with 3 cups of AP flour. Also one of their recipes calls for 4/5 hr proofing and not the 40 minutes in their base recipe? Have you used the 40 minutes with success? My baguette was very doughy and not at all Bread like in flavor.