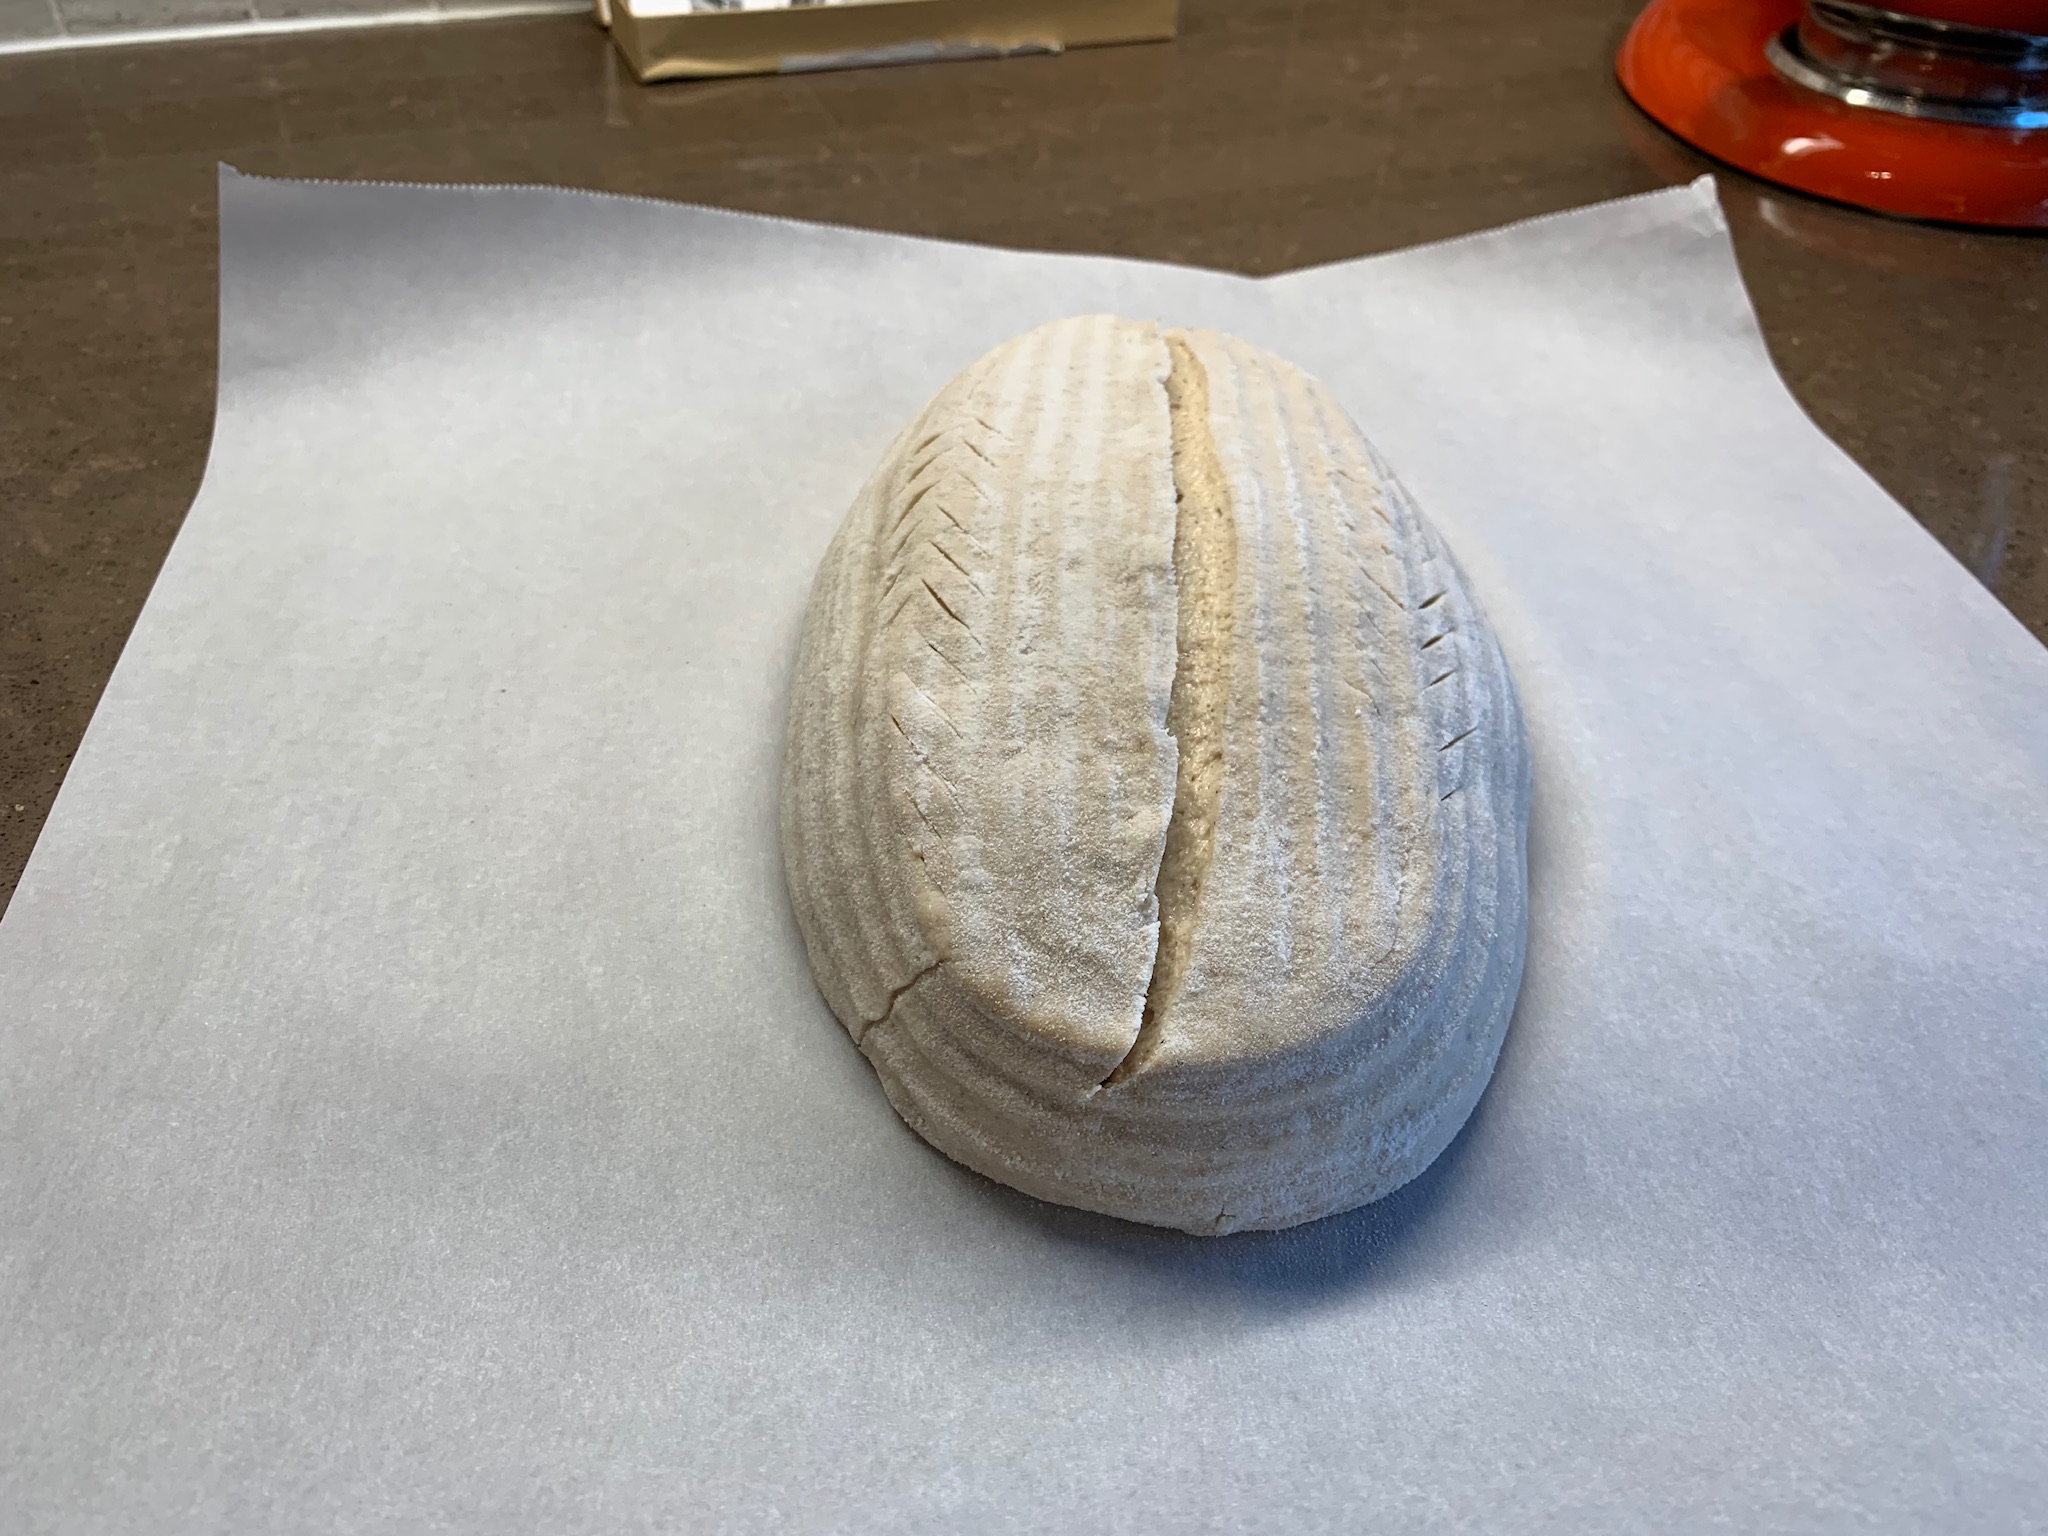
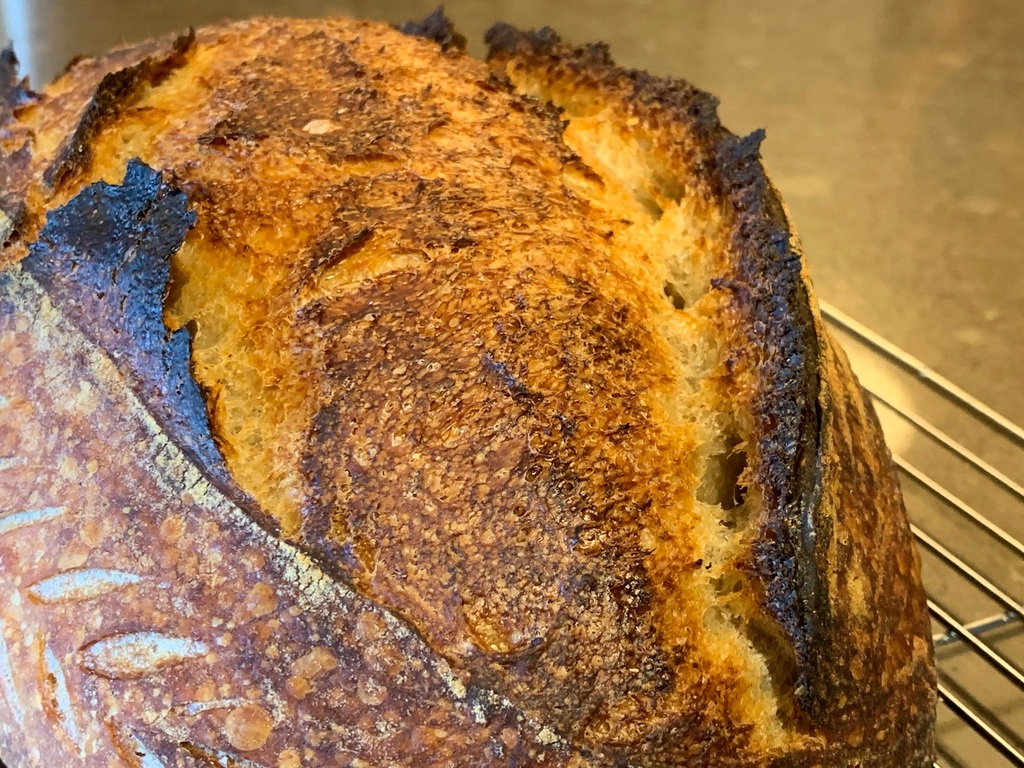
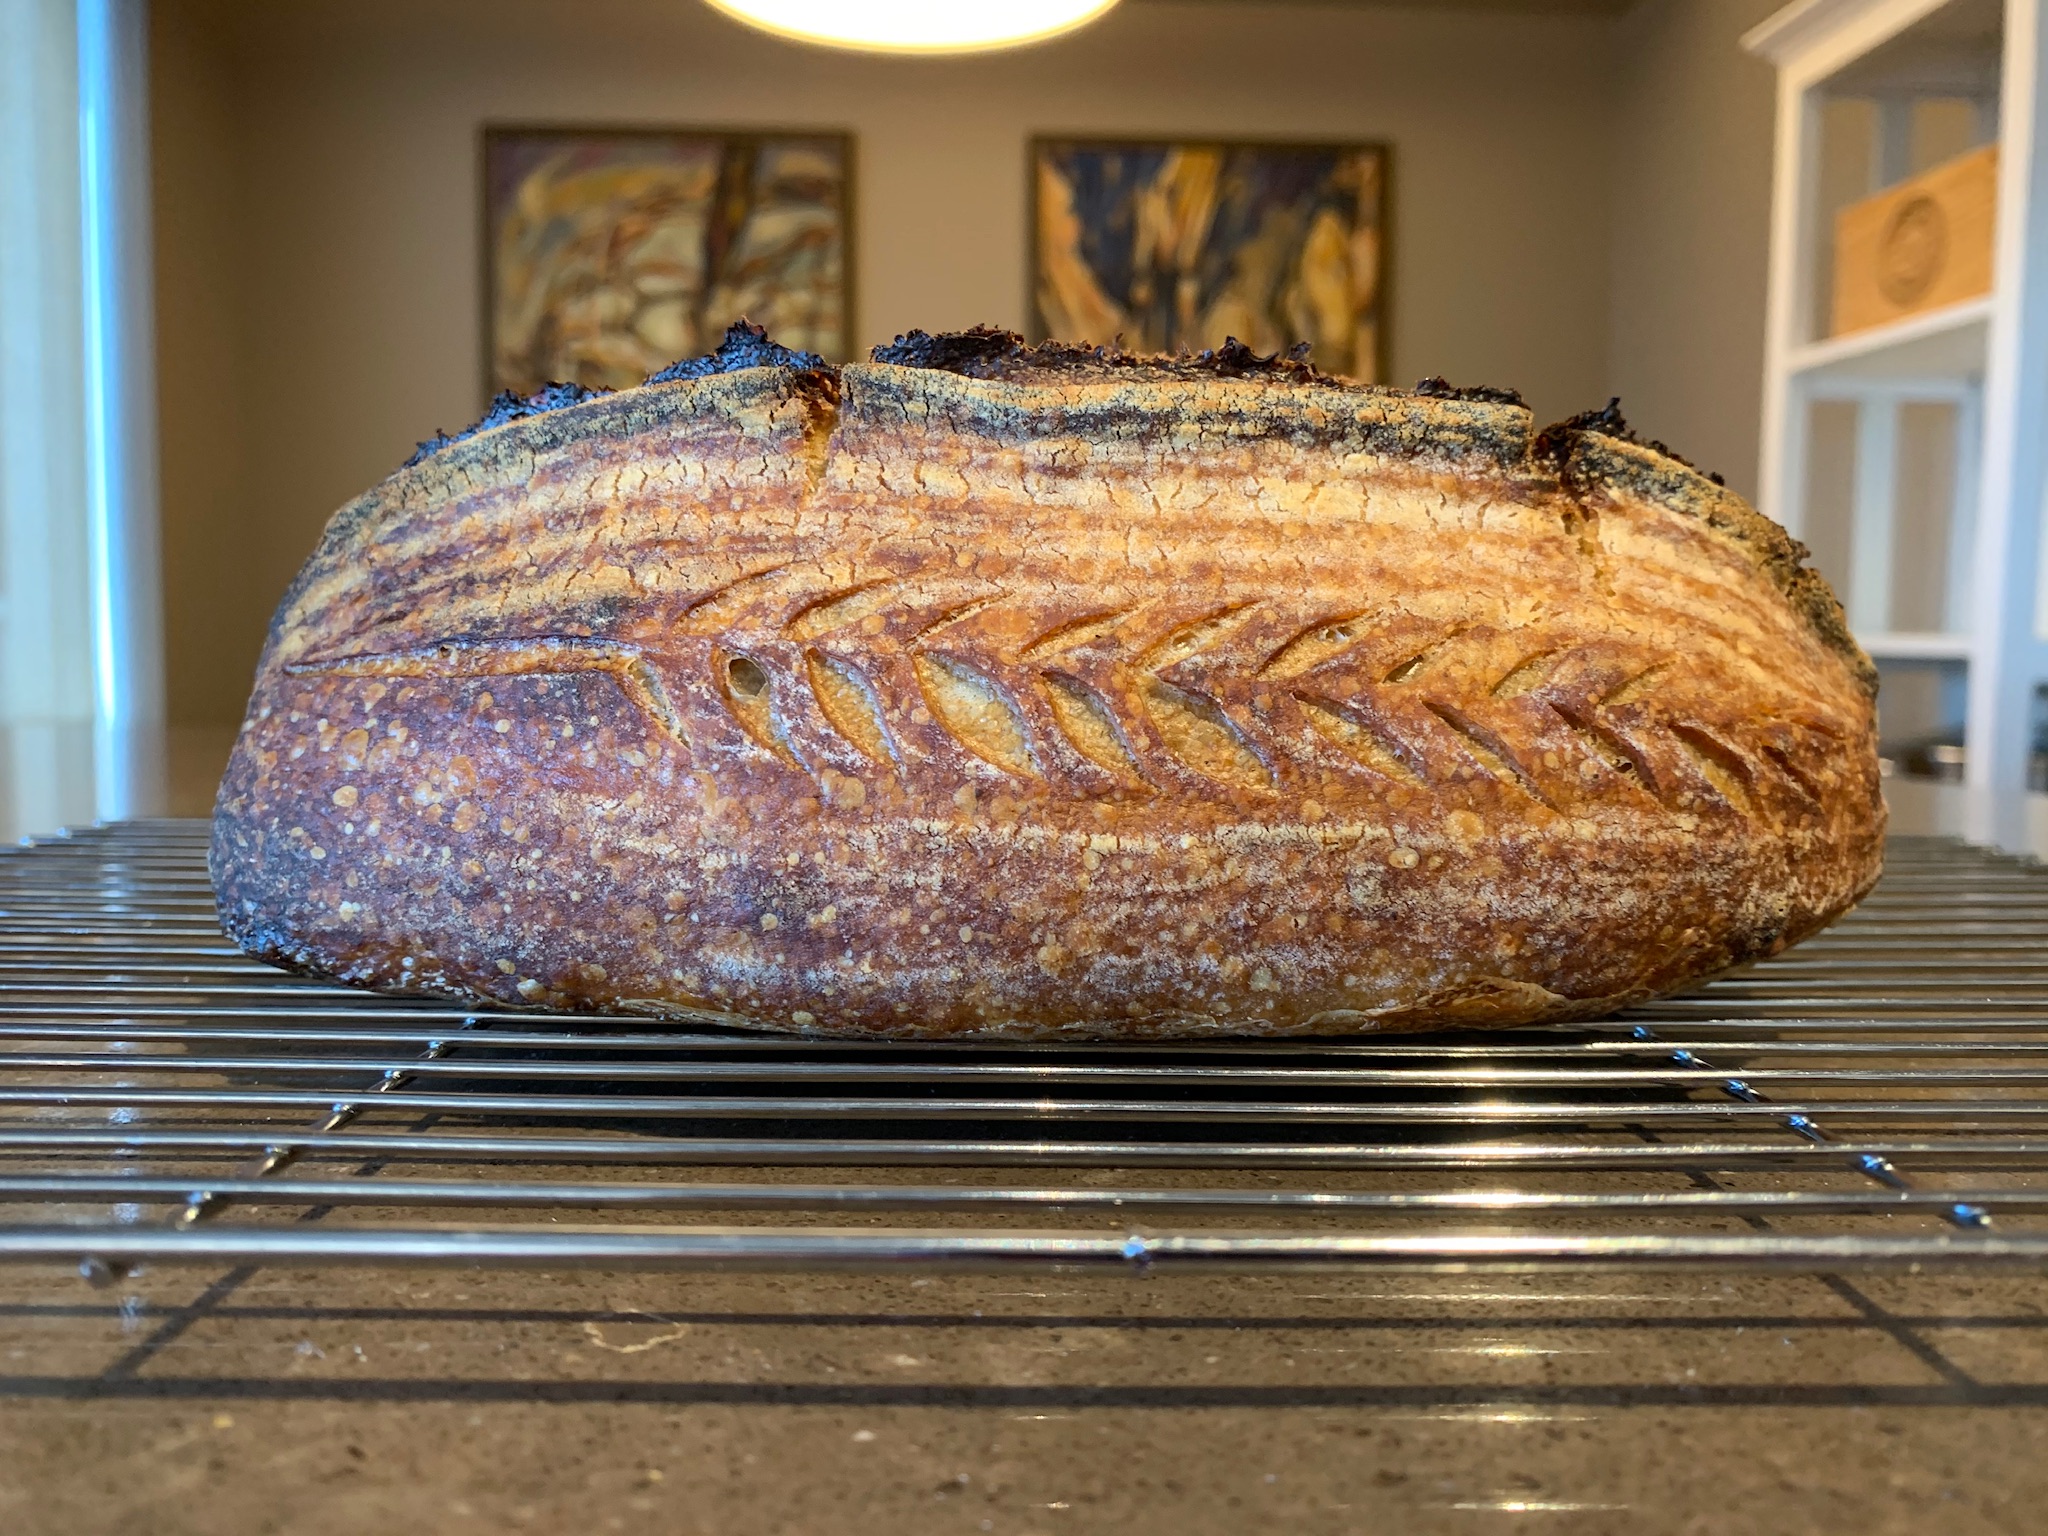
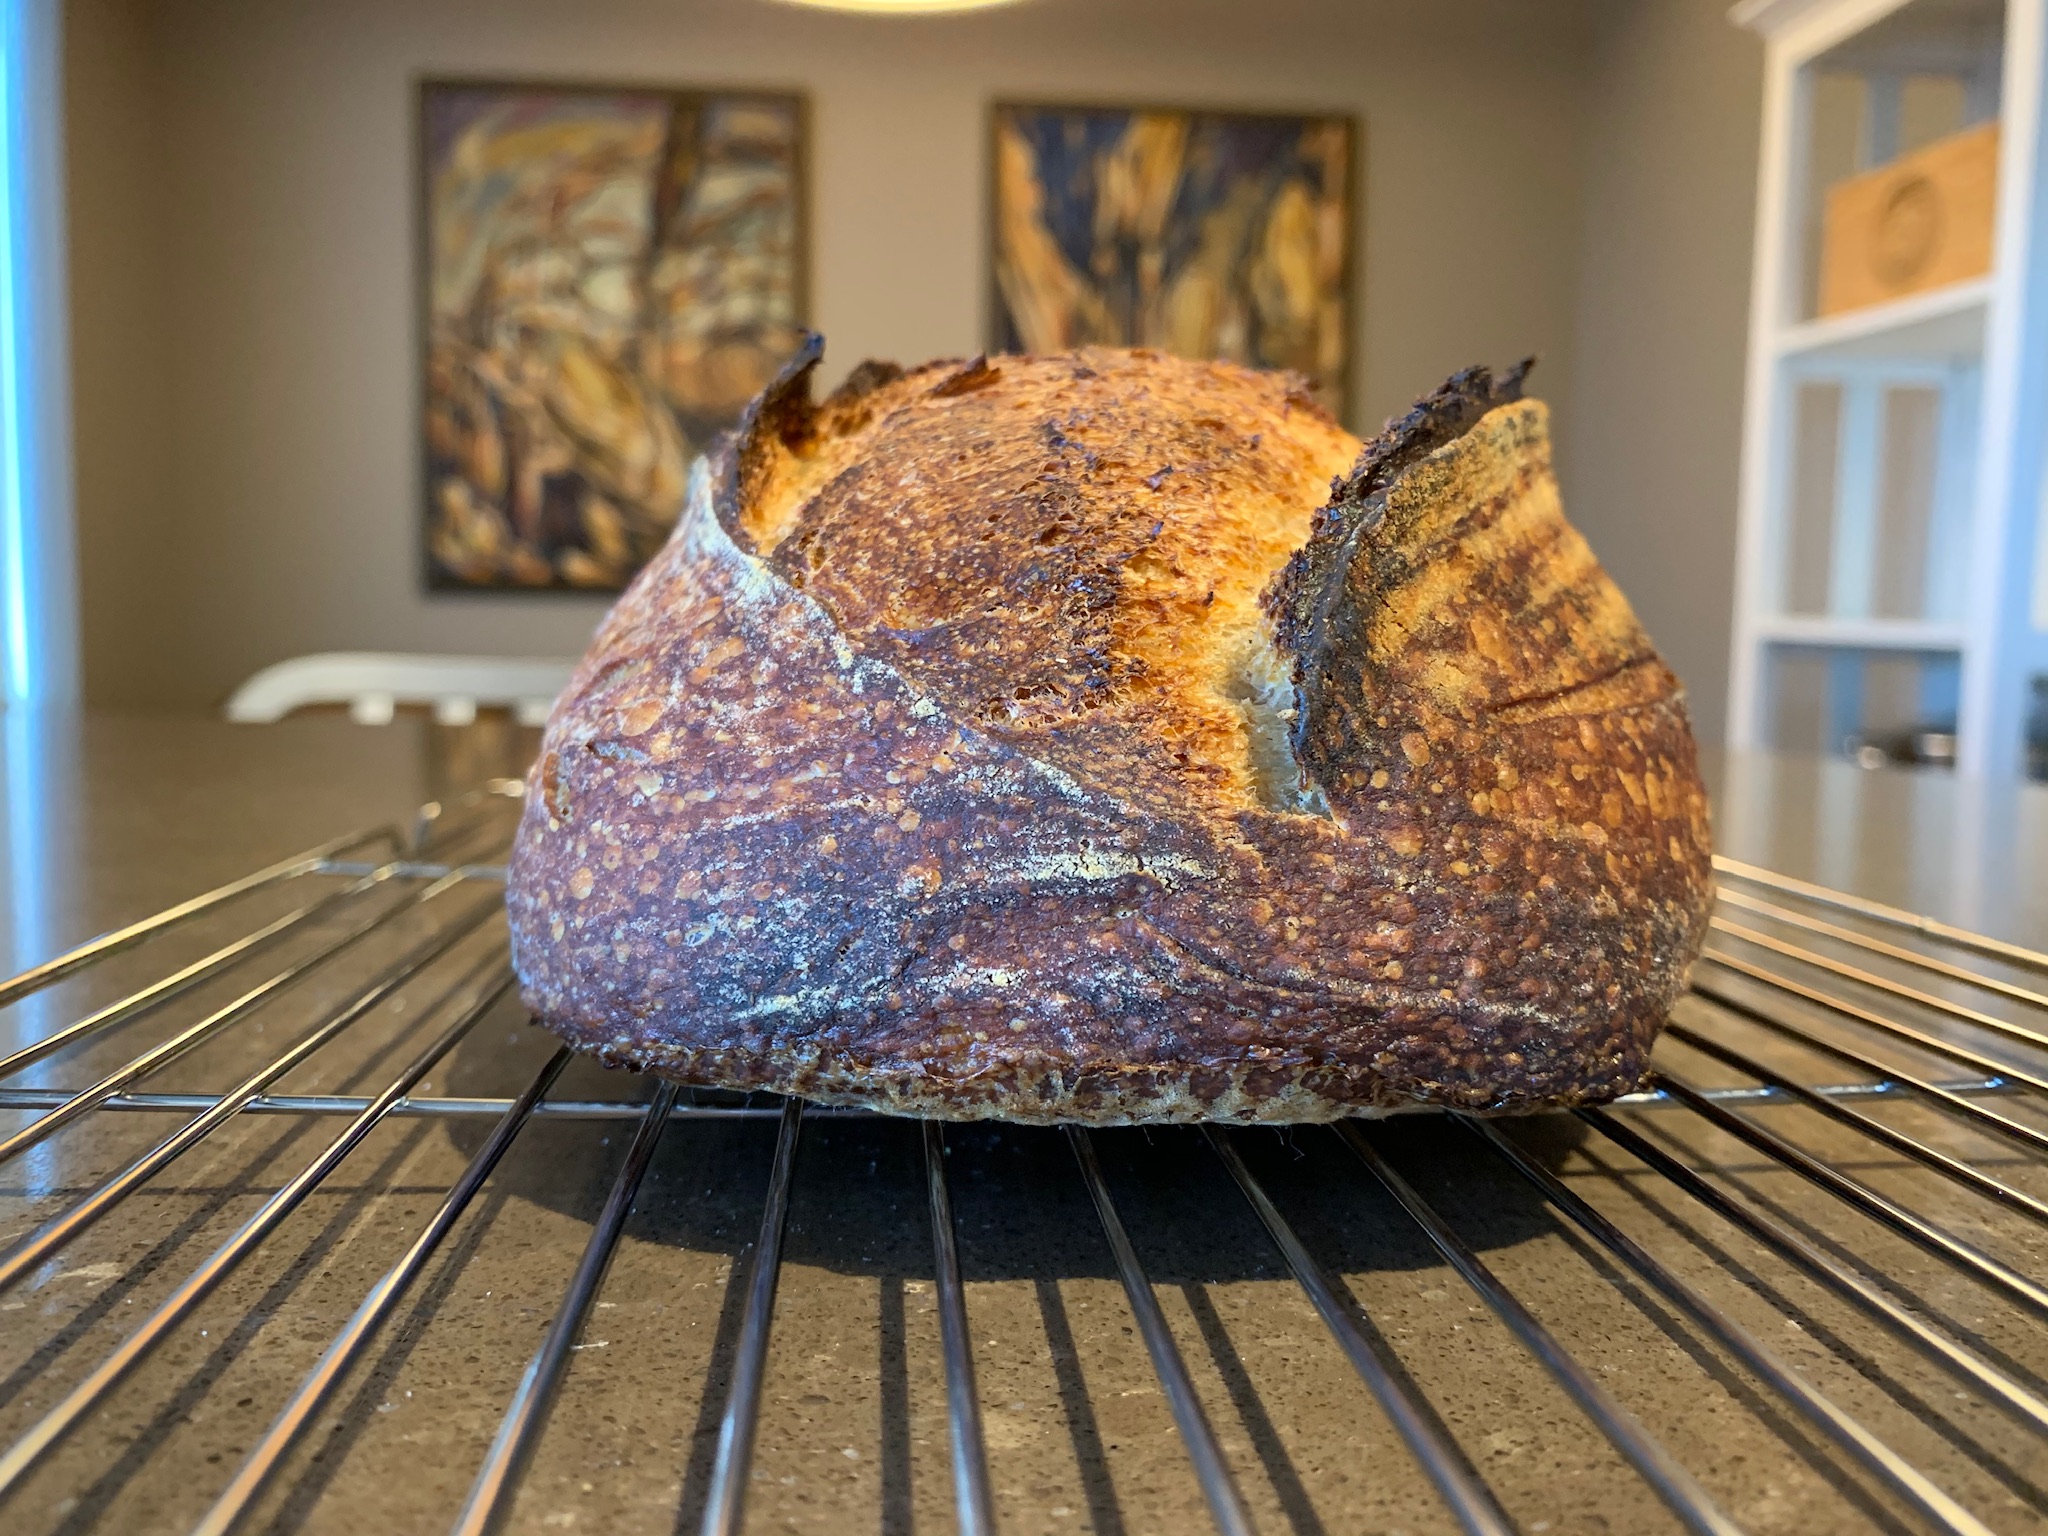
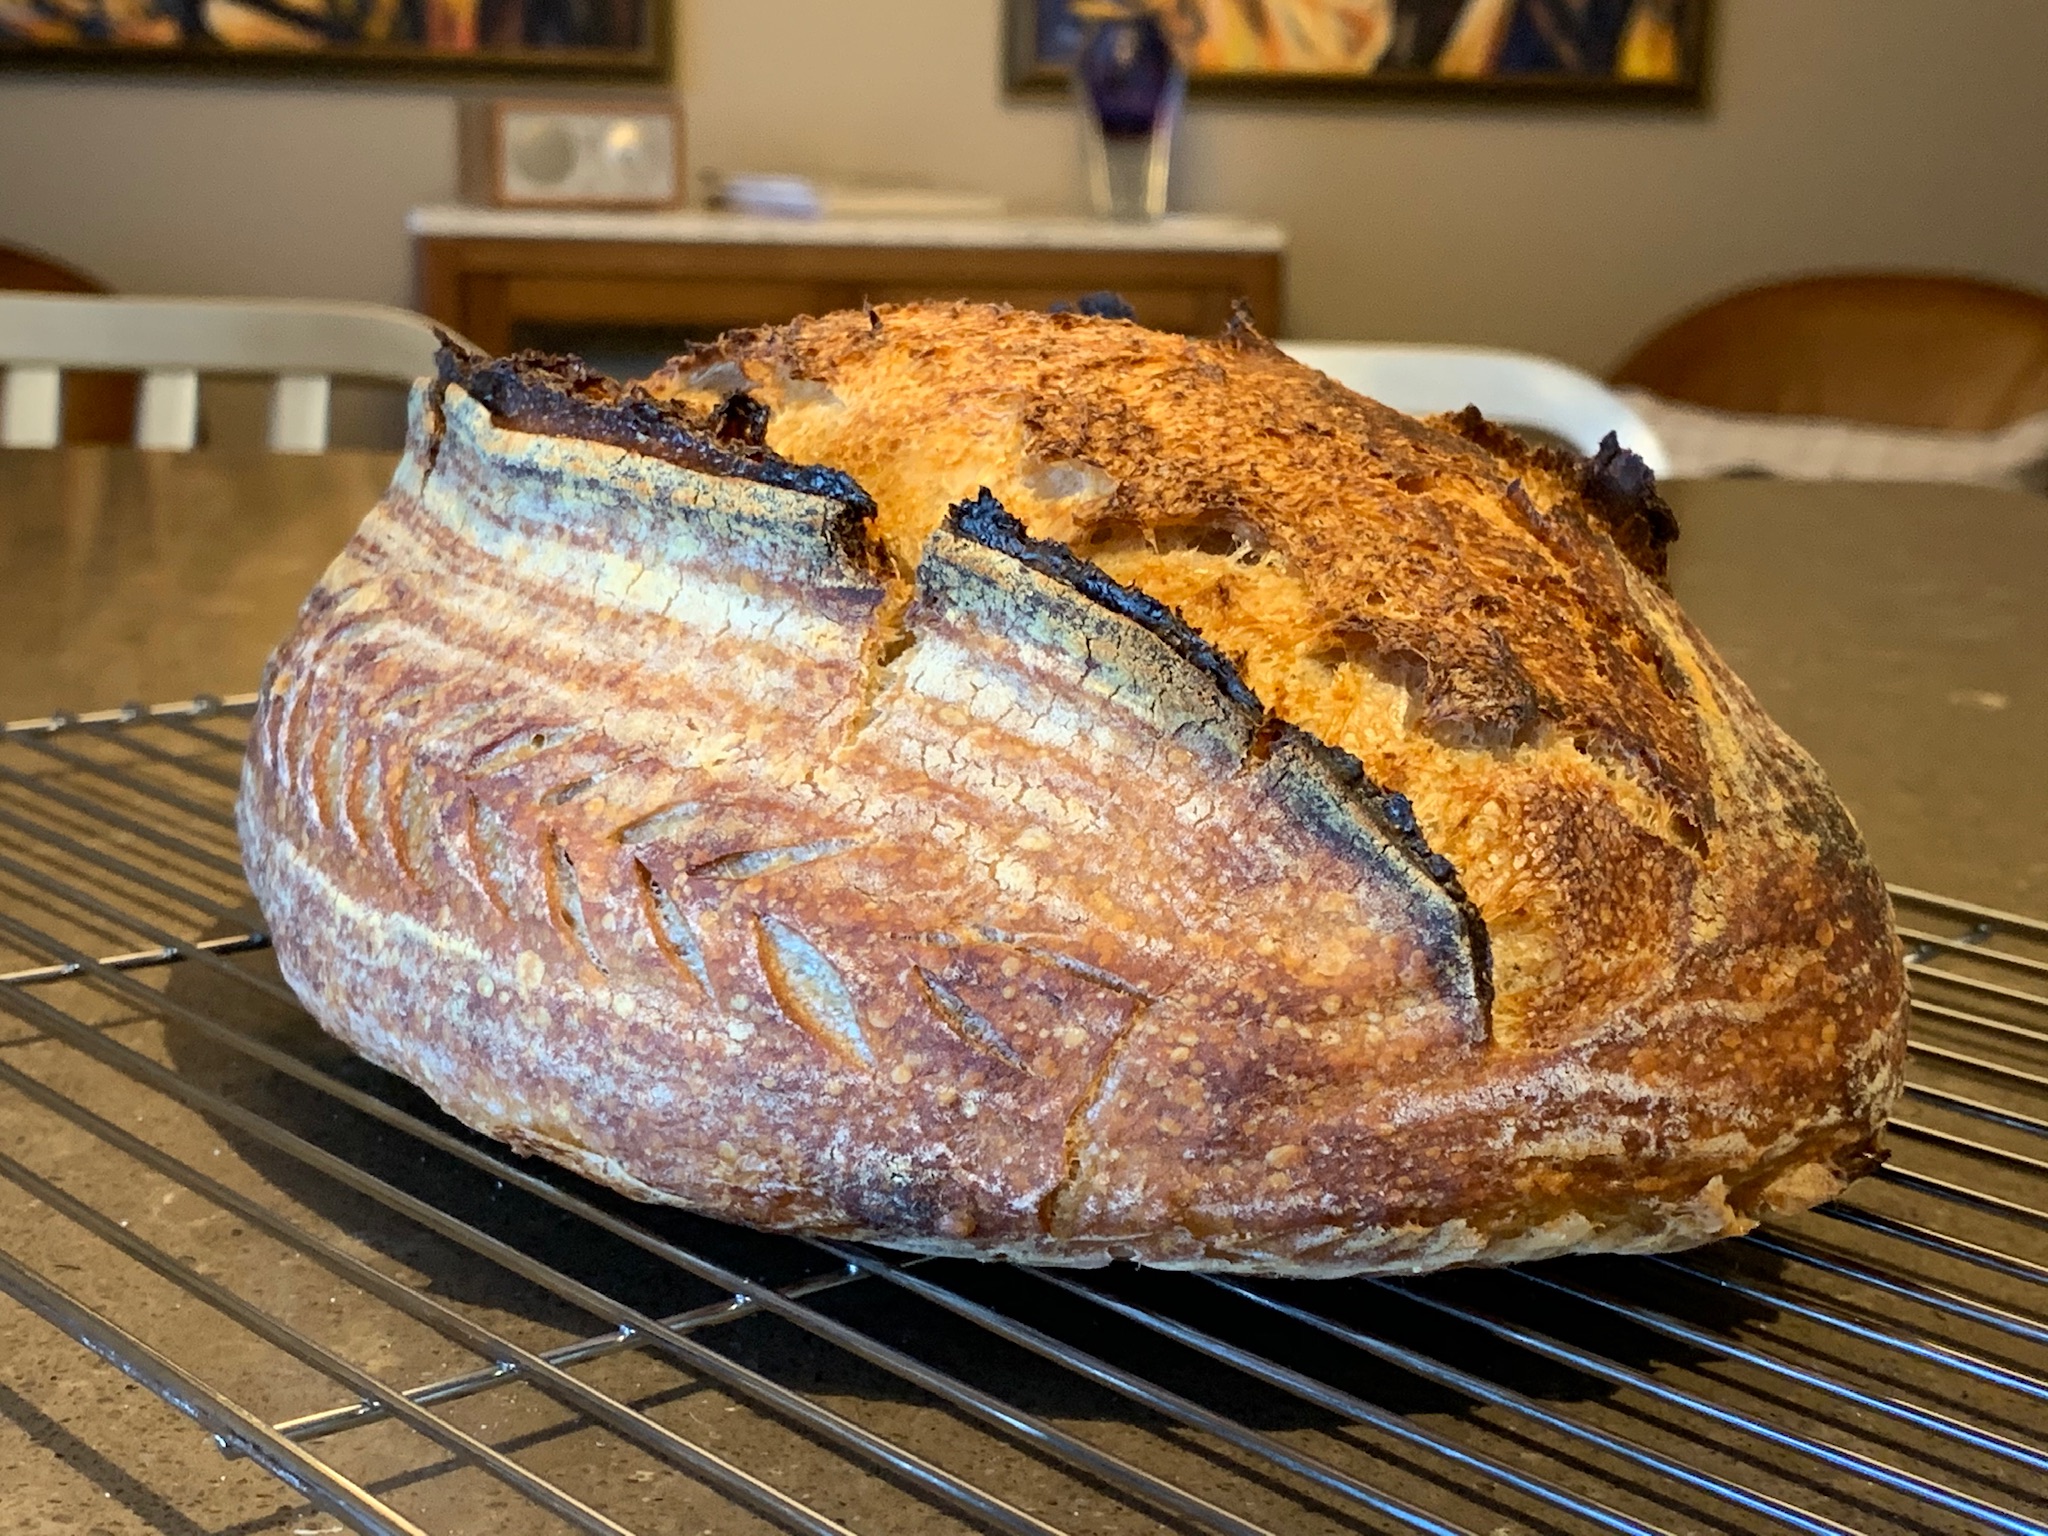
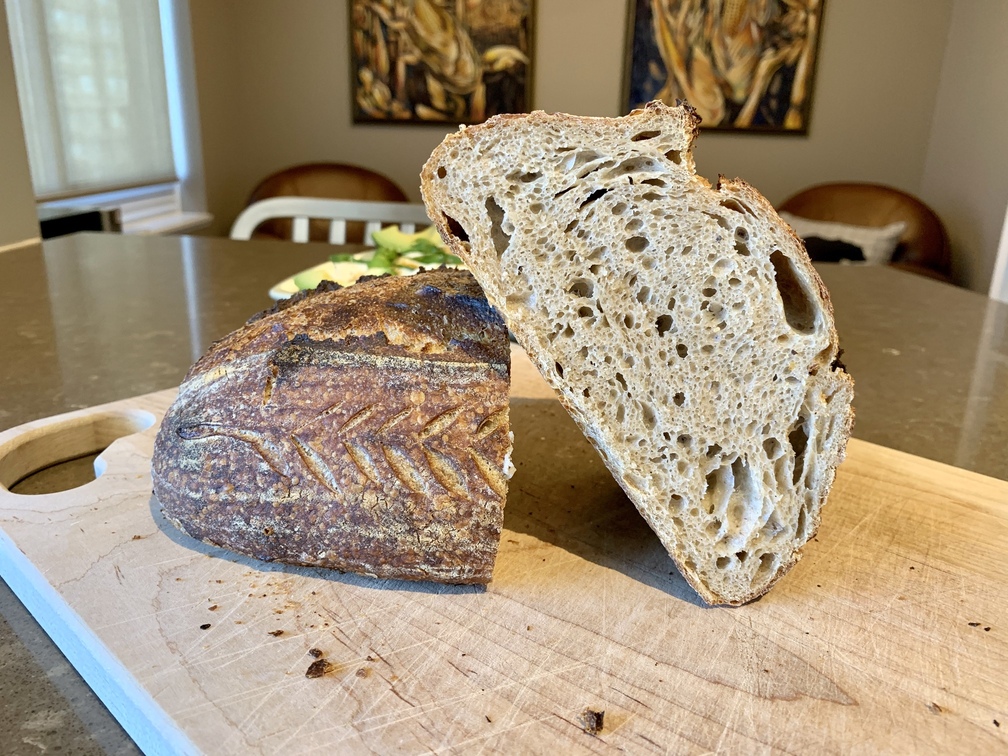
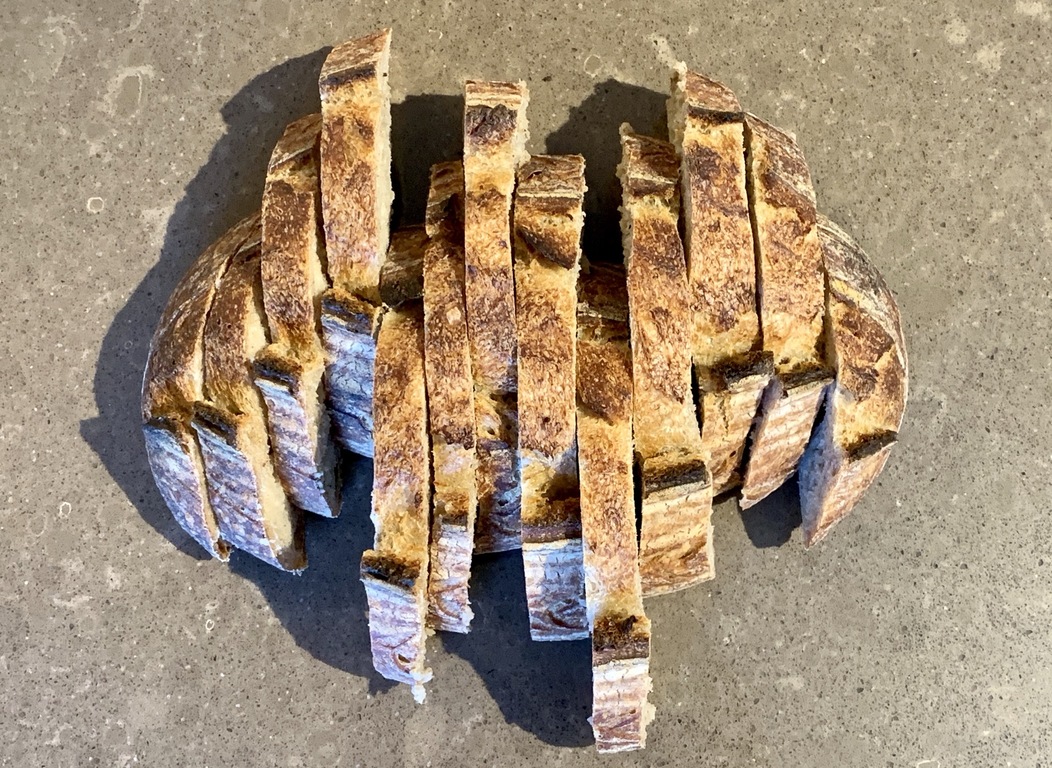
Third in my series of Einkorn bakes. This time I increased the Einkorn to 20% and reduced the Red Fife to 9% all of which was in the preferment. Other changes I used the aliquot jar and ended bulk fermentation at 40%. I did a preshape, bench rested for 15-20 mins then final shaped and into the banneton. I left it out on the counter until the aliquot jar showed just over 50% total rise (Not an additional 50% rise) then put it into a 2ºC fridge for cold retard. Next morning baked as usual except that since I got new oven gloves (The Ove Glove) yesterday after waiting 3 months for delivery, I was able to take the loaf out of the dutch oven to finish baking on the roasting rack after the first 20 minutes. I think this helped me get a much more even colour on the crust which I’m really happy with.

That’s beautiful!
Hopping back to einkorn #2 – I saw your question about the long cold proof and the crust color. I’m not sure if this is what you’re wondering, but I have always wondered about the metabolism of the extra flour added during shaping and on the sides of a banneton.
It’s got to count for something in additional fermentation, right? And I know that I don’t sprinkle it on evenly.
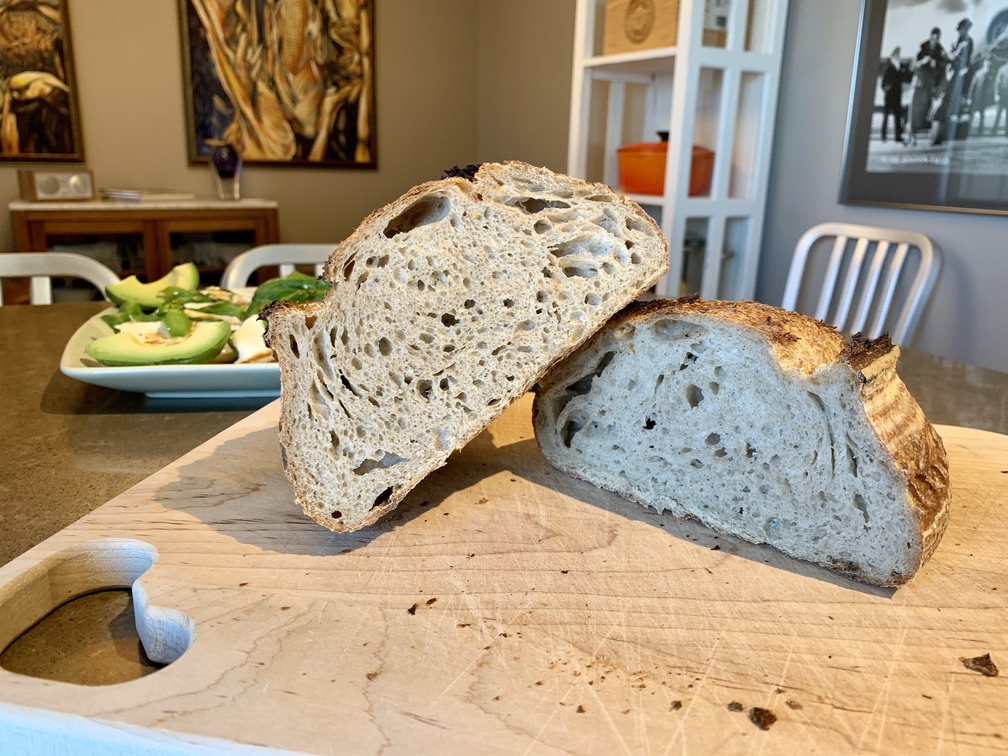
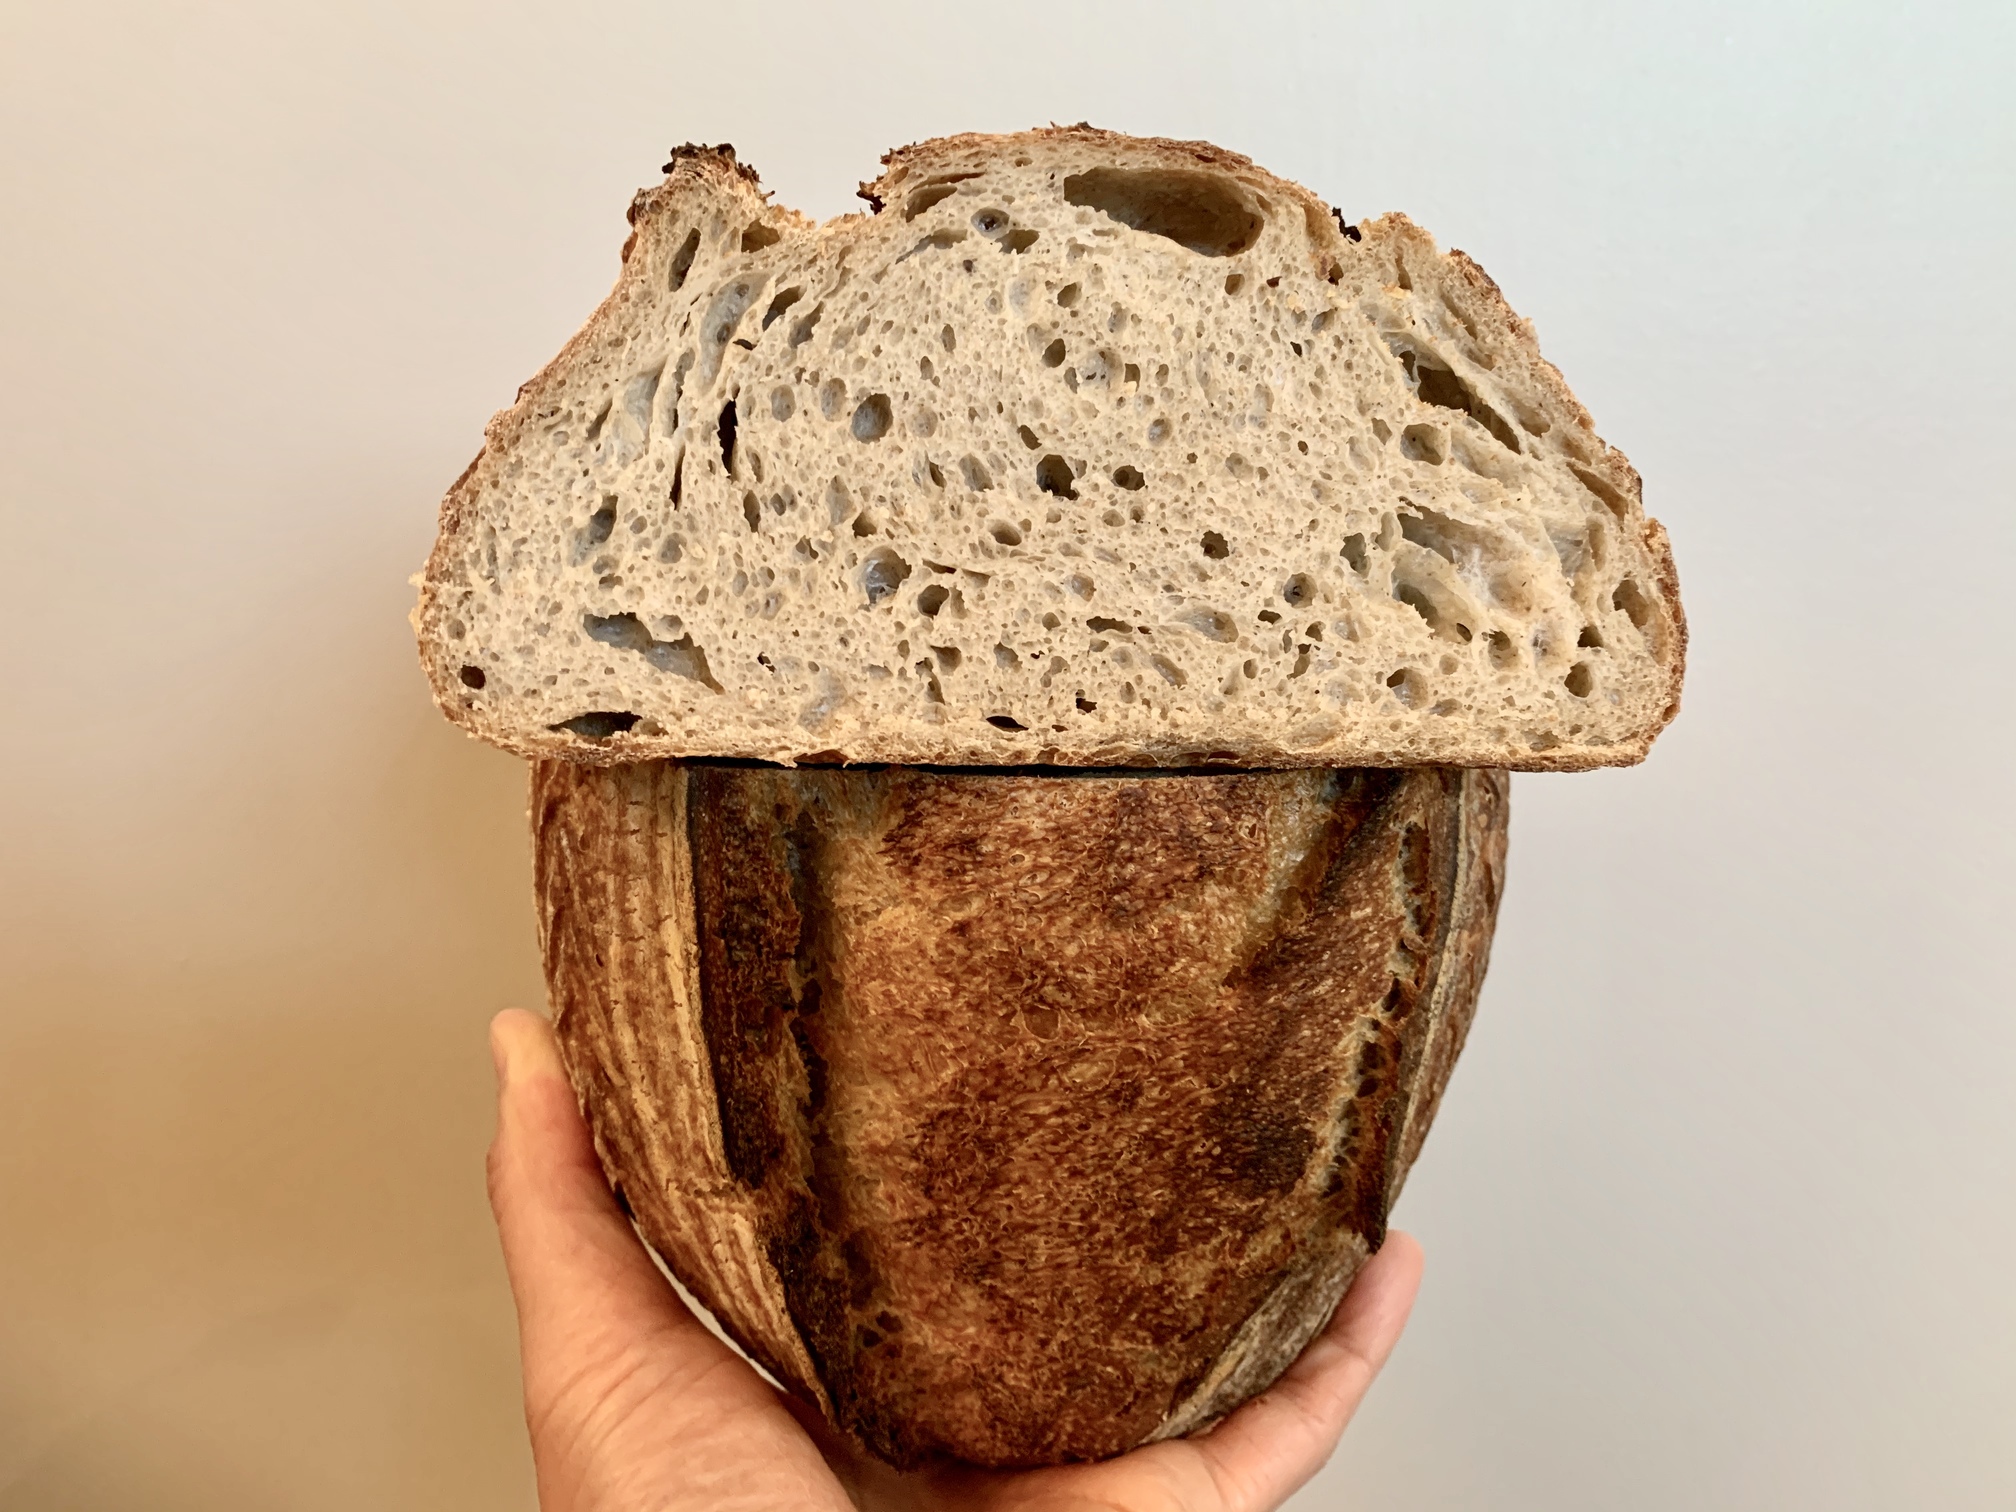
Very interesting Melissa. I’ve never thought of that but you would think so. It makes sense. This one I completed baking out of the Dutch oven and the browning is pretty even. I’ll post crumb photos tonight.

BRAVO; this looks to be a show case!
Thanks so much Michael. As usual with me it takes three tries before I get it right. One thing that surprises me about this bake is how sweet the crust tastes. None of my other sourdough bread crusts have ever tasted this sweet. I suppose that is from the einkorn because it was more prominent with this bake vs the 13% einkorn in the last bake.
WOW! What an impressive loaf of bread!
Leah
Thank you Leah, I am quite happy with bake. The einkorn really gives it a sweetness especially in the crust I wasn’t expecting. When I bake this again I’ll see if I can push bulk a bit further to open up the crumb. Not sure if that will work but I’ll try.
@Bentio Sometimes my dough is quite persnickety and the best I can hope for out of the final bake is “edible,” LOL! Your pictured bake is stunning!
I haven’t tried working with einkorn so your observations about it’s flavor do intrigue me. I have added some Kamut to my basic sourdough breads and I really like the buttery smooth flavor it adds. I have noticed when I add whole grain to my bakes that they don’t tend to oven spring and rise as high, especially when using a lower gluten grain like Kamut. So when I add Kamut, I keep the ratio of it to organic high protein bread flour on the lower side to compensate for the less than stellar final oven spring and rise. Great flavor though, so that’s my compromise.
Leah
@Leah1 funny you should mention Kamut, after looking for months I finally found a place here in Toronto that sells Kamut. Everyone’s description of the buttery smooth flavour and colour intrigue me so I was so happy to finally lay my hands on some. I always use bread flour when baking with these poor quality or low gluten flours to try to help the structure, just like you. They don’t always turn out great but I’m so happy when they do.
G’Day Bentio, I was also curious as to the ‘type’ of sourdough you are using on this to arrive at your finishing point; this einkorn #2 I have not used this ever, so I will for myself need to do more research before taking this on. Thanks for the tips
Michael
I’m not sure if you mean Einkorn which is a very ancient grain vs the #2 or #3 which just pertains to the 2nd or 3rd or 4th loaves with this grain blend that I’ve made. My starter is a 100% hydration fed whole red fife.
Einkorn is quite a delicious grain but it has poor gluten and has a reputation for becoming stick and when worked more becomes more sticky. I haven’t yet experienced that but I have kept the % of Einkorn down to 20% or less so that may be why. If you have other questions please feel free to ask and I will answer if I can.
My experiences with the grains have mostly ended in mold within a few days, thus I end up disposing of the lot before i can consume the loaf, I thought I had put away warm, next loaf I was mindful about this moisture, still I had a mold come over the loaf again, so i have tabled the process for awhile.
Regarding the Einkorn referenced, I copied and pasted what was written, I did not understand that it was referencing a patch sequence; my bad, sorry. I have not worked with the Einkorn; until I find the answer to the mold in this wheat bread, I believe on holding off. Thanks for your return of information.
New baker here. Beautiful bread and great post. I was curious as I am moving past my learning curve and want to start more experimentation. Which mill(s) you are buying from? I don’ think I am ready for Einkorn yet but am interested to work with red fife and other quality flours as oppose to the current KA. Also I appreciate the note about removing the bread from the dutch oven. It’ a solution. I have been starting my bread at 475 for 10 minutes then dropping temp to 450 for the next 20 minutes before uncovering. That has resulted in very little burning that I found I was getting prior but your color is much more even.
Hi there FiloCipher, thanks for the comments on my bread. I don’t grind my own flours I buy them from stores. I’m not sure where you live but I’m in Canada. I buy my flours from various sources, but in an area of downtown Toronto there is a store called 4 Life that sells organic foods. It is from there that I buy some of the more interesting flours such as Einkorn, Red Fife etc. The grain is from a farm called Merrylynd Organic Farms in Ontario.
Baking my bread in the dutch oven has been great except for some greater browning of the bottom crust. However I’ve changed my setup gradually over time as I have tried different things. Currently I bake on the lowest rack to accommodate the bulk of the dutch oven. I actually put a broiling rack and pan that came with the oven on the rack. The broiling rack and pan are stuffed with crumpled aluminum foil. The idea here is to shield that bottom of the dutch oven from the direct heat of the bottom burners to reduce scorching. The dutch oven is placed onto the broiling rack. This set up has been great so far and produced the best bottom crusts that aren’t as thick or browned as I used to bake while still getting great oven spring.
Finally I got a pair of Ove gloves that are fabric with silicone stripes on them. These have made it easier to remove the bread and parchment from the dutch oven after the 20 mins of steam baking to then place the bread directly on the broiling rack. My old silicone gloves were too cumbersome and I could never remove the bread easily from the dutch oven.
Great info. I also have the same issue with the bottom of my crust. I just ordered the gloves and will experiment. Thank you.
Glad to help, enjoy baking and post some photos of your bakes.

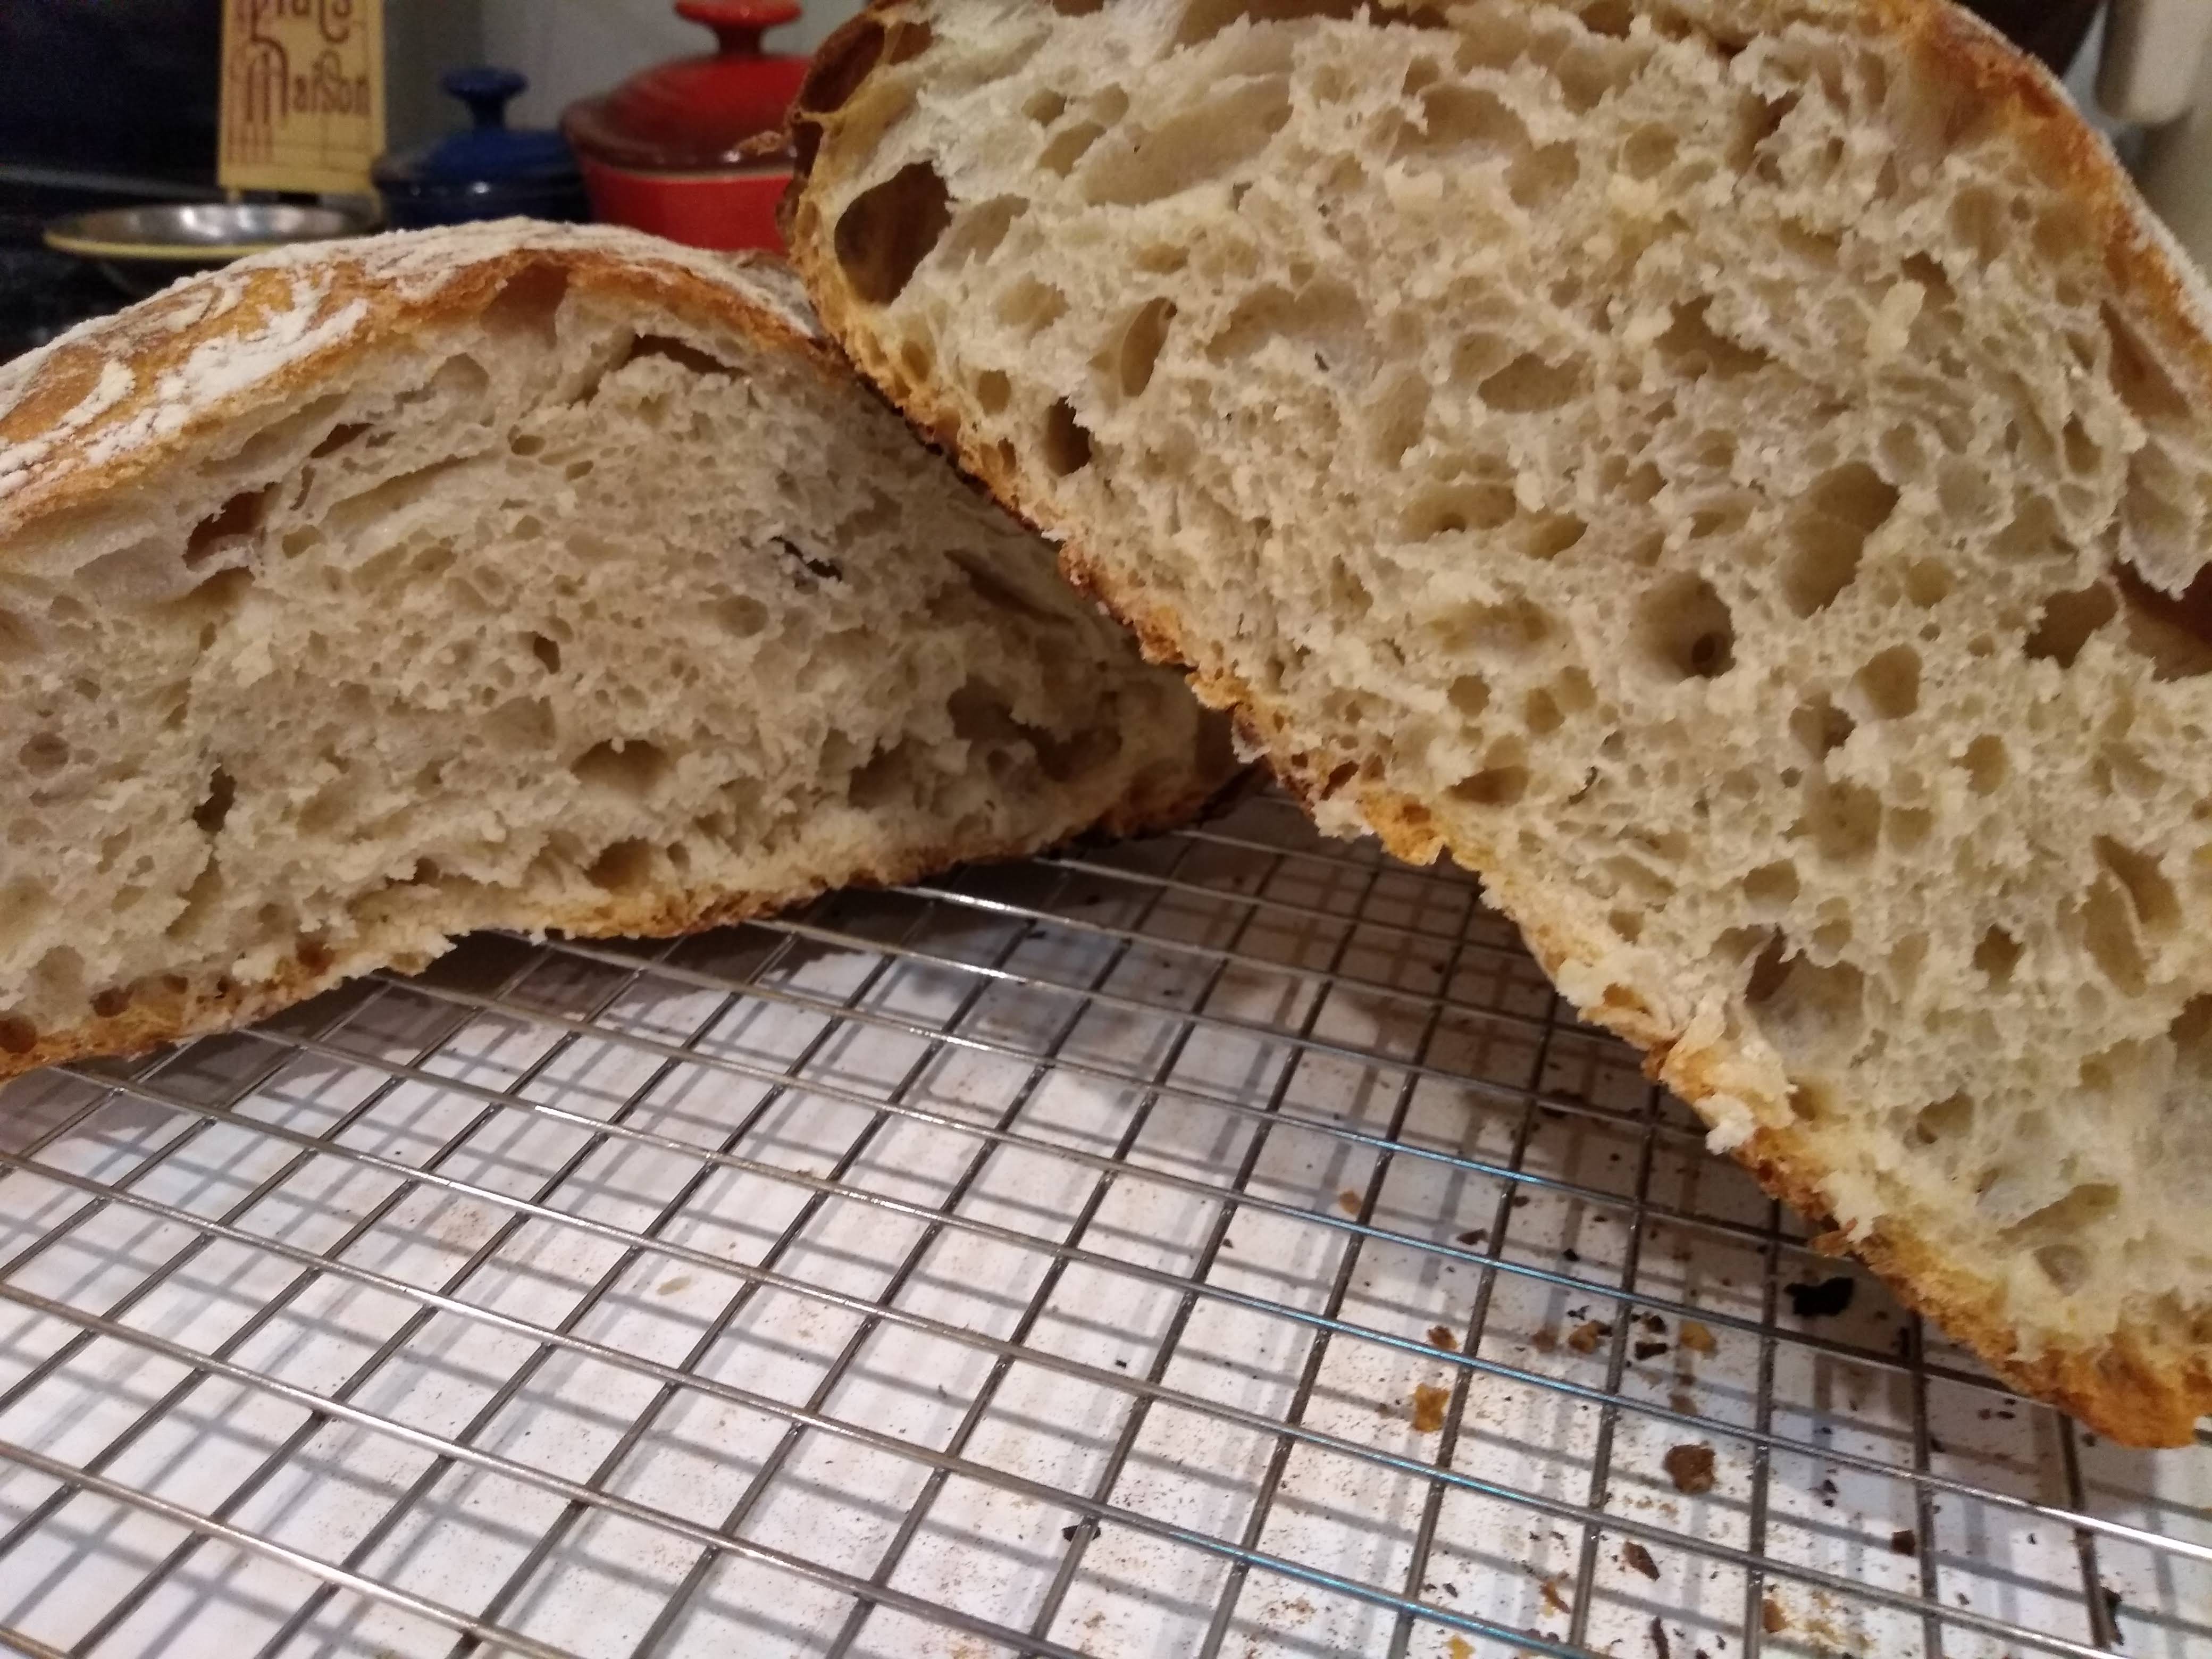
That is a great crumb on your loaf, great job with fermentation.