I bake a lot - mostly sourdough ryes of one ilk or another - but I also regularly make polenta bread. So when I read Breadtopia’s post about this bread, I was eager to try it. The dough was easy to pull together, and I made the bread without any problem. However, I did not like the taste at all. I did not find that the rye and corn were at all complementary. Rather, it was as if the two flavors were fighting against each other. I broke the loaves into chunks and tossed out for the birds.
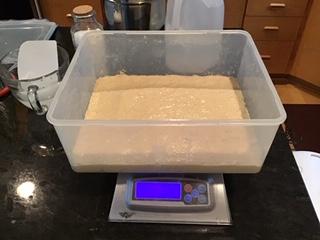
Interesting bread, and I’ve enjoyed reading about initiating fermentation with very small amounts of starter. I thought to try out these ideas with my long-time used milk-based starter. It came straight from the fridge, refreshed about a week ago, and went into a mixture of 10 g starter, 10 g rye flour, 10 g water that sat for about an hour before being mixed into the dough at about 3:00 PM yesterday. After “proofing” at ~72F until 9:00 AM today, there was essentially no activity, no change in appearance, no dome, etc. So, I kneaded in 1 t of instant yeast and we’ll see what happens next. That was an hour ago and I’m seeing a bit of raise, which is hopeful.
I’ll let it go another hour or two and then shape and bake whatever comes up.
Photos and remarks to come. Thanks for all your excellent advice and recipes.
Hi Melissa,
Thanks for your reply and info. I’m still a bit lost on how to judge the length of fermentation, especially since I, and every other baker, is dealing with different variables…particularly temperature of ingreds and room/ambient temperature where the bread rests during fermentation. What characteristics determine the bread is at (that window of time for) optimal full fermentation and ready to bake?..yet well before it over-proofs? Also, wondering how did you know to set the bulk time at 6-1/2hours? Thanks again in advance for your expertise!
I’m not Melissa, but … I followed your bake and have made a similar Broa …
Melissa notes that the dough should “ferment until it’s aerated and domed (~6.5 hours in a 70F room)”. Those are the characteristics you are looking for to judge complete fermentation for this dough.
And the recipe photos show a before and at complete fermentation for her dough. The complete photo shows the aeration and dome that you are going for.
The tilde (~) means “in the range of” i.e. it is not an exact number.
Recipes for bread and particularly sourdough are more guideline than exact. As bakers, we all have to observe and make note of what things do, feel and look like, in our kitchen with our flours, liquids, temps, humidity and general stuff in the air that contributes to the fermentation process. It can be wildly variable for each of us … and even for each time we make a recipe.
And sometimes you are going to judge incorrectly. We all do  . My own routine, particularly with a new dough (recipe), is to look at progress photos carefully and go for the look and any feel described by the recipe author.
1 Like
@lshafer1 Bummer. I’m sorry the flavor wasn’t your thing. Lucky birds 
@PLBT Definitely look at a lot of the photo galleries in the recipes on the blog here.
https://breadtopia.com/blog/
You will see many before and after photos of bulk fermentation and final proof. And as @anon66425146 wrote, you’re going to have to do some trial and error. You’ll gain confidence the more you do and observe–with all of your senses, not just sight.
In fact, if you do recipes with stretching and folding, it can be hard to judge dough expansion because each round of stretching and folding de-gasses the dough a bit. So now you’re relying on the sound of the dough (crackling), the aroma, the look of the surface and, here’s the big one: past experience. Repeating the same recipe several times helps grow your experience, as does changing one variable at a time. A refined flour dough will have a different surface toward the end of the bulk (poofy bubbles and thin blisters) than a whole grain dough (fewer bubbles, maybe popped), for example.
Fortunately, the range of fermentation that produces tasty and attractive bread is pretty wide. Take this experiment for example: different length bulk fermentation and different shaping tightness. All the bread turned out well. (This experiment doesn’t test big time differences…I think good bread can come from a bigger range.)
@dvhirst865 I’m sorry to hear your dough isn’t rising.
1 Like
I went ahead and worked in 1 t instant yeast (SAF Red) and let proof for 3 more hours, got a decent rise and decided to bake it off then. Here’s the result:
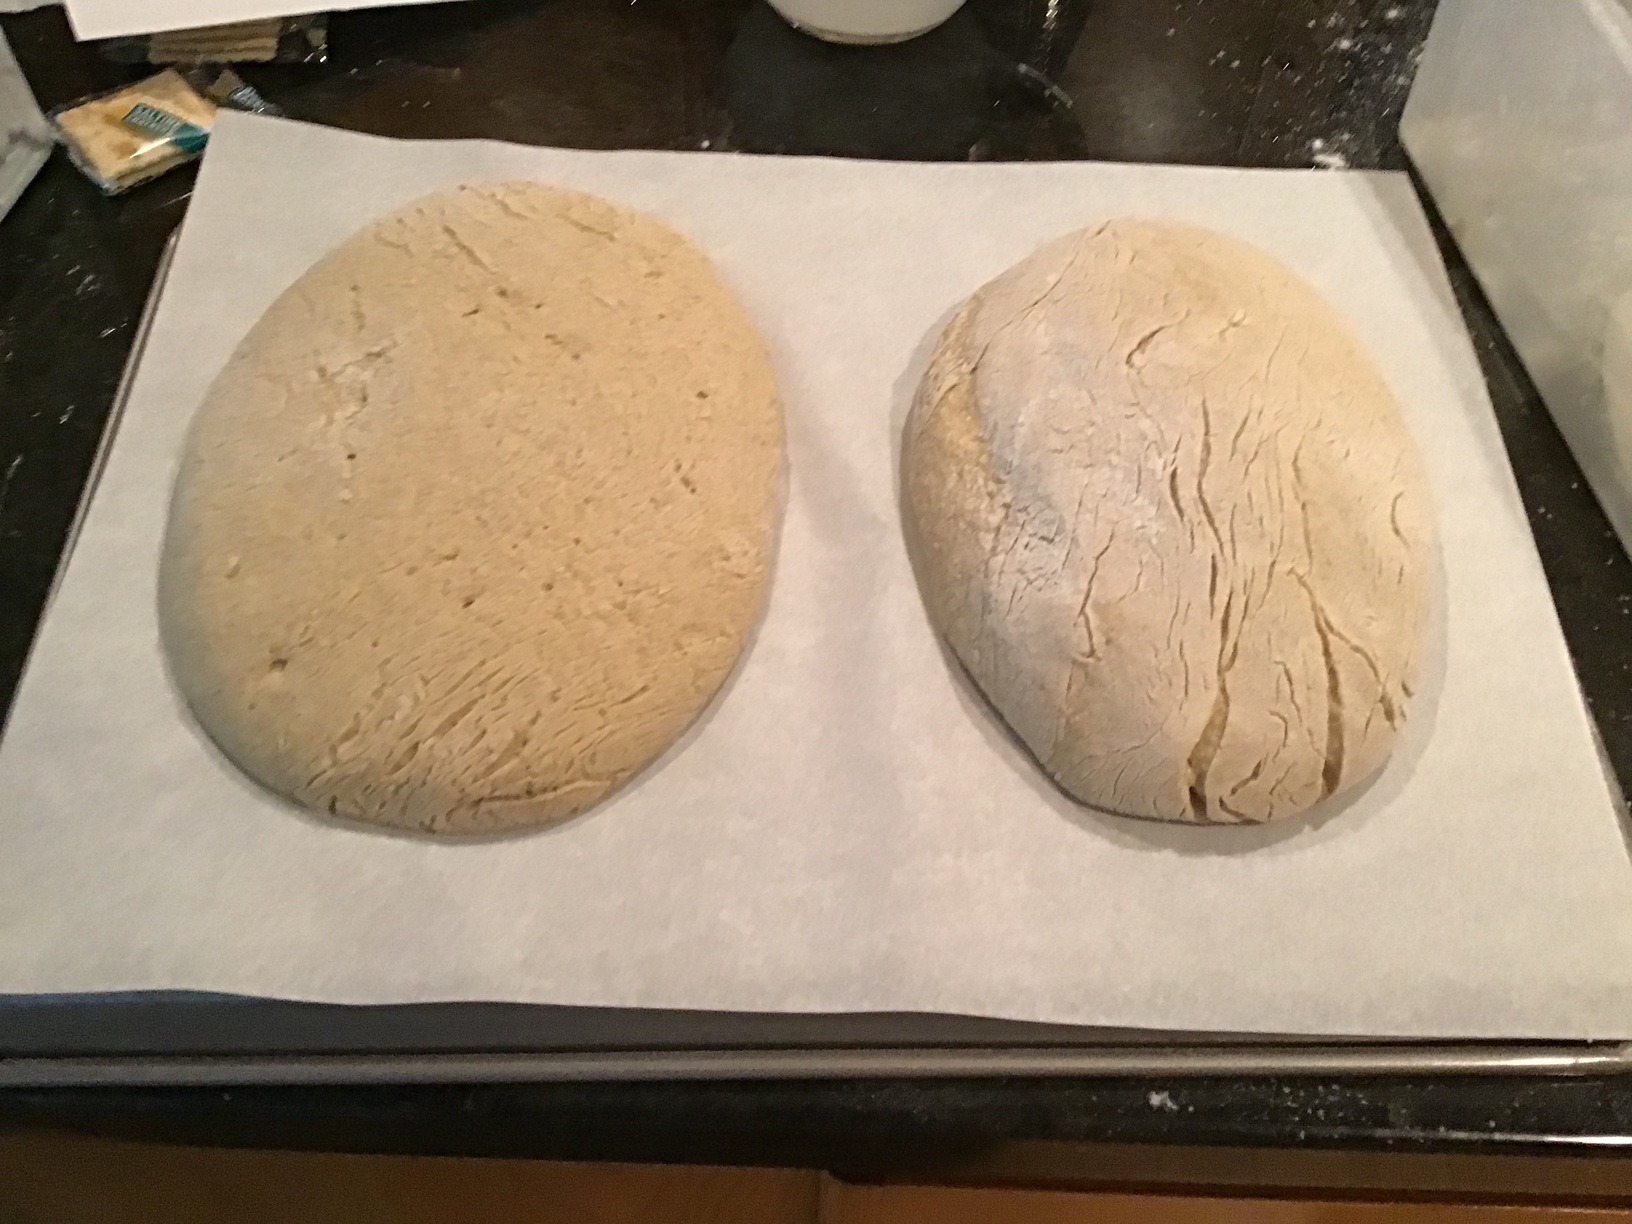
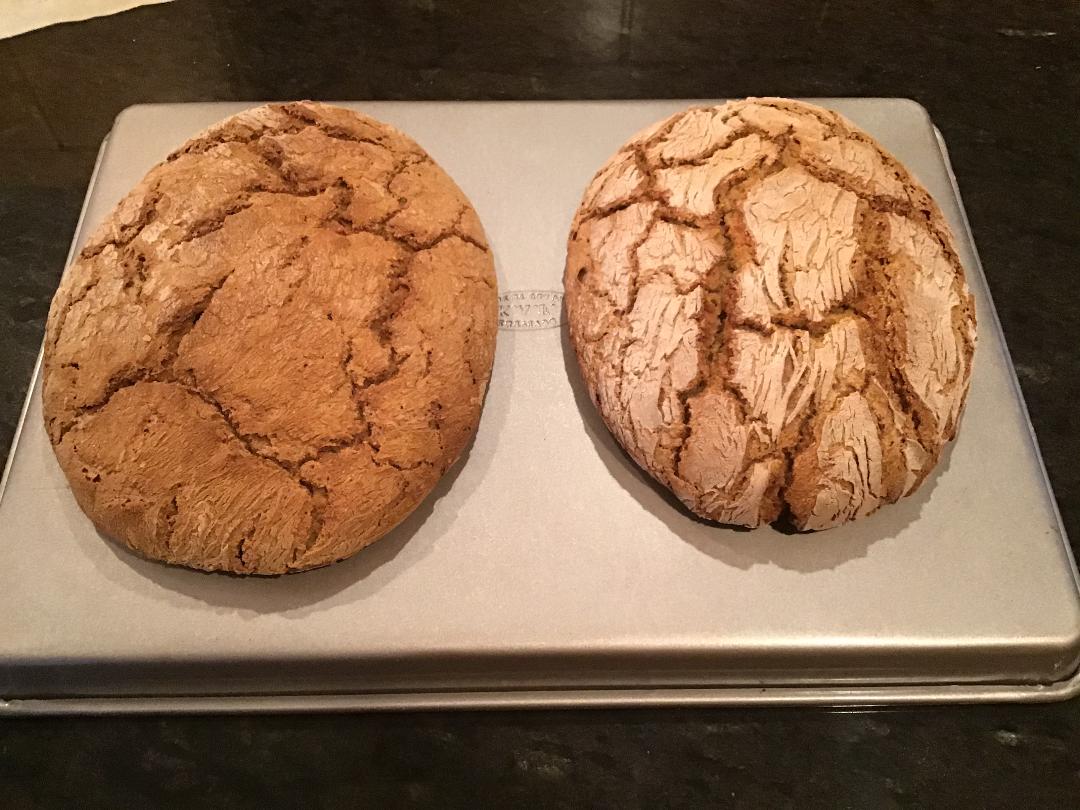
They are still cooling, so will report on taste and crumb later. The first one shaped absorbed much of the surface flour by the time I got the second one ready.
A word of advice to anyone trying the “toss in the bowl” exercise – clean the bowl out and dry it between uses, otherwise, you may run into problems with the bread sticking to the bowl. That happened to me, and so it took an extra 10 minutes or so to figure out the problem and fix it. The second loaf had more flour incorporated because of this, and thus (perhaps) has better structure and rose higher. I may try baking these next time in a romertopf or other containment. So far, so good. Thanks.
Looking good! Thanks for the tip to beware of a sticky bowl.
I baked my Broa this morning. I mixed it up last night and left it to ferment overnight. I used my blue corn I mentioned before.It had that wonderful fermented smell. I made half a recipe, so my bread is quite small. I found your shaping technique very easy. It cracked nicely and the taste is scrumptious. Thanks for always getting everyone to bake a new recipe. 
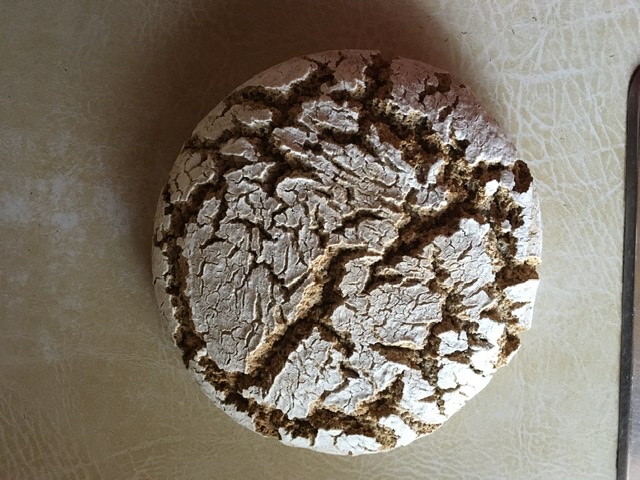
Looks beautiful! I’m glad you enjoyed the recipe. You’re welcome.
Seeing the different photos people are sharing, it seems to me that there should be a tradition of reading the fortunes of bakers from their cracked-crust patterns, like people do with tea leaves and coffee grounds
1 Like
I agree. You can tell a lot about a person by looking at the cracks in the crust. What would you call it? Crackology? 
No matter what we name it, it will sound like something from rock climbing lol
Millet levain prepared and in the fridge till ready to use. Just bought some polenta for the cornmeal and using millet flour in place of the rye and AP. And because this is a gluten free version of broa de milho I’ll be using chia seeds soaked in the remaining water for more structure. However I think it’ll be single rise bread due to the nature of flours being used.
So all ready to go. One question though… Since I’m just going for a shape and straight into the final proofing do you think I should reduce the levain and go for a slow all night rise to be baked in the morning or proceed as normal on Sunday?
This bread skips the pre-shape and final proof also. It’s so hard to say how your starter is going to behave with different flours. If you want an overnight ferment you could use less starter or cooler water. This dough was quite warm at a 6.5 hour ferment. Going colder should stretch you to a good night’s sleep.
1 Like
Thank you Melissa.
Well I laid out a plan but had to adjust while I was making the final dough. Bought quite a coarse polenta but thought with the scald it would break down. Not so!
Added about 35g starter for 500g polenta plus 180g water in which the chia seeds had been soaking. It had turned into a thick gel. Mixed it all up but the polenta drank everything up without changing it’s wet sand like consistency. To this I added 8g salt and kneaded for longer. Then I slowly added millet flour to see if that’d form a softer dough but after 100g or so I stopped. The consistency hardly changed so after estimating it was 100g I added 2g extra salt and kneaded till everything was incorporated. With wet hands I shaped it into a lekue (silicone pouch) and now it’ll ferment over night and will be baked come morning. I’m hoping the long ferment will transform the dough into something more reminiscent of a bread dough. The long soak to absorb the water fully and the ferment I’m hoping breaks down the polenta. Now we wait and see.
How’d it go?
Baked polenta. I bought a very coarse polenta, that and a young starter with no rye nor AP flour and the addition of chia seeds has made an “interesting” loaf.
Not the broa de milho I’m familiar with, like your recipe, and love. Still while it’s a dense baked polenta it’s deceivingly soft.
I’ve changed too many things to pinpoint what went wrong but still I’ll be eating my way through it while I decide what plan of action will be next. For now I’ll be strengthening the newly matured starter with feeds through the week before I bake with it again (I’m still trying to get used to a gluten free starter as they’re difficult to read). While I do that I’ll source the finer cornmeal that works better for a broa de milho. Maybe next time I’ll keep the starter % to give a naturally more dense bread better chance for a more open crumb since the other flours I’m using will be more challenging.
It’s one of those breads where you think its a failure but you wonder why you’re cutting yourself another slice. Strangely moorish.
2 Likes
I’m sorry it didn’t turn out exactly as planned, but soft and irresistible is a pretty good billing : )
If you get good fermentation and all the health benefits of that, but there’s just no loftiness because of the lack of gluten and coarse milling of your flour, I’m of the opinion that some leavening via baking soda or powder is a nice option.
1 Like
Think I know what went wrong. Too much Chia seeds. Right balance for everything and it’ll take a bit of time to find the right balance when adding the binders for gluten free bread. turns out one can overdo it.
Nice idea about the baking soda or powder. Will keep that in mind.
1 Like
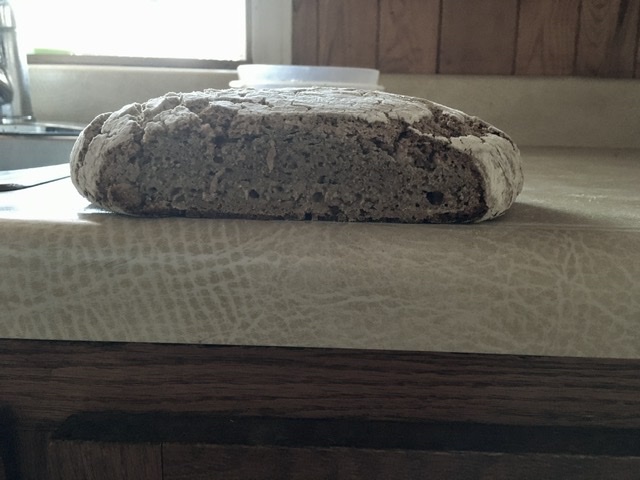
The yeast leavened load came out dense and tasting of rye and cornmeal. I like it, my wife doesn’t. I tried again, didn’t have enough yellow cornmeal and so subbed in enough white cornmeal to get the needed amount. In my first bake, I blitzed the cornmeal in my Blendtec to get cornflour. Also, used a refreshed starter (about 10 g). Result was more like a thick batter than a wet dough; but this time, the sourdough starter came to life and the dough domed up very nicely. I still tried the bowl flipping with flour, which was tricky, but eventually worked. I put the first loaf straight in the and then shaped the second loaf and got it in the oven about 5 minutes later. They baked for about 50 minutes, at which point the temp was 210+, so out they came. This time the crumb was more open and I got a pronounced sour flavor, which I like better than the yeast version, though my wife doesn’t like either one. The color was more like rye bread than the all yellow cornmeal version and the taste is definitely sour. Thanks for your detailed instructions and the very interesting reading on the blog.
Interesting - I’ve always read that rye prefers acidic sourdough leavening, so I imagine that and your higher water amount in the next bake were what made the crumb more open.
I want to try the bowl-shaping technique with a batter-like dough someday. A few videos I watched had batter-dough and the transformation was impressive.