Beautiful color! Can you share what type of flour you used? I just made two of these for the first time. In Holland we can buy whole rye flour and regular (processed) rye flour, I used 250 grams of half whole not regular rye flour and 250 grams of whole wheat, but I did not get this beautiful color you have! Also did you score with a knife or a propor blade? Thanks for the tips.
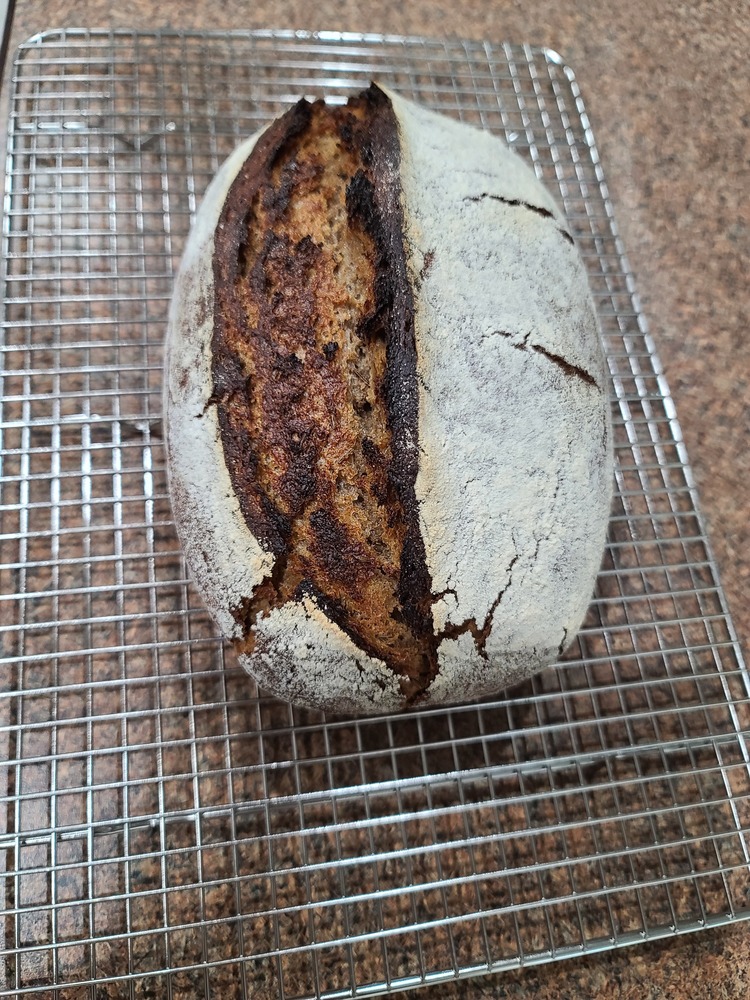
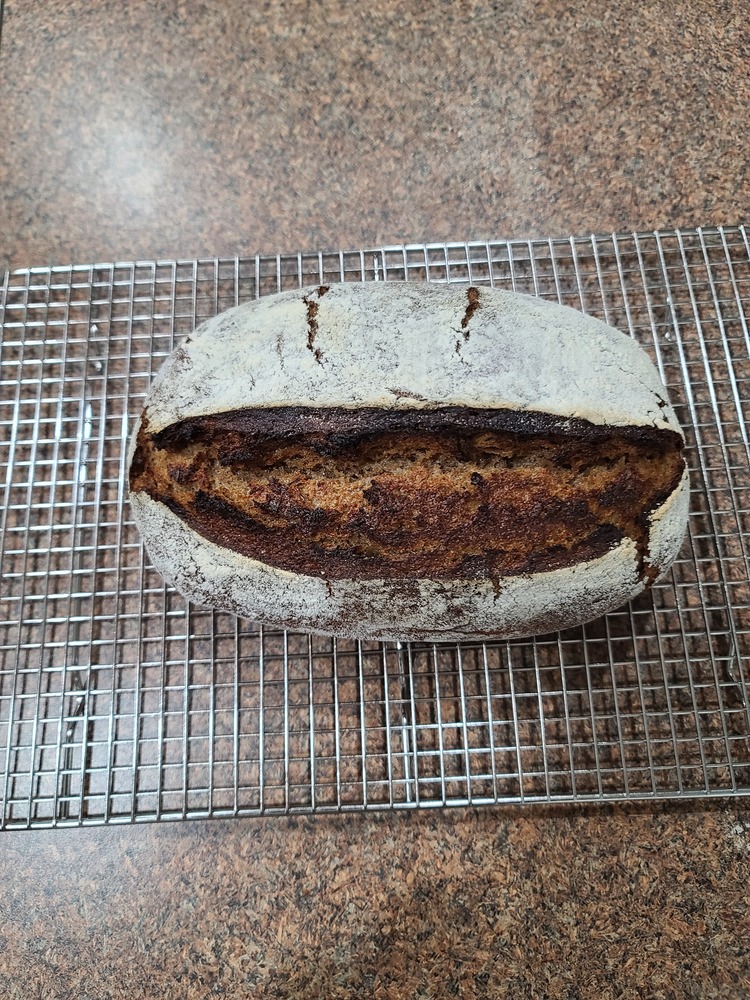
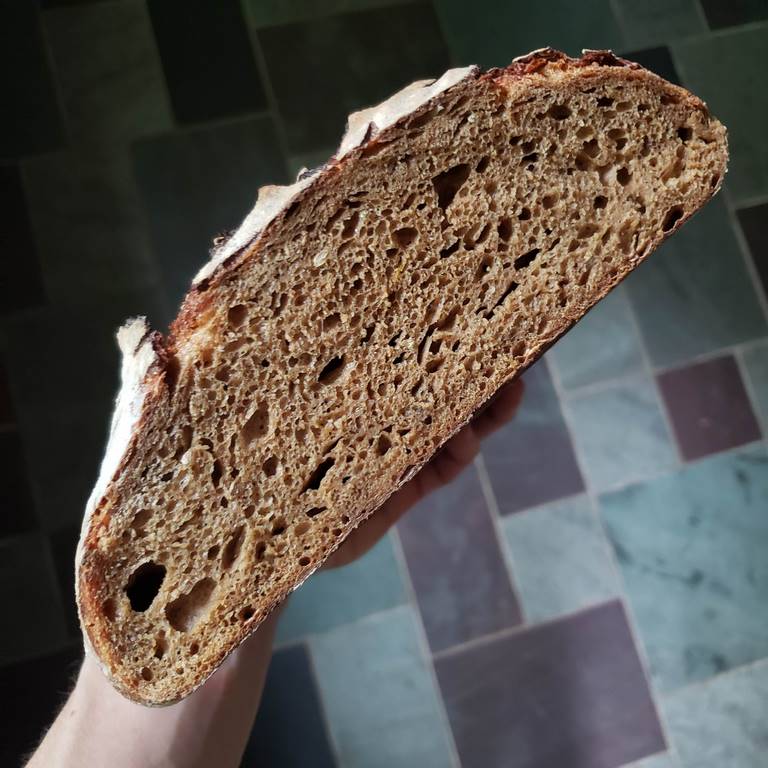
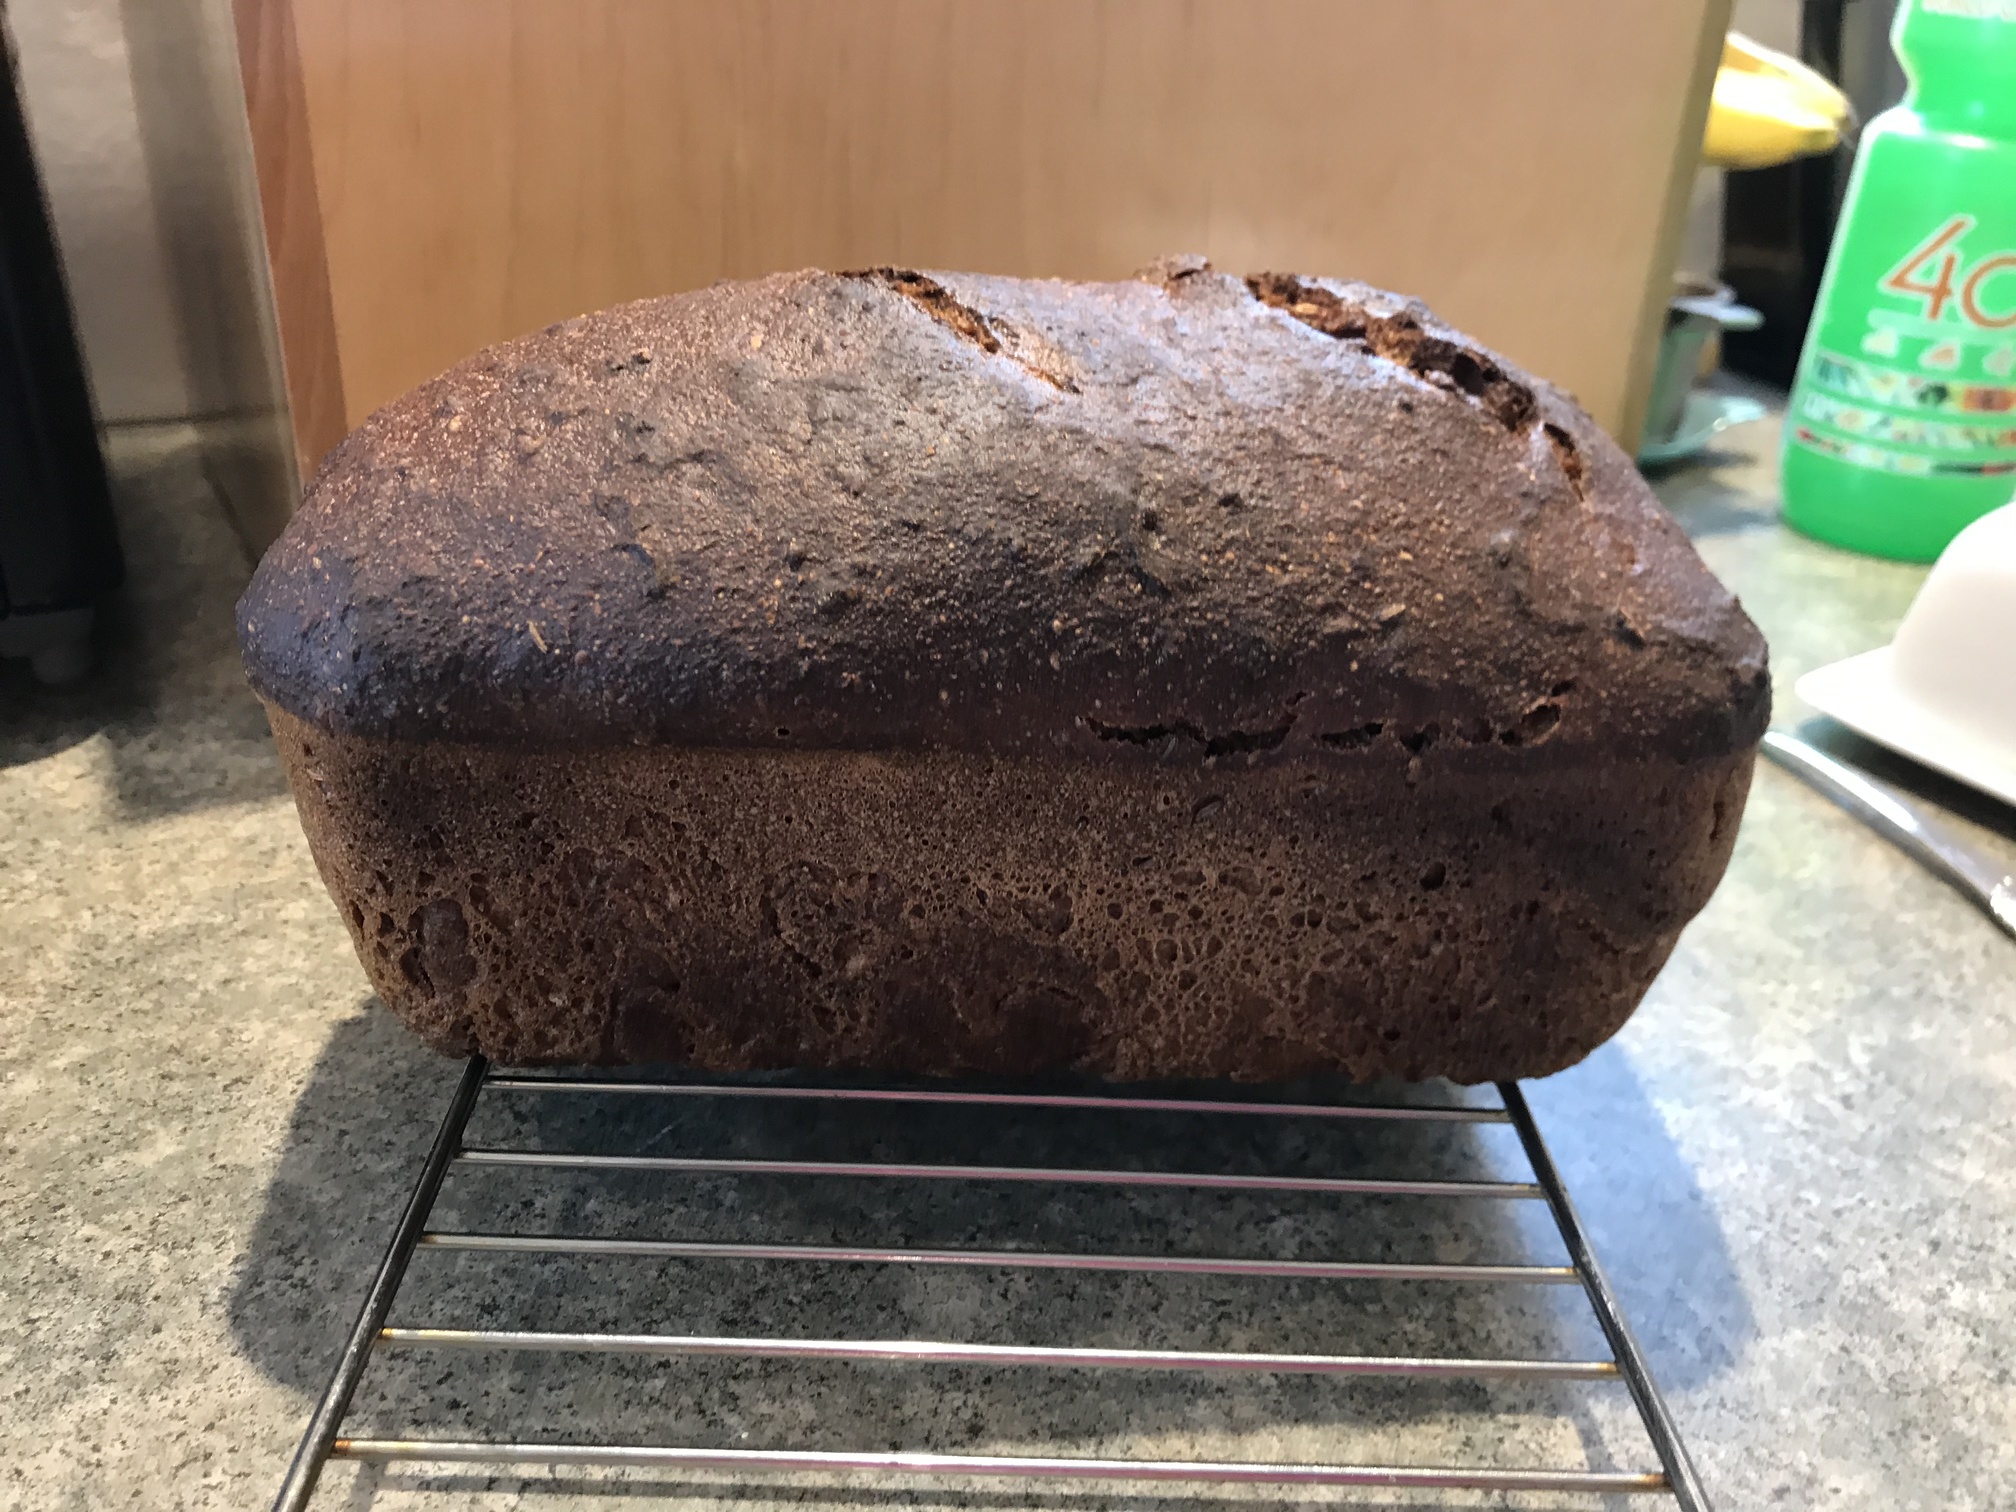
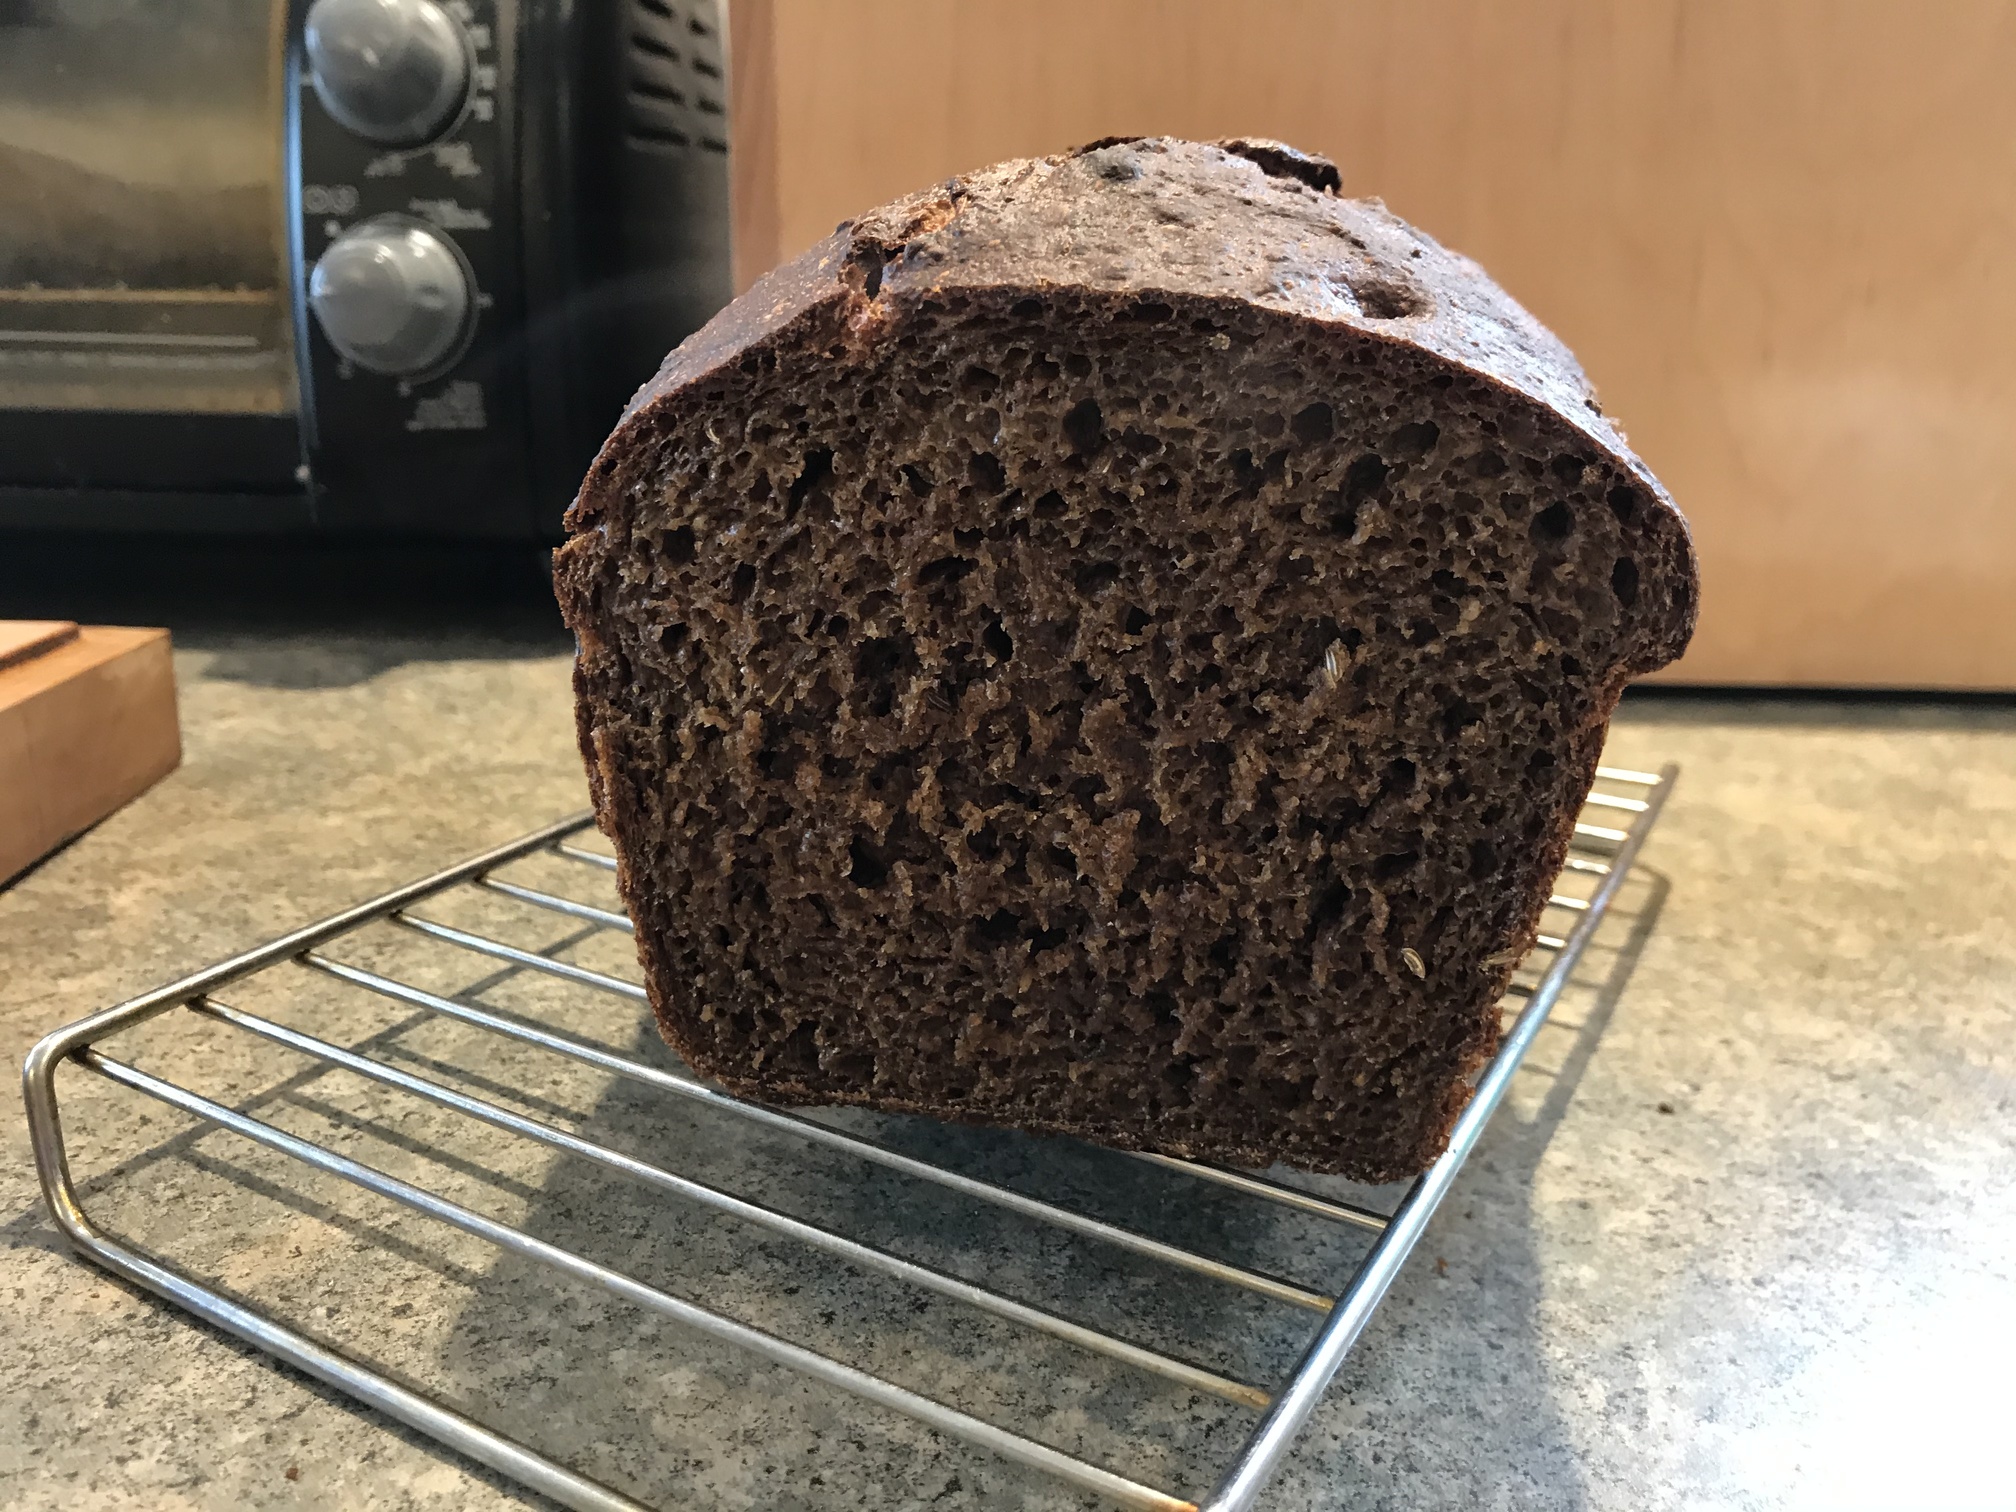
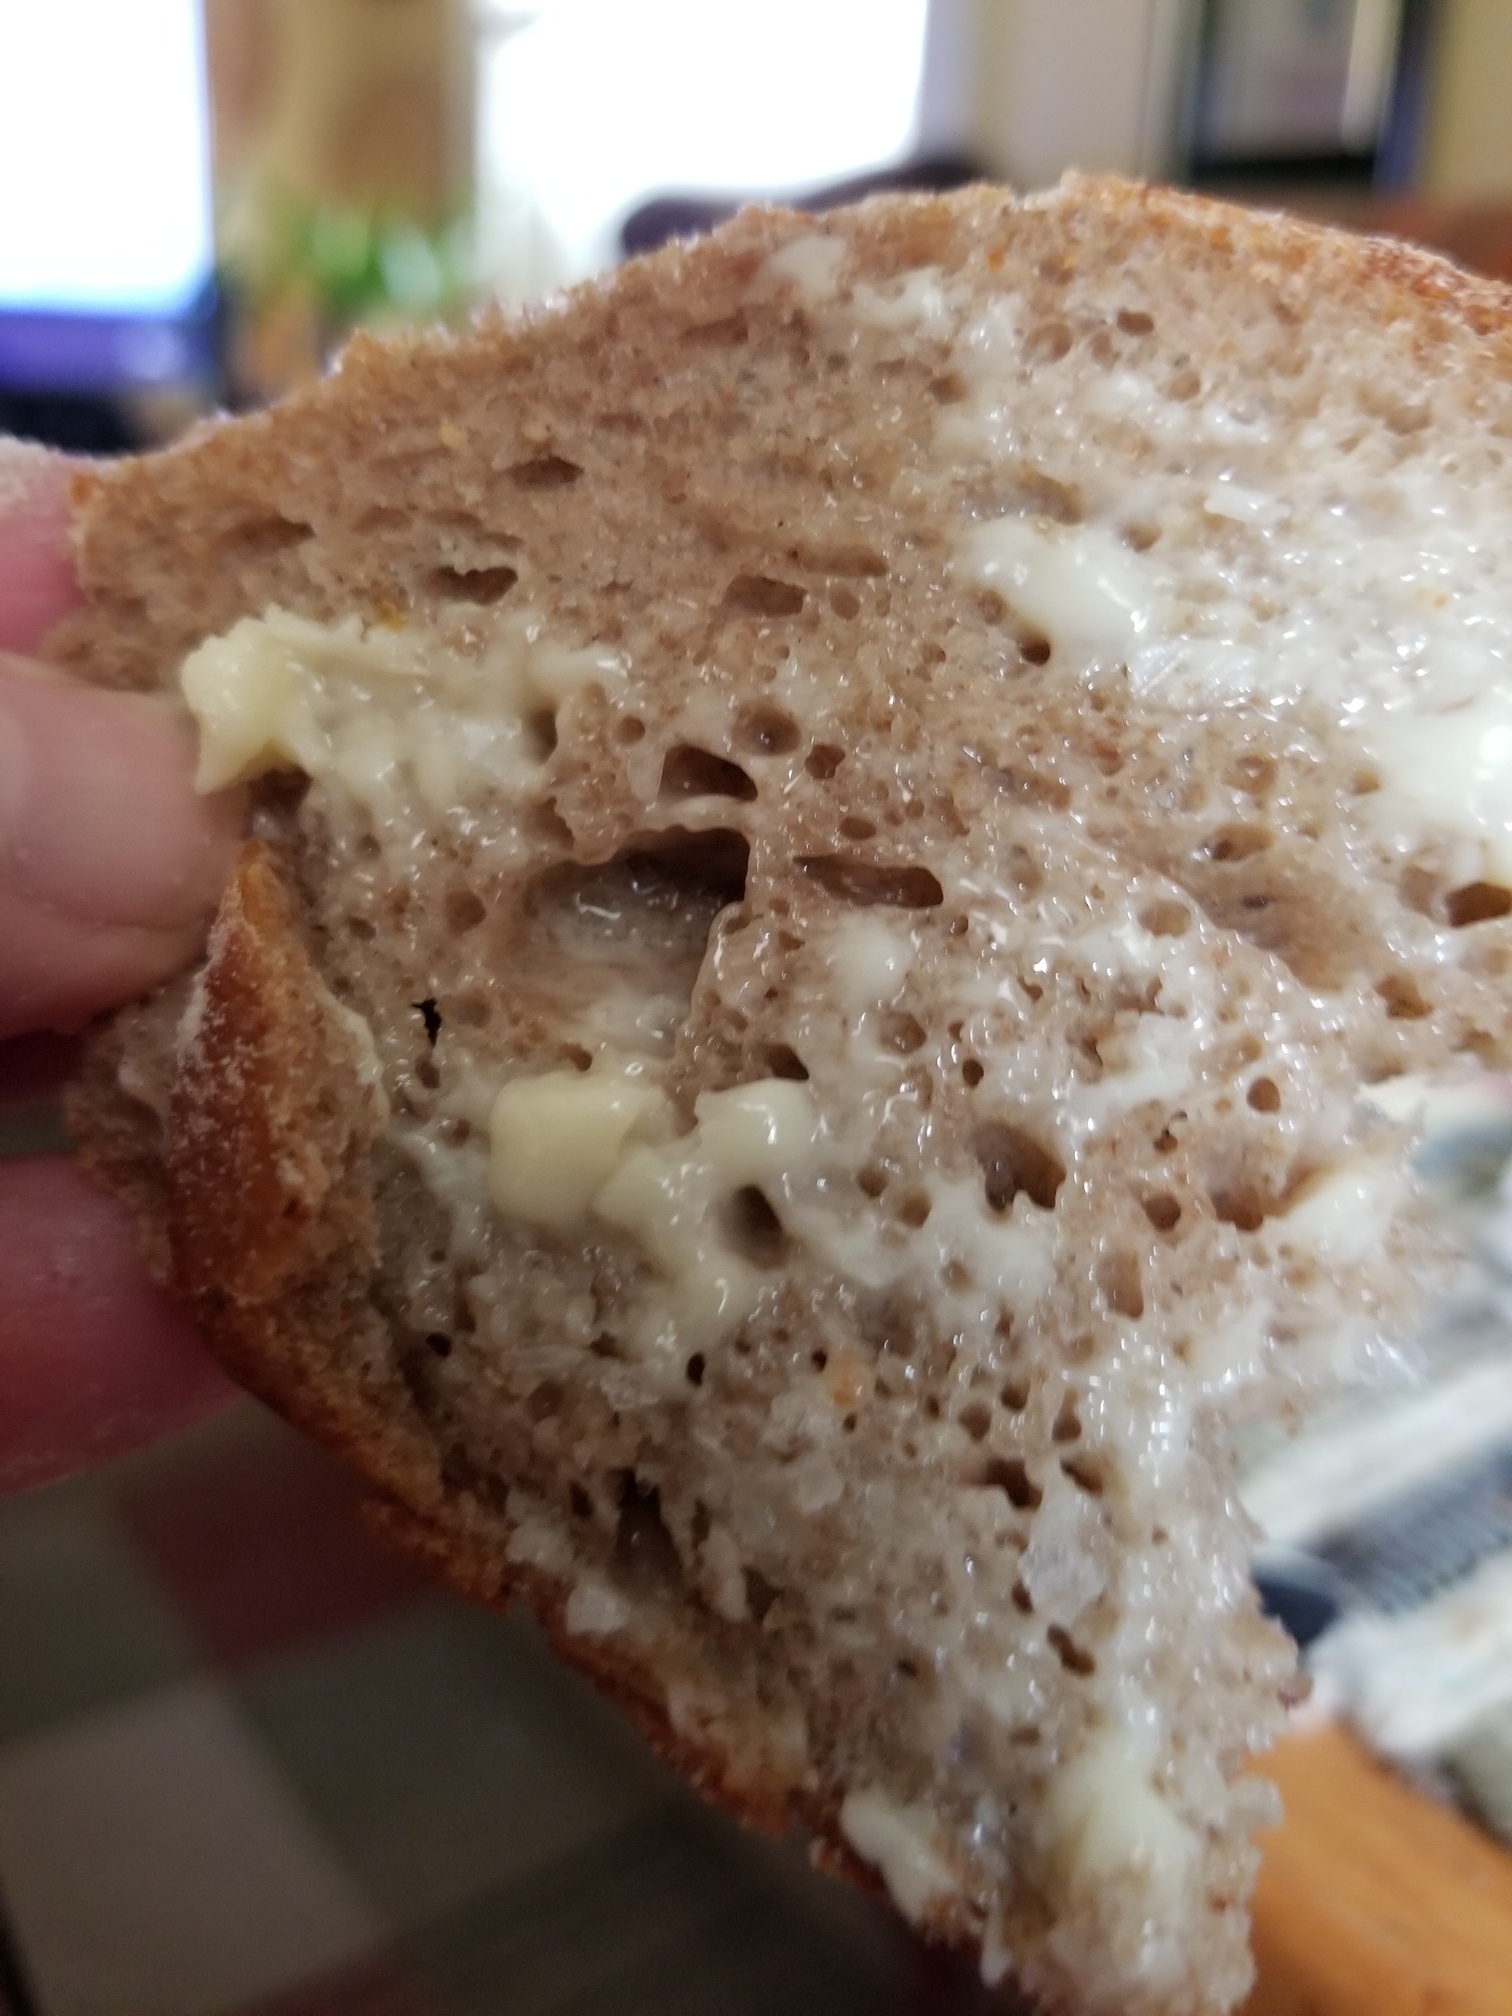
Hi! What a wonderful website and community, thank you for creating it! Thanks to Covid-19 I have been happily making sourdough bread, using this website and instructional videos for the past 2 months. I looked for rye flour for weeks and finally bought it online. To my surprise, I could choose between “whole” rye, in Dutch its called “roggemeel” and regular rye, “roggebloem”, the difference is that the bloem is more processed. I finally made two loaves of it this weekend. For the 1st I used half and half of whole/white rye and the rest whole wheat (see picture of whole loaf). For the 2nd I used half whole/white rye, and half all-purpose flour (see picture of cut loaf). I did not use molasses or spices, but I will very soon. These were my issues, any tips are greatly appreciated!
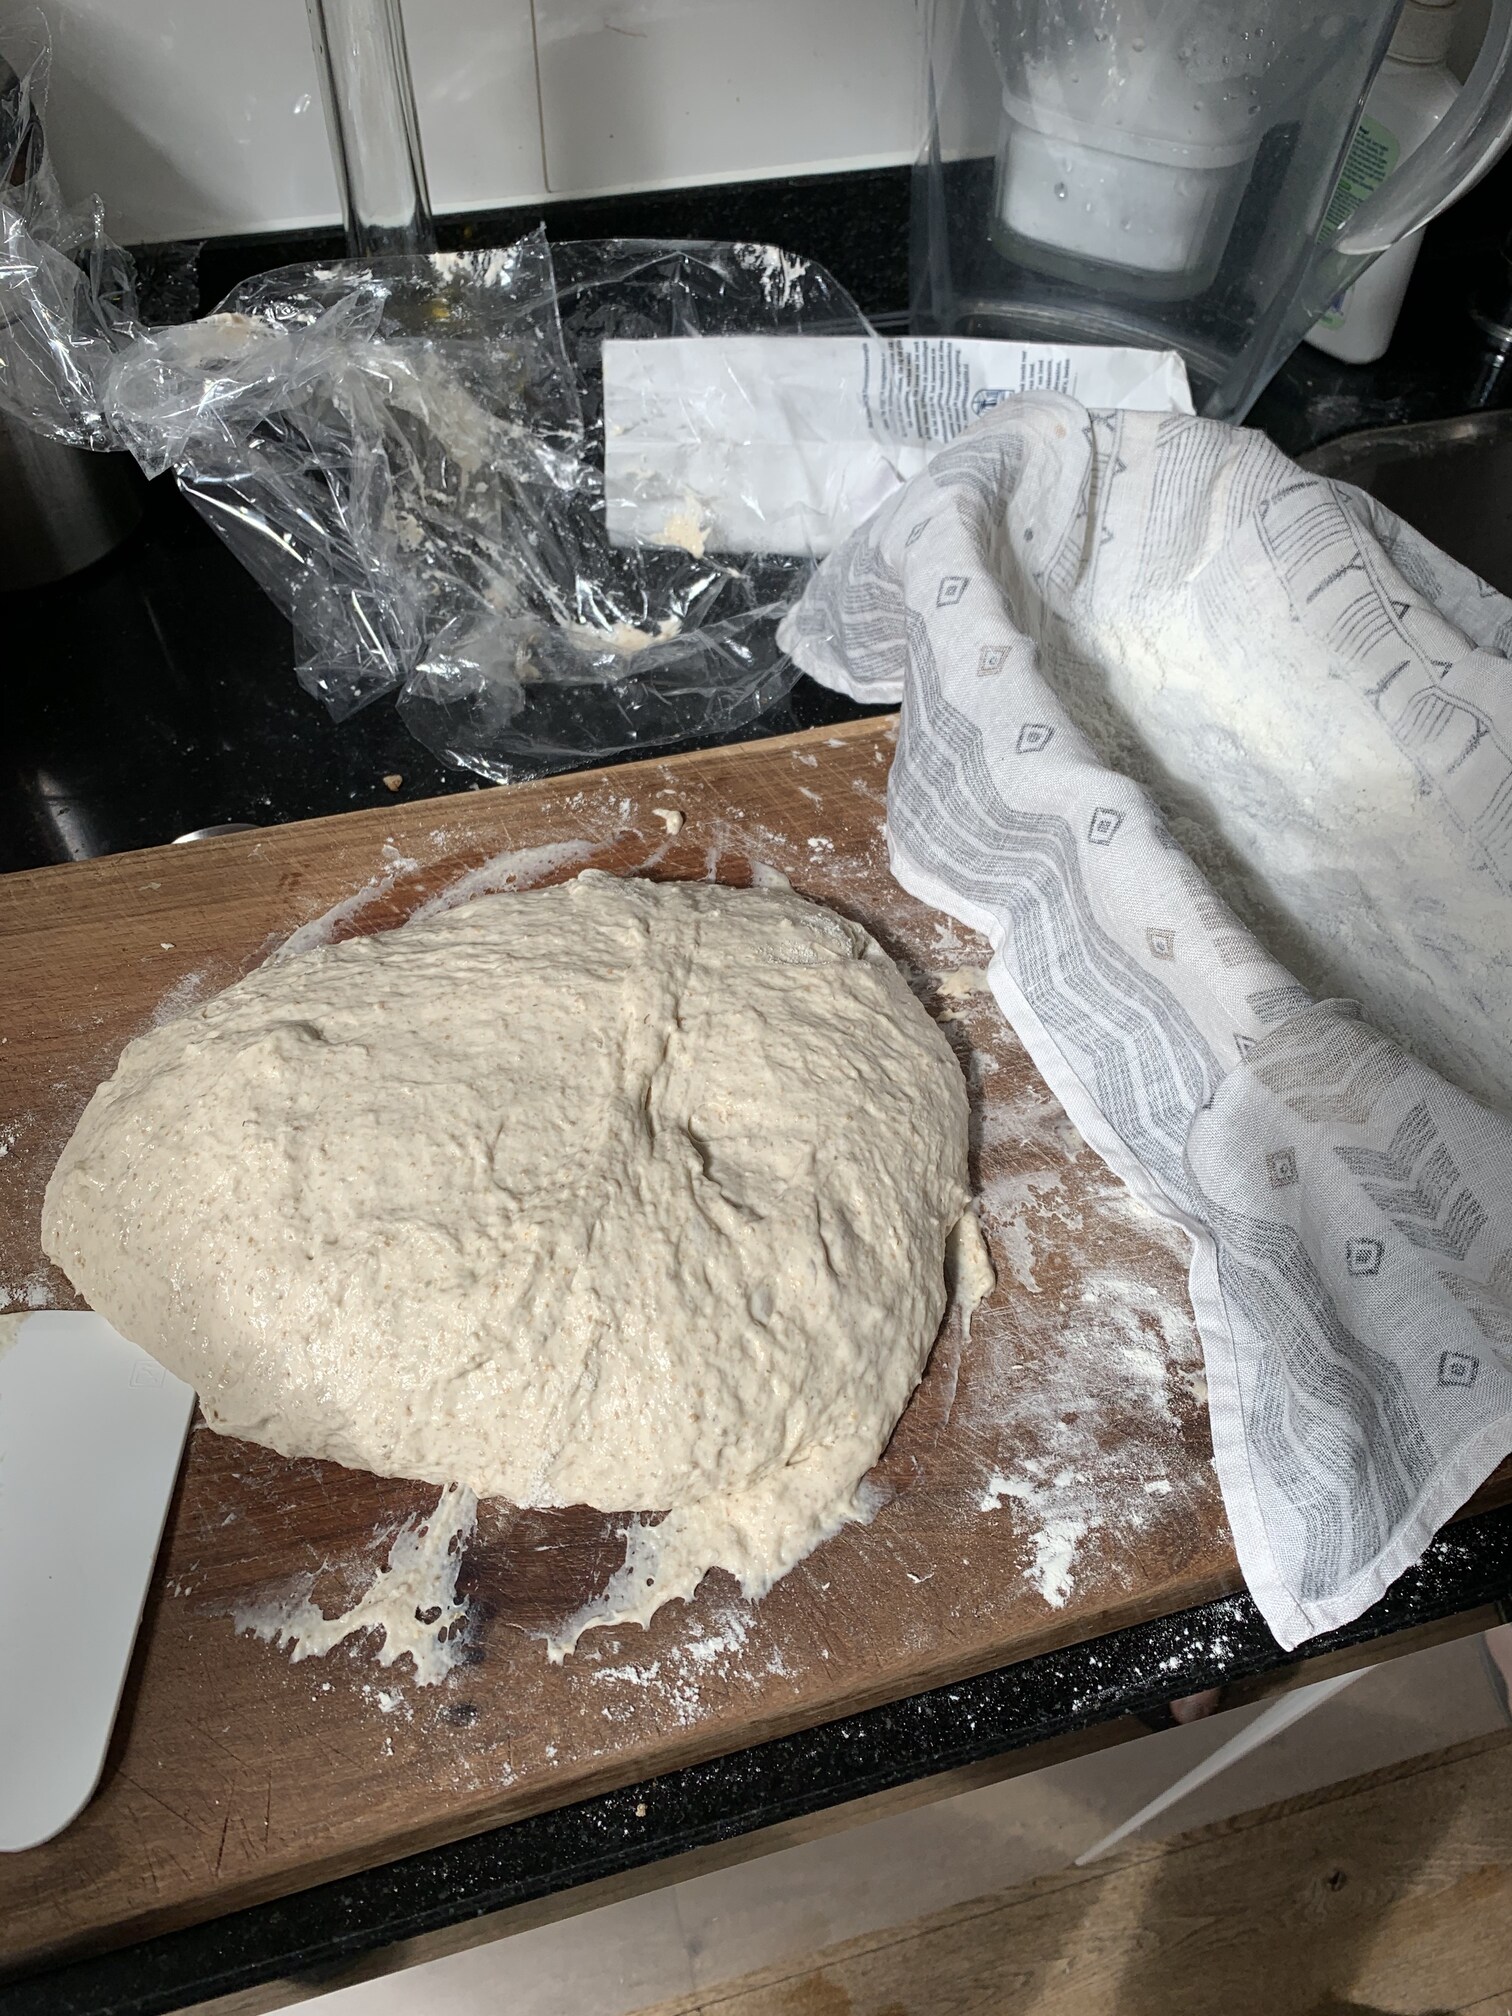
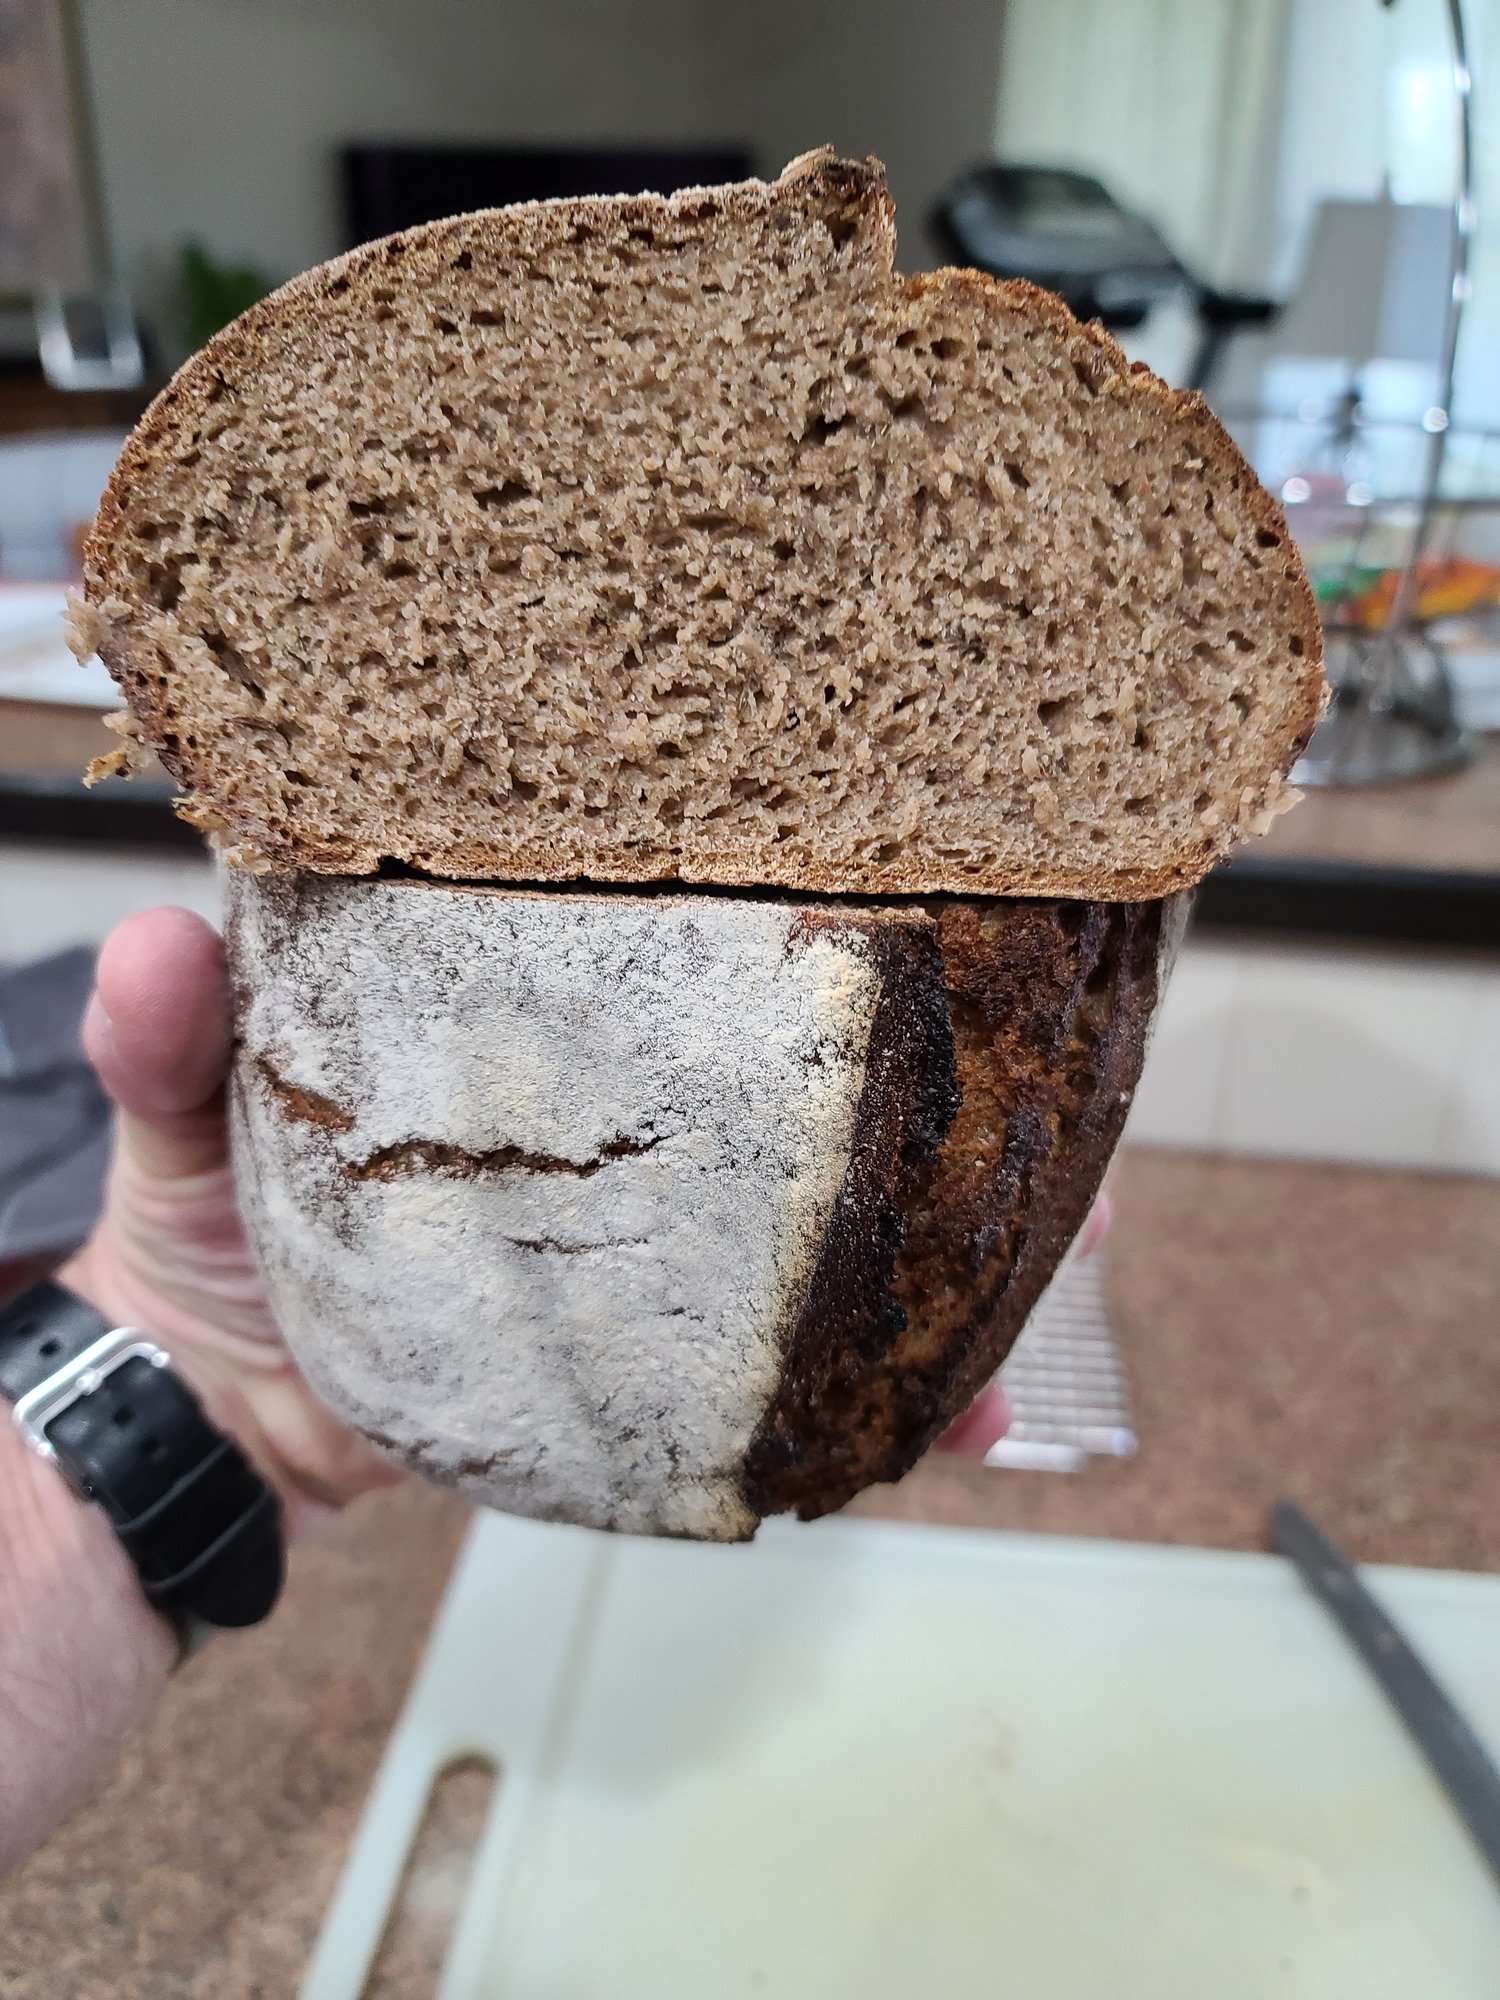
*My dough was impossible to shape as it just spread out everywhere. The one with white flour, was easier, no where near the one on your video.
*My color was very pale compared to yours, could that be because I didn’t use molasses?
*The taste is good, but my crust was not as crunchy or dark as I expected.


Cheers and let’s keep baking,
Clara
So glad you found the Breadtopia community 
Those look beautiful!
Rye is sticky and difficult to handle. This is normal.
Molasses does darken the bread and crust, as does whole rye vs white rye, though most of the color difference is the molasses in my opinion.
If you take off your lid sooner in the baking process, the crust will be crunchier and darker too.
1 Like
What Melissa said, but I have a few more thoughts as well. If you left the molasses out because you don’t like it or don’t have it, I have used a little strong coffee and/or some cocoa powder for color. This is not an original thought, some recipes for dark rye or pumpernickel call for coffee and/or cocoa. You probably still need a bit of sweetener: honey, sugar, brown sugar which has molasses in it.
For handling rye … practice, patience … BUT, you can also try a long, cold (refrigerated) rise vs the 12-15 hour room temp rise. The cold dough will be a bit easier to handle and shape. You can shape cold, let warm up, rise and bake or put the shaped loaf back in the refrigerator for another 8-12 hours and bake straight from the refrigerator. This draws out the timing, but adds some to flavor as well as handling.
The other thing with rye … it benefits from 12-24 hour wait time after baking before cutting into it. Some bakers say 48-72 hours. I’m lucky if I manage to wait 12-18
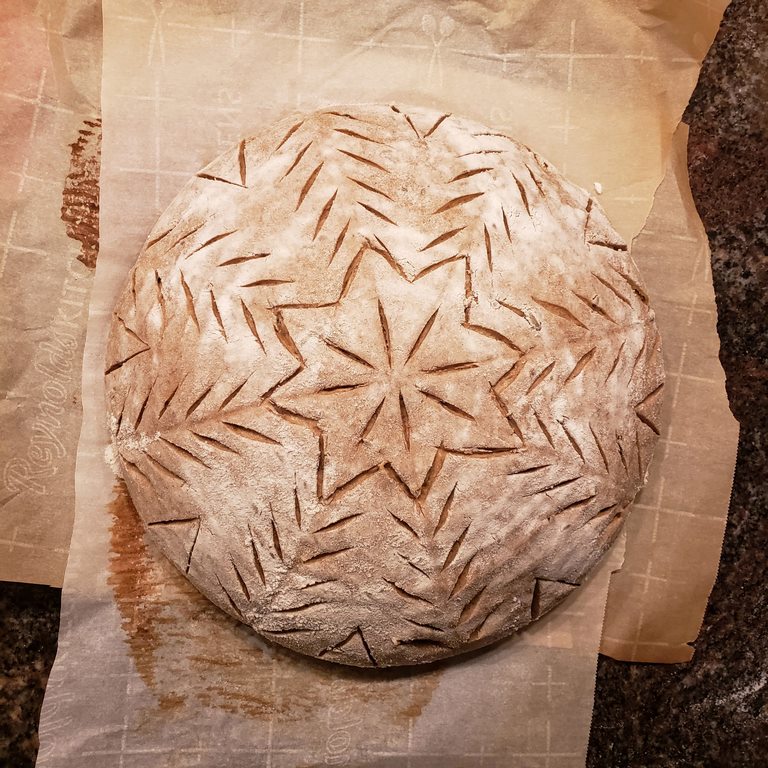
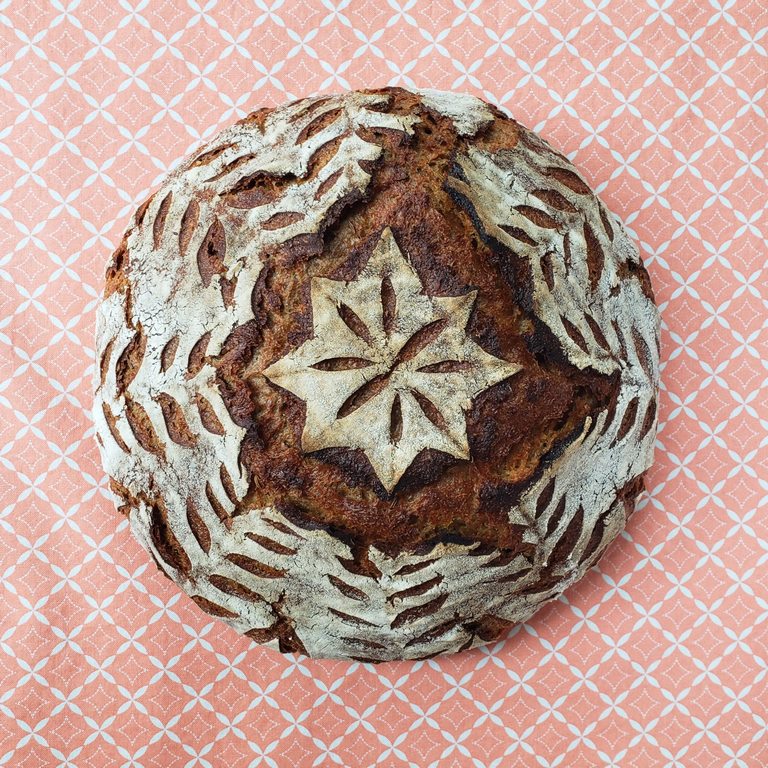
Hi Clara - I attribute the color to the magic of the clay baker. I did not use any sweetener (so no molasses), but I don’t have spelt flour (called for in the recipe) so I substitute Einkorn flour instead - which could affect the color. As for the rye flour, have made it with both a very light sprouted rye flour as well as Stone Ground Dark Rye Flour, and it always comes out this color. There is a lot of flour on it because my dough was also very sticky and I wanted to make sure it would release from the cloth-lined rising basket. maybe the appearance is due to the contrast between the white flour on the loaf, and the open slashes : ) I used a razor blade (in a Breadtopia holder) to slash it Your loaf may look different, but it still looks delicious!
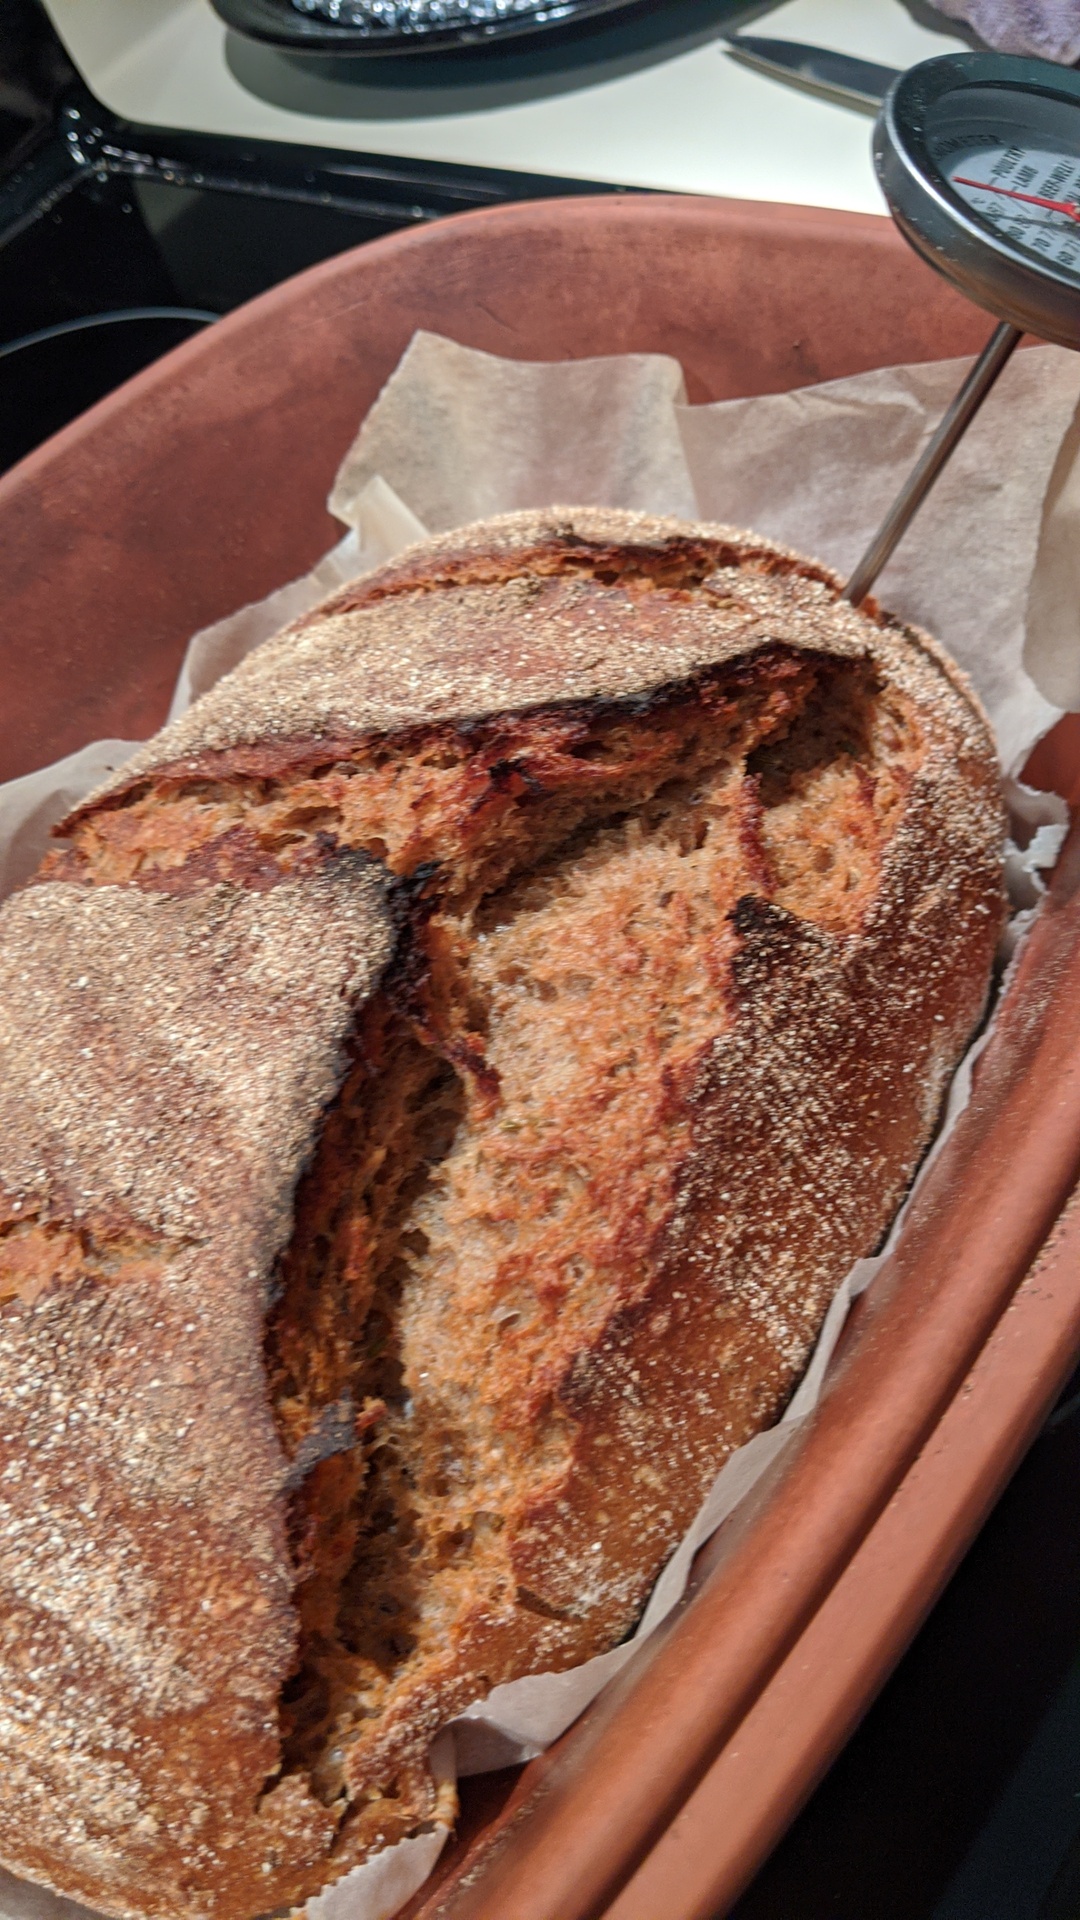
I tried this recipe with a few changes.
Water 370 G
Sourdough starter 70 G
Rye flour 245 G
Hard red wheat flour 200 G
Spelt 45 G this was leftover in a bag I had so I added.
Salt 15 G
Caraway seeds 16G
I followed all instructions and videos to a T
I lowered the amount of water from original recipe since all my dough is always way to wet. I didn’t use any of the other ingredients from the original recipe.
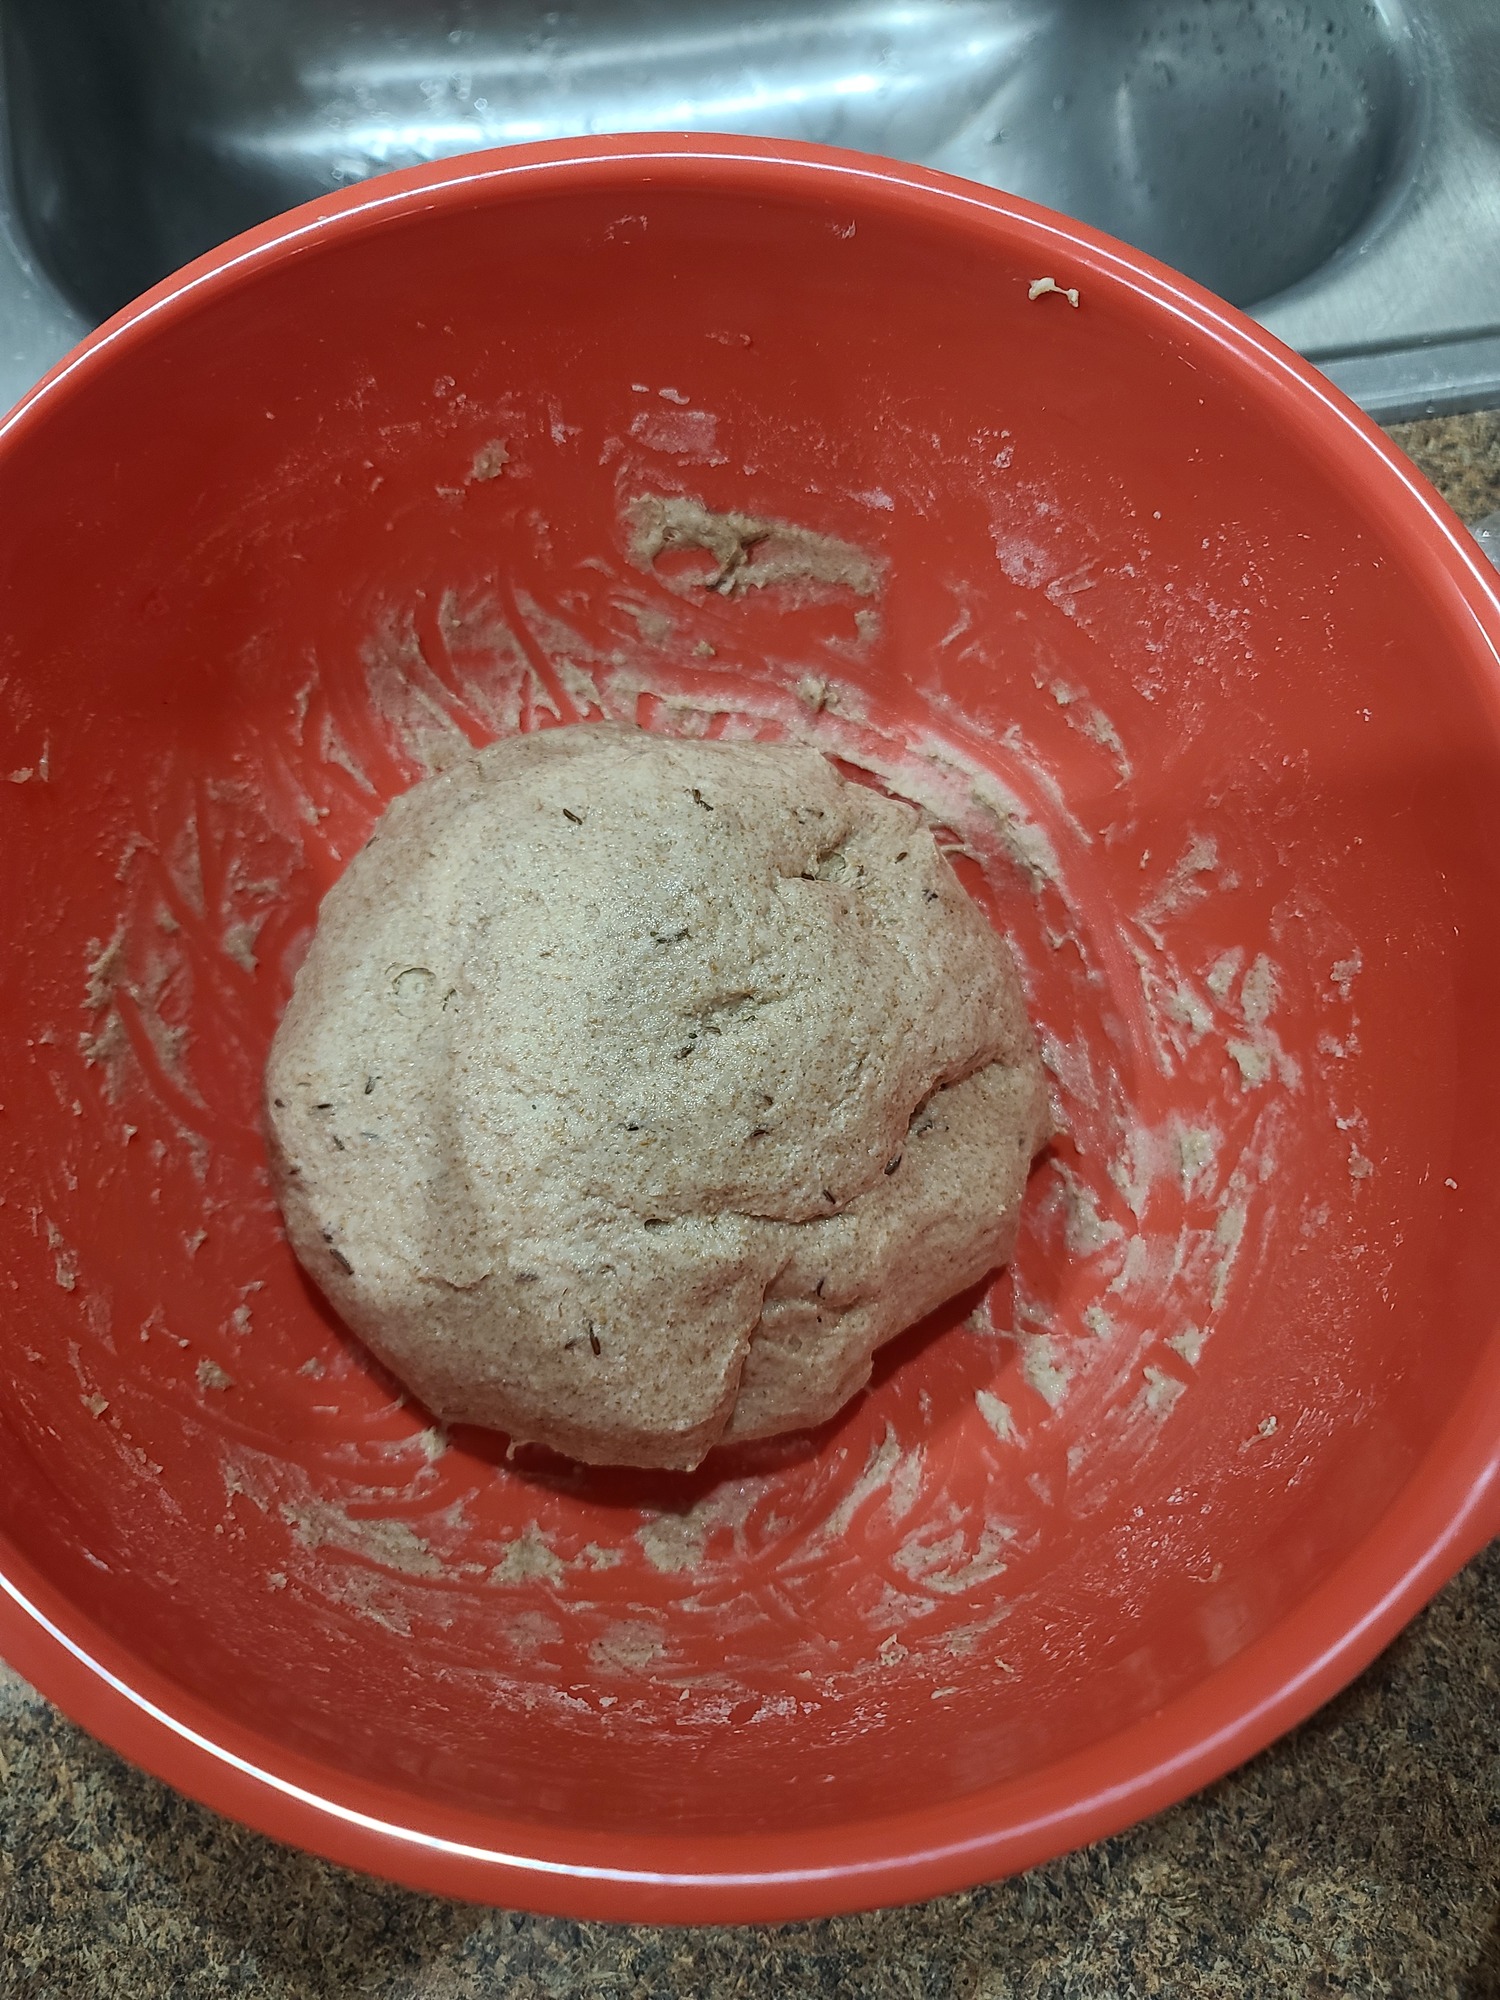
The dough had perfect wetness and looked just like the video.
Tell me what you think.

3 Likes
A big success. Nice combo. Spelt and rye compliment each other. A lovely caramel crust with a very nice crumb. Looks delicious.
1 Like
Thanks, it tastes really good also. This is only my 5th loaf ever made.
And not an easy dough to handle either. Even more kudos to you. This is a lovely recipe and I’m due to bake it again in the next day or two.
Bon appetit.
I very much enjoyed the tutorial. Calm and easy to follow. The bread turned out amazing. I can’t wait to try more of your recipes I do appreciate your taste!

You’re brave to toss everything in ! Looks perfect
June 6th, I have been dying to try this recipe since I first watched the vids, and after finally securing all the seeds, I gave it a go yesterday, though I used lemon zest instead of orange. And this used my SD starter
For my first effort, I tried to follow the directions, which was going really well until 4 hours went by and my bulk rise was already more than doubled. Then, what kicks in is self analysis. 14 hour bulk rise? At room temperature? I figured at that point, since it appeared bulk risen, I would see if I could fold and shape, and get these into a basket and put in the fridge, but there is no amount of flour that you can use to keep this mess from being a sticky morass. So I put it all back in my rise container and let it go a few more hours.
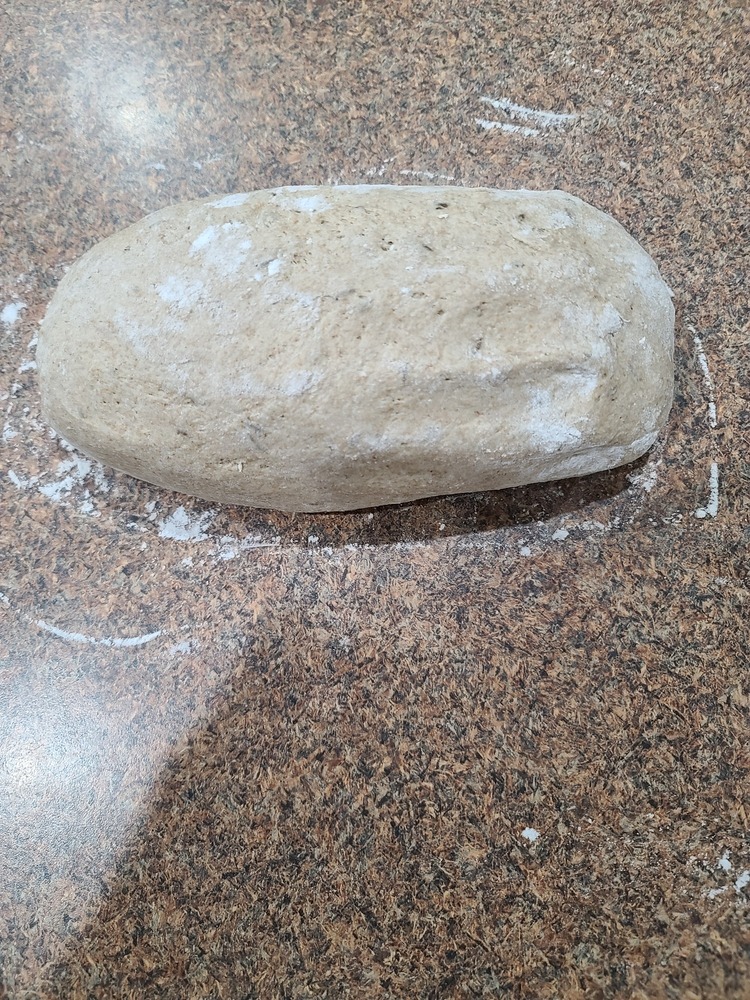
That didn’t make too much of a difference, but I decided I was going to work fast, and with flour I was able to divide (I made enough for two) spread, fold, shape and then rest.
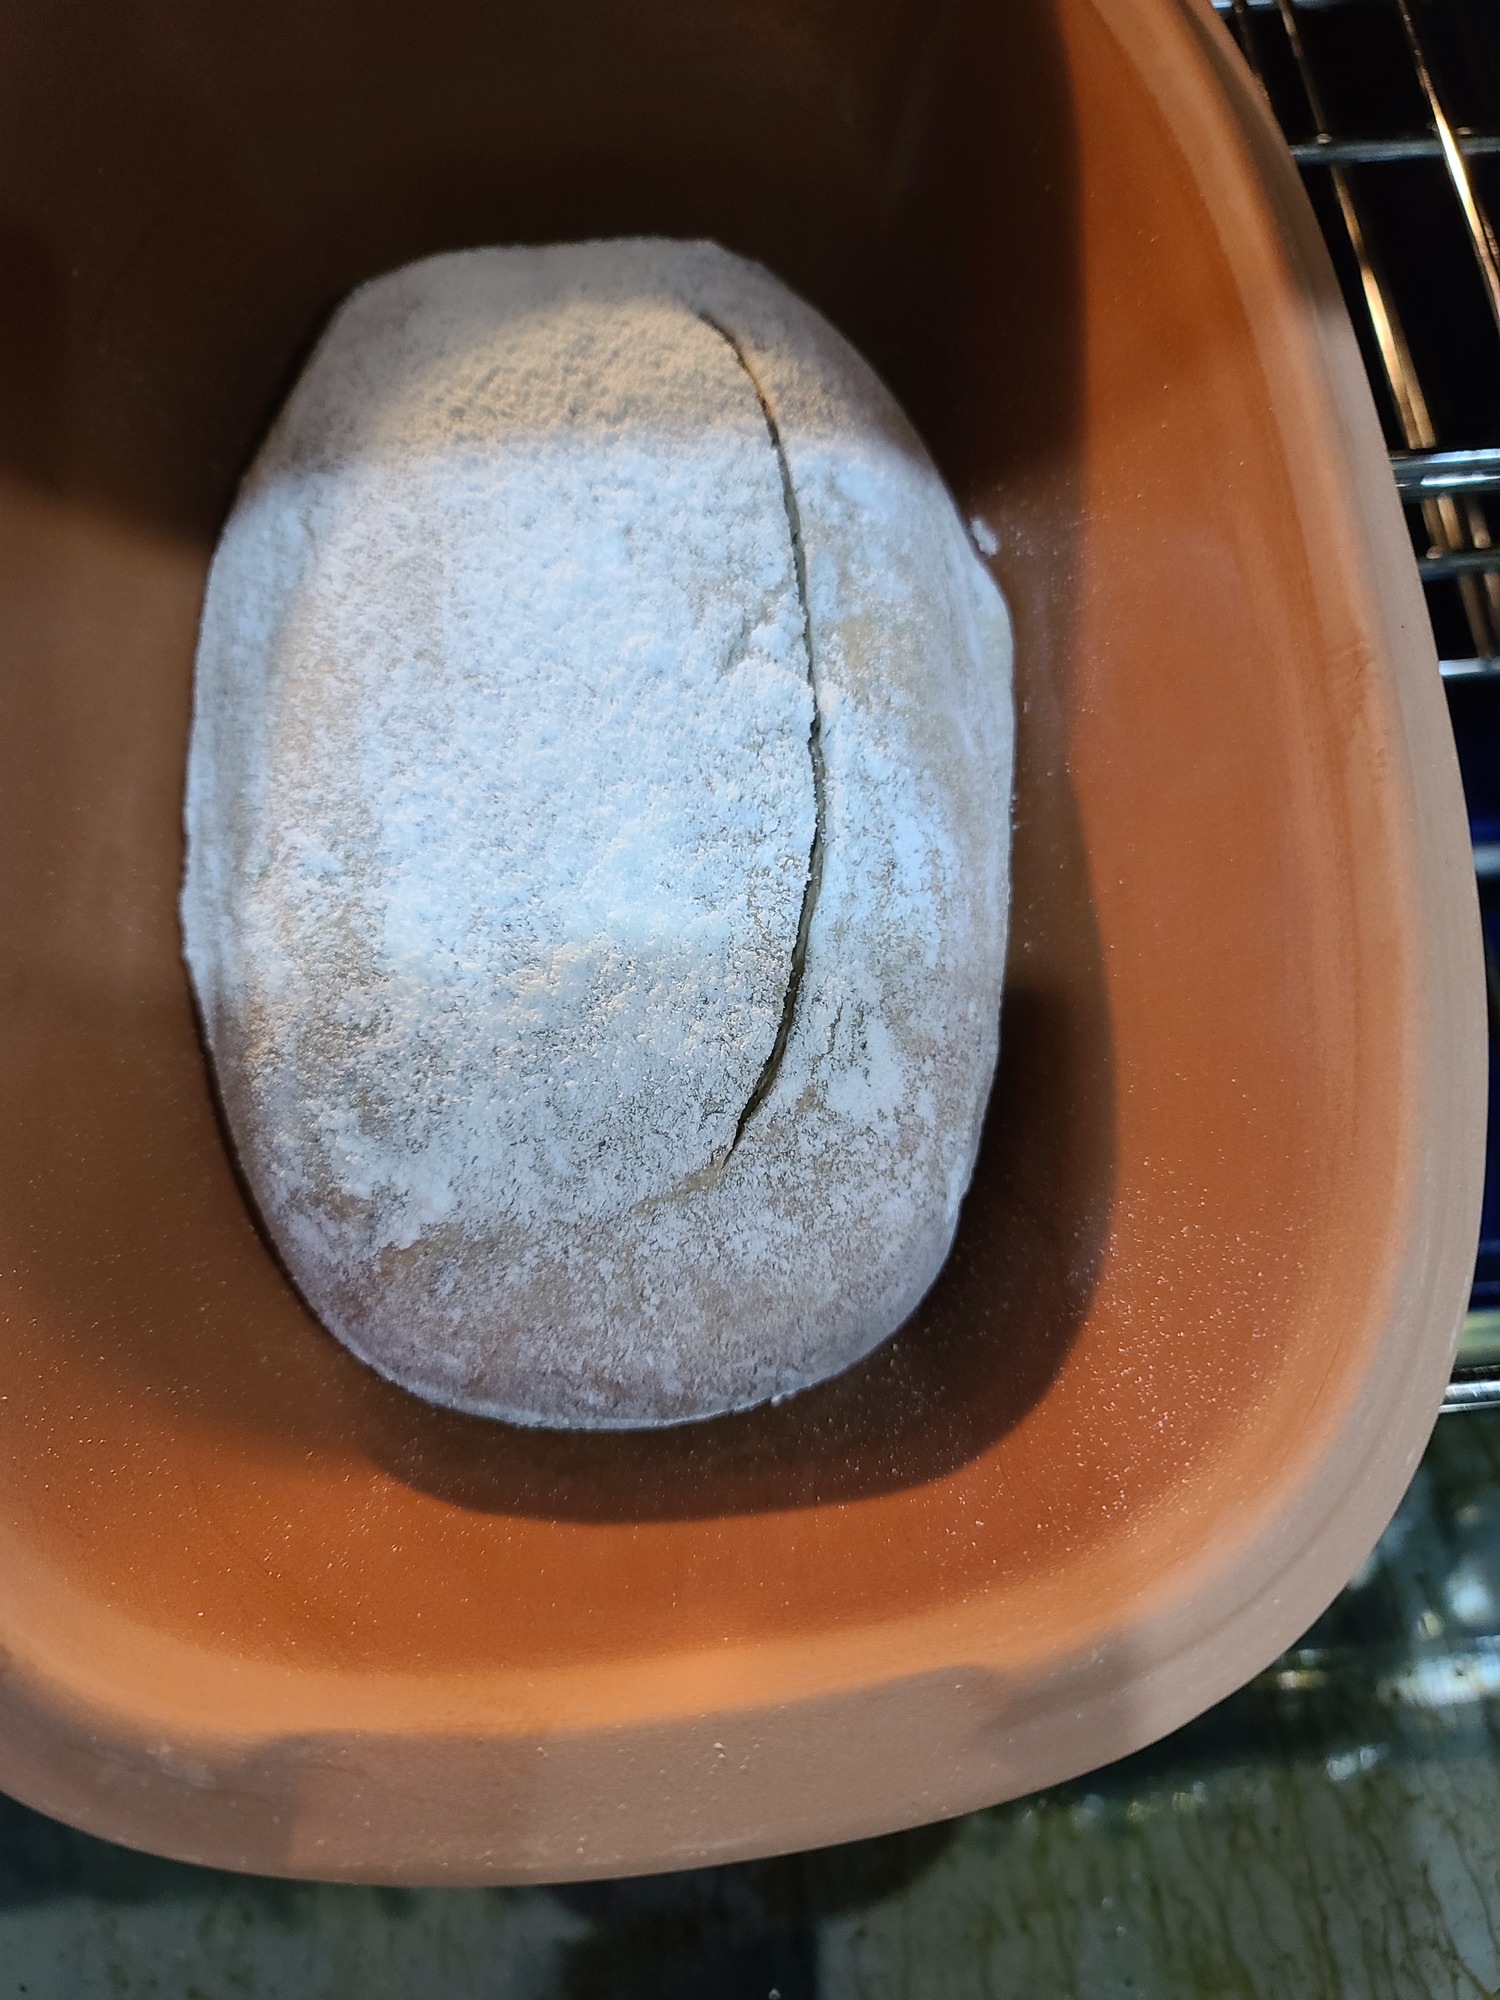
I then again, spread, folded, shaped as best I could and placed in my lined and rice floured baskets, where they spent the next 14 hours in the refrigerator.
I went straight from fridge to 500F pre-heated DOs and baked 27 covered at 450 and then 15 un-covered, followed by oven off, and door open for 10 more minutes.
Results: I have to hockey puck-like boules that are really very tasty. I didn’t get the oven spring I would have loved to see. I got some, but not enough.
So, when I do this again, here is my plan. I am going to start this in the late afternoon, and after the second stir, I am going to place my rise container in my fridge, and I am going to leave it there until the morning when I will check in and see what magic happened over night. I think this sticky dough will be a lot easier to fold and shape if it is cold. That is a guess, that I think is borne out in Eric’s instructions about the overnight method.
We shall see what we shall see.
I think your plan for the next batch makes sense – with the caveat to stop the bulk fermentation at (or just before) doubling of the dough even if that only takes a fraction of the time suggested in the recipe. I’m guessing your starter was very lively and/or your ambient temperature warm.
I made this recipe recently and got a nice result. Sometimes I use wet fingertips to pre-shape and shape sticky doughs, but for this recipe, I prefer a fair amount of flour on my countertop. I mostly use my bench knife for the pre-shape, and then I let the dough rest uncovered on the bench to dry out a bit and make shaping easier. Once in the basket and covered, I give the dough 30-60 minutes of room temperature final proofing, then I refrigerate it at least eight hours for the rest of the final proof. Cold dough is easier to score and stiffer, which helps it retain its shape during the transfer to the hot baking vessel. That translates into slightly more oven spring in low-gluten doughs in my experience.
I love this recipe and I follow it almost exactly (here I used sprouted rye berries and 1 less tbsp of molasses).
Here is a link to the recipe at the top of this thread.

1 Like
I just made this bread and it is absolutely delicious!
To note, I followed the recipe weights faithfully and my dough was extremely wet. So much so that I couldn’t shape it after the 12 hr bulk rise. It was just too sticky. In the end I let it rest for 15 mins and then threw the dough up into a bread pan for the final proofing and didn’t try to mess with adding more flour. Despite the high hydration of the dough, it rose well in both the bulk and final proofing and I got a beautiful bread loaf with an amazing crumb and flavour. I don’t know if the next time I make this I will reduce the water so I can handed it better or just leave it and do it as a loaf bread since it tasted so great.
I used this recipe as a starting point but since I had no seeds and I’m not a fan of Molasses, I made some variations. My flour portions were the same, no seeds, no Molasses, a tablespoon of malt, a tsp of gluten,and my rye /spelt starter. Since I was late in getting this started, I only used 8 hour bulk fermentation, shaped my loaf, and placed the banneton in the refrigerator overnight. it was the best! Perfect size loaf for my small family, nice oven spring for a largely whole Grain loaf, and it tasted great, just a hint of orange.
20200704_095012|375x500
1 Like
I’m trying this recipe for the first time but the printed version left out some pretty vital instructions at the end, which thoroughly confused me. Fortunately I watched the video! For instance:
- Your baking vessel should be preheated in the oven as it heats to 475.
- Bake the loaf covered for 30 minutes.
- Remove the lid, reduce temperature to 450, and bake for another 10-15 minutes.
Thanks for this wonderful recipe, Eric. I finally succeeded on the third attempt. Delicious!. Now, I’m wanting to add strong rye flavor by first fermenting rye berries and making fermented rye malt to add to the dough at some point.
I’d love some help on infusing strong rye flavor.
Mixed this at 9:30 PM. The dough looked just as it should have, it smelled wonderful and I woke up the next morning looking forward to shaping a loaf. Unfortunately, my home apparently was too warm (August). The bulk ferment was over the top … could have scooped it with a spoon. I was so disappointed to toss it … so I dumped it in a loaf pan, baked at 400 for 45 minutes and it came out good! Not the beautiful boule i was hoping for at the outset, but a very decent, very tasty rye loaf. I will definitely redo with careful attention to the bulk ferment! Great recipe, thank you.
@carolr Hi! I know a lot about a warm home during the month of August. I live in the desert southwestern USA near Phoenix, Arizona. Let’s just say I have a warm kitchen most of the year, LOL. Most of the year my kitchen temperatures hover around 80 degrees. My on-the-counter initial bulk ferment for all my bakes is around 8 hours, not 12-18 hours, depending on what recipe I’m using. My secondary rise in the banneton may end up only being 40-45 minutes instead of 60-90 minutes. I mix up my dough earlier in the day and then immediately put it into the refrigerator until about 11pm. Since I typically head to bed around 11pm I just take the dough out of the refrigerator and put it on my kitchen counter at that time. The next morning when I get up, around 7am, the dough is ready. Yes, there have been some times I’ve overslept and the dough has over proofed a bit. I still shape it and put it into the banneton, but for a shorter rise time. On those over proofed loaves I may not get an oven spring at all or just a small one BUT the resulting baked loaves are still delicious even if they are a bit flatter than desired.
For me, simply prepping my dough earlier in the day and keeping it in the refrigerator definitely helps. Even when the kitchen temperature is warmer that mass of colder dough still takes longer to come up to “room temperature.” That in itself may buy you a couple extra hours of sleep while the dough sits on the counter coming up to room temperature and fermenting, LOL! Then a shorter rise in your banneton may help too. So I end up adjusting my “routine” seasonally, which in my case is about 9 months of “summer” and 3 months of “cooler” where my kitchen temperature is still a bit balmy.
Baking blessings,
Leah
1 Like