And not an easy dough to handle either. Even more kudos to you. This is a lovely recipe and I’m due to bake it again in the next day or two.
Bon appetit.
And not an easy dough to handle either. Even more kudos to you. This is a lovely recipe and I’m due to bake it again in the next day or two.
Bon appetit.
I very much enjoyed the tutorial. Calm and easy to follow. The bread turned out amazing. I can’t wait to try more of your recipes I do appreciate your taste!
You’re brave to toss everything in ! Looks perfect
June 6th, I have been dying to try this recipe since I first watched the vids, and after finally securing all the seeds, I gave it a go yesterday, though I used lemon zest instead of orange. And this used my SD starter
For my first effort, I tried to follow the directions, which was going really well until 4 hours went by and my bulk rise was already more than doubled. Then, what kicks in is self analysis. 14 hour bulk rise? At room temperature? I figured at that point, since it appeared bulk risen, I would see if I could fold and shape, and get these into a basket and put in the fridge, but there is no amount of flour that you can use to keep this mess from being a sticky morass. So I put it all back in my rise container and let it go a few more hours.
That didn’t make too much of a difference, but I decided I was going to work fast, and with flour I was able to divide (I made enough for two) spread, fold, shape and then rest.
I then again, spread, folded, shaped as best I could and placed in my lined and rice floured baskets, where they spent the next 14 hours in the refrigerator.
I went straight from fridge to 500F pre-heated DOs and baked 27 covered at 450 and then 15 un-covered, followed by oven off, and door open for 10 more minutes.
Results: I have to hockey puck-like boules that are really very tasty. I didn’t get the oven spring I would have loved to see. I got some, but not enough.
So, when I do this again, here is my plan. I am going to start this in the late afternoon, and after the second stir, I am going to place my rise container in my fridge, and I am going to leave it there until the morning when I will check in and see what magic happened over night. I think this sticky dough will be a lot easier to fold and shape if it is cold. That is a guess, that I think is borne out in Eric’s instructions about the overnight method.
We shall see what we shall see.
I think your plan for the next batch makes sense – with the caveat to stop the bulk fermentation at (or just before) doubling of the dough even if that only takes a fraction of the time suggested in the recipe. I’m guessing your starter was very lively and/or your ambient temperature warm.
I made this recipe recently and got a nice result. Sometimes I use wet fingertips to pre-shape and shape sticky doughs, but for this recipe, I prefer a fair amount of flour on my countertop. I mostly use my bench knife for the pre-shape, and then I let the dough rest uncovered on the bench to dry out a bit and make shaping easier. Once in the basket and covered, I give the dough 30-60 minutes of room temperature final proofing, then I refrigerate it at least eight hours for the rest of the final proof. Cold dough is easier to score and stiffer, which helps it retain its shape during the transfer to the hot baking vessel. That translates into slightly more oven spring in low-gluten doughs in my experience.
I love this recipe and I follow it almost exactly (here I used sprouted rye berries and 1 less tbsp of molasses).
Here is a link to the recipe at the top of this thread.
I just made this bread and it is absolutely delicious!
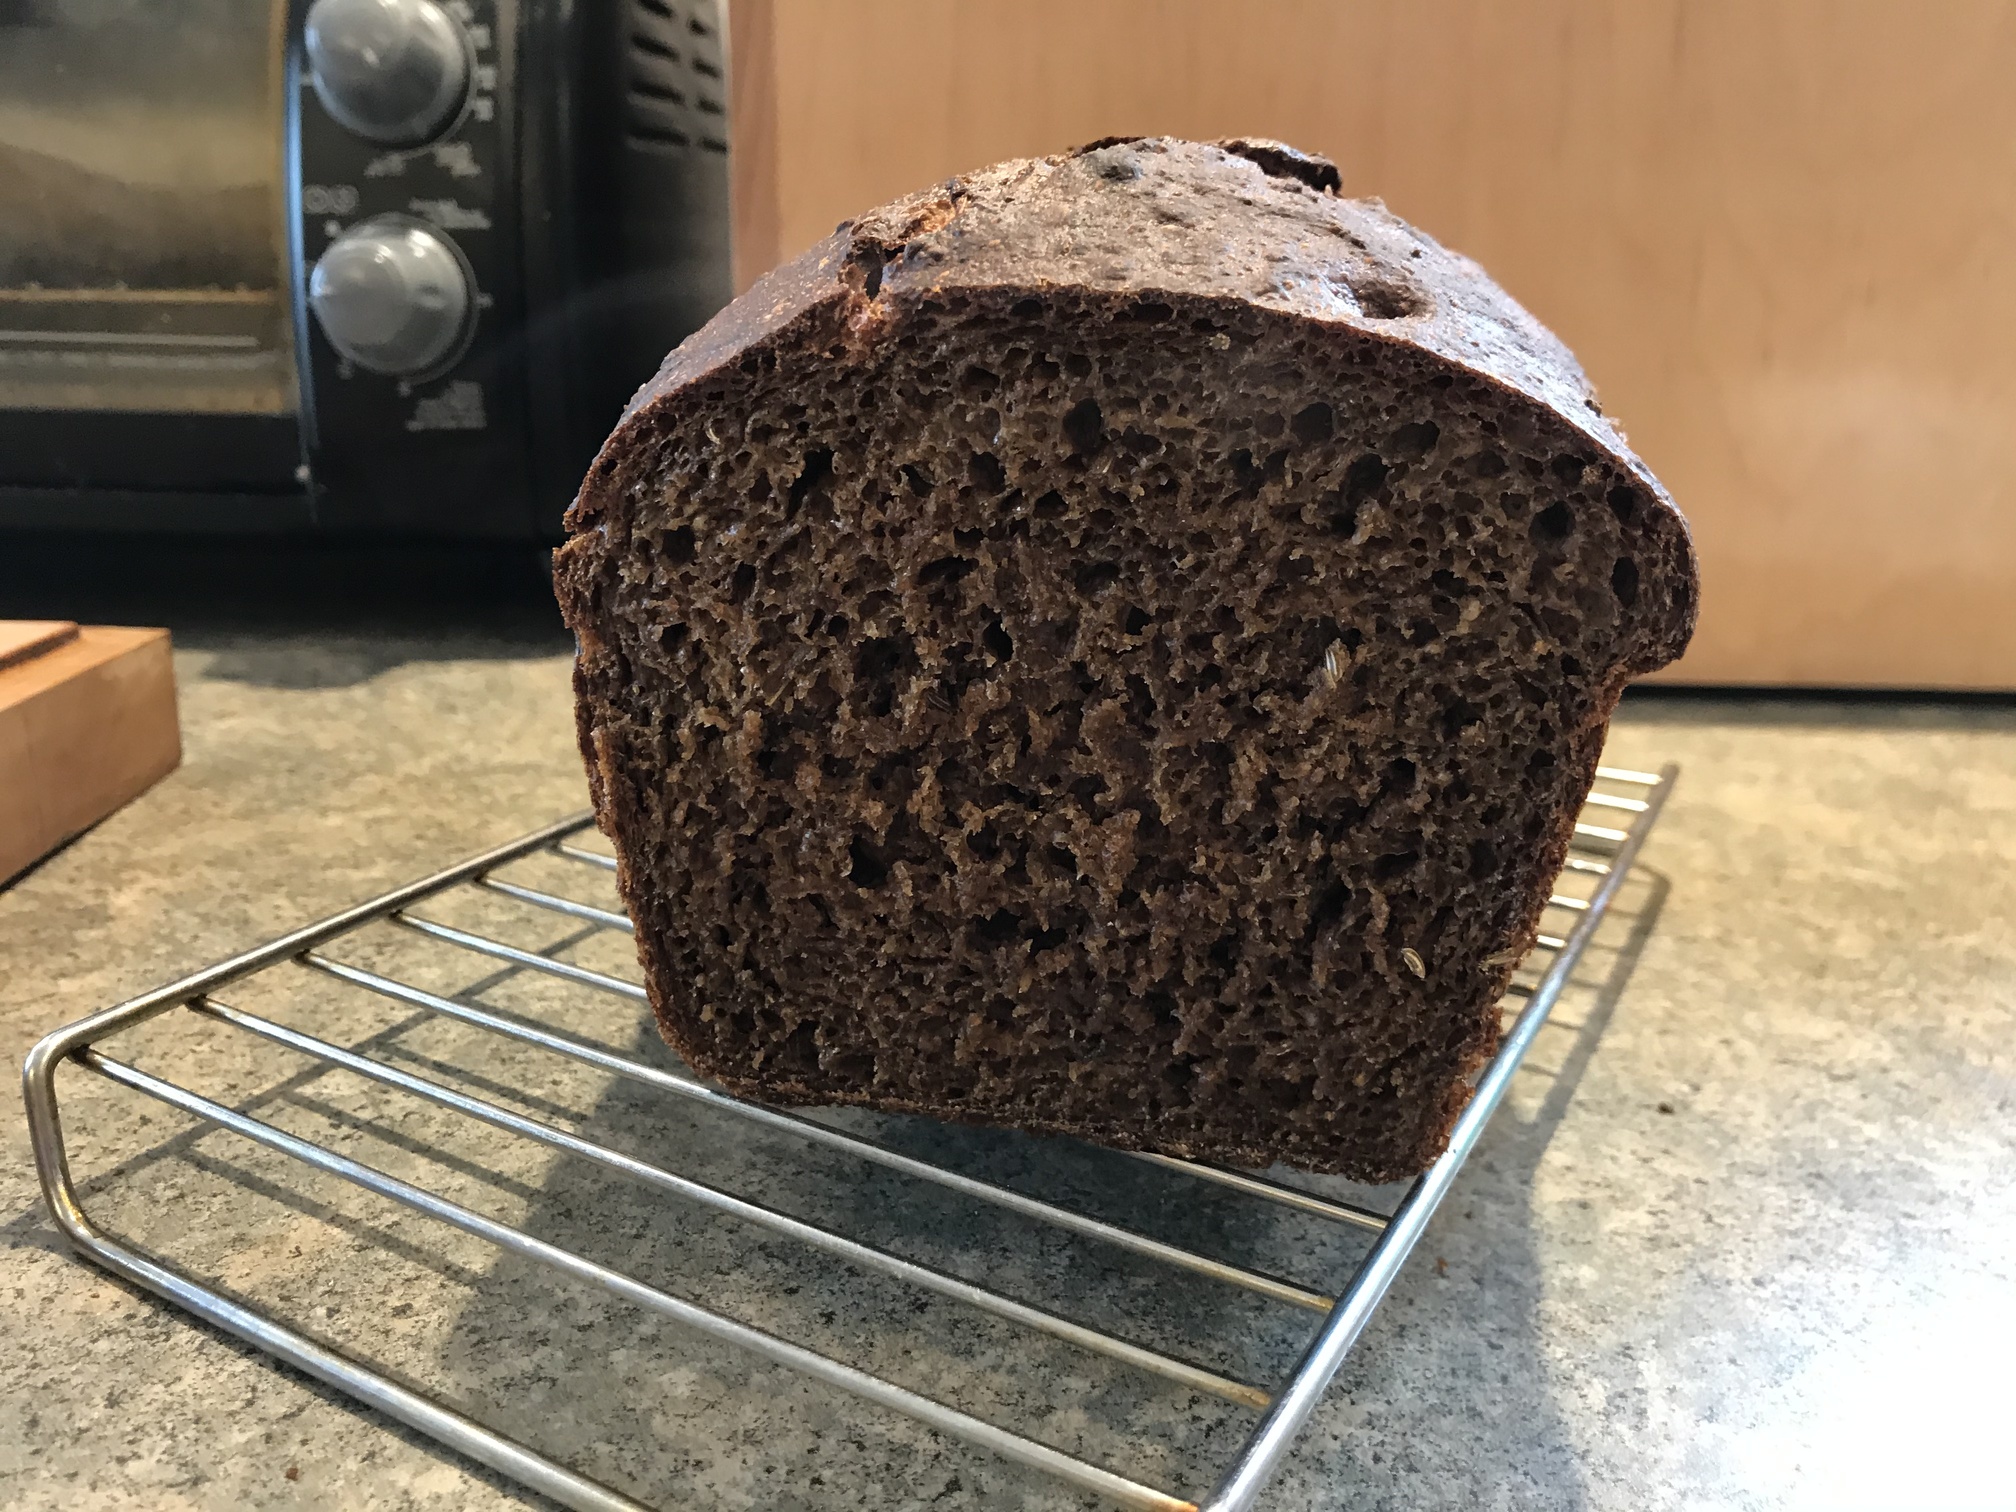
To note, I followed the recipe weights faithfully and my dough was extremely wet. So much so that I couldn’t shape it after the 12 hr bulk rise. It was just too sticky. In the end I let it rest for 15 mins and then threw the dough up into a bread pan for the final proofing and didn’t try to mess with adding more flour. Despite the high hydration of the dough, it rose well in both the bulk and final proofing and I got a beautiful bread loaf with an amazing crumb and flavour. I don’t know if the next time I make this I will reduce the water so I can handed it better or just leave it and do it as a loaf bread since it tasted so great.
I used this recipe as a starting point but since I had no seeds and I’m not a fan of Molasses, I made some variations. My flour portions were the same, no seeds, no Molasses, a tablespoon of malt, a tsp of gluten,and my rye /spelt starter. Since I was late in getting this started, I only used 8 hour bulk fermentation, shaped my loaf, and placed the banneton in the refrigerator overnight. it was the best! Perfect size loaf for my small family, nice oven spring for a largely whole Grain loaf, and it tasted great, just a hint of orange.
20200704_095012|375x500I’m trying this recipe for the first time but the printed version left out some pretty vital instructions at the end, which thoroughly confused me. Fortunately I watched the video! For instance:
Thanks for this wonderful recipe, Eric. I finally succeeded on the third attempt. Delicious!. Now, I’m wanting to add strong rye flavor by first fermenting rye berries and making fermented rye malt to add to the dough at some point.
I’d love some help on infusing strong rye flavor.
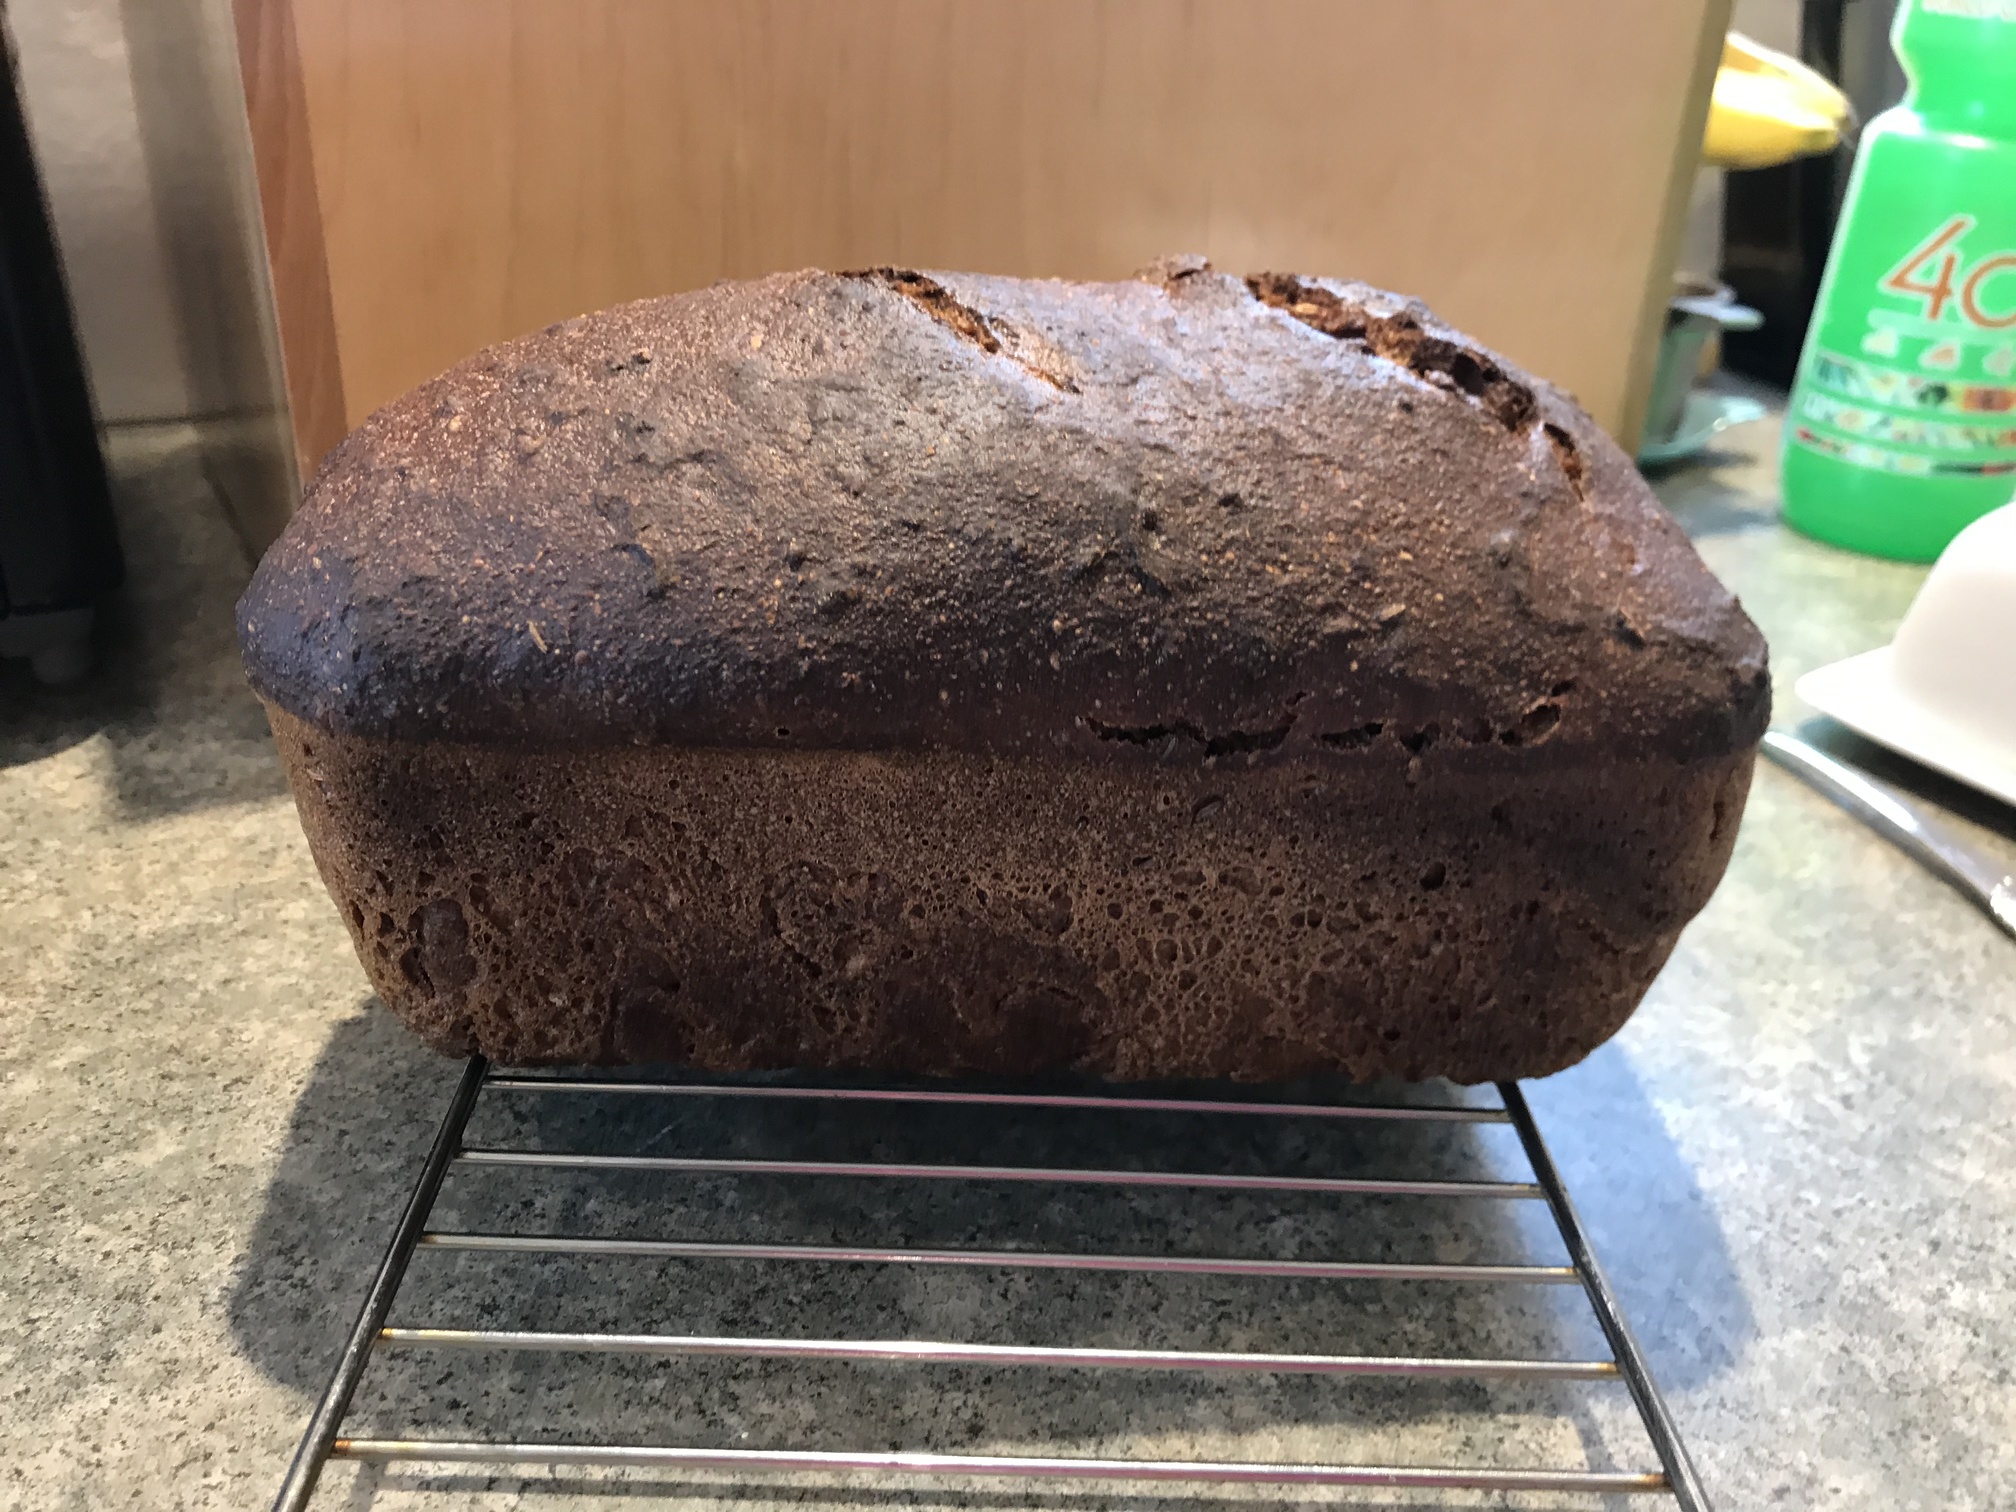
Mixed this at 9:30 PM. The dough looked just as it should have, it smelled wonderful and I woke up the next morning looking forward to shaping a loaf. Unfortunately, my home apparently was too warm (August). The bulk ferment was over the top … could have scooped it with a spoon. I was so disappointed to toss it … so I dumped it in a loaf pan, baked at 400 for 45 minutes and it came out good! Not the beautiful boule i was hoping for at the outset, but a very decent, very tasty rye loaf. I will definitely redo with careful attention to the bulk ferment! Great recipe, thank you.
@carolr Hi! I know a lot about a warm home during the month of August. I live in the desert southwestern USA near Phoenix, Arizona. Let’s just say I have a warm kitchen most of the year, LOL. Most of the year my kitchen temperatures hover around 80 degrees. My on-the-counter initial bulk ferment for all my bakes is around 8 hours, not 12-18 hours, depending on what recipe I’m using. My secondary rise in the banneton may end up only being 40-45 minutes instead of 60-90 minutes. I mix up my dough earlier in the day and then immediately put it into the refrigerator until about 11pm. Since I typically head to bed around 11pm I just take the dough out of the refrigerator and put it on my kitchen counter at that time. The next morning when I get up, around 7am, the dough is ready. Yes, there have been some times I’ve overslept and the dough has over proofed a bit. I still shape it and put it into the banneton, but for a shorter rise time. On those over proofed loaves I may not get an oven spring at all or just a small one BUT the resulting baked loaves are still delicious even if they are a bit flatter than desired.
For me, simply prepping my dough earlier in the day and keeping it in the refrigerator definitely helps. Even when the kitchen temperature is warmer that mass of colder dough still takes longer to come up to “room temperature.” That in itself may buy you a couple extra hours of sleep while the dough sits on the counter coming up to room temperature and fermenting, LOL! Then a shorter rise in your banneton may help too. So I end up adjusting my “routine” seasonally, which in my case is about 9 months of “summer” and 3 months of “cooler” where my kitchen temperature is still a bit balmy.
Baking blessings,
Leah
If you ground the rye berries fresh, and this seems like common sense to me but, why not grind the white flour fresh too so that those watching the video and reading the recipe know what wheat berries they should grind!?!?!?!
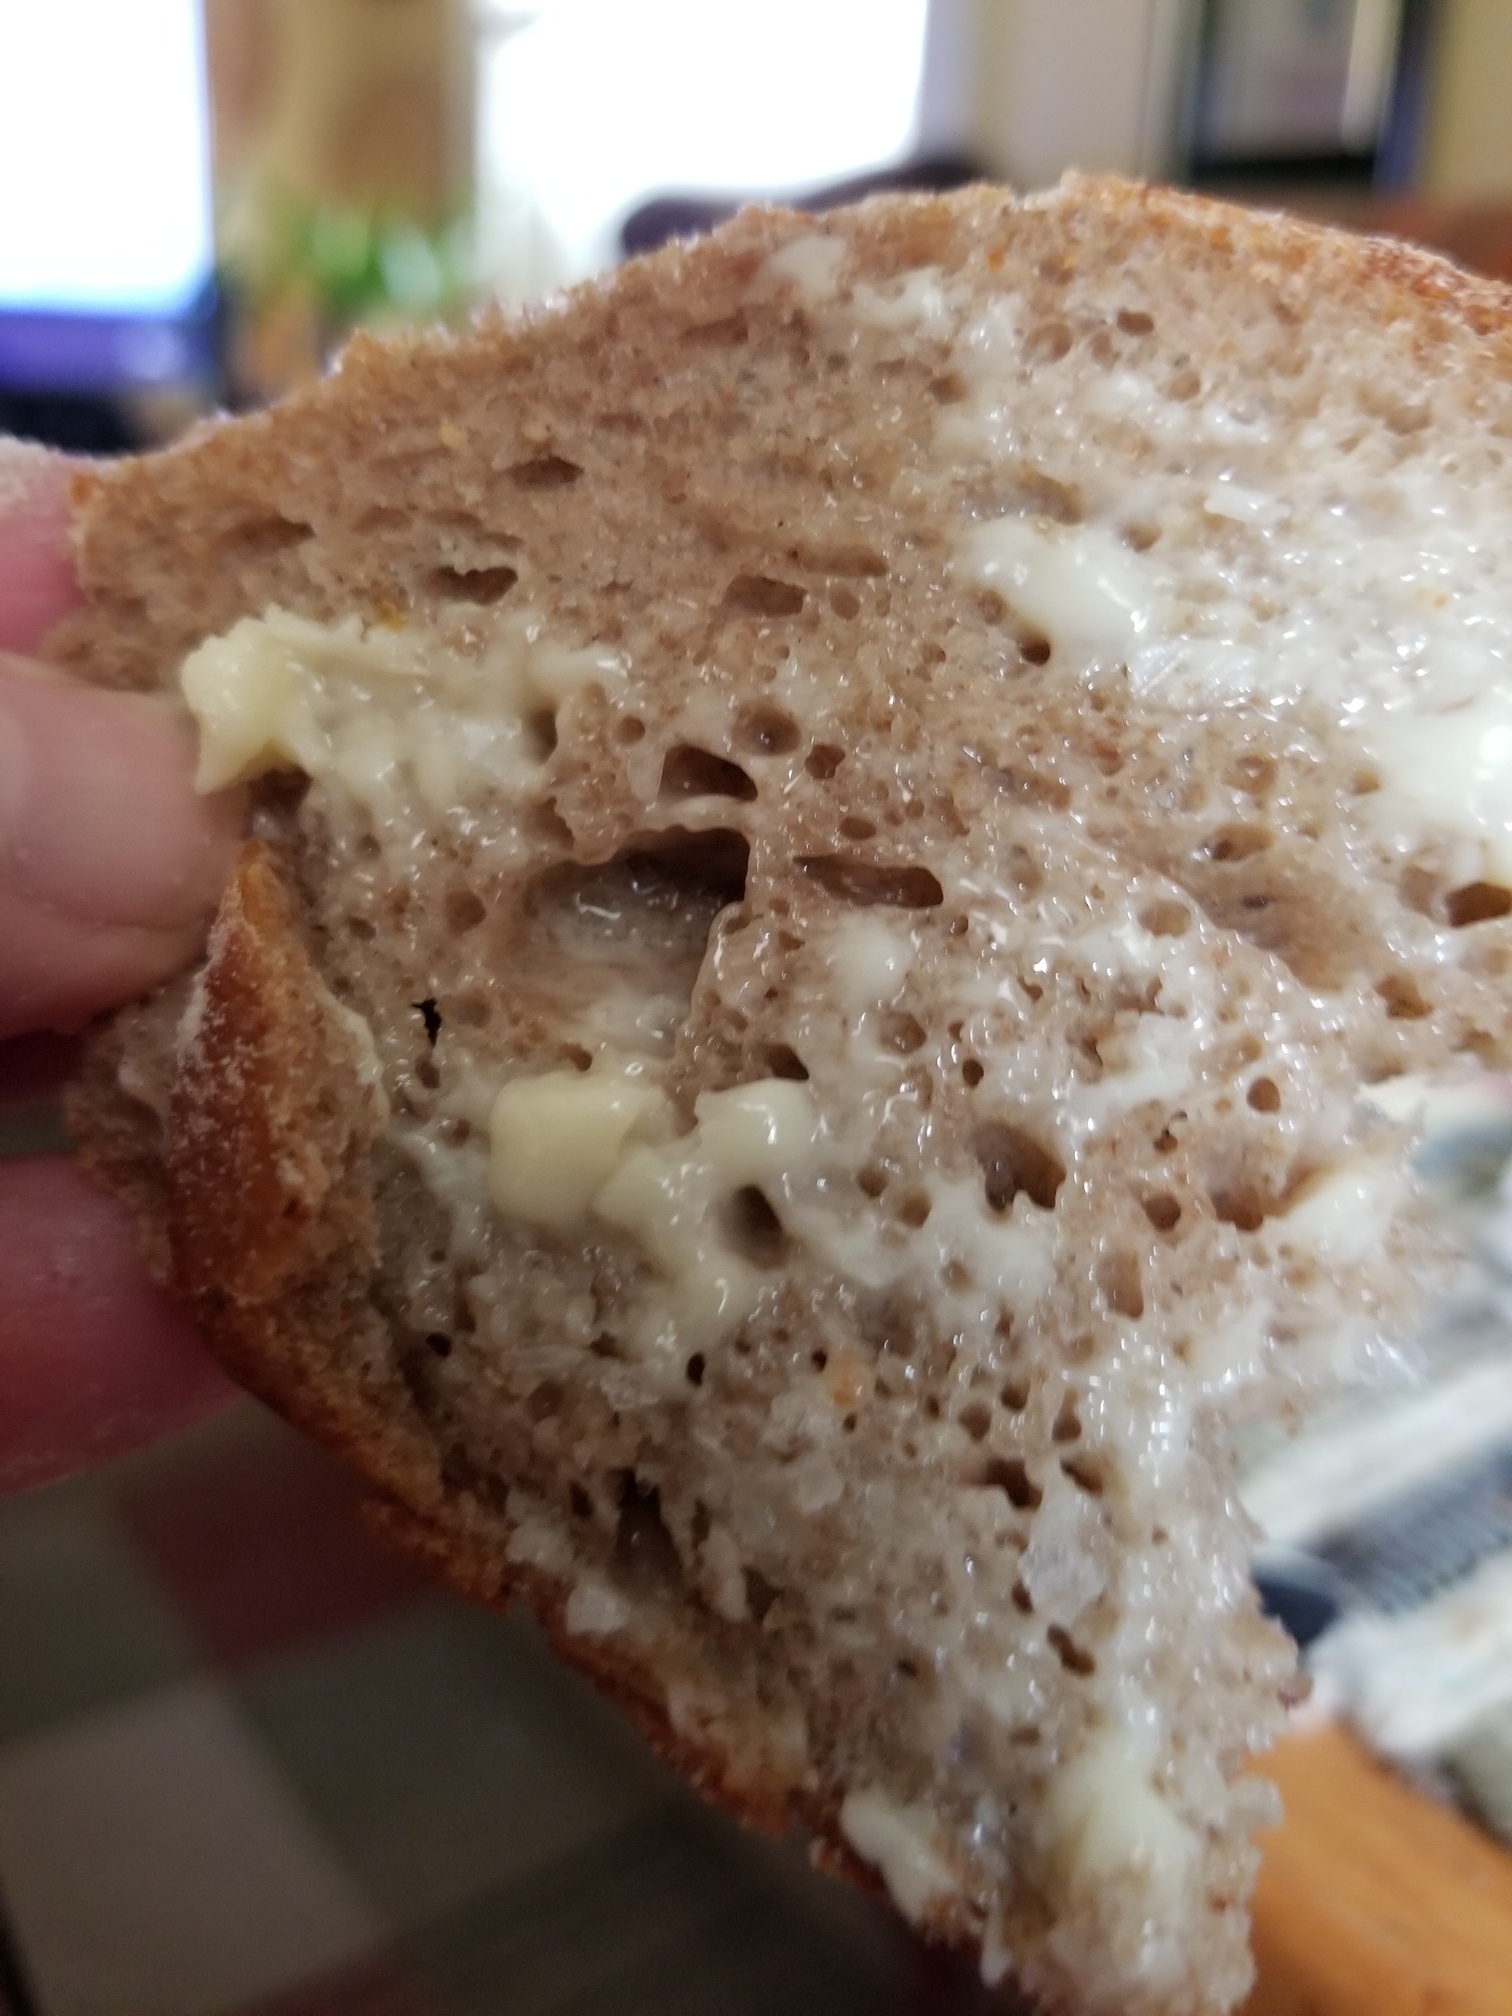
I’ve made this recipe twice now. I’m a complete newbie and only ever made Vollkornbrot before a few times. The first time I followed the recipe and made it in a round loaf. I don’t have a proofing basket and I didn’t bake it in a form so it wasn’t very thick, but the flavor and texture and crust were spot on perfect! The second time I made it I substituted Einkorn flour for the bread flour, added more seeds, both pumpkin and sunflower and then, because I wanted a slicing bread for sandwiches, baked it in a Pullman loaf pan with a baking sheet below it to deflect some heat (as suggested by someone here) and keep the bottom from getting overcooked. Its the best bread! the Einkorn flour changes the flavor to a richer, nuttier taste, and the slices are solid but light and great crumb. My only change next time would be to increase the recipe by either 1.5x or 2xs so that the Pullman pan is more full after the final proofing. It would give a larger slice of bread which would be cool for sandwiches. cheers.
I love the recipe. I’m just wondering roughly how long to leave it in the oven at 475.
@Emmryss Good morning!
Bake at 475F for 30 minutes.
Remove lid of baker, reduce heat to 450F and bake for another 10 more minutes.
Temperature of baked bread should read about 200F.
Let the bread cool completely before slicing and eating. Rye bread slices best if it’s completely cool first.
Baking blessings,
Leah
Well I admire the lofty loaves others got. My is flatish and I found this dough incredibly wet and and hard to work with. I had to add at least ½ cup of additional flour to be able to form a loaf. It does smell amazing. Cooling now.
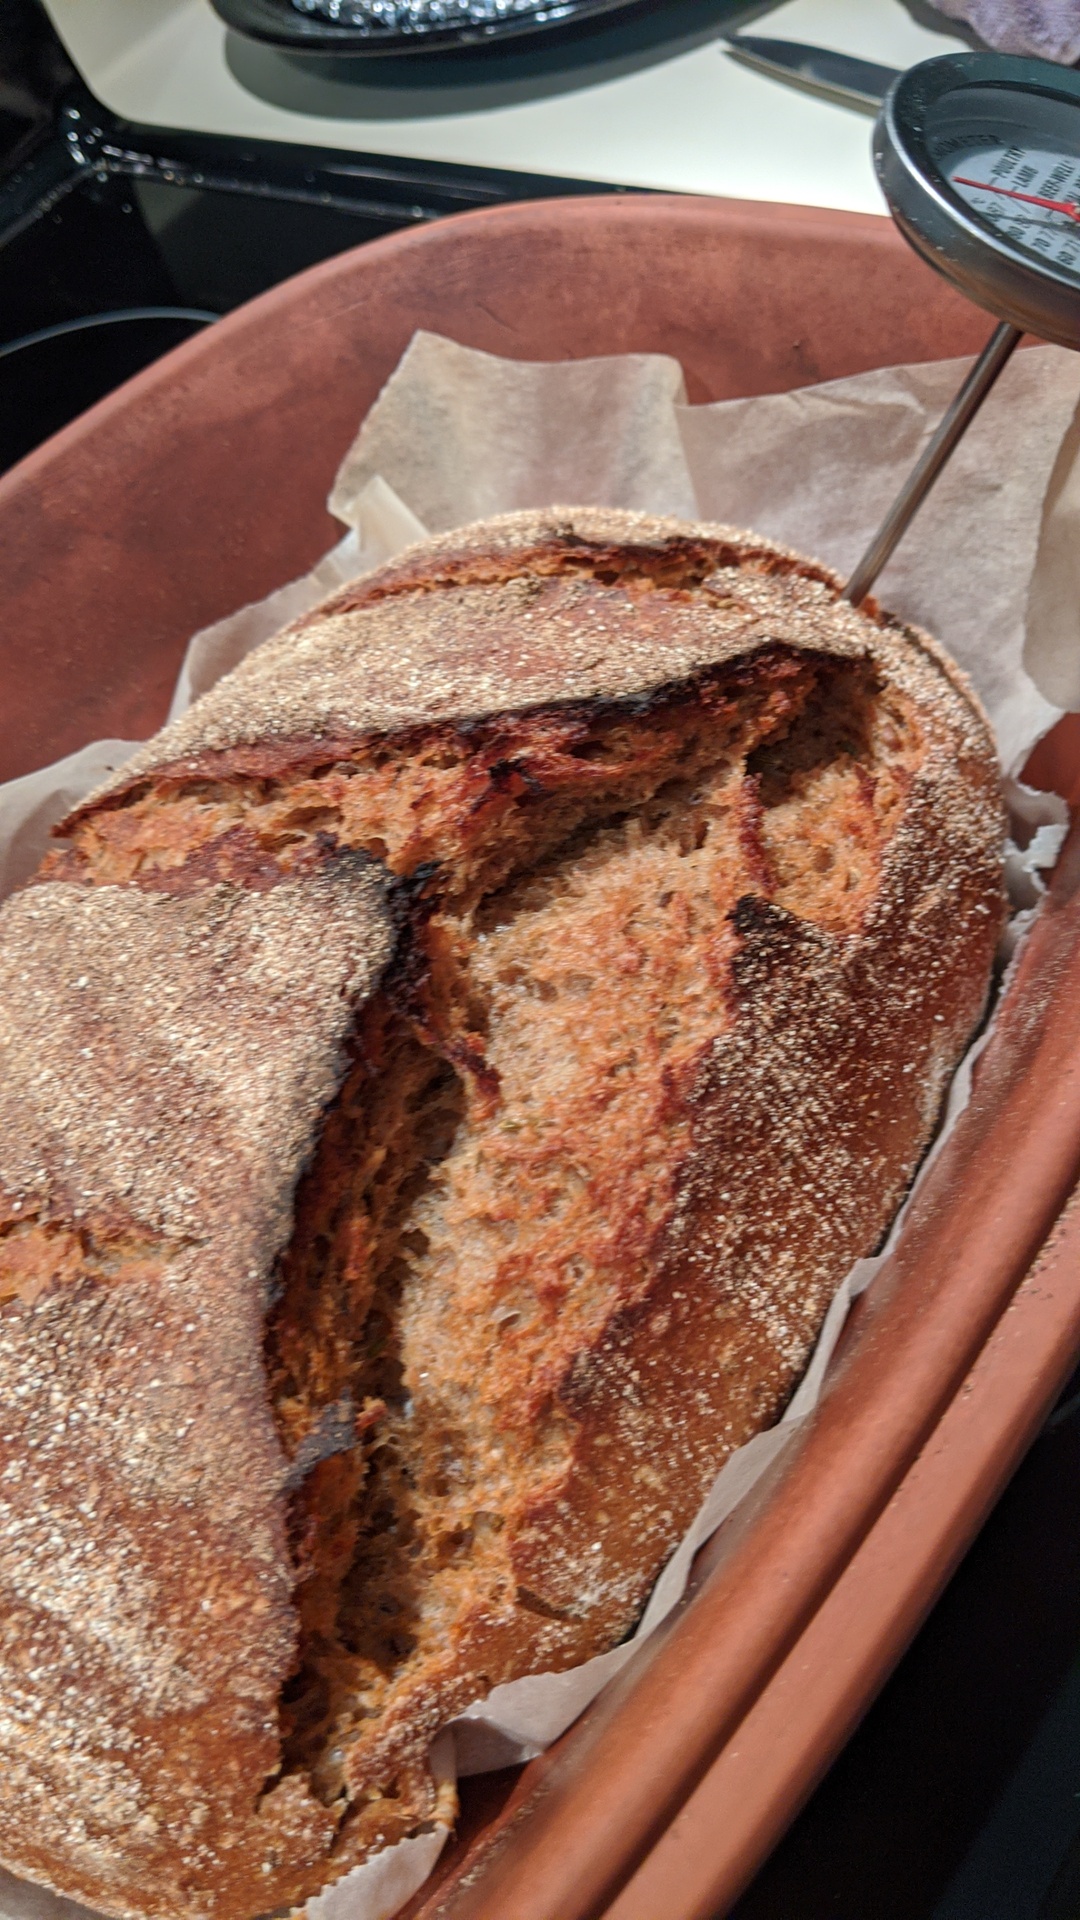
This is a wild recipe at well over 80% hydration. I tried to use a coarse pumpernickel rye flour from Sunrise and had to add 50 grams of additional bread flour after using the morning mix and refrigerate technique. It was apparent that my pumpernickel rye didn’t take up water like a finer rye would have. In the future I will either mill or use a finer flour. When I took it out for the overnight rise it just seemed so soupy. Bears little resemblance to a standard sourdough so techniques need adjustment. After the 11 hour rise I worked the dough with plenty of flour and it was still quite sticky. Into my banneton for a one hour + final rise and 45 minutes later it was erupting from the basket. Thank goodness I had started the oven as I put the loaf into the banneton so was able to truncate the final rise. Of course it overproofed in that short period and started to deflate when I put it in the Romertopf. 20 minutes covered, 25 minutes uncovered. Very rye-eee but the crumb isn’t large, again indicating an over-proof and also loaf moisture may have had an impact here. This is not a trivial loaf to accomplish and definitely requires fine rye flour or significant recipe adjustment. Flavor is good though, just a frustrating mix experience.
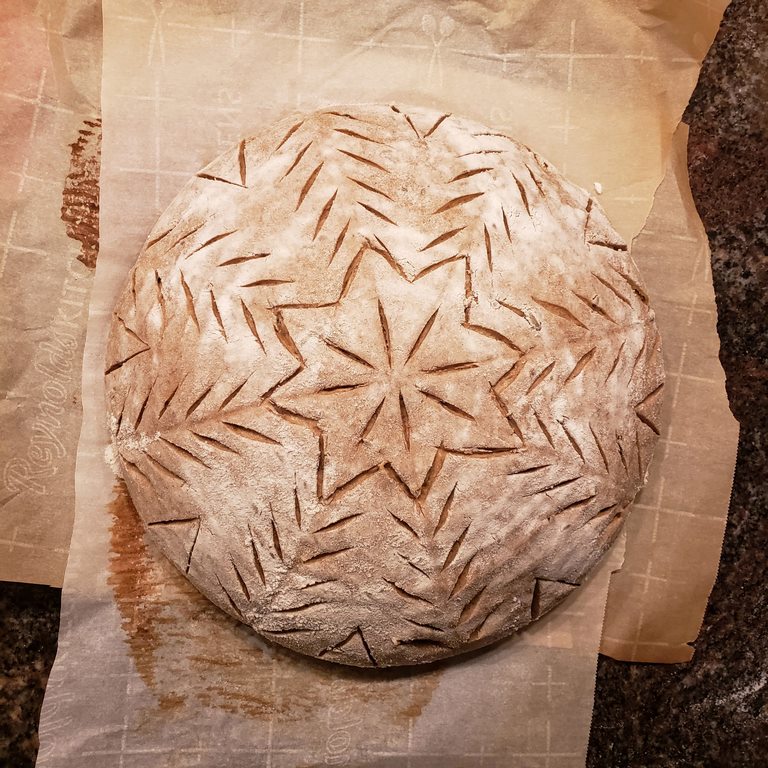
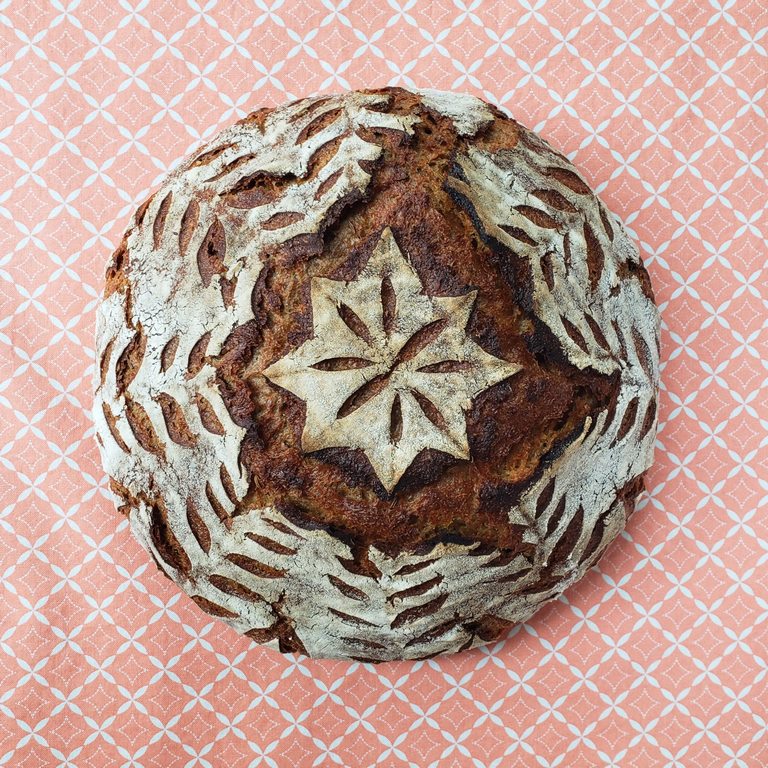
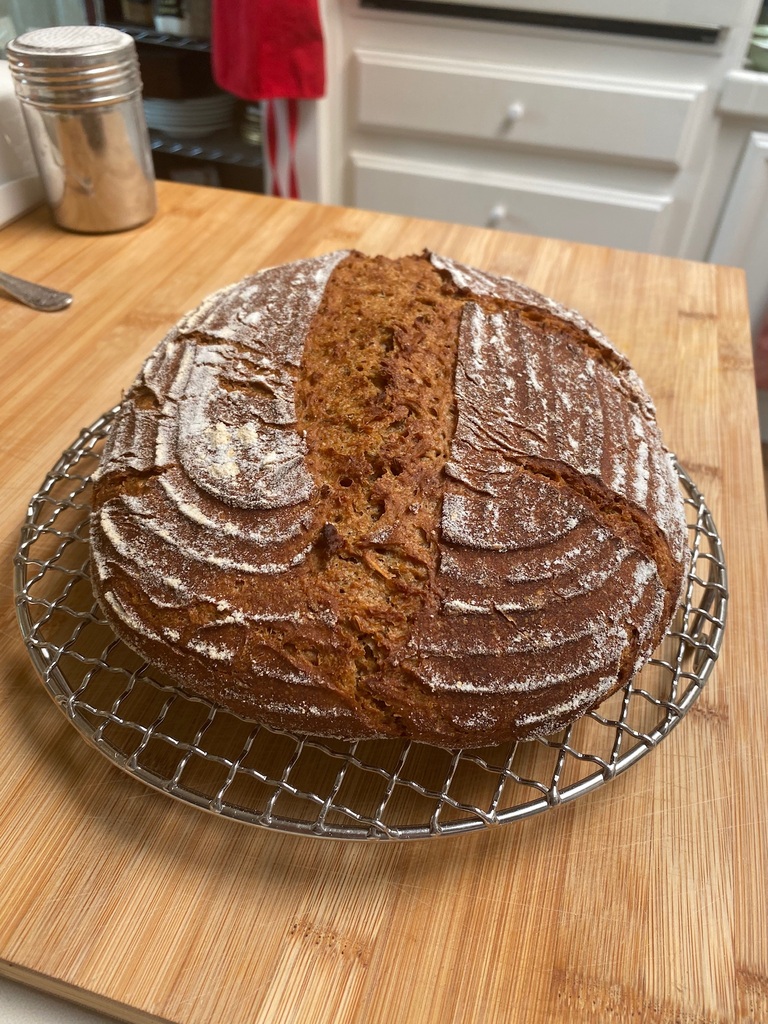
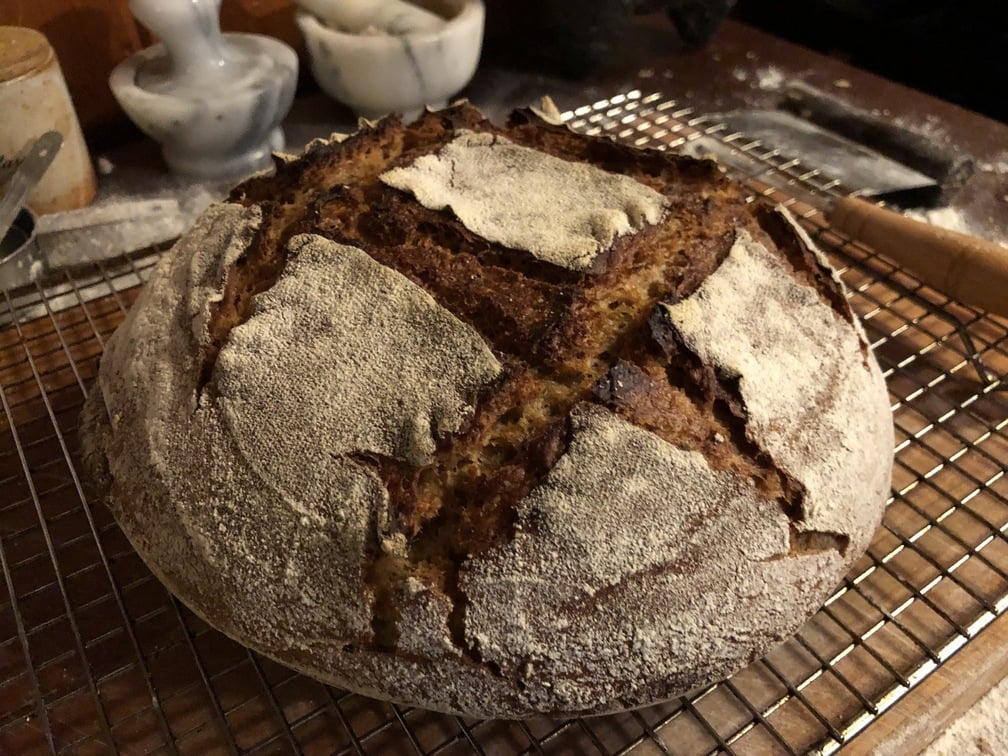
After 3 attempts of so-so to bad loaves (and a frustrated email to Breadtopia!) using this recipe, I finally had success today. Something was really off as I followed the recipe–written + Eric’s great video–to the letter (or gram) and the final product was a thick flat disc of rye, with zero oven spring. The main problem was that after the initial long proof of 12 hours, my dough was more like a thick batter than the sticky, shaggy mass Eric got. So, because this had happened consistently, I figured that despite my AC, the Houston heat and humidity (which is very high) must be to blame, so I simply added enough flour after the first proof to get it to become a manageable mass that would NOT move like lava across my work space. Yesterday and today were the first time using my new round Römertopf baker (I have two other oblong ones, a small and a larger), and I’m thrilled with it. Thanks Eric! I’m learning a lot here. Here’s a pic of today’s loaf.
@RayinHouston Yum! That looks beautiful and delicious. I love rye bread. I grew up on it! I use this recipe too and I ended up modifying it somewhat to resemble more of the NY style Jewish rye I grew up with. I bake it fairly often. Though I don’t have Houston’s humidity I have southwestern desert hot, HOT temperatures. Yeah, it gets a bit toasty out here which causes its own havoc on rising bread dough. Here’s to adapting recipes and techniques!
Baking blessings,
Leah


